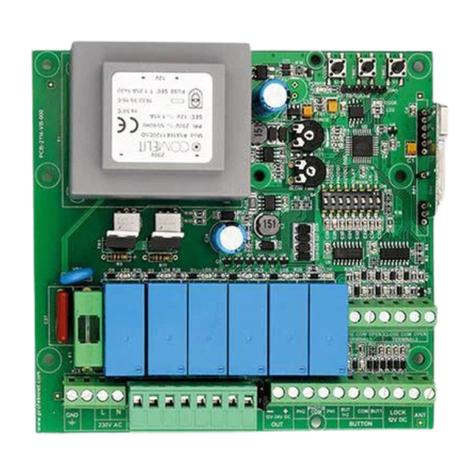
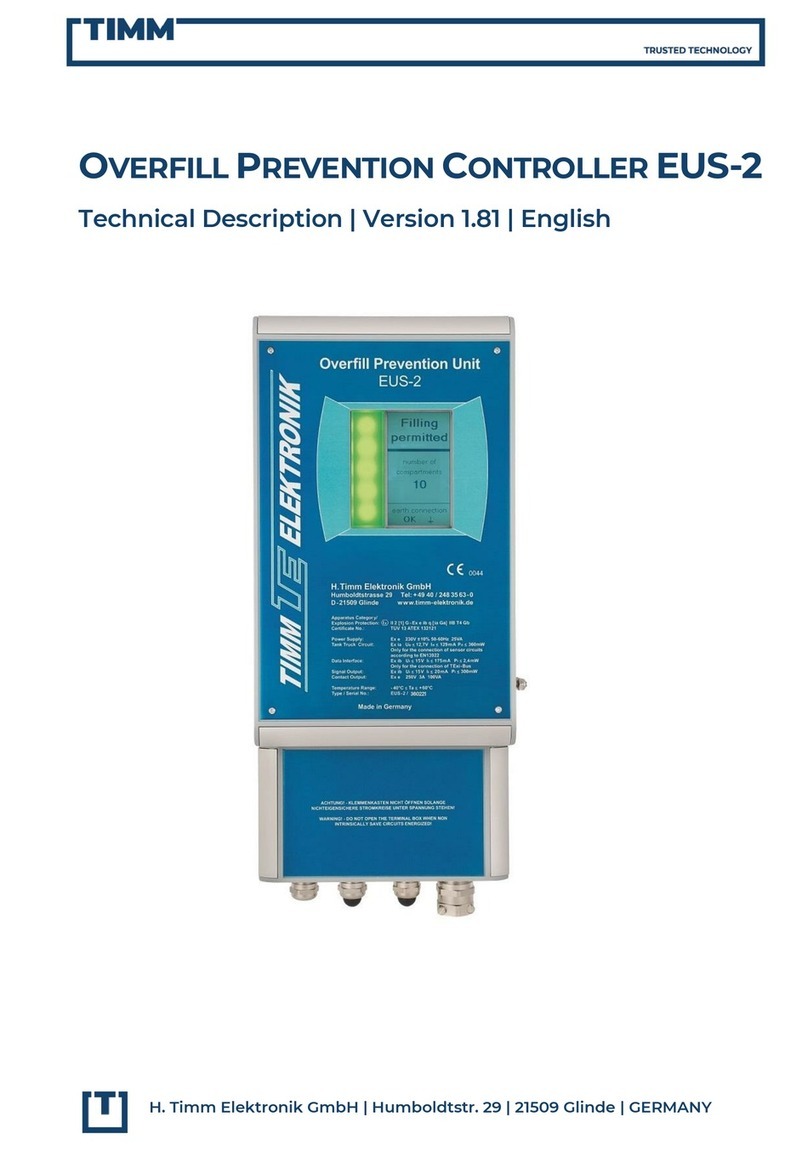
Profelmnet 6033 User manual

6033
WiFi control board 230VAC
INSTALLATION MANUAL

www.profelmnet.com

Profelmnet |6033 WiFi | 3
Declaration of Conformity - CE
6033 WiFi control board 230VAC
SECURITY INFORMATION
6033 control board is the ideal connectivity solution for sliding and swing gates, rolling shutters and
barriers that makes access smarter and easier. The user has the possibility to make all the settings of
the automation via his mobile phone and also to manage his gate from wherever he is, using the WiFi
network.
The manufacturer L. PSARROS & SIA OE declares that the product
6033 wifi control board 230VAC is according to European Directives
requirements of RADIO EQUIPMENT DIRECTIVE (RED) 2014/53/EU
and ELECTROMAGNETIC COMPATIBILITY EMC 2004/108/EC and
satisfies all the applicable standards to the product
Carefully read the instructions before beginning to install the product. To ensure the safety of
people, it is important that the installer reads all the following installation instructions. Incorrect
installation or incorrect use of the product could cause serious harm to people.
Read and follow the instructions below:
1. The product must be used and installed in accordance with its design.
2. Save these instructions for future use.
3. Before proceeding with any connection or programming, turn off the power supply.
4. It is necessary to use 6A/30mA differential leakage relay to power the equipment.
5. Do not change or modify the automation materials, without first contacting
Profelmnet.
6. Do not allow children or pets to be near the gate when it is in operation.
7. Keep the remote controls out of the reach of children, to prevent inadvertent
operation of the door.
8. The installation, maintenance or repair of the automation shall be carried out by
qualified personnel.
9. The installation of photocells is essential for the safety of vehicles passing through.
10. It is necessary to install a safety edge contact for the safe passage of the
pedestrians.
11. In the area where the 6033 automation will be installed, the WiFi signal strength
from your router should be, at least, -60dbm. Otherwise, Profelmnet bears no
liability for failure of the product.
12. It is mandatory to install external terminal switches ( mechanical or magnetic) to
indicate the exact position of the gate.
13. It is recommended to install a visual control device (camera), to monitor the
movement of the gate in order to avoid accidents.
14. IIn case the motor is under manual release, turn off the power supply of the
automation.
15. Profelmnet, as the manufacturer, reserves the right to make changes to the product
without notice.
16. Anything not listed in these instructions is not appropriate.

4 | 6033 WiFi | Profelmnet
PHOTOCELL 1 PHOTOCELL 2
TX RX
12-24V
ac /dc
ΝΟ
C
NC
12-24V
ac /dc
TX RX
12-24V
ac /dc
ΝΟ
C
NC
12-24V
ac /dc
CAPACITOR
GND
Μ1
GROUND
LIVE
OPEN
BLINKER
COMMON
CLOSE
COMMON
CLOSING LIMIT SWITCH
BUTTON
PHOTOCHELL 2
PHOTOCHELL 1
OPENING LIMIT SWITCH
COMMON
24 VDC
COMMON
161 2 3 4 5 6 7 8 9 10 11 12 13 14 15
NEUTRAL
N L
BUT
RF MODULE
LED
SAFETY EDGE
PH2 PH1 TCL TOP
CODE
www.profelmnet.com
PCB - 6033
WIFI
TIME
WIFI
LED
CODE LED
WIFI MODULE
POWER LED
DANGER
HIGH
VOLTAGE
MECHANICAL SAFETY EDGE
(NC CONTACT)
SAFETY EDGE TYPE 8K2
SAFETY EDGE WIRING
N.C. N.C.8K2
17 18 17 18 17 18
6033 WiFi control board 230VAC

Profelmnet |6033 WiFi | 5
THE POWER TO MOVE
Easy, Simple and Smart From Everywhere!
TECHNICAL CHARACTERISTICS
Power Supply 230VAC /50 Hz
Max Motor Power 1200W
Box Dimensions 10cm X 14.50cm X 5cm
Control board Dimensions 8.5cm X 10.5cm X 00.5cm
Fuse 230VAC 5Α
Fuse 24VDC 150mA
Blinker Light power supply 230VAC
Photocell power supply 24VDC/ 100mA
Remotes Memory 300 remotes
WiFi protocoll IEEE802,11/2,4GHz
Frequency 433,92MHz
Temperature -20oC + 60oC
ELECTRICAL WIRINGS
1 Earth
2 Neutral
3 Live
2+4 Blinker
5 Common Motor
6 Close Motor
7 Open Motor
8+11 Button N.O.
9+11 Photocell 2 N.C
10+11 Photocell 1 N.C
11 Common
12 Closing Terminal Switch
13 Opening Terminal Switch
14 Common
15 Power Supply 24VDC
16 Common
17+18 Safety Edge NC/ 8K2
Powered by:
Compatible with:
Compatible with: 6033 WiFi control board 230VAC
is certified by:
CERTIFICATION
Cerftification

6 | 6033 WiFi | Profelmnet
Download the Tuya Smart Application
Mobile Phone
Wireless Router
1Press Sign Up for
new account
1Give permission and press
GO TO APP
2The account has been
successfully created
3Send Verification Code
2Fill your email and press Send
verification code
4Set your Password
CONNECTION WITH TUYA SMART APPLICATION
Connect your smart device to your Wifi network and download the Tuya Application through Google Play or Apple store
*
+

Profelmnet | 6033 WiFi | 7
1Go to Tuya application and
press Add Device
2Choose the GARAGE
DOOR OPENER (Wi-Fi)
7The 6033 control
board is being
synchronized
8The 6033 control
board is ready
PHOTOCELL 1 PHOTOCELL 2
TX RX
12-24V
ac /dc
ΝΟ
C
NC
12-24V
ac /dc
TX RX
12-24V
ac /dc
ΝΟ
C
NC
12-24V
ac /dc
CAPACITOR
GND
Μ1
GROUND
LIVE
OPEN
BLINKER
COMMON
CLOSE
COMMON
CLOSING LIMIT SWITCH
BUTTON
PHOTOCHELL 2
PHOTOCHELL 1
OPENING LIMIT SWITCH
COMMON
24 VDC
COMMON
161 2 3 4 5 6 7 8 9 10 11 12 13 14 15
NEUTRAL
N L
BUT
RF MODULE
LED
SAFETY EDGE
PH2 PH1 TCL TOP
CODE
www.profelmnet.com
PCB - 6033
WIFI
TIME
WIFI
LED
CODE LED
WIFI MODULE
POWER LED
DANGER
HIGH
VOLTAGE
MECHANICAL SAFETY EDGE
(NC CONTACT)
SAFETY EDGE TYPE 8K2
SAFETY EDGE WIRING
N.C. N.C.8K2
17 18 17 18 17 18
Pairing with the 6033 control board
Power the 6033 control board
The blue LED indicator of the board will start flashing rapidly.
Otherwise, hold and press firmly on the WiFi button of the
board until the blue LED indicator starts blinking
*
6Connecting Device
4Press the confirmation
messages successively
5Choose Blink Quickly
6033
NECESSARY PREREQUISITE FOR COMPATIBILITY
Your router MUST support 2.4GHz Wi-Fi. If your router has a 2.4GHz and 5GHz connection option, connect only to the 2.4GHz.
*
3Complete the Username and
Password of the WiFi network

8 | 6033 WiFi | Profelmnet
Home Page 6033
6033 configuration
*Record
*Τimer
*Command Button
Open | Stop | Close
Settings *
Countdown *
All devices
main page
Quick Command
Green: Is open
Grey: Is closed

Profelmnet | 6033 WiFi | 9
6033 configuration menu
Functions Selections / Values Description
Notification of the closed posi-
tion ON / OFF Notification of the closed position
Notification of the open position ON / OFF Notification of the open position
Delay alarm Not used
Google Assistant Security Code
Enter your personal security
Code
4 digit code
In order to execute a voice command with
GOOGLE ASSISTANT, you have use this 4-digit
code for security
Working Time Indication - Indication of the selected working time
Motor Type
• Sliding
• Swing
• Barrier
• Roller Shutter
• Deadman Roller Shutter
• 2-channels Roller shutter
Select based on the installation
Codification
• Rolling
• Open Rolling
• Fixed
• Profelmnet
Select based on the remotes
Transmitters
• Save transmitter
• Save pedestrian transmitter
• Deletion
• End of process
See below the procedure number 1
Transmitter Command • Normal
• Only open
Normal: Cycle remote command
(Open-Stop-Close)
Only Open: Remote command ONLY OPEN
In home page, select ‘Settings’ for 6033 board configuration
Settings

10 | 6033 WiFi | Profelmnet
Functions Selections / Values Description
Remotely New Remote Addition ON/OFF Remotely new Remote Addition
Terminal Switches ON/OFF
Photocell 1 ON/OFF Protective Photocell 1. When it is activated, the
gate is not closed.
Photocell 2 ON/OFF Freeze Photocell 2. When it is activated, the gate
is freeze.
Safety Edge
• Deactivate
• 8K2
• NC
Once the safety edge is activated, the gate stops
and moves back 10 cm.
8Κ2: Use resistance 8,2ΚΩ for safety edge control
NC: Use NC contact for safety edge control
Polarity • Clockwise
• Counter Clockwise Select based on the installation
Button
• Deactivate
• Normal
• Only Open
Normal: Cycle button command (Open-Stop-
Close)
Only Open: Button Command ONLY OPEN
Reverse Movement ON/OFF Select based on the installation
Brake ON/OFF Select based on the installation
Lamp • Flash
• Steady Light
Flash: Gate status indicator Steady Light for 3
minutes after latest command
Auto-closing Transit 0s-180s Auto-Close transit for Photocell 1
Auto-closing Stand-by 0s-180s Auto-Close stand by for Photocell 1
Slow Movement
• ΟΝ motor < 500W Α
• ΟΝ motor < 500W Β
• ΟΝ motor < 500W C
• ΟΝ motor > 500W Α
• ΟΝ motor > 500W Β
• ΟΝ motor > 500W C
• Deactivate
Default values
Motor < 500W choice Α
Motor > 500W choice Α
Normal Force 1-10 A higher value corresponds to a higher power of
the motor ( normal movement)
Slow Force 1-10 A higher value corresponds to a higher power of
the motor ( slow movement)
Initial Force
• Normal
• Maximum
• Soft
Normal: Starting Force is same with motor power
Maximum: Starting force is the maximum
Soft: Starting Force is soft
Operating time
• Set operating time
• Set pedestrian operating time
• End of process
See below the procedure number 2
Add transmitters serial number Type the 8 digits For security reasons, this is only for certified
Profelmnet installers
Test Command
• Open
• Stop
• Close
Test the configuration

Profelmnet | 6033 WiFi | 11
Procedures description
SAVE TRANSMITTERS
Through 6033 board: Press the CODE button until the red
indicative LED turns ON. Release immediately the CODE button
and press the transmitter’s button. The red indicative LED blinks
once as an indication of successful saving.
Through application: Settings => Transmitters => Save
Transmitter =>ΟΚ=> Press the Transmitter you want to save in
sequence => Transmitters => End Process
SAVE PEDESTRIAN TRANSMITTERS
Through 6033 board: Press the CODE button continuously until
the red LED starts blinking. Then release the code button and immediately press
the remote button. Then release the code button and press immediately the
remote button. The red indicative LED blinks once as an indication of successful
saving of pedestrian remotes
Through application: Settings => Transmitters =>Save pedestrian Transmitters
=>ΟΚ=> Press the pedestrian Transmitters you want to save in sequence
=>Transmitters => End of process
DELETION
Through 6033 board: Press CODE button continuously. The red indicative
LED turns ON. Keep pressing CODE button until the red indicative LED goes
COMPLETELY OFF. Release CODE button. The memory is erased.
Through application: Settings => Transmitters => Deletion => ΟΚ
SET OPERATING TIME
Through 6033 board: While the gate is fully closed, press and keep the TIME button of the
control board pressed until the gate goes to fully open position. Then release it. The operating
time is saved.
Through application: Settings => Operating Time => Set operating time => ΟΚ=> The gate
starts moving => Set operating time => End of process => ΟΚ
SET PEDESTRIAN ORERATING TIME
Through 6033 board: While the gate is fully closed press the TIME button until the red led is
turned ON release the button and press it again steadily for as long as you want the pedestrian
time.
Through Application: Settings -> Operating time -> Set Pedestrian Operating Time -> OK ->
The gate starts moving ->Operating Time->End of process -> OK
Procedure number 1:
REMOTES
Procedure number 2:
OPERATING TIME
it is supported only in case of external terminal switches installed.
*

12 | 6033 WiFi | Profelmnet
Device Sharing
1Go to home page and select
the command as the image
above shows
2Select Share Device 3Choose ADD and type the
TUYA account you want
to share
4The device sharing is
complete. The new user
is able to see your device
SHARE ACCESS
You can share access with family members or friends, allowing them to control the devices you want
*
Different type of users
2. Administrator:
The user who is able to make
adjustments on the board
1. Home owner:
The user who has paired the device
with the home router and has the
entire management of the device.
3. Common User:
The user who is able to manage
the device but not able to make
adjustments
The home owner can divide the 6033 control board into administrators or users depending
on the degree of access they want to have to the control board
*TIP: The user you will share access with must have a TUYA SMART app account.

Profelmnet | 6033 WiFi | 13
Create your HOME in application
3Create your HOME 4Your HOME is created
2Select Home Management1 Select Profile

14 | 6033 WiFi | Profelmnet
Sharing a HOME
Create scenarios
You can set rules and schedules
for your devices, making your
home more efficient and
convenient...
*
1Select the + on main page and
choose CREATE SCENE
2Set the rules or scenarios you
want based on your needs
1On main page, select the home
management
1
On main page, select the home
2Choose the home you want
to share
On main page, select the home
On main page, select the home
3Choose Members Addition 4Choose the Tuya account
5Complete the Tuya account
you want to share and select
the type of user you want
6The new account is added

4Find the Tuya Smart device
(Tuya Switch)
5Choose and press NEXT 6Install and press NEXT 7The device is added in
AMAZON ALEXA
Google Home connection
Google Home
APP
+
1Download the Google Home application from
Apple Store or Google Play.Create an account.
2Synchronize the Tuya Smart application
with Google Home
3Open Google Home and
press Settings
4Select Works with Google 6Press Agree and link5Open Google Home and find
the Tuya Smart application
Alexa connection
+
1Download the AMAZON ALEXA from Apple Store
or Ggoogle Play. Create an account
Amazon Alexa
APP
2Select Devices 3Choose Add new Device
Profelmnet | 6033 WiFi | 15

www.profelmnet.com
Table of contents
Other Profelmnet Controllers manuals
Popular Controllers manuals by other brands

Maschinenfabrik Reinhausen
Maschinenfabrik Reinhausen TAPCON 230 expert quick guide

Sankyo
Sankyo SANDEX-Alpha 11AR Operation and maintenance manual
ZPA Pecky, a.s.
ZPA Pecky, a.s. MODACT MTNED Series Mounting instructions
Vimar
Vimar Elvax EKKO ART 200D Installation and operation manual
Shinko
Shinko FCD-13A instruction manual

Duratech
Duratech DLC-010 manual
