3
OPERATING INSTRUCTIONS
Placement
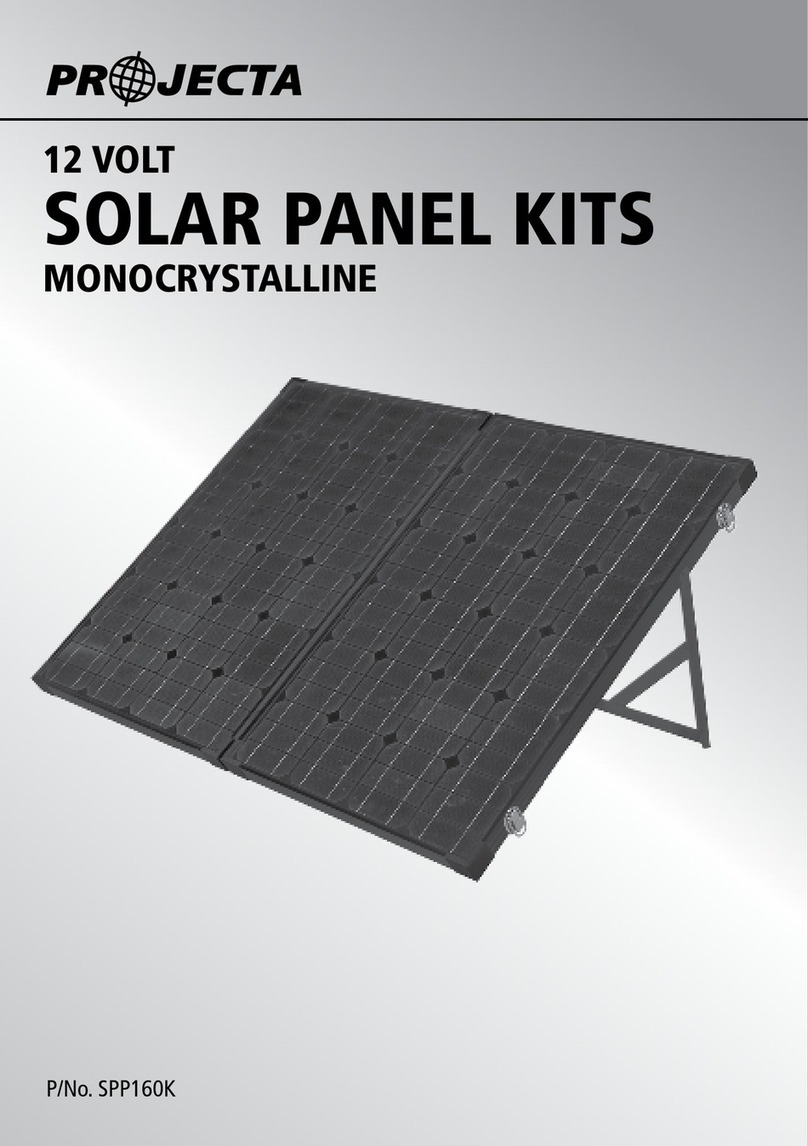
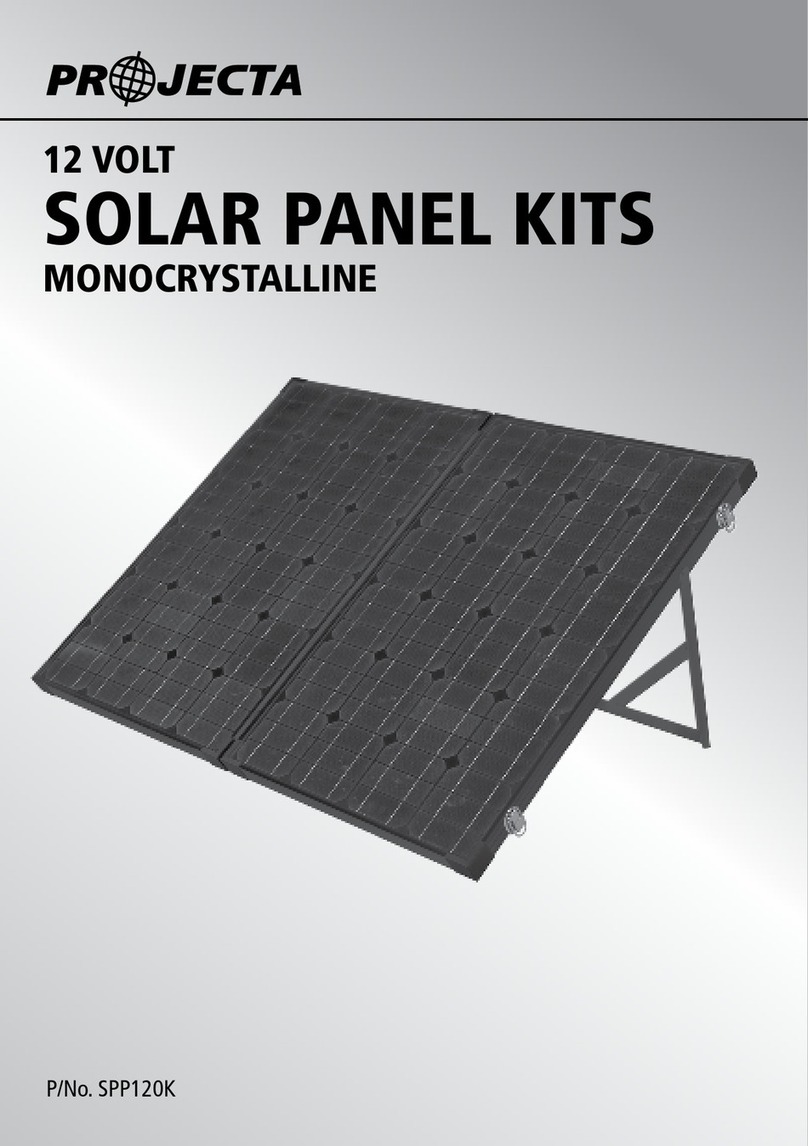
While the vehicle is parked, place the solar panel inside the vehicle in a location that receives as
much full sun as possible, such as the rear parcel shelf, dash, front seat or near a window.
Remove and securely stow the unit before driving the vehicle to prevent the risk of a flying
object in the event of heavy braking or an accident.
The panel can be mounted using the ‘Key Holes’ on the base for permanent static applications.
Connection through cigarette lighter socket
1. Connect the 3m DC lead to the solar panel.
2. Plug the ‘Controller’ into the vehicle’s cigarette socket. The socket needs to have a permanent
electrical connection to the vehicle’s battery to allow the solar panel to charge the battery even
when the ignition is off & the key is removed.
3. When there is sufficient sunlight the red LED in the top of the ‘Controller’ will flash to indicate
that the panel is producing power and the unit will provide a trickle charge to the battery. The
unit will not overcharge the battery and has an in-built diode to prevent solar discharge at night
therefore it may be left connected indefinitely.
Connection direct to a battery
1. To connect directly to a 12V battery you will need the direct connection accessory lead
(P/No. CLE1006 - Sold separately).
2. Plug the ‘Controller’ into the cigarette socket of the accessory lead.
3. Connect the red battery clip to the Positive (+) battery terminal or post.
4. Connect the black battery clip to the Negative (-) battery terminal or post.
5. When there is sufficient sunlight the red LED in the top of the ‘Controller’ will flash to indicate
that the panel is producing power and the unit will provide a trickle charge to the battery. The
unit will not overcharge the battery and has an in-built diode to prevent solar discharge at night
therefore it may be left connected indefinitely.
