Propur ProMax PMC-4000 User manual

FOR TECHNICAL SUPPORT PLEASE CALL
1-800-544-3533
OR email:
cus omerservice@propurusa.com
Instructions
NeW PROPUR™ ProMax™
Under Counter System

New Propur™ Under Counter System
with ProMax™ Filter echnology
Model PMC-4000
1.1 1.3
Designed o fi under sink, in a basemen or o her loca ion where he
empera ure does NOT fall below freezing as damage could resul . No power
required. For use wi h cold po able wa er only.
READ COMPLETELY BEFORE INSTALLING OR USE.
Package Con en s
1. Filter housing with quick connect push fittings attached and filter cartridge
installed
2. Faucet hardware kit with connecting tube
Tools and Hardware
Depending on the installation the following tools and hardware may be
required:
Philips screw driver, plastic tube cutter, 1 2” hole cutter drill bit for
counter top faucet, 3 8” drill motor, wrench and line piercing, needle
saddle valve for 3 8” tubing, and Teflon tape.
!
!
CAUTION: Before beginning the installation, turn OFF the cold water
supply under your sink or your house supply at the meter. Open the
cold water faucet to release any water pressure.
WARNING: Do not use water source that is microbiologically
unsafe or of unknown quality without adequate disinfection
before or after the system. For specific health requirements,
consult your healthcare professional.
1.2
1.4
1

Basic Ins alla ion
S ep 1 - Ins all Fil er Housing
1. Select a suitable location for the filter housing under the sink.
NOTE: location should be reasonably accessible for filter replacement.
When mounting housing to cabinet, make sure to leave enough space below
sump filter housing for removal of sump (min. 2 inches) for maintenance and
filter replacement.
DO NOT INSTALL where temperatures fall below freezing as damage to the
system will occur.
2. Install the filter bracket (white steel) on the filter head (white plastic) using the
four (4) small screws.
NOTE: The flow arrow and inlet outlet are embossed on the top of the white
plastic head.
3. Secure the bracket with the filter housing assembly to the side of the sink
cabinet in the desired location with the two (2) self-tapping screws.
S ep 2 - Ins all Line Piercing Needle/Saddle Valve (No Included)
1. Make sure your cold water supply has been turned off. If there is no valve, turn
off the water supply to your house at the main meter.
2. Attach the line piercing needle saddle valve per instructions to the cold water
line going to your sink faucet.
NOTE: Do NOT turn the cold water line back on yet, as water will flow directly
out of the valve and flood your kitchen.
2

1. Select a suitable location for the drinking water faucet as close to the sink as
possible allowing convenient space under the sink for assembly. The spout of
the faucet should be able to reach the sink. A 2” flat area is required to mount
the faucet. Check for clearance then drill the sink top with a 1 2” bit to
accommodate the faucet inlet pipe.
2. Install the faucet through the sink top by:
a. Add the face plate and large rubber washer to the faucet stem.
b. Insert the faucet stem through the sink.
c. Place small rubber washer, plastic washer, star washer and steel nut onto
the faucet stem. Tighten firmly with a wrench.
d. Attach the quick connect connector to the threaded stem of the faucet
using Teflon tape.
S ep 4 - Ins all Connec ing Tube
Prepare two pieces of the 3 8” plastic tubing supplied to fit between the plastic
quick connect push fittings for:
a. The line piercing valve and the filter head inlet (1.2). Cut plastic tubing to fit from
the needle valve to inlet on the filter housing. Add additional 1-1 2” to tubing
length as tubing will travel about 3 4” into each fitting to seat properly.
The filter head outlet and the faucet. Add additional 1-1 2” inches to tubing into
inlet quick connect push in fitting on filter housing.
b. The filter head outlet (1.2) and the faucet. Add additional 1-1 2” to tubing
length as the tubing will travel about 3 4” into each fitting to seat properly.
Insert one end of plastic tubing into outlet quick connection push in fitting on
filter housing and the other end into the quick connect push in fitting on the
faucet.
Sea he ubing firmly in o he push in quick connec ors fi ings.
S ep 5 - Fil er car ridge is pre-ins alled a he fac ory.
1. Face Plate
3. Small Rubber
Washer
5. Star washer
2. Large Rubber
Washer
6. Steel nut
4. Plastic Washer
S ep 3 - Ins all he Fauce
3

S ep 7 - How o Replace he Fil er Car ridge
1. Turn off the line piercing needle saddle valve. Turn on the faucet to release any
pressure.
2. Slowly unscrew the filter housing (1.1), which will be full of water, from the filter
head (1.2).
3. Drain water from the filter housing sump over sink and remove filter cartridge by
gently pulling it out from the housing.
Make sure inside of sump is clean. OK to wash with warm soapy water and rinse
well.
4. Insert new filter cartridge into housing. Make sure cartridge end with washer is
installed facing upward in housing. Screw housing back onto filter head
securely. Hand tighten, firmly being careful not to cross thread.
5. Proceed to S ep 6 - S ar Up and follow instructions.
ProMaxTM Under Counter System Specifications
Type of installation: Under counter
Maximum Working Pressure: 860 Kpa (125 psig)
NOTE: Should your water pressure exceed 80 psig, install a pressure
reducing valve before installing the system
Minimum Working Pressure: 137 Kpa (20 psig)
Maximum Working Temperature: 38° C (100° F)
Minimum Working Temperature: 5° C (41° F)
Recommended Flow Rate: 0.2 – 1.0 gpm
Contaminant Reduction: Refer to Lab Report
Filter Life Expectancy: Up to 1 year
Replacement filter: PCT3RF
! CAUTION: Never remove the filter housing sump with
water pressure in the filter.
S ep 6 - S ar -up
1. Make sure needles saddle valve is ready for use.
2. Open the faucet fully by lifting the black lever to its vertical position to allow
trapped air and water to flow out of the system. Make sure spout is
positioned over the sink.
3. Slowly turn on your cold water supply valve under your sink or your house
supply at the meter.
4. Water should start flowing out of faucet. Look at the installation to make
sure there is no water leaking for any of the fittings, tubing or housing.
5. Allow water to flow for about three minutes to flush out the system before
using the water. Some residual particles may be expelled during the flush;
this is
normal.
6. Return black lever to off position.
7. Your sys em is now ready for use.
4

PROPURTM LIMITED WARRANTY
Lincoln-Remi Group, LLC d b a Propur (“PP”) sells its products with the intent that they are
free from defects. PP warrants to the original retail purchaser consumer that its products will
be free of defects in material and workmanship under normal use for a period one (1) year
for the Propur™ Under Counter and 9 months for the ProMax™ filter cartridge (Warranty
Period”). PP will replace or repair any product, at its sole discretion, during the Warranty
Period. Any damage caused by misuse or abuse; accident; improper installation; dropped
product; failure to provide recommended maintenance; transportation damage; neglect;
environmental conditions; or any other conditions whatsoever that are beyond the control
of PP are excluded from this warranty. This express limited warranty shall be the sole and
exclusive warranty. ALL OTHER WARRANTIES, WHETHER EXPRESS OR IMPLIED, INCLUDING BUT
NOT LIMITED TO, ANY IMPLIED WARRANTIES OF MERCHANTABILITY, FITNESS OR FITNESS FOR
ANY PARTICULAR PURPOSE OR ANY OTHER POTENTIAL OBLIGATION ON THE PART OF PP WITH
RESPECT TO PRODUCTS SOLD BY PP ARE DISCLAIMED. EXCEPT FOR ANY EXPRESS WARRANTIES,
ALL PROPUR PRODUCTS ARE SOLD “AS-IS”. PP shall not be held liable for any incidental, con-
sequential or special damages of any sort whatsoever. The liability of PP is limited to the
original retail purchaser and to the repair or replacement of defective parts during the
Warranty Period. No refunds will be given at any time. The liability of PP terminates upon the
expiration of the Warranty Period or transfer of product ownership.
To obtain warranty service on your Propur product, mail the product with your dated sales
receipt as proof of purchase, postpaid, to the following address:
Propur, 1200 Benstein Rd, Commerce Twp, MI 48390. NO C.O.D’s
This warranty provides you with specific legal rights. You may have additional rights which
may vary from country to country. Because of individual country laws and regulations,
some of the above limitations and exclusions may not apply to you.
V08092016
FAQ’s
1. How do I know when to replace my filter cartridge?
When the flow rate diminishes.
When you notice a change in taste or odor.
Approaching a years’ usage.
2. What if I don’t use the system for an extended period of time?
We recommend you drain your system and remove the filter element.
When ready to use, just reinstall the filter and flush for about 3 minutes
before use.
3. How long will my filter last before needing to be replaced?
The actual life expectancy of your filter will vary depending on the specific
chemistry and level of contaminants present in your water source.
We recommend you replace your filter every 9-12 months.
Table of contents
Other Propur Water Filtration System manuals
Popular Water Filtration System manuals by other brands
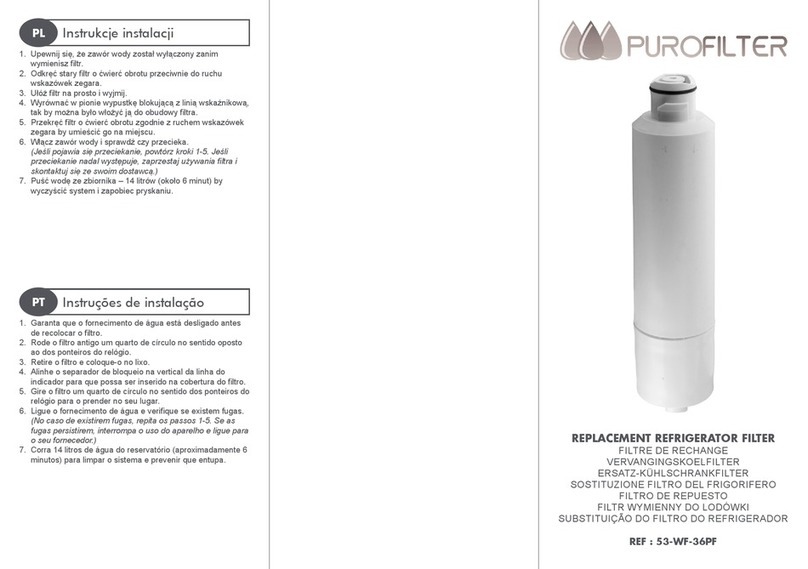
Purofilter
Purofilter 53-WF-36PF installation instructions
BWT
BWT GROHE Blue 40 691 manual

Watkins Wellness
Watkins Wellness Freshwater Salt System owner's manual
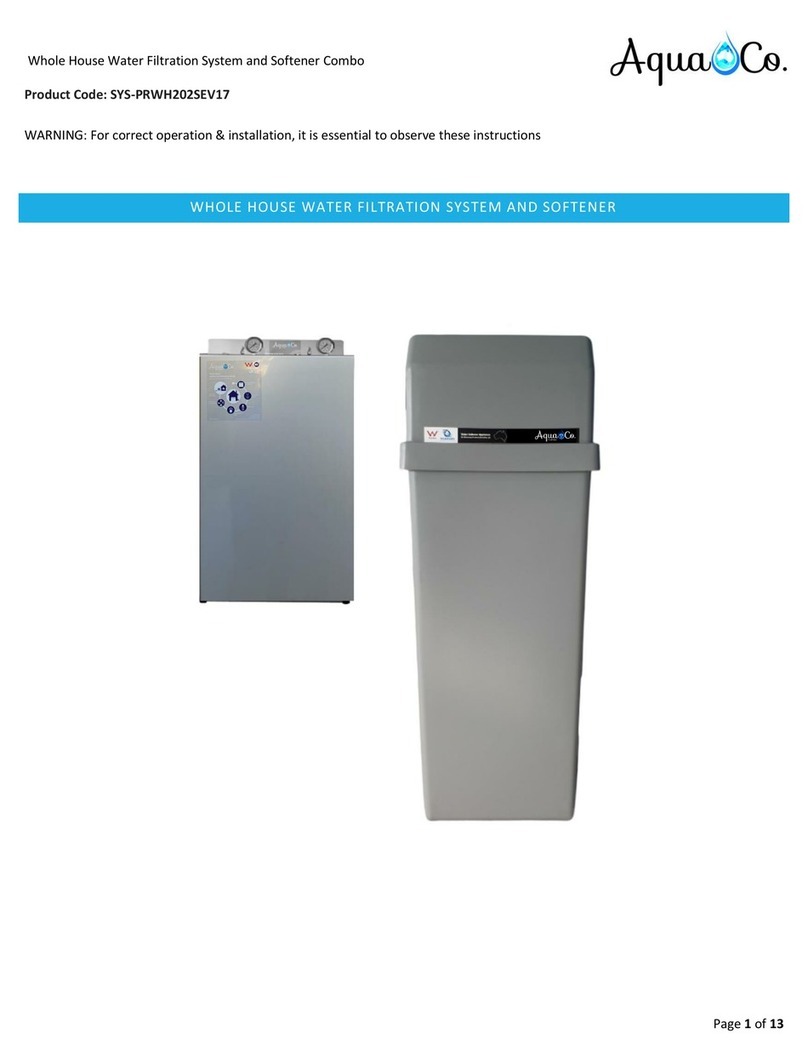
AquaCo
AquaCo SYS-PRWH202SEV17 manual

Water Filters Australia
Water Filters Australia K-WFADUOGN owner's manual

Graf
Graf Garden Comfort Platin 1500 L installation manual
