PSS PS300 User manual
Operator’s Manual
Issue 3
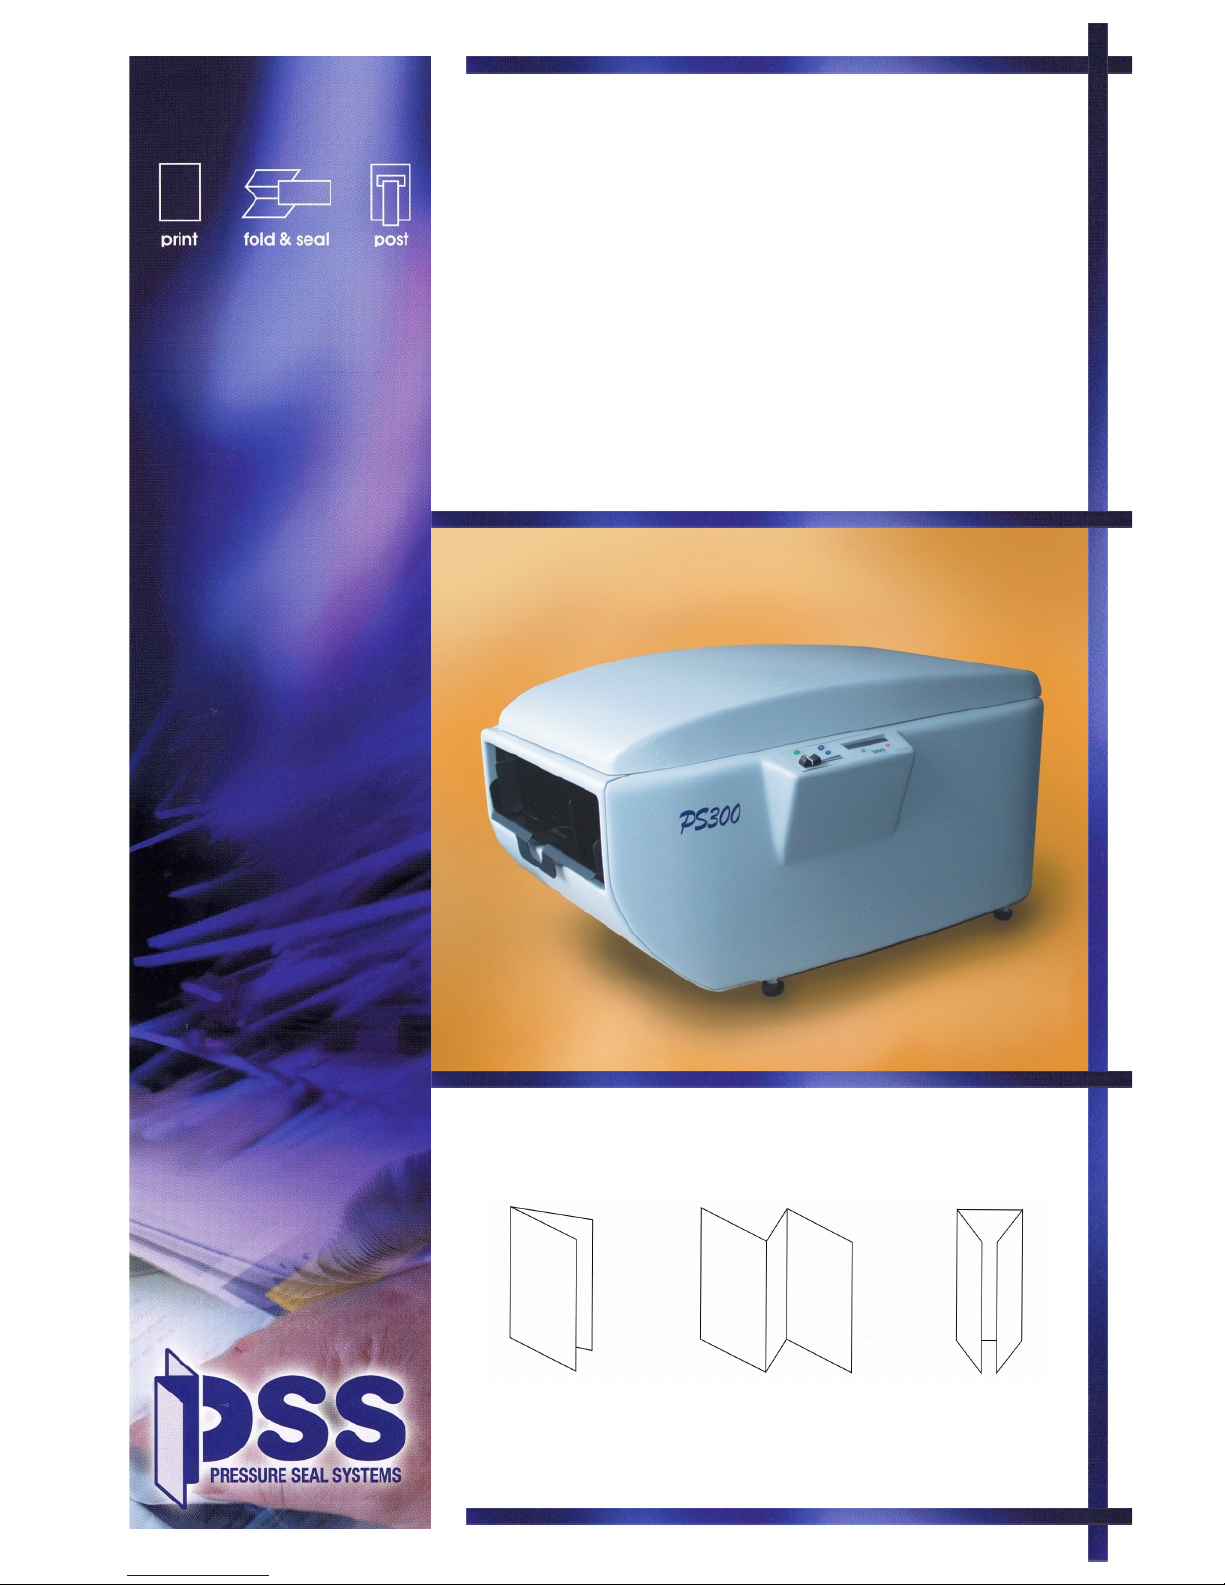
PS300
V-fold Z-fold C-fold

Contents
1. Introduction
General ........................................1
Which side is which? .................................2
How to use this manual ................................3
Safety precautions...................................4
Operating environment.................................4
Power requirements ..................................5
If the machine is damaged...............................6
2. Features
General ........................................7
Folder components ..................................8
Form guides ...................................8
Feed roller ....................................8
In-feed tray....................................8
Fold plates ....................................8
Fold rollers ....................................8
Operator controls ...................................9
LCD display ...................................9
On/Start Button..................................9
Off/Stop button .................................10
+ button ....................................10
– button ....................................10
Reset button ..................................10
Select button ..................................10
Jog function ..................................10
Speed control slider...............................10
PS300 Iss. 3. Page v

Power and safety components ............................11
Mains lead ...................................11
Top cover....................................11
Sealing and stacking components ..........................11
Pressure bolts .................................11
Sealing rollers..................................11
Conveyor ....................................11
3. Set-up
Setting up the machine ................................13
Removing the top cover ...............................14
Removing the fold plates ...............................15
Setting up the folder .................................16
V fold set-up ..................................16
C fold set-up ..................................18
Z fold set-up ..................................20
Adjusting the form guides ............................22
Setting up the form conveyor ..........................23
4. Operation
General .......................................25
Operating process ..................................25
Loading forms ....................................26
Starting up and testing the machine .........................27
Verifying folder settings .............................28
Processing forms ..................................29
Interrupting operation ..............................29
5. Operation Errors
Error Conditions ...................................31
Clearing mishandled forms ..............................32
Jam in folder ..................................32
Page vi PS300 Iss. 3.

Jam after folder .................................33
Pressure sealer bolt release ...........................34
Troubleshooting ...................................36
6. Cleaning the machine
Cleaning procedure..................................39
7. Specifications
Folder/Sealer Specifications .............................41
Construction ..................................41
Sealer......................................41
Size.......................................41
Weight .....................................41
Power .....................................41
Speed .....................................41
Environment ..................................41
Feeder Capacity.................................41
Noise ......................................41
Form Specification ..................................42
Sizes ......................................42
Fold Configuration ...............................42
Conveyor Specification ................................42
Construction ..................................42
Size.......................................42
Weight .....................................42
Power .....................................42
Capacity ....................................42
Noise ......................................42
Appendix A - Form Loading Guide
Appendix B - Form Curl
Service Visit Log
PS300 Iss. 3. Page vii

1. Introduction
General
This folder/sealer produces finished mailable documents or "self-mailers" from cut-sheet
Pressure Seal forms. In one smooth operation it folds and seals single sheets into
self-mailers quickly and economically. Pressure activated cohesives provide an instantly
secure seal on all sides of the form, whether you use a “C”, “V” or “Z” fold.
Features include:
•Simple to load and operate
•Easy to change the fold styles
•C, V, offset V and Z fold styles
•No adjustment required when changing the weight of forms used
•Automatic stop when the in-feed tray is empty
•If empty at power-up, the in-feed tray lowers for form loading
•In-feed forms electronic counter with reset
•Form flow error detection
This operator manual describes the set-up and operation of the machine and is written as
a reference for an operator who is familiar with mailing operations and has received some
basic training in operating this model.
PS300 Iss. 3. Page 1
Figure 1:Types of fold produced

Which side is which?
The terms "in-feed", "out-feed", "operator side" and “non-operator side” are used
throughout this manual to identify the sides of the machine.
•The in-feed is the side into which the forms are loaded.
•The out-feed is the side out of which the finished mailers exit.
•The operator side of the machine contains the control panel and is the side facing you
when the in-feed of the machine is on your left.
•The non-operator side contains the mains connection and on/off switch and is at the
back of the machine as you stand facing the operator side.
1. Introduction
Page 2PS300 Iss. 3.
Non-operator side
Operator side
Out-feed
In-feed
Figure 2:The sides of the machine

How to use this manual
Here is a summary of what is contained in this manual and where:
•Features (page 7) - describes the major components you use to set up and operate
the machine. New operators should read this section to gain a basic understanding of
how the machine works. Experienced operators should read this section when they
have a specific question about the function of a particular feature.
•Set-up (page 13) - outlines the tasks required to set up the machine. Provides easy
step procedures for removing the top cover and fold plates and setting up the folder.
New operators should read each procedure as they perform the task. Experienced
operators should refer to relevant parts of the procedure to find answers to specific
questions.
•Operation (page 25) - provides easy step-by-step procedures for loading and starting
the machine.
•Operation errors (page 31) - lists common operating problems and possible causes
and solutions.
•Cleaning (page 39) - provides details of the cleaning required to keep the machine in
the best possible condition.
•Specifications (page 41) - provides the technical details of the folder/sealer.
•Form loading guide (page 43) - explains how to load forms based on the form
design, type of fold, condition of forms (if they are curled or not - see Appendix B on
page 44), and how the folded/sealed forms should be orientated when they reach the
conveyor.
1. Introduction
PS300 Iss. 3. Page 3

Safety precautions
Although the design of your folder/sealer includes safeguards for set-up and operation,
you must adhere to the following precautions.
INo one should use the machine unless they have been trained to do
so. Pressure Seal Systems accept no responsibility for
unauthorized use.
Operating environment
•Dress safely. Loose clothing, long hair and jewellery can become tangled in moving
parts.
•Keep your work area and the machine clean and clear of dust or debris. Details of
how to clean the machine thoroughly are given in Chapter 6.
•Do not place the machine on an unstable stand or table. The machine may fall,
causing serious damage or injury.
ITo avoid personal injury and damage to the machine, it should
always be lifted by two people.
•Do not allow anything to rest on the mains lead. Do not relocate the machine where
anyone will walk on the lead.
•Operate the machine only with the top cover in place; the forms properly loaded in the
in-feed tray and the conveyor initially empty.
•Keep hands clear of the in-feed and out-feed areas when the machine is running.
IExcept as explained elsewhere in this operator manual, do not
attempt to service the machine. Doing so may expose you to
dangerous voltages or other risks. Do not remove the protective
side covers from the machine. Refer servicing to an authorized
service representative. Only trained, authorized service
representives should remove the protective side covers - and then
only for servicing purposes.
1. Introduction
Page 4PS300 Iss. 3.

Power requirements
The machine must be operated from the type of power source indicated on the voltage
setting label (see Figure 3). If you are unsure of the type of power available, consult your
authorized service representative or local power company.
1. Introduction
PS300 Iss. 3. Page 5
Voltage Setting Label
Figure 3:Voltage Setting Label Location

If the machine is damaged
Switch off the machine's power, unplug it from the mains and refer servicing to an
authorized service representative under the following conditions:
qIf the mains lead is damaged or frayed
qIf liquid has been spilled into the machine
qIf the machine has been exposed to rain or water
qIf the machine has been dropped or damaged
qIf the machine does not operate normally when the operating instructions are
followed. Adjust only those controls that are covered by the operating instructions,
since improper adjustment of other controls may result in damage.
qIf the machine exhibits a distinct change in performance, indicating a need for a
service
1. Introduction
Page 6PS300 Iss. 3.
Table of contents
Other PSS Folding Machine manuals

Popular Folding Machine manuals by other brands

Mathias Bauerle
Mathias Bauerle Multipli 35 Operator's manual

Intelli-Fold
Intelli-Fold DF-304C user manual

Pitney Bowes
Pitney Bowes DI425 FastPac Operator's guide

Hwasung
Hwasung COMPODIS HMK-830 Series Technical manual

KRUG+PRIESTER
KRUG+PRIESTER IDEAL 8306 operating instructions

XPOtool
XPOtool 61574 Operation manual


