3
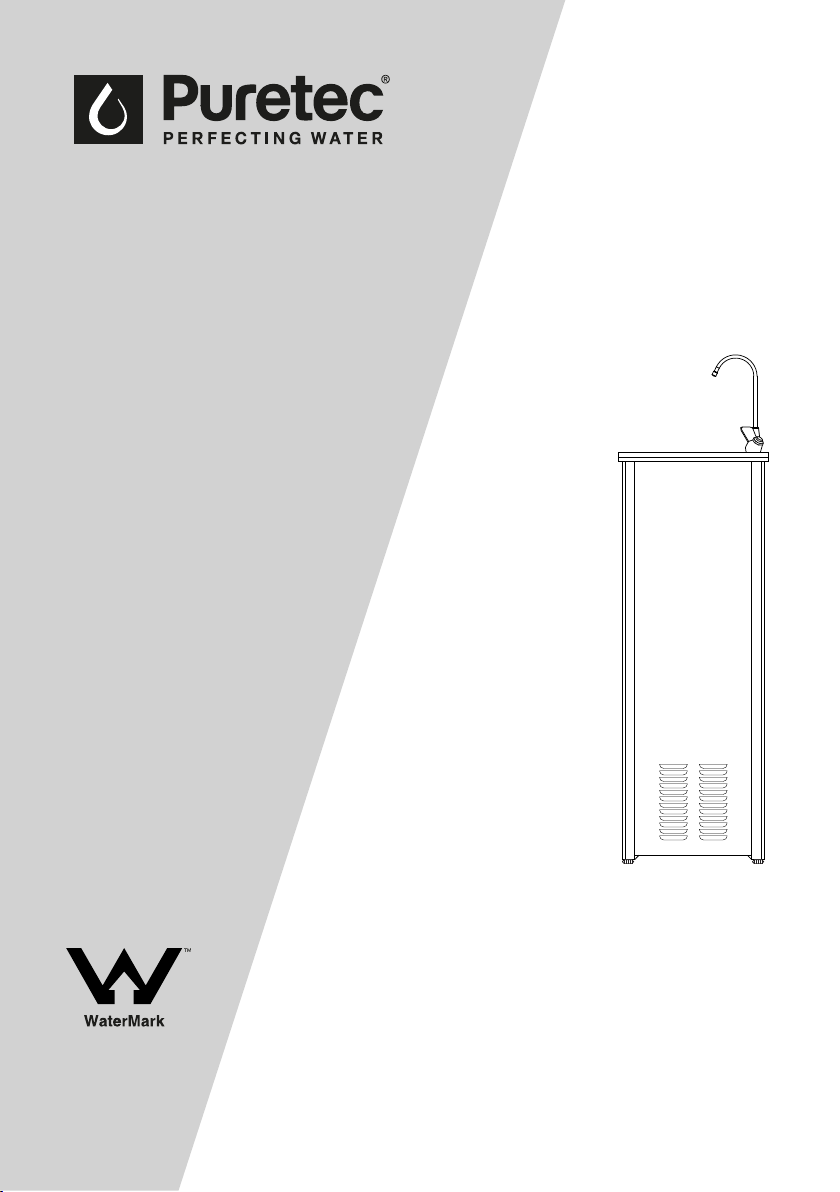
D SERIES | Freestanding Water Chiller System
Puretec Customer Service
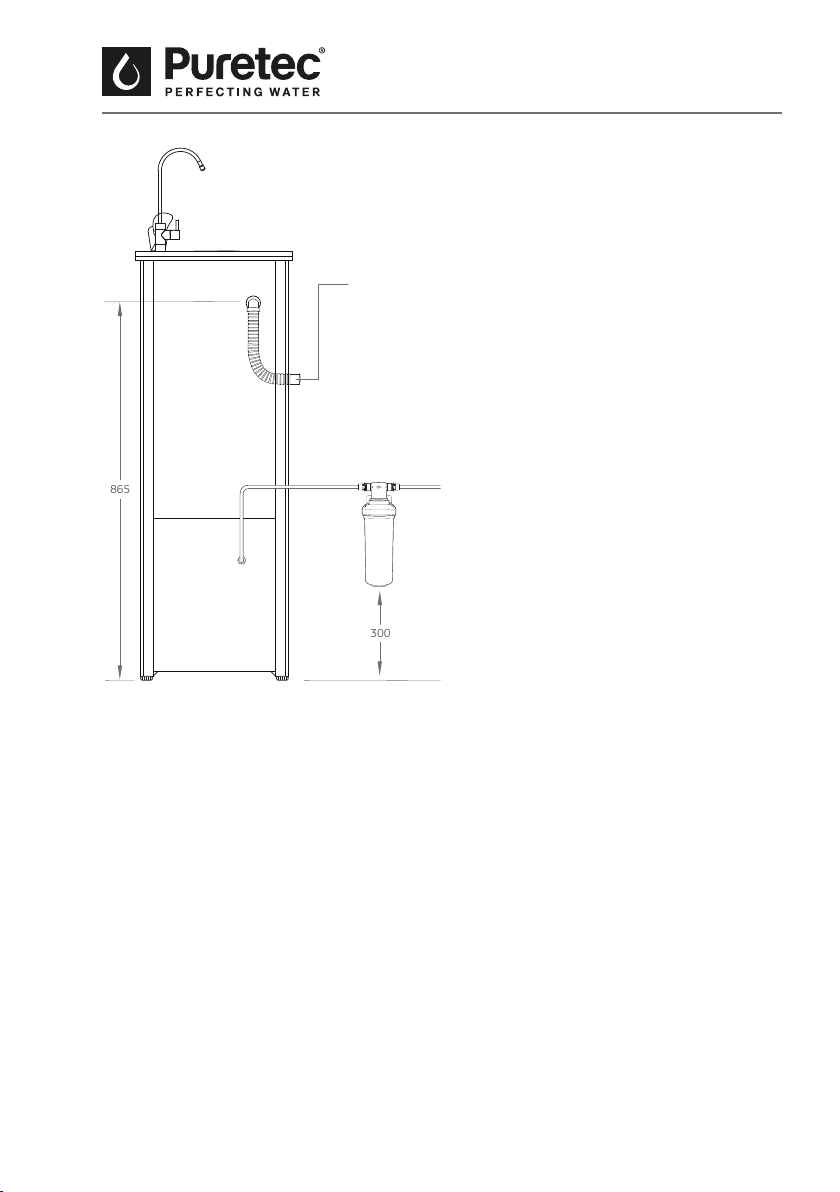
Thank you for purchasing a Puretec Freestanding Water Chiller System. Your system is
a proven performer manufactured from only quality materials and components and will
give years of spring-like water, if maintained properly.
The Puretec lter supplied with the Freestanding Water Chiller System needs regular
cartridge replacement to maintain optimum performance. This is a simple procedure
when following instructions. For cartridge replacements contact your nearest Puretec
stockist.
Customer Service Helpline 1300 140 140 (Australia) 0800 130 140 (New Zealand).
Introduction
The Puretec Freestanding Water Chiller System is designed to run economically for many
years, dependent on the initial installation and periodical maintenance.
Flush systems for 10 minutes aer any period of non-use more than 2 days.
The Freestanding Water Chiller System is designed to operate with mains water.
Installation Note: A water lter system/tap, like any product, has a limited life and may
eventually fail. Also sometimes failure happens early due to unforeseen circumstances.
To avoid possible property damage, this product should be regularly examined for
leakage and/or deterioration and replaced when necessary. A drain pan, plumbed to an
appropriate drain or outtted with a leak detector, should be used in those applications
where any leakage could cause property damage, and/or the water supply should be
turned o if no one is home/present.
Cartridge Replacement
To maintain the high quality of the puried water the cartridges need changing every
6 - 12 months, dependent on water quality and usage. You can obtain replacement
cartridges from your local Puretec dealer. To maintain performance standards and
warranty, use only genuine Puretec replacements.
Replacement cartridge code for D Series model: Z1-R
Puretec Customer Service