support@purposeav.ca (888) 470.2211
support@purposeav.ca (888) 470.2211
support@purposeav.ca (888) 470.2211
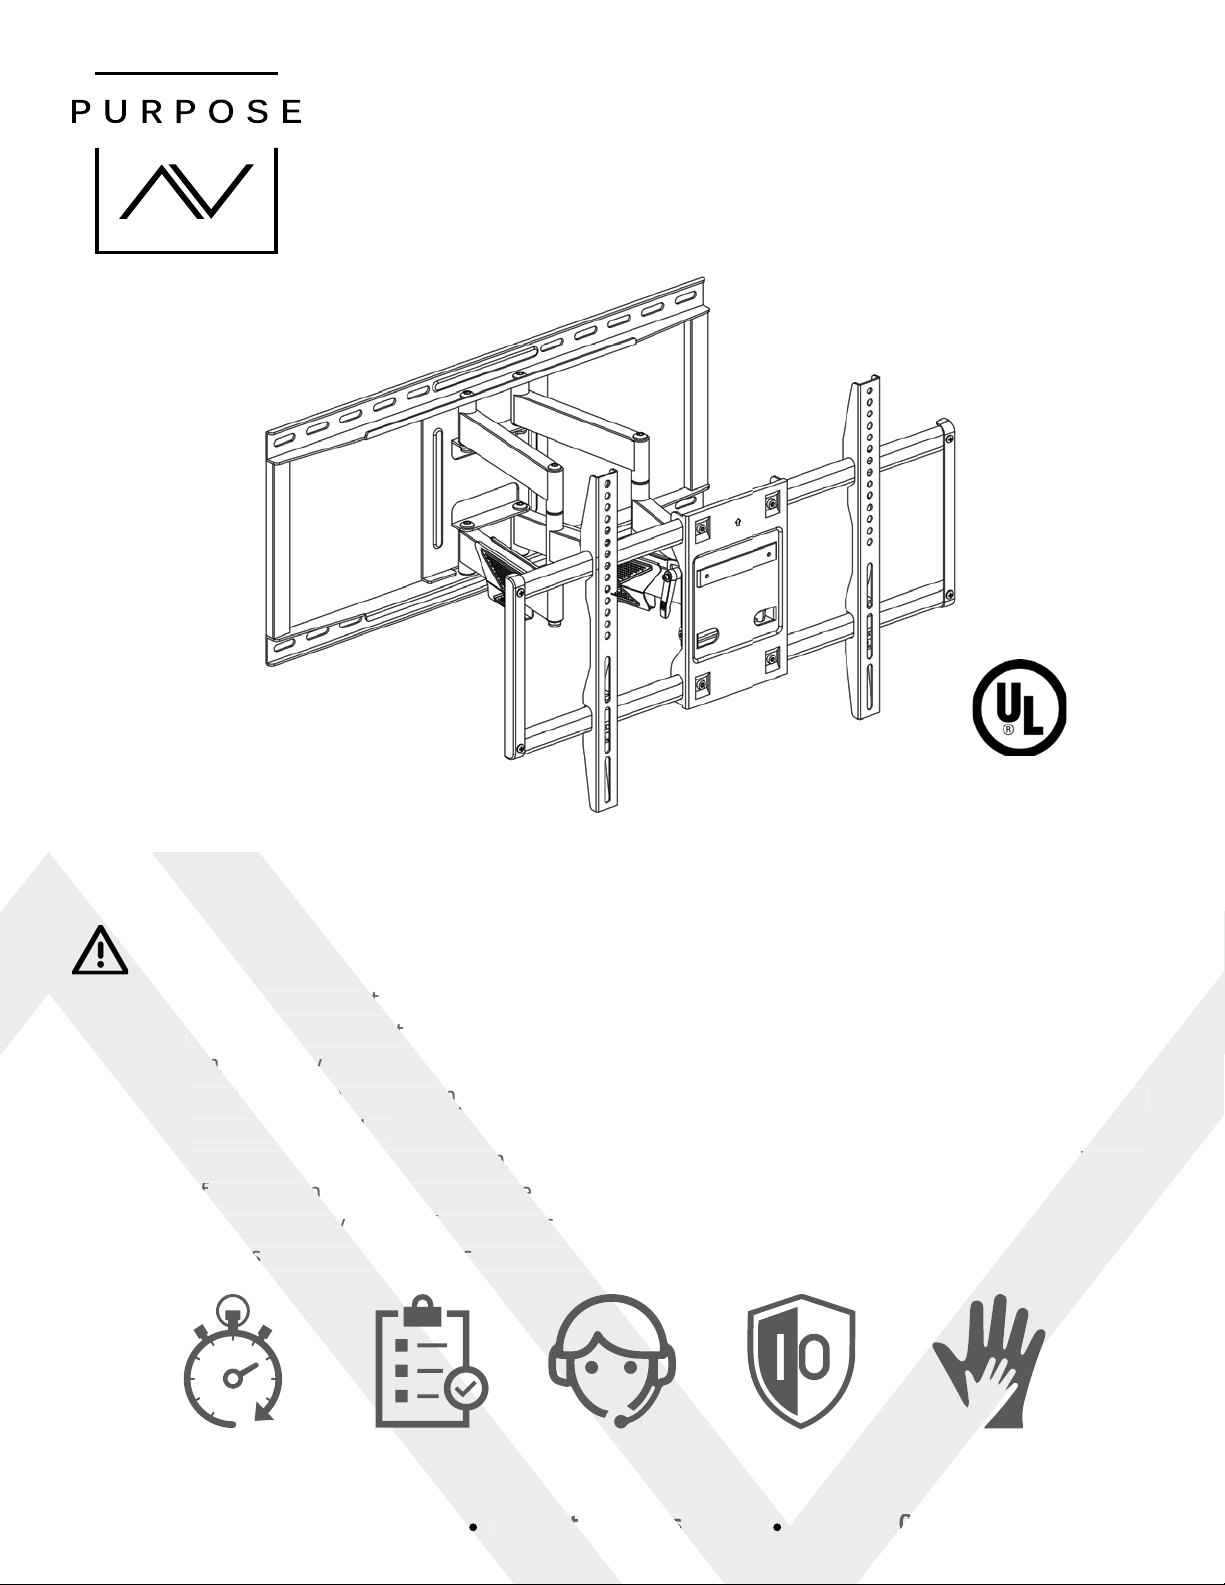
INSTALLATION
STEP 1: MOUNT WALL PLATE UNIT
Mounting on a Stud Wall (2 adjacent studs)
Locate the center of the studs using a stud
Pre-drill top and bottom holes into the
wood studs with a 7/32” drill bit to a depth
Fix the wall plate by using the lag bolt
screws (H) and washers (J) (Figure 1)
Mounting on a Concrete Wall
Pre-drill 4 holes into the concrete using
3/8” drill bit to a depth of 2.5”
Insert anchor (I) into each of the holes. Tap
until fl ush with concrete surface
Fix the wall plate by using the lag bolt
screws (H) and washers (J) (Figure 2)
WARNING
Wood stud must be a minimum size of
2x4 inches. Lag bolts must be in the
center of the stud. Do not over tighten
WARNING
Do not drill into mortar joints. Con-
crete must be a minimum of 2000 psi
density in order to hold anchor. Ensure
that the anchor is fl ush with concrete
surface even if there is another layer
of material. If layer of material is over
3/8”, custom thicker lag bolts must be
used. Do not over tighten lag bolts.
CAUTION
The concrete wall minimum thickness no
less than 5.5 inches, and surface covering
can’t be more than 3/8 inches.
Do not use it on concrete block.