manuals.online logo
Brands
  1. Home
  2. •
  3. Brands
  4. •
  5. Purus
  6. •
  7. Plumbing Product
  8. •
  9. Purus NOOD User manual

Purus NOOD User manual

Monteringsanvisning för
Vattenlås NOOD
Version 05.2009
Vattenlåset NOOD trycks ner i golvbrunnen.
(1B) Avståndpinnarna klipps av så nära låsringens
innerradie som möjligt.
Noodvattenlåset ska placeras så att märket (rund för-
djupning) är placerat rakt under fjäderpaketet på
klämringen.
Låsringen monteras genom att ena sidan pressas ned
under kanten på klämringen, som sedan kläms ihop
radiellt varefter den andra sidan också trycks ned
under kanten på klämringen.
Avståndpinnarna klipps av så nära låsringens inner-
radie som möjligt. Vid montering i golvbrunn utan
förhöjningsring används inte avståndspinnarna.
Vid montering i golvbrunn med förhöjningsring ska
avståndspinnarna användas enligt följande:
FHP 13 = hack 1
FHP 25 = hack 2
FHP 50 = hack 3
FHP 100 = här klipps bara den tunna sektionen av.
Hela låsringen ska nu sitta under klämringen. Vid mon-
tering i golvbrunn med förhöjningsring - se till att av-
ståndspinnarnas underända (där den är kapad) går
ned i de fyra stödhålen i vattenlåsets överkant.
Så ser låsringen ut färdigmonterad i
golvbrunn utan
förhöjning.
Så ser låsringen ut färdigmonterad i golvbrunn med
förhöjningsring.
2
1
43
56
Låsring och av-
ståndspinnar
hänger ihop
vid leverans
Fjäderpaketet
Märke
1B
Låsring och
avståndspinnar
hänger ihop
vid leverans
Renhold NOOD-2241:Layout 1 25.05.09 13.44 Side 1
Locking ring and
distance pins are
stuck together at
the delivery
The water trap NOOD is pressed down in the gully.
(1B) The distance pins are cut off as close to the inside
radius as possible.
The Nood water trap shall be installed so that the
mark (round recess) is placed straight under the spring
package on the clamping ring.
Mark
Spring package
One side of the locking ring is pressed down under the
edge of the clamping ring and then squeezed together
radially and after that the other side is pressed down
under the edge of the clamping ring.
The whole locking ring shall now be under the clamping
ring. When installing in a gully with extension – check so
that the cut end on the distance pins goes down in the
four holes on the upper edge of the water trap.
This is how it looks when the locking ring is
installed in a gully without
extension.
Locking ring and
distance pins are
stuck together at
the delivery.
The distance pins are cut off as close to the inside
radius as possible. When installing in a gully without
extension, the distance pins are not used. When instal-
led in a gully with extension, the distance pins are to
be used as follows:
Extension FHP 13 = notch 1
Extension FHP 25 = notch 2
Extension FHP 50 = notch 3
Extension FHP 100 = cut off the thin section
This is how it looks when the locking ring is installed in a
gully with extension.
Installation instruction for
water trap NOOD
Skötselanvisning för
Vattenlås NOOD
Purus AB, Södergatan 7, SE 275 31 Sjöbo – Tel 0416-257 00, Fax 0416-257 20
[email protected], www.purus.se
Leverantören garanterar produktens funktion om
branschreglerna och produktens monteringsanvisningar
följs. PURUS är medlem i Kakelföreningen och
Golvbranschens riksorganisation.
Version 05.2009
Ta upp silen (här kan det vara nödvändigt att använda
en liten skruvmejsel eller liknande) och lägg den åt
sidan. Fäll upp handtaget på vattenlåset.
- Lyft upp vattenlåset
(det kan gå trögt om det varit monterat under en
längre tid)
- Dra den fjäderbelastade koppen försiktigt nedåt. - Håll koppen i öppet läge med två fingrar medan
insidan spolas ren med vatten.
- En liten borste kan också användas om det är
nödvändigt.
- När vattenlåset är rent monteras det på plats igen.
- Smörj gummipackningen med t.ex lite tvål före
monteringen.
21
43
Denna produkt är
anpassad till
Branschregler Säker
vatteninstallation.
- Tryck till vattenlåset ordentligt.
- Spola och gör samtidigt rent i golvbrunnen.
- Silen monteras på plats igen
5
Renhold NOOD-2241:Layout 1 25.05.09 13.44 Side 2
Maintenance instructions for
water trap NOOD
Remove the grating (you might need a small screwdriver)
and put it aside. Turn up the handle on the water trap.
– Lift up the water trap. (It could be stiff, if it has not
been removed in a long time).
Draw the springloaded cup carefully down. - Keep the cup in open position with two fingers, while
the inside is flushed clean with water.
- Use a small brush if necessary.
- When the water trap is clean, reinstall it again.
- Smear the rubber gasket with i.e. soap before
installing.
- Press down the water trap thoroughly.
- Flush and clean also the gully.
- Reinstall the grating.
Purus AB
[email protected], www.purus.se/gl

Other Purus Plumbing Product manuals

Purus Pro Line User manual

Purus

Purus Pro Line User manual

Purus Pro Line User manual

Purus

Purus Pro Line User manual

Purus V430 User manual

Purus

Purus V430 User manual

Purus V301 User manual

Purus

Purus V301 User manual

Purus V240 User manual

Purus

Purus V240 User manual

Purus Line - Twist User manual

Purus

Purus Line - Twist User manual

Purus Pro Line Premium User manual

Purus

Purus Pro Line Premium User manual

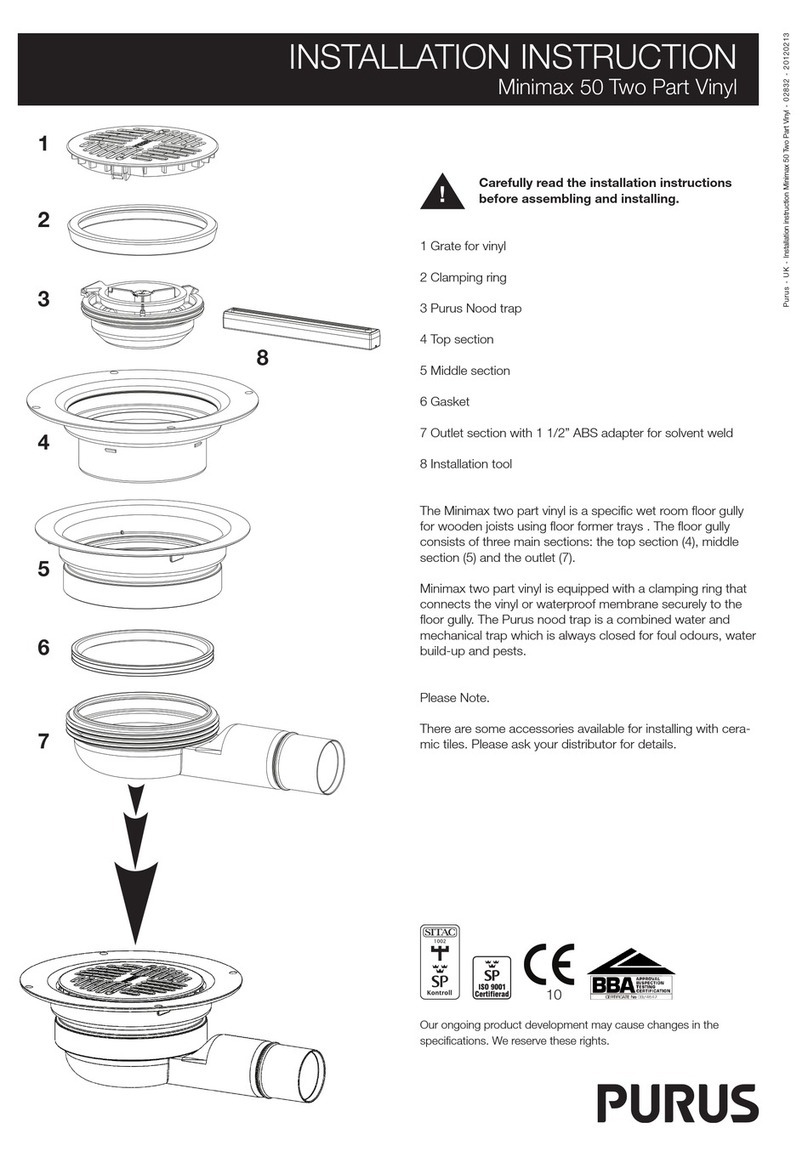
Purus Minimax 50 Two Part Vinyl User manual

Purus

Purus Minimax 50 Two Part Vinyl User manual

Popular Plumbing Product manuals by other brands

Kallista P50054 installation guide

Kallista

Kallista P50054 installation guide

Hans Grohe AXOR Uno2 38815000 Instructions for use/assembly instructions

Hans Grohe

Hans Grohe AXOR Uno2 38815000 Instructions for use/assembly instructions

Helvex Magna E-83 installation guide

Helvex

Helvex Magna E-83 installation guide

Halsey Taylor SCWT4AQ 1F Series owner's manual

Halsey Taylor

Halsey Taylor SCWT4AQ 1F Series owner's manual

Conti Ultra manual

Conti

Conti Ultra manual

Hans Grohe Croma Select E 26743003 Instructions for use/assembly instructions

Hans Grohe

Hans Grohe Croma Select E 26743003 Instructions for use/assembly instructions

Billi B-4000 XT installation guide

Billi

Billi B-4000 XT installation guide

BOCCHI SOTTO Series installation instructions

BOCCHI

BOCCHI SOTTO Series installation instructions

Moen MOTIONSENSE 7565E manual

Moen

Moen MOTIONSENSE 7565E manual

American Standard 7272 installation instructions

American Standard

American Standard 7272 installation instructions

The Galley IPT-D installation guide

The Galley

The Galley IPT-D installation guide

CRISTINA WX508 installation instructions

CRISTINA

CRISTINA WX508 installation instructions

Hans Grohe Focus Eco 31821000 Instructions for use/assembly instructions

Hans Grohe

Hans Grohe Focus Eco 31821000 Instructions for use/assembly instructions

B DUTCH BD700.000020 Installation

B DUTCH

B DUTCH BD700.000020 Installation

Kraus FVS-1007 installation manual

Kraus

Kraus FVS-1007 installation manual

Hans Grohe Focus M42 220 2jet 71800 Series Instructions for use/assembly instructions

Hans Grohe

Hans Grohe Focus M42 220 2jet 71800 Series Instructions for use/assembly instructions

Conti+ Ultra GS20 Installation & user manual

Conti+

Conti+ Ultra GS20 Installation & user manual

SteamSpa Oasis OA750CH user guide

SteamSpa

SteamSpa Oasis OA750CH user guide

manuals.online logo
manuals.online logoBrands
  • About & Mission
  • Contact us
  • Privacy Policy
  • Terms and Conditions

Copyright 2025 Manuals.Online. All Rights Reserved.