QCAMZ Q-VJU User manual


QVJU // Qcamz
User Manual
Please read this user manual before using the product and keep it for
future reference
NOTE: Any future changes of technical specification and product
appearance are instituted without further notice

Contents
Product Features and Advantages ...............................................................1
What’s in the box .........................................................................................3
Product Overview......................................................................................…4
BasicOperation……………………………………………………………….…..5
Playing back video footage on TV……………………………...................…...8
Storage…………………………………………………………………………... 9
Connecting to PC or Laptop: ..……………………………………………........9
-System Requirement:………………………………………….....................9
-USB Storage mode:…………………………………………………............9
-PC Camera……………………………………………….....................…..10

Changing the lenses…………………………………………………......………...11
Power Supply……………………………………………………………………….13
LED Indicator…………………………………………………………….........…...14
Technical Specifications…………………………………………………………....15
TroubleShooting……………………………………………………………..……..17
Safety and Warning…………………………………………………………......….19
Announcement……………………………………………………………………...22
Warranty……………………………………………………………………….........23

Product Features and Advantages
Unique Design
• Slim & elegant design to fit human body characteristics.
• High quality materials for comfort and durability of the frame.
• Higher curve and flexible design suits different faces - smaller and bigger.
• Modern design ensures high end fashionable sunglasses.
Extremely Lightweight, Comfortable and Durable Frame
Only the best materials are used in the frame - extremely lightweight, comfortable and durable.
Quick start recording with only one Button
The specially designed, user-friendly start button is blended into the decorative icon.
Simply press to start video recording or AV out - only you know it is recording.
Sweat Resistant Frame
Designed to withstand extreme weather conditions – moisture from perspiration or wet weather.
1

1.8mm Quality Polarized Lens:
The quality polarized lens of 1.8mm exceeds optical requirements of ANSI Z80.3 standards. Blocks out
100% of all UVA, UVC and harmful blue light up to 400nm protection. Lightweight, shatter-proof and
impact-resistant tough material - fully certified for eye protection. All our lenses meet AS/NZS - 1067,
EN 1836, ANSI Z80.3 standards for optical and mechanical performance. Light transmission ranges
from 10%~95% of available light. All transmission profiles are based on data obtained accord-ing to
AS/NZS 1067, EN 1836 and ANSI Z80.3 test protocols. Perfect for outdoor activities.
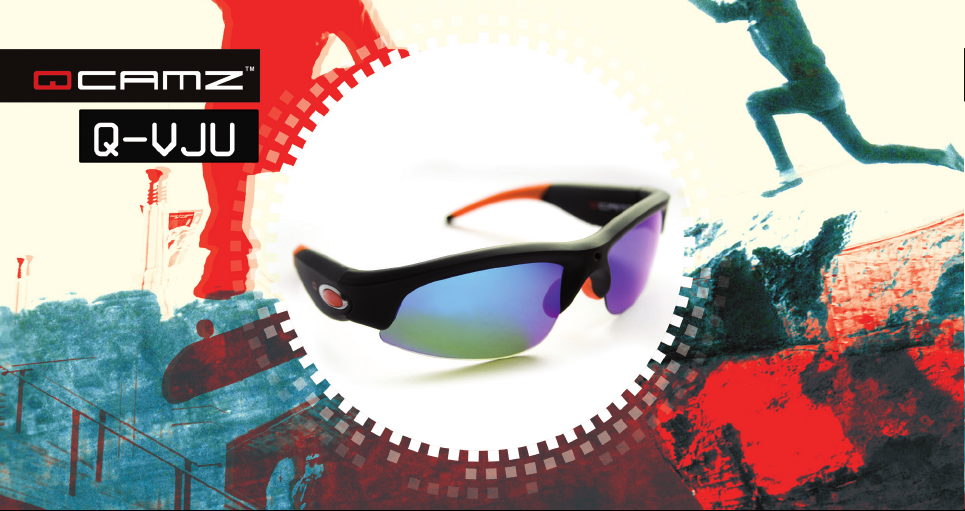
HD Video Camera
These are not only high end sunglasses, but also a real 720P HD Camcorder with a 5 mega pixel
quality CMOS camera for clear digital video recording.
Playing back video footage on TV
The world’s first video camera eyewear with TV output - connect to TV to share every exciting moment
with your family and friends at home.
Fashionable Soft Sleeves and Nose Pads
Special and fashionable soft sleeves and nose pads sit snugly on the head and do not slide off.
2

What‘s in the box
Carrying Case
User guide
Cleaning Cloth
Neck Strap
Carrying Bag
USB TV out Cable
Extra different color Soft sleeves /nose pads(option)
3

4
Product Overview

Basic Operation
1. Turning on/ Start the video recording
To turn on the video-glasses, simply press the ON/OFF/ button for 2 seconds. The green LED
will turn on and the device enters into the initialization status. After 2~5 seconds, the green LED
flashes fast 3 times, then flashing slowly, it begins to record automatically. The green LED will
flash during the recording
2. Turning off/ Stop the video recording
To turn off the video-glasses, simply press the ON/OFF button again. The
recorder will automatically save the recording file and then turn off.
NOTE: To limit the file size, the recorder will automatically save the file every 15 minutes and
then start with a new file.
5

3. Adjusting and show/hide Date and Time
This device can display the current date and time in your videos.
To set this function:
1. Turn the camera off and connect it to the USB port of your computer.
2. Turn on the device and enter a newly added storage drive.
3. Open the root directory of the newly added drive and create a new text file named „time.txt“.
4. Now open the file with Windows Notepad or any other text editor and input date and time as
yyyy.mm.dd hh:mm:ss
Please note the blank space between date and time.
5. To show or hide the date/time add "Y"(yes) to show, or "N" (no)/or add nothing to hide behind the
date/time string. Note the blank space between date/time and the Y/N option.
Example: 2010.08.10 16:53:05 Y 2010.08.10 16:53:05 N or 2010.08.10 16:53:05
6. Save it and then exit the storage disk safely.
7. Time is set and ready for new recording.
6

4. Quick setup time synchro with your computer current time
1) Under USB storage mode, click the folder „computer current date and time setting“ under
directory and enter*Disk\ DCIM\manual and driver\computer current date and time setting.
2) Select the file "time.bat", double-click left button of your mouse.
3) Back to the root directory , there is a file namely "time.txt" built up.
4) To show or hide the date/time please see 3. 5)
5) click the movable device icon at the right lower corner to remove the storage disk safely or click
the "On/Off" button for 2 seconds, the green LED will stop blinking and then shut off.
6) Now, when you record new videos, the time will display on the video and is
synchronized with your computer current time.
7

5. Auto shut-off
When battery is low or the memory space is exceeded, the green LED will blink very fast for approx
30 Seconds. The recorder stops recording and then shuts off.
Playing back video footage on TV
Turn on the device, connect to video input port and audio input port of TV by using one end
of the AV cable provided. (NOTE: video plug is yellow, audio plug is red / white).
On the other end connect to the device; TV is in playback status; shortly press “On/Off” key to
begin to play back the video. Press again “On/Off” to pause playback; for continuous video playing
press the “On/Off” again; press “On/Off” for 2 seconds and you can select the next video footage;
When there are no files in device memory, TV will display “NO IMAGE”.
Note: Under AV status, and with no operation, the device will shut off automatically
8

Storage
When space is exceeded, device will start data saving and then shut off.
Connecting to PC/Laptop
1. System Requirement
1.1 CPU 500MHz or higher
1.2 Operating system: Win2000/XP/Vista/Win7
1.3 USB port
1.4 Minimum 1GB of free hard disk space
1.5 Minimum 512MB RAM
2. USB Storage mode
2.1 When device is under “OFF” status.
2.2 Connect the device to PC or Laptop thru USB port with USB TV out cable provided in the kit.
2.3 Turn on the device, the green LED is on.
9

2.4 The movable disk icon will pop up in the computer after 3 seconds
(depends on the memory Capacity).
2.5 The directory for saving video file is *Disk\ DCIM\100DSCIM.
2.6 You can then copy or cut and save to your local hard drive
2.7 When finished, click the movable device management icon at the right lower corner to remove
the storage disk safely; or click the “On/Off” button for 2 seconds - the green LED stops
blinking, then switches off.
3. PC Camera
3.1 Under USB storage mode, click the folder “PC Camera Tool” in the root directory and enter.
3.2 Copy the file “en-188.EXE” to your desktop,
Select the PC camera program “PC Camera Driver.exe” and install it to your computer.
3.3 After installation, unplug the device and remove it from computer.
3.4 Start the device, then connect it again to the computer.
3.5 Computer will search the drivers and install the camera.
10

3.6 Run program en-188.exe on your desktop.
3.7 You are now able to use the device as the PC camera.
3.8 If your computer has another camera pre-installed or embedded, disable it before you can
use this device as a PC camera.
Changing the lenses
Note: Remove the protective film on the lenses before wearing the sunglasses.
To remove the lenses, start on the temple-side and pull the lens out (see below)
11

To insert the lens, start on the nose side and plug it into the guides. (See below)
12

Power Supply
1. For optimum use and battery health, charge the battery for 8-12 hours for the first three times.
DO NOT charge for more than 12 hours!
2. Thereafter to maximize the storage capacity of the battery, continue to charge for 30 minutes to
1 hour after the red LED light goes off after every charge.
3. You can charge the battery by using the USB TV OUT cable provided or power adapter
(optional). Usually a full charge will take about 2 hours.
4. The red LED will turn on when starting recharging and will turn off when the battery is
fully charged.
5. If the camera has not been used for a long period, recharge it before using it.
6. For a fast recharge and best product protection charge the battery in the ‘power-off’ mode.
13

LED Indicator
No. Operation Mode LED Indicator Status
1 Turn ON Green LED on, after 5 seconds, the green LED flashes rapidly 3 times;
2 Turn OFF All LED off
3 Video recording Green LED blinks slowly
4 Memory full Green LED blinks fast for approx 30 seconds, then shuts off.
5 Low battery Green LED blinks fast for approx 30 seconds, then shuts off.
Charging Red LED on
Full charge Red LED off
6 USB Storage mode Green LED and red LED both on
14

Technical Specifications
Dimensions 152*60*42mm (folded)
Physical weight 23g
Video Resolution 1280*720P
Video format AVI
Aspect Ratio 16:9
Audio 16 bit data sample
Interface USB2.0+TV output (PAL/NTSC)
Memory built in 4GB, up to 64 GB optional
Power supply high-capacity lithium polymer battery, rechargeable
Power adapter 5V DC/500mAh
Power duration 2 hours
15

Operating temperature 0°C - 70°C
Storage temperature -20°C - 80°C
Player Common media players, or Mainstream audio and video media players
Operating System Win me, Win2000, Win 2003, Win XP, vista, Win7
16
Table of contents
Popular 3D Glasses manuals by other brands

American Technologies Network
American Technologies Network ATN PS31 Operator's manual

LG
LG AG-S350 owner's manual

BlueWear
BlueWear 906-006 User instructions

RE-TIMER
RE-TIMER Sleep Glasses user guide

Volfoni
Volfoni Boge universal VPEG-04010 user guide

Silhouette
Silhouette Urban NEO 1580 technical information