
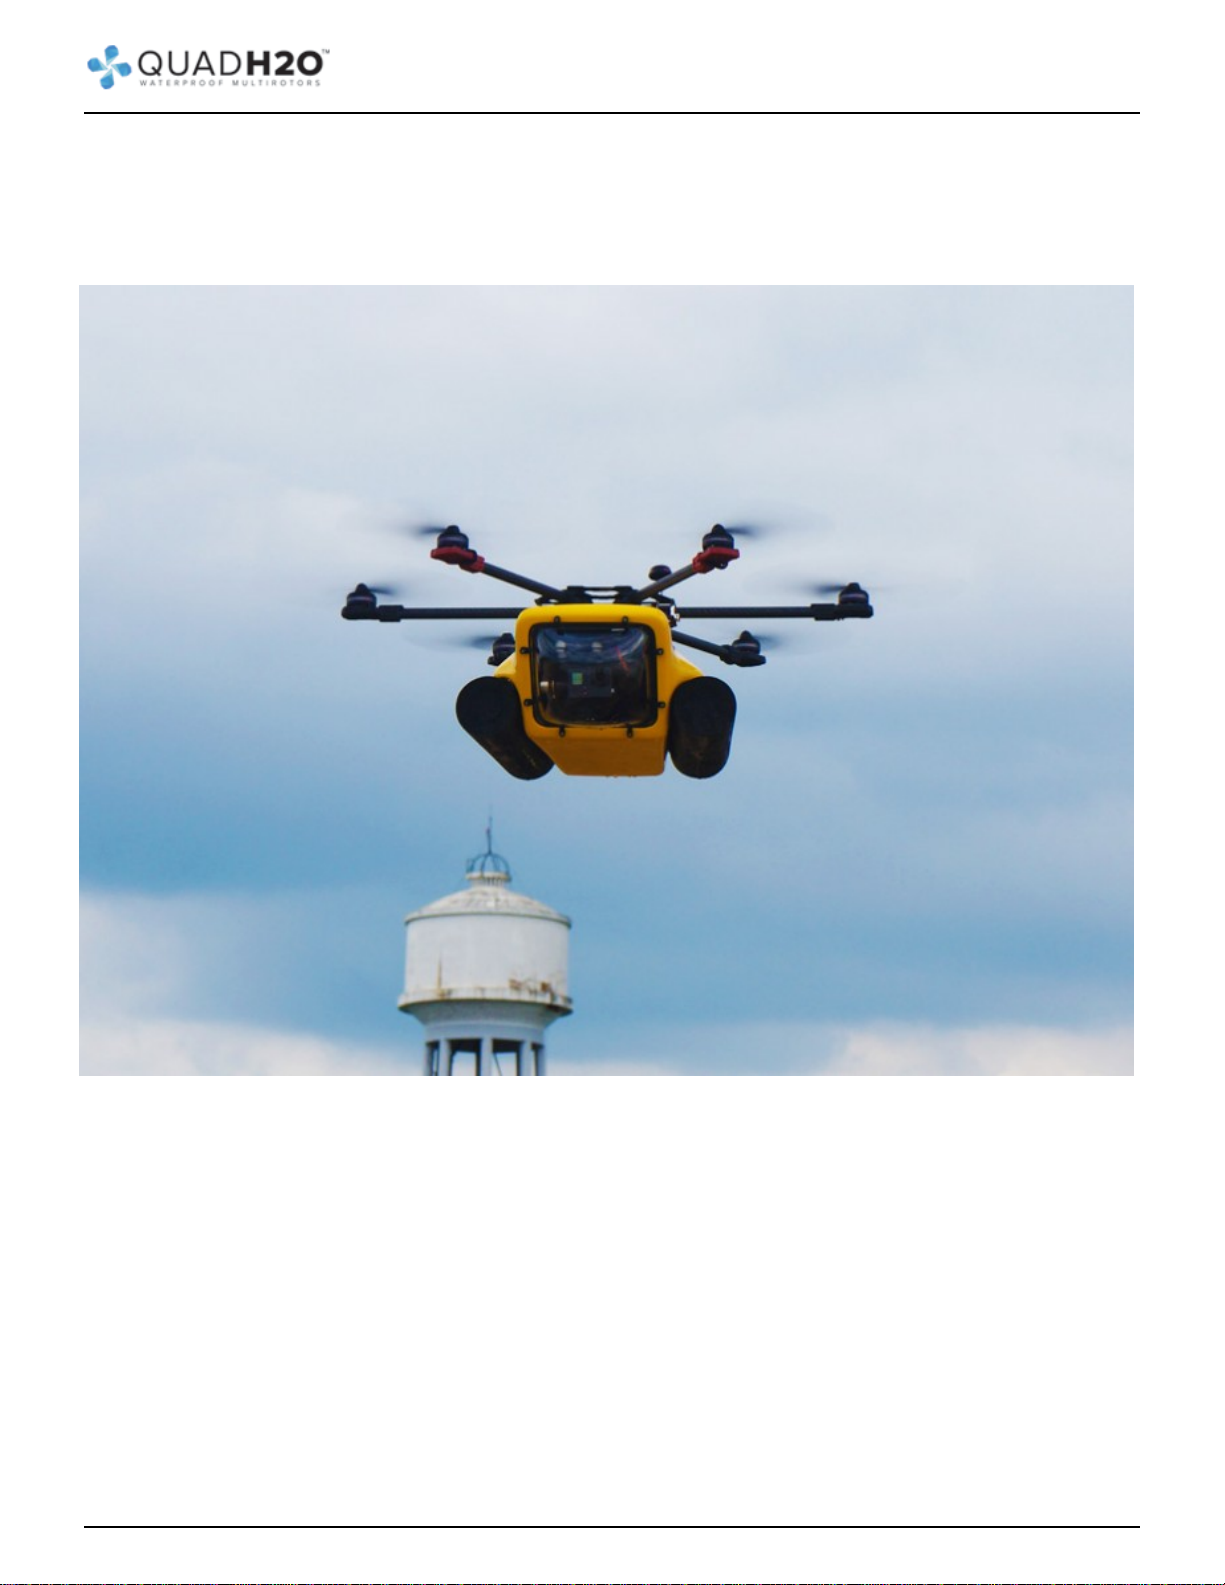
Waterproof Drones - The HexH2O and QuadH2O professional waterproof drones
Waterproof Multirotors
https://www.quadh2o.com
3. Dome and rear hatch
Each dome is fitted to its allocated frame, so you may find some corners have been sanded on the
inside edge of the corners, this is to ensure the best fit possible. However it may be required to
make further adjustments in order get obtain a watertight seal – see below.
When removing the dome, carefully turn the retaining clips quarter turn ANTI-CLOCKWISE. If you
try to open them by turning clockwise you may damage the paintwork. To fit the dome, carefully
align the dome evenly on the rubber seal and turn each retaining clip quarter turn CLOCKWISE.
Work around each opposing clip.
TIP: Use a finger to apply light pressure to the lip of the dome next to the retaining clip you are
turning.
Carefully fit the dome and proceed to do a water test. Fill your sink, bath or other suitable water
container. Carefully lower the front of the HexH2o into the water, just enough to ensure the dome is
submerged and check to ensure its water tight.
If water does come through check the following things:
1. Ensure your dome is seated correctly
2. Ensure the dome seal is in place
3. Check, and where required tighten the retaining clips *
4. Add some silicone grease to seal
* To tighten the retainer clips: remove the dome, put the clip to its ‘closed’ position. Holding the
clip in place carefully tighten the screw. Do not over tighten, otherwise you will not be able to get
the clip over the dome and/or may damage the paintwork.
You can test this by placing a sheet of paper between the clip and the HexH2o body; as you
(carefully and slowly) open the clip it should (just) clear the paper.
TIP: If adjustment is required, only tighten the nuts 1 quarter turn at a time. Do not over tighten.
Once you are happy the dome is watertight, repeat the process with the rear hatch.
Once completed, remove both the dome and rear hatch and put to one side.
WARNING: Keep your dome protected to avoid scratching the surface.
5 / 30


 user manual")


