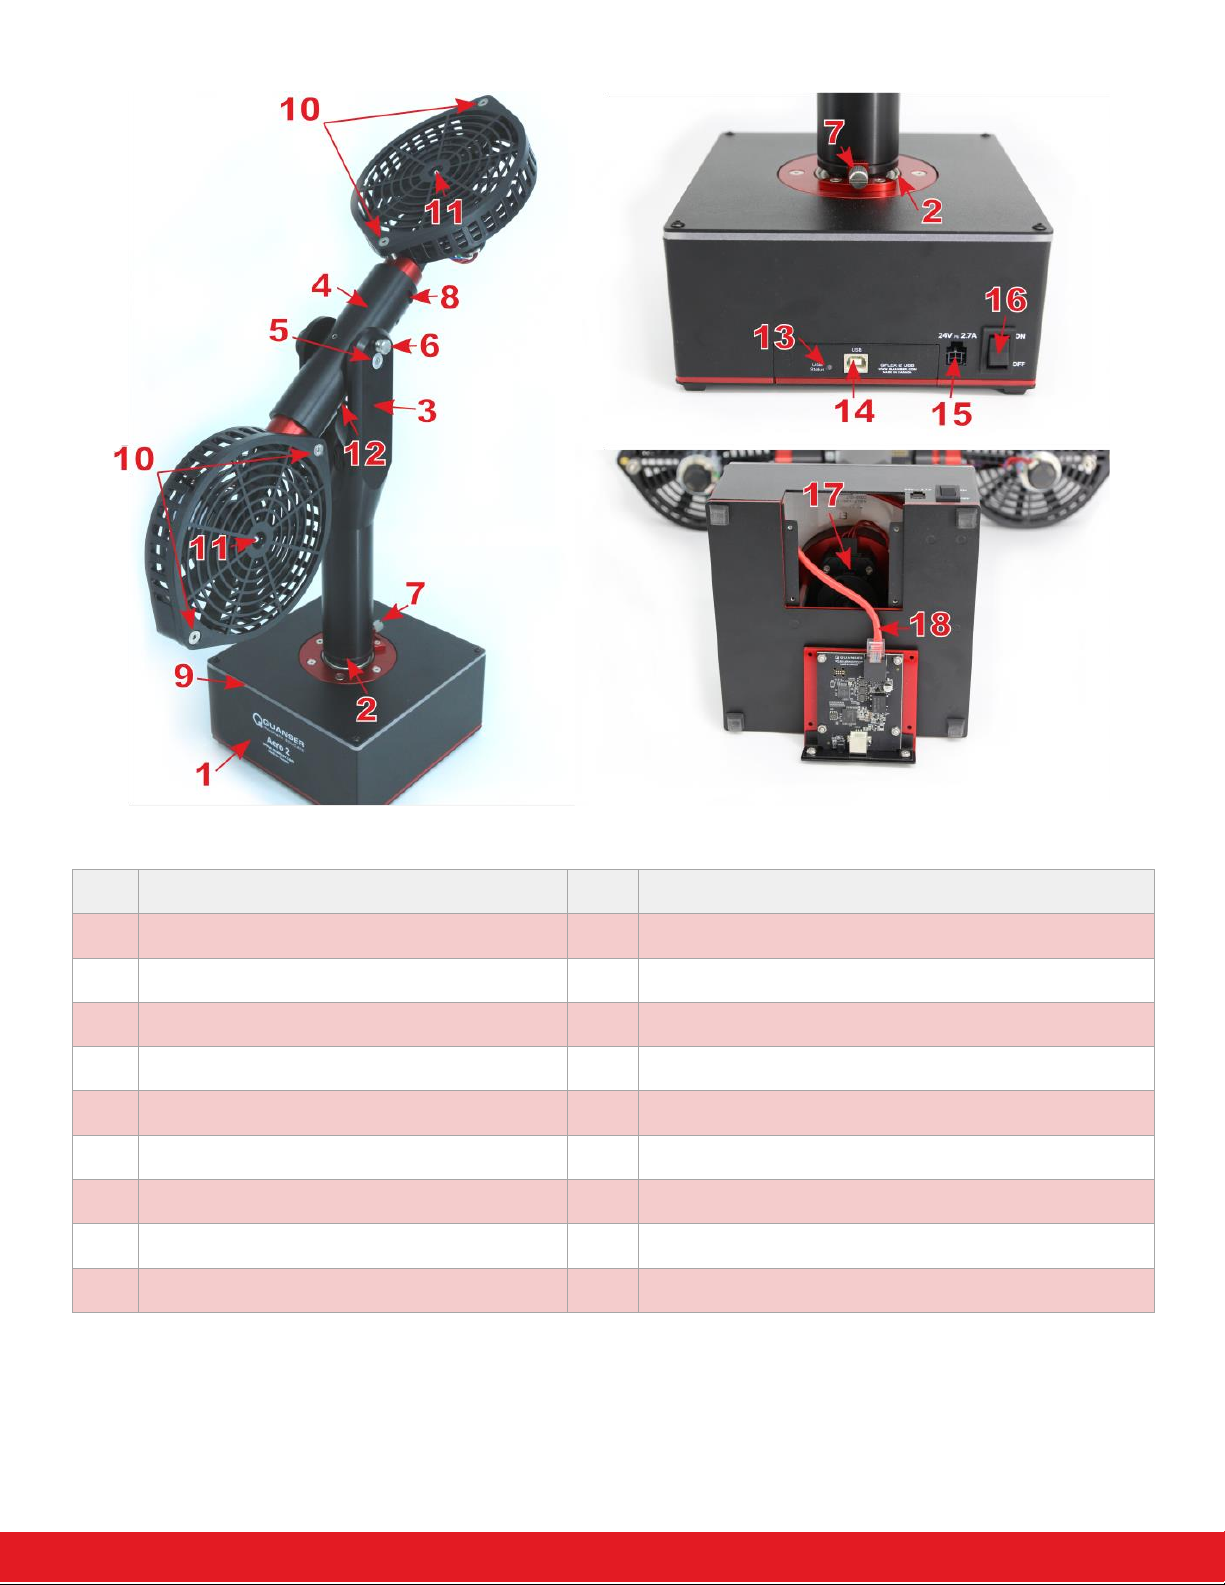
Quanser Aero 2 User manual

User Manual
V2.1 –Dec 12th, 2022
Aero 2

1
© 2022 Quanser Inc., All rights reserved.
Quanser Inc.
119 Spy Court
Markham, Ontario
L3R 5H6
Canada
Phone: 19059403575
Fax: 19059403576
Printed in Markham, Ontario.
For more information on the solutions Quanser Inc. offers, please visit the website at:
http://www.quanser.com
This document and the software described in it are provided subject to a license agreement. Neither the software nor
this document may be used or copied except as specified under the terms of that license agreement. Quanser Inc.
grants the following rights: a) The right to reproduce the work, to incorporate the work into one or more collections,
and to reproduce the work as incorporated in the collections, b) to create and reproduce adaptations provided
reasonable steps are taken to clearly identify the changes that were made to the original work, c) to distribute and
publicly perform the work including as incorporated in collections, and d) to distribute and publicly perform
adaptations. The above rights may be exercised in all media and formats whether now known or hereafter devised.
These rights are granted subject to and limited by the following restrictions: a) You may not exercise any of the rights
granted to You in above in any manner that is primarily intended for or directed toward commercial advantage or
private monetary compensation, and b) You must keep intact all copyright notices for the Work and provide the name
Quanser Inc. for attribution. These restrictions may not be waved without express prior written permission of Quanser
Inc.
FCC Notice This device complies with Part 15 of the FCC rules. Operation is subject to the following two conditions: (1)
this device may not cause harmful interference, and (2) this device must accept any interference received, including
interference that may cause undesired operation.
Industry Canada Notice This Class A digital apparatus complies with Canadian ICES-003. Cet appareil numérique de
la classe A est conforme à la norme NMB-003 du Canada.
Waste Electrical and Electronic Equipment (WEEE)
This symbol indicates that waste products must be disposed of separately from municipal household
waste, according to Directive 2002/96/EC of the European Parliament and the Council on waste
electrical and electronic equipment (WEEE). All products at the end of their life cycle must be sent to a
WEEE collection and recycling center. Proper WEEE disposal reduces the environmental impact and
the risk to human health due to potentially hazardous substances used in such equipment. Your
cooperation in proper WEEE disposal will contribute to the effective usage of natural resources.
This product meets the essential requirements of applicable European Directives as follows:
•2006/95/EC; Low-Voltage Directive (safety)
•2004/108/EC; Electromagnetic Compatibility Directive (EMC)
Warning: This is a Class A product. In a domestic environment this product may cause radio
interference, in which case the user may be required to take adequate measures

2
.
Caution
This equipment is designed to be used for educational and research purposes
and is not intended for use by the public. The user is responsible to ensure that
the equipment will be used by technically qualified personnel only. While the
end-effector board provides connections for external user devices, users are
responsible for certifying any modifications or additions they make to the default
configuration.

3
Table of Contents
Table of Contents 3
Presentation 4
Configuration 6
System Schematic 6
Handling and Setup 7
Hardware Components 8
i. DC Motors 8
ii. Propellers 8
iii. Encoders 8
iv. Inertial Measurement Unit (IMU) 8
v. Power Supply 8
Specifications 9
Balancing 10
Environmental 10
Electrical Considerations 11

4
Presentation
The Quanser Aero 2, pictured in Figure 1, is a compact dual-rotor two degree-of-freedom aerospace system that can
be used to perform a variety of mechatronic and flight-control-based experiments. The Quanser Aero 2 can be
equipped with either the QFLEX 2 USB or QFLEX 2 Embedded interface modules. The QFLEX 2 USB allows control by
a computer via USB connection. The QFLEX 2 Embedded allows for control by a microcontroller device such as an
Arduino via a 4-wire SPI interface.
For all versions, the system is driven using two direct drive 18V brushed DC motors. The motors are powered by a
built-in PWM amplifier with integrated current sense. Rotary encoders are used to measure the angular position of the
Aero 2 in both degrees of freedom, as well as the position of the thruster motors. The velocity of these encoders can
be measured using the included software tachometers.
Important components of the Quanser Aero 2 are listed in Table 1 and shown in Figure 2.
Figure 1. Quanser Aero 2 Experiment

5
Figure 2. Quanser Aero 2 Components
ID
Component
ID
Component
1
Base
10
Propeller guard screws
2
Yaw pivot
11
Propeller hub
3
Support yolk
12
IMU (on Aero 2 core board)
4
Aero 2 body
13
Interface power LED
5
Pitch pivot
14
Data connector (USB version shown)
6
Pitch lock
15
Power connector
7
Yaw lock
16
Power switch
8
Thruster rotation locks
17
Yaw encoder and slip ring
9
Base LEDs
18
Aero 2 QFLEX 2 internal data bus
Table 1. Quanser Aero 2 Components

6
Configuration
The Aero 2 has three different configurations:
•1 DOF VTOL: Pitch axis is unlocked, and Yaw axis is locked. Both rotors are horizontal.
•2 DOF Helicopter: Both pitch and yaw axes are unlocked. Rear rotor is vertical.
•Half-Quadrotor: Pitch axis is locked and yaw-axis is unlocked. Both rotors are horizontal.
The tail rotor (motor 1) can be rotated to alternate between the half-quad/1-dof configuration as well as the 2-dof
configuration, as shown in Figure 3. Use the pitch lock, thruster rotation lock and/or yaw lock to get the desired
configuration.
Half-Quad configuration (pitch locked, yaw free), or
1 DOF (yaw locked, pitch free)
2 DOF configuration
Figure 3. Configurations of the Aero 2 platform
See the Balancing section on how to balance the Quanser Aero 2 unit.
System Schematic
The Quanser Aero 2 can be configured with one of two different I/O interfaces: the QFLEX 2 USB, and the QFLEX 2
Embedded. The QFLEX 2 USB provides a USB interface for use with a computer. The QFLEX 2 Embedded provides a
4-wire SPI interface for use with an external microcontroller board.
The interaction between the different system components on the Quanser Aero 2 is illustrated in Figure 4. On the data
acquisition (DAQ) device block, the motor position encoders are connected to Encoder Input (EI) channels #0 and #1.
EI #2 reads the pitch angle of the Aero body, and EI #3 reads the yaw angle of the yoke. The Analog Output (AO)
channels are connected to the power amplifier command, which then drives the DC fan motors. The DAQ Analog Input
(AI) channels are connected to the PWM amplifier current sense circuitry. The DAQ also controls the integrated tri-
colour LEDs via an internal serial data bus. The DAQ can be interfaced to the PC or laptop via USB link in the QFLEX 2
USB, or to an external microcontroller via SPI in the QFLEX 2 Embedded. The diagram shown in Figure 4 illustrates the
main Quanser Aero components and how they interact with a data acquisition (DAQ) device.

7
Figure 4. Interaction between Quanser Aero 2 system components
Handling and Setup
When moving the Quanser Aero 2, lift it by gripping the support yolk just above the yaw pivot. Support the base with
your other hand.
Warning
Do not lift the Aero 2 by the Aero body.
Figure 5. Correct and incorrect locations to lift Quanser Aero 2
To operate your Quanser Aero 2, follow these steps,
1. Ensure that the power switch is OFF and connect the Aero 2 to a power supply.
2. Connect the Aero 2 to the PC via USB or to the microcontroller via SPI connection.
3. Ensure that a volume of space around the manipulator is dedicated as a work zone that users must stay clear
of. The radius of this area should be at least 0.5 m.
4. Check that the thrusters are oriented as required and locked firmly in position using the thumbscrews.
5. Check that the pitch and yaw locking screws are engaged or disengaged as required for your task.
6. Switch on the power switch and ensure that the status LED on the QFLEX 2 panel is green.
7. The Aero 2 is ready for use.

8
Hardware Components
i. DC Motors
The Quanser Aero 2 includes two direct drive 18V brushed DC motors. The motor specifications are given in Table 2.2.
The Quanser Aero 2 contains two Allied Motion CL40 Series Coreless DC Motors, model 16705. The complete
specification sheet of the motor is available at: http://alliedmotion.com/Products/Series.aspx?s=29.
ii. Propellers
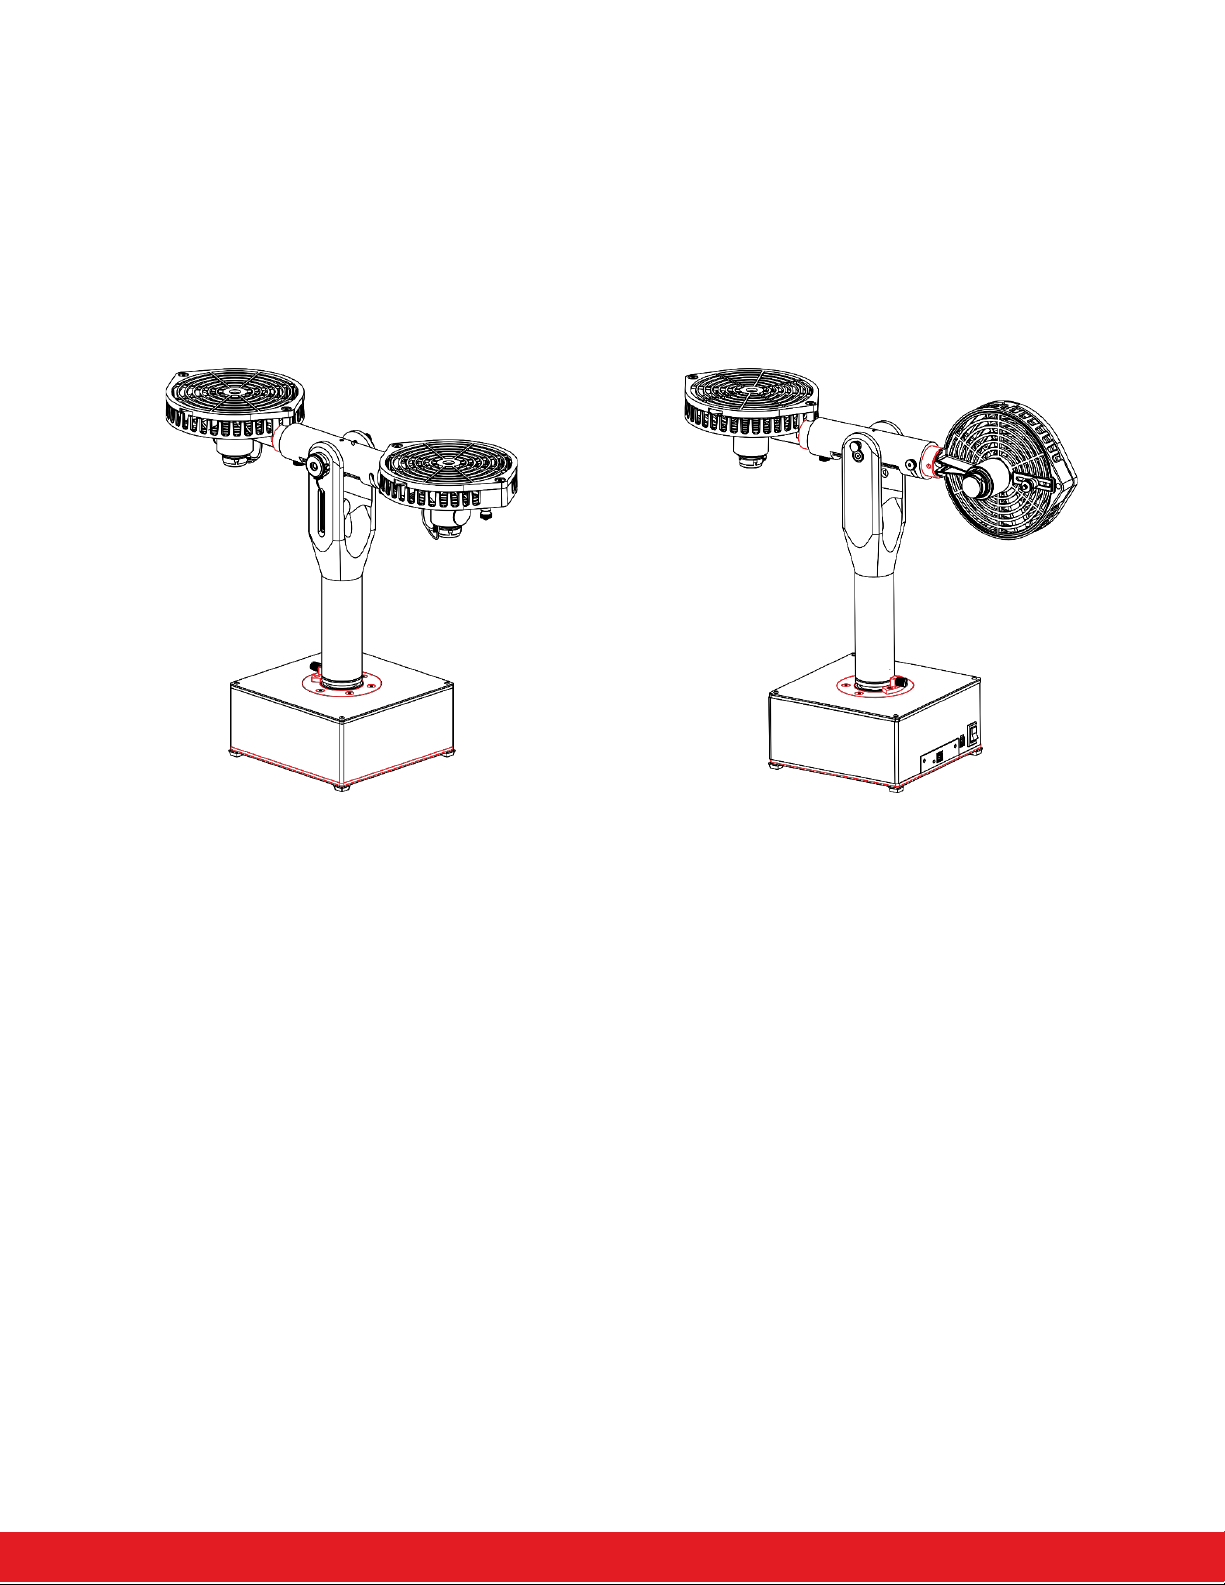
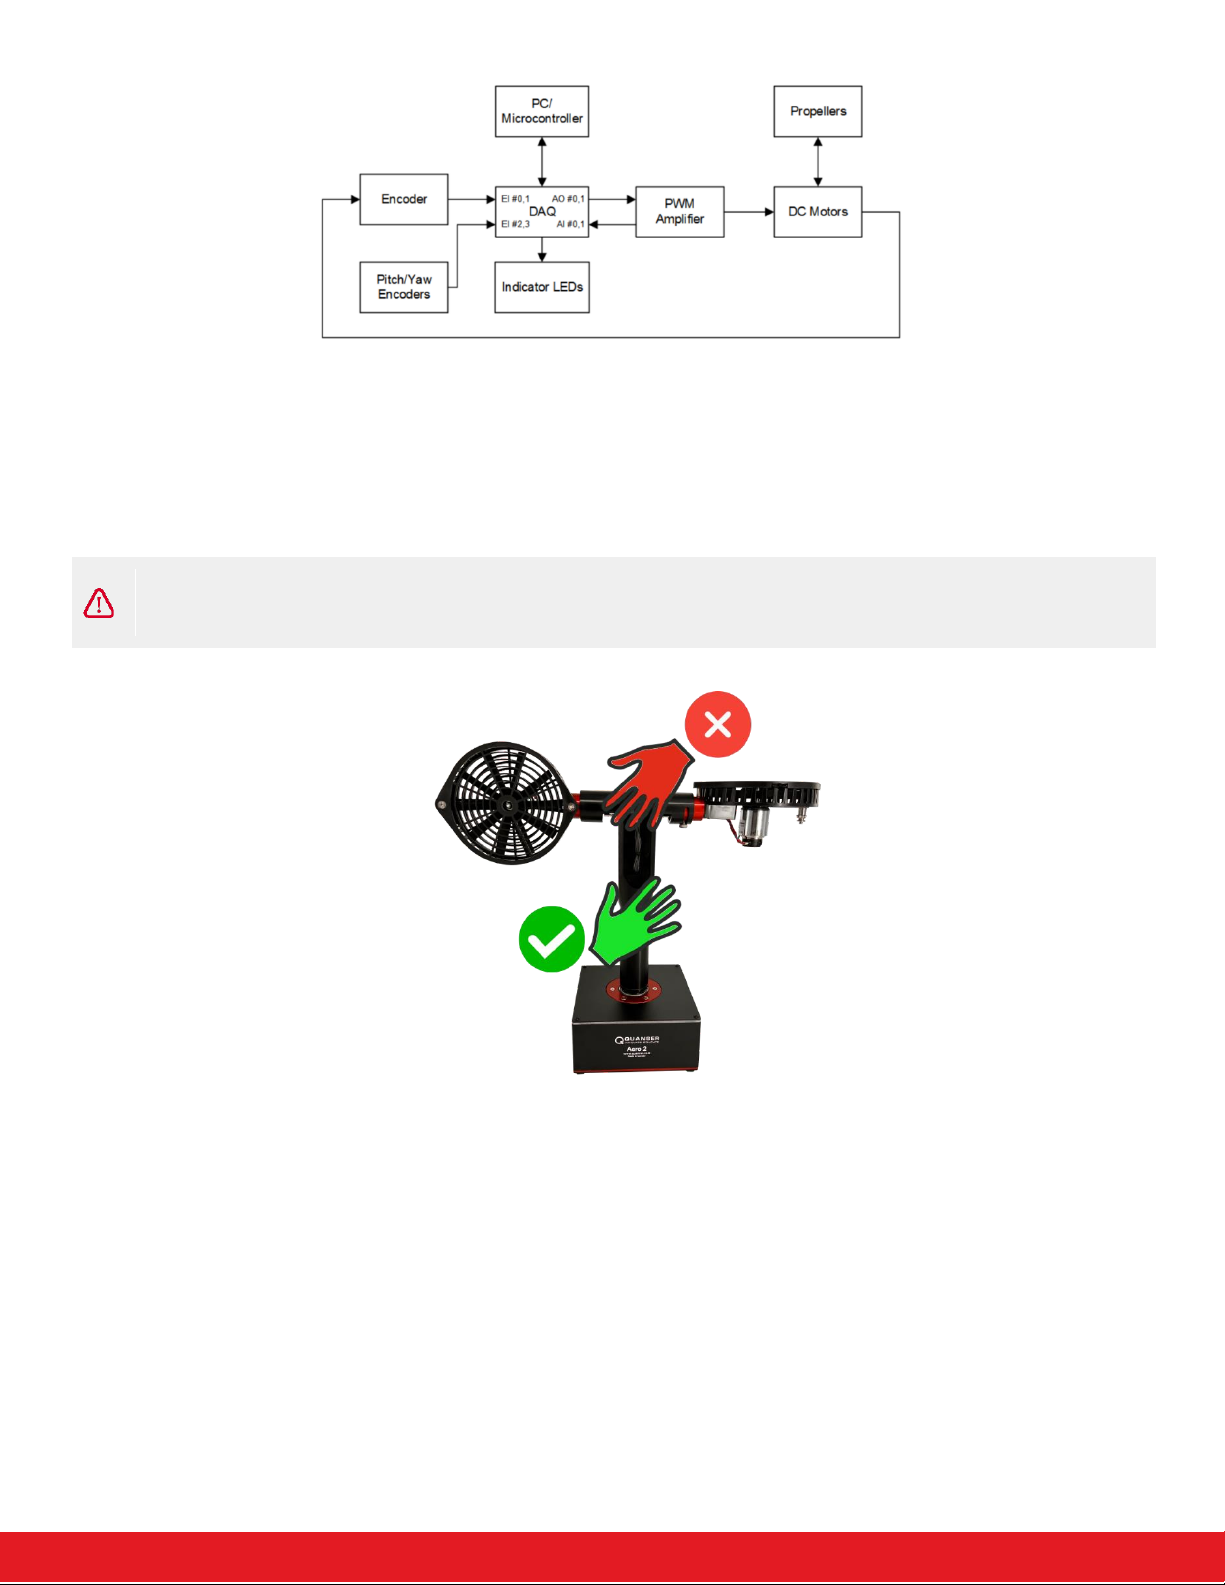
The Quanser Aero 2 ships with two eight-vane counter-rotating 3D printed propellers. These propellers have been
specially designed to have high dynamic coupling. As such they will apply a strong cross-torque during thrust. These
propellers are manufactured custom for Quanser and can be replaced by contacting your local Quanser distributor.
If a more efficient, but less coupled configuration is desired, the Aero 2 also ships with high-efficiency propellers. The
high-efficiency propellers are APC 5.0x4.6 propellers, models LP05046E/EP. More information on the propellers can
be found on the Advanced Precision Composites website (www.apcprop.com).
Both propeller types are mounted to the thruster motors using aluminum prop adapters with collets. The propeller
adaptors are E-flite part number EFLM1922.
iii. Encoders
There are three different types of encoders on the Quanser Aero 2.
The encoders used to measure the pitch of the Aero body and the angular position of the DC motors on the Quanser
Aero 2 are single-ended optical shaft encoders. The motor encoders output 2048 counts per revolution in quadrature
mode (512 lines/rev). This encoder is the US Digital E8P-512-118 single-ended optical shaft encoder. While the pitch
encoder is 2880 counts per revolution in quadrature mode (720 lines/rev) consisting of a US Digital E8P-720-118 single-
ended optical shaft encoder.
The final encoder is used to measure the yaw position of the support yolk is the US Digital E3-1024-984 optical encoder,
which outputs 4096 counts per revolution in quadrature (1024 lines/rev)
iv. Inertial Measurement Unit (IMU)
The Quanser Aero 2 includes an integrated IMU mounted on the Aero core board. This module allows for real-time
measurement of the angular position and velocity about all three of the primary axes of the Aero body. The
accelerometer has a 16-bit, +/-8g range and the gyroscope has a 16 bit, +/-500 deg/s range.
The IMU incorporated into the Quanser Aero 2 is the TDK IIM-42652 inertial module.
v. Power Supply
The Quanser Aero is equipped with an external DC power supply which provides 24.0 V power at up to 2.71 A for the
sensors and motors. This supply is intended for use with 100-240 VAC at 50-60 Hz.
Only the provided power supply and AC cord should be used with the Quanser Aero 2. The included supply is a
TRUMPower model TTA65-24E-M4SG.

9
Specifications
Table 2.2 lists and characterizes the main parameters associated with the Quanser Aero..
Symbol
Description
Value
Units
DC Motor
Nominal input voltage
Nominal torque
Nominal angular velocity
Nominal current
Terminal resistance
Torque constant
Motor back-EMF constant
Rotor inertia
Rotor inductance
Aero Body
Mass of body
Displacement of Center of Mass (z-axis)
Pitch inertia (y-axis)
Yaw inertia (z-axis)
Thrust displacement
Amplifier
Amplifier type
Peak current
Continuous current
Output voltage range (recommended)
Output voltage range (maximum)
Table 2. Quanser Aero 2 System Parameters

10
Balancing
The Quanser Aero 2 should be balanced before running any of the experiments. There are two tungsten
weights mounted on each rotor that can be adjusted to balance the system, as shown in Figure 6.
Figure 6. Mass sliders for leveling the Aero 2 unit
Start by moving the sliding masses all the way outwards. If the Aero 2 is not balanced, identify the rotor that
is leaning downwards. Move the mass slider on this rotor inwards until the system is balanced.
Environmental
The Quanser Aero 2 is designed to function under the following environmental conditions:
●Standard rating
●Indoor use only
●Atmospheric conditions
○Temperature - 15◦C to 35◦C
○Altitude - up to 2000 m
○Relative humidity - 30% to 60%
○Air Pressure –86 kPa (860 mbar) –106 kPa (1060 mbar)
●Pollution Degree 2
●Mains supply voltage fluctuations up to 10% of nominal voltage
●Maximum transient overvoltage 2500 V

11
Electrical Considerations
ESD
warning
The Quanser Aero 2 core board components are sensitive to electrostatic discharge. Before
touching the board, ensure that you have been properly grounded.
Caution
Always monitor the current draw and motor temperature to ensure that you do not exceed the
maximum current draw or .
Caution
Do not allow conductive material to touch the Aero 2 core board as it can short and damage the
electronics.
© Quanser Inc., All rights reserved.
Solutions for teaching and research. Made in Canada.
Table of contents
Other Quanser Laboratory Equipment manuals
Popular Laboratory Equipment manuals by other brands

Agilent Technologies
Agilent Technologies 6850 Series II Installing manual

THORLABS
THORLABS SBC-VIS user guide

Tecnomed Italia
Tecnomed Italia STERIL FAN SFA2030F manual

Edwards
Edwards iGX Series instruction manual

BiOptic
BiOptic Qsep 400 Installation, quick start

Expondo
Expondo Steinberg Systems SBS-LZ-400B user manual

CASHIDO
CASHIDO 10 Second Machine Commercial XW2 user manual

Thermo Scientific
Thermo Scientific Microm HM 430 instruction manual

Sartorius
Sartorius WZA N Series installation instructions

MELAG
MELAG 15K user manual

TeleDart
TeleDart RD706 Operator's manual

Tamson Instruments
Tamson Instruments TV12LT user manual