YOU WILL NEED:
1. SIM card:
SIM must operate on the 2G (GSM) or 3G network for this version. Check with your SIM
supplier.
Credit on the SIM (we recommend automatic top-ups)
The SIM is not PIN protected
The SIM is set to disable voicemail
Avoid SIM cards that deactivate automatically if the SIM is not used often
If your SIM will do this and if your G033 is likely to be unused for long periods of time, you will
have to send the G033 an update request periodically to keep the SIM card active. The time
limit is often three months, check with your operator.
2. Power supply cable: long enough to reach your device in its final location.
3. Check there is mobile network reception for your SIM card in the location that your device
will be installed (you can check the SIM card in a mobile phone).
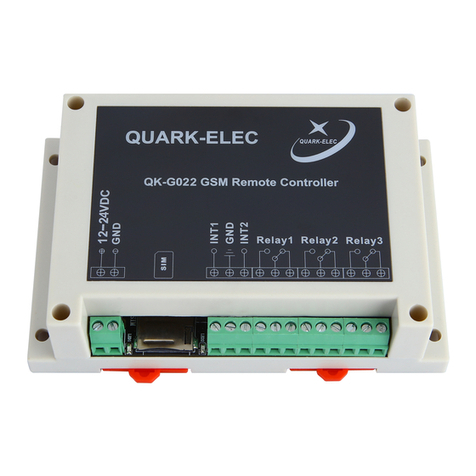
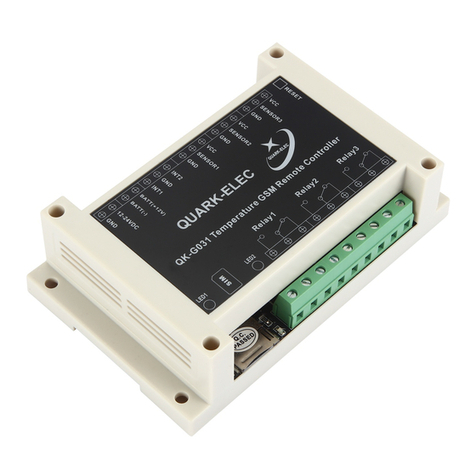
QK-G033
Blue LED - Network Red LED - System
This is an overview only. Familiarize yourself with the manual and the manuals of
any connecting devices before installation. It is always recommended that
electronic equipment be installed by an experienced installer.
Blue Network LED: LED will stay blue at start up as it is connecting to a network. Once con-
nected, the LED will flash less often at once every 2-3 seconds.
Red System LED: will flash at 1 second intervals once the system has finished initialization. The
LED will not flash while the G033 is processing a command.
INSTALLATION
1. Download and install the app for mobile phones. https://www.quark-elec.com/downloads/
apps/
2. Select G033 location: location must be indoors and not exposed to water or high humidity.
3. Connect the relay output (if required): check relay setup for whether you want relays in
normal open (NO) or normal closed (NC) position.
4. Connect alarm inputs (if required) to the correct terminal: alarm inputs (INT) 1/2 will activate
relay 1/2 respectively. The G033 is compatible with inputs that send signals as a switch (by closin
g the circuit) and alarm inputs that send a low voltage signal.
5. Insert your SIM into the G033 device (make a note of the SIM number first for reference).
6. Connect to power: Check LEDs are working correctly.
QK-G033
7. Register the main phone number that will control the device within 10 minutes of powering
up the G033 by texting ‘88888888’ from your chosen phone to G033 SIM card. If registration is
successful, the module will reply with ‘Your phone has been registered’. If unsuccessful, the
module will reply with ‘registered disabled’. If registration is unsuccessful, repower the device
and reattempt registration within 10 minutes of powering up the device.
The system LED will flash at one second intervals once the registration is completed. You can add
up to three additional control mobile phones using SMS/APP codes (check the manual for full list
of text command codes).
OPERATION
You can now send commands and receive messages by SMS text or the text generating APP.
QUICK COMMANDS
To turn relay on, text 'DKYn' (replace 'n' with the relay number).
To turn relay off, text 'GBYn' (replace 'n' with the relay number).
To run a relay for a short while, text 'ONOFFRnxxx#'. Replace 'n' with the relay number (1 or
2) and replace ‘xxx’ with the delay times (from 001 to 999 seconds). This is a one off com-
mand and will not affect future actions.
To disable text alerts, text 'EXTGGn' (replace 'n' with the relay number). This command dis-
ables the text alert, the external alarm input itself will remain active and will still activate the
relay, unless the external alarm input itself is disabled.
To re-enable text alerts, text 'EXTKKn' (replace 'n' with relay number).
To disable the external alarm input, text 'EXTGBn' (replace ‘n’ with the relay number).
To reset all external alarm inputs, text 'EXTRT'.
To change the SIM number of main control phone, text 'XGZHM' from the current main con-
trol phone. The new phone must be registered within the next 10 minutes.
To add an additional mobile number, text 'BDn(mobile number)F', replacing 'n' with '1', '2'
or '3' according to a number of an additional mobile device.
Daily timer settings: Relays 1 and 2 support a daily timer function. This is useful for turning the
relays on and off without having to message the device. The relays will switch ON/OFF daily ac-
cording to the timer settings.
A full list of commands can be found in the manual
Automated relay operating setting for relay 1/ 2 can be changed by adjusting the
small jumpers inside the enclosure.
Self-lock control: When activated, the relay will stay on until it receives a different command.
Latching control: When activated, the relay will stay on for a period of seconds, determined
by the user (3, 6, 9 or 12 seconds). It will then return to its normal state.
Remember, the device processes one command at a time. Each command will have a reply
to confirm the command has been received and executed. You must wait for a reply
message before sending another command. All SMS text commands must always be sent
using CAPITAL letters. Do not add spaces or any other characters.
When an alarm is triggered, the relay will stay locked ON until you send the
command “EXTRT” to reset alarm (even if set to latching mode).


