manuals.online logo
Brands
  1. Home
  2. •
  3. Brands
  4. •
  5. Quick
  6. •
  7. Control System
  8. •
  9. Quick 8802 User manual

Quick 8802 User manual


Quick 8802系列数控伺服控制系统使用说明书

Digital Servo Control System Operation Manual 
安全操作指南
General safety instructions
在使用前,一定要仔细阅读本操作指南与所搭配的缝制机械说明书,配合正确使用,并须由接受过专业培
训的人员来安装或操作。在使用或安装本机器时,请注意下列事项。
Please read this manual carefully, also with related manual for the machine head before use. For perfect operation
safety
,
installing and operating this product by trained personnel is required. When install and operate this product,
precaution must be taken as following.

1
.请尽量远离电弧焊接设备或电波发射器等,以免产生的电磁波干扰本控制器而发生误动作。

2
.请不要在室温
45°C以上或者
0°C
以下的场所使用。
3.
请不要在湿度
30%
以下或者
95%
以上或者有露水和酸雾的场所使用。
4
.安装控制箱及其他部件时,请先关闭电源并拔掉电源插头。
5
.为防止干扰或漏电事故,请做好接地工程,电源线的接地线必须以牢固方式与大地有效连接。

6
.所有维修用的零部件,须由本公司提供或认可,方可使用。
7
.修理及保养作业,要请经过培训的技术员执行。在进行任何保养维修动作前,必须关闭电源并拔掉电
源插头。控制箱里有高压危险,必须关闭电源五分钟后方可打开控制箱。
8
.本手册中标有符号之处为安全注意点,必须注意并严格遵守,以免造成不必要的损害。

. To avoid the false by electromagnetic interference ,Please keep the product away from arc welding1
equipment or electro pulse generator. 
2. Please don’t operate in room temperature is above 45°C or under 0°C ·
3.Please don’t operate in room humidity is below 30% or above 95% or dew and mist of places. 
4. Install the control box and other components, turn off the power and unplug the power cord. 
5.To prevent interference or leakage accidents, please do the ground work, the power cord ground 
wire must be securely connected to an effective way to earth.
6.All parts for the repair provided by the Company or approved before use.
7. Maintenance and Repairs must be done by specially trained personnel.Performing any maintenance
action, you must turn off the power and unplug the power cord. There are dangerous high voltage 
control box, you must turn the power off and wait five minutes before opening the control box. 
8.This manual marked with the symbol of the Department of Safety Precautions must be aware of and
strictly adhered to, so as not to cause unnecessary damage.
1.
电控箱安装
Installation of Controller 
(1)
安装电机转子
Install the Motor’s Rotor
将电机转子前端面调整到与后套端面间距 1mm,后用 3mm 内六角扳手拧紧转子螺钉,转
子有一颗螺钉要对准上轴平面。

Adjust the front cover of motor rotors 1mm separation distance to heel cap cover , then tighten up
rotor screw with 3mm hexagonal socket and one screw of the rotor should be upper of the shaft
plan. 
(2) 安装电 机定子 Install the Motor’s Stator
将电机定 子的电线朝下装到机器后端面上,并用 3mm 内六角
扳手拧紧 4 颗固定螺钉。 
Put the power cable of motor stator down onto the back side of machine and tighten up 4 screws
with 3mm hexagonal socket. 
(3) 安装控 制箱 Install the controller box
将电机上 的电机动力线和电机霍尔线插到电控箱插头上,并将
电控装到机器后端面上。 
Put motor power cable and motor hall cable into controller’plug, then install the control box onto
the back side of the machine. 
(4) 安装手轮 Install the Pulley


将手轮旋转方向的第一颗螺钉对准上轴平面,用 2.5mm 拧紧手轮的两颗螺钉,并确认手轮前端
未与罩壳碰擦。 
The first screw of pulley rotation should be upper of the shaft plan , then tightenup 2 screws with 
2.5mm hexagonal socket and confirm that the pulley front end doesn’t rub with the cover. 

(5) 安装面板 Install operation panel




将操作面板按上图方式装入机头,并用 2.5mm 内六角扳手拧紧 2 颗固定螺钉 
Install operation panel into the machine head and tighten up 2 screws with 2.5mm hexagonal
socket.


(6) 接插电线 Plug the Swich



将各功能插头插到电控上,并确认连接可靠。

Different Function Plugs into Control Box and Confirm Connection is correct.

(7) 后续安装 Subsequent Installation


将线罩扣到电线插头上方,并拧紧线罩螺钉。

Install Plug Cover onto the plugs and Tighten the Screw.



注:控制器电源线接入规定的供电系统,用户供电系统必须有独立的接地装置,一体机必须有可靠接地!
安装拆卸电控任何组件必须先断开电源。

Power cable of control box should be connected with the power supply system, power supply system of
users must have earth conductor independently, integrated machine must be connected with earth
conductor! The installation and disassembly of any electronic control elements must switch off the
machine.

:所有电源线、信号线、接地线等接线时不要被其它物体压到或过度扭曲,以确保使用安全!

All power cord, signal lines, ground lines, wiring not to be pressed into other objects or excessive
distortion, to ensure safe use 

2.电控性能指标参数表 Control Box Parameters List 
电控型号 
Control Box Model QUICK LG05/LG07 QUICK LG06/LG08 
工作电压 
Working Voltage 220V 110V 
额定功率 
Rated Power 550W 550W 
电压频率 
VoltageFrequency 50/60Hz 50/60Hz 
出厂转速 
Normal Speed 
薄料 Light materials3700rpm
厚料 Heavy duty 3000rpm 
薄料 Light materials3700rpm 
厚料 Heavy duty 3000rpm 
最高转速 
Maximum Speed 
薄料 Light materials 5000rpm
厚料 Heavy duty 3500 rpm 
薄料 Light materials 5000rpm 
厚料 Heavy duty 3500 rpm 
最大扭矩 
Maximum Torque 2.5N.m 2.5N.m 
过载保护 
Overload Protection 有Have 有Have 
安全开关 
Safety Switch 有Have 有Have 
照明灯电压 
Lamp Voltage 5V/DC 5V/DC 
补针功能 
One Stitch Function 有Have 有Have 

3.操作使用说明(操作工菜单) 
Operating Instruction (Operation Manual)
序号 
No. 
按键图标 
Buttons 
按键名称
Button 
Name 
具体说明 
Description 
1 

加速键 
Accelerator
1. 按此键加速, 每按一次增加 100rpm。2.进入参数模式
后,向上调整参数。 
1. pressing this key, speed up , pressing one time
+100rpm 2.after entering parameters mode , adjusting
parameters upward 
2 

减速键 
Decelerator
1.按此键减速, 每按一次减小 100rpm。
2.进入参数模式后,向下调整参数。 
1.Pressing this key, slow down pressing one time -
100rpm. 2.After entering parameters mode, adjusting
parameters downward 
3 

上下停针键
Needle 
Position 
1.按此键切换上下停针,显示 y-dn 为下停针,显示 y-up
为上停针。 
2.长按该按键剪线开关,显示 T-on 为剪线开,显示 T-of
为剪线关(剪线功能只适用 LG03,LG04)。
  1.Pressing this key changes needle position up and
down, display y-dn is down needle position, display y-up
is up needle position. 
2.Pressing and holding this key sets trimming function,
display T-on is with thread trimming function ,display T-of
is without thread trimming function.(Trimming only for 
LG03 & LG04) 
4 

照明灯 
LED Light 
默认为照明灯强亮,按一下微亮,再按一下照明灯关,三
档循环。 
Normally it shows strong light, pressing one time is
microlight,one more time pressing light switch off, three
level circulation. 
5 
参数键 
Parameter 
按此键进入参数,参数调好后按此键保存并退出参数模式
Pressing this key enters parameters, after adjusting
parameters presses this key to save. 
6 

确认保存键
Save 
按此键确认调整后的参数
Pressing this key confirms adjusted
parameters 
7 

补针按钮
One Stitch 
每按一次补一针
One stitch plus pressing once. 

4.一级参数菜单(机修工菜单)Parameter Manual (Technician Manual) 
参数号 
No. 
参数名称 
Explaination
of Parameter 
出厂设置 
Setting 
用户可
调整范围 
Setting Scope 
具体说明 
Description 
P-01 
最高缝纫速度 
Max. Speed 3700 rpm 500-4000rpm  
P-02 
起步限速设置 
Starting Speed 
Limit Set 
200rpm 150-800rpm  
P-03 慢速起缝设置 
Soft Start Set 0 0/1 
0:慢速起缝关闭; 
0: Disable Soft start 
1:慢速起缝开启; 
1: Enable soft start 
P-04 
恢复出厂设置 
Factory Reset 0 0/1 1: 恢复出厂参数 
1:Reset the factory code. 

功能调整范例:(Example)
恢复出厂设置功能:1.按 P 键,控制面板显示 P-01;2.按加速键或减速键,可调整到需要的参数号,例
如 P-04;3.按 S 键,进入恢复出厂设置功能,面板显示默认值 0;4.按加速键或减速键,可修改参数内
容为
1;5.按 S 键保存,提示 ok,回到显示 P-04;6.按 P 键退出,进入正常使用环境。 
Factory Reset Function: 1.Press P, panel displays P-01; 2.Press Accelerator or Decelerator Key, adjust
the paremeter number to P-04 for example; 3. Press S, enter into the Factory Reset function, panel
displays the default value as 0; 4.Press Accelerator or Decelerator Key, adjust the paremeter value to 1;
5.Press S to save the new value, display ok and back to P-04; 6. Press P to return to the general using
mode. 

5.故障提示 Trouble Display 
故障代码 
Error Code 
故障名称 
Error Meaning 
解决方案 
Solution 
Er-1 过流保护 
Over Current Protection
出现此种状况表明电机发生过流或欠压故障,请检查供电电压是否
正常,如果 220V 电控供电系统正常电压范围为 170V-250V,如果
110V 电控供电系统正常电压范围为 100V-120V 。建议重新开启,
重开启无效可能是控制箱问题请与经销商联系,非专业人士禁止打
开控制器外壳以免触电。 
If machine have this problem, it is mean the motor is over current
or under voltage problem, please check the supply voltage. The
normal supply voltage range for 220V controller is 170V-250V.The
normal supply voltage range for 110V controller is 100V-
120V .Then please restart the motor. If the machine still have this
problem, maybe the control box have some problem, please
contact with dealer. Non professionals to ban open controller
housing to avoid the electric shock. 
Er-2 
电机堵转保护 
Motor Rotation 
Obstruction Warming 
出现此种状况表明电机发生堵转故障,请检查机头是否卡死或缝料
是否太厚,机器是否缺少润滑油负载变重的原因。再检查电机霍尔
是否损坏,检查一切正常还无法排除故障请与经销商联系,非专业
人士禁止打开控制器外壳,以免触电。 
If machine have this problem, it it mean the motor rotation
obstruction please check the head is stuck or not, sewing materials
is too heavy or not , the machine lack oil or not. Then check the
Hall electric machine is good or not. If every thing is good,please
contact with dealer. Non professionals to ban open controller
housing to avoid the electric shock. 
Er-3 
交流输入掉电保护 
The AC input Power
down Protection 
出现此种状况表明断电或者保险丝熔断,请检查电源插头是否插
牢,再检查保险丝是否完好,非专业人士禁止打开控制器外壳,以
免触电。 
If machine have this problem, it is mean the power is failure or
blowout. Please check the power plug is inserted or not.Then
check the fuse is good or not. Non professionals to ban open
controller housing to avoid the electric shock. 
Er-4 霍尔信号异常 
Hall Signal Abnormal 
出现此种状况表明电机霍尔信号错误,请检查电机四芯插头连接是
否可靠,霍尔信号线是否有断线,插针是否变形。非专业人士禁止
打开控制器外壳,以免触电。 
If machine have this problem, it is mean the Hall signal is
wrong.Please check motor plug is inserted or not, Hall signal line is
disconnected or not, the pin is deformation or not. Non
professionals to ban open controller housing to avoid the electric
shock. 
Er-5 
定位器信号检测,上停
针故障 
Locator Signal 
Detection,Fault on The 
Stop Needle up 
出现此种状况表明电机传感器信号错误,请检查电机四芯插头连接
是否可靠,传感器信号线是否有断线,插针是否变形。非专业人士
禁止打开控制器外壳,以免触电。 
If machine have this problem, it is mean motor sensor signal is
wrong.Please check the motor plug is inserted or not,Hall signal
line is disconnected or not, the pin is deformation or not. Non
professionals to ban open controller housing to avoid the electric
shock. 
Er-6 
定位器信号检测,下停
针故障 
Locator Signal 
Detection,Fault on The 
Stop Needle down 
出现此种状况表明电机传感器信号错误,请检查电机四芯插头连接
是否可靠,传感器信号线是否有断线,插针是否变形。非专业人士
禁止打开控制器外壳,以免触电。 
If machine have this problem, it is mean motor sensor signal is
wrong. Please check the motor plug is inserted or not,Hall signal
line is disconnected or not, the pin is deformation or not. Non
professionals to ban open controller housing to avoid the electric
shock. 
Er-7 
脚踏调速器信号异常 
Adjust Foot Speed 
Signal Abnormality 
出现此种状况表明电机脚踏开关错误,请检查脚踏六芯插头连接是
否可靠,脚踏开关信号线是否有断线,插针是否变形,检查调速器
霍尔是否短路,及时更换脚踏调速器。非专业人士禁止打开控制器
外壳,以免触电。 
If machine have this problem, it is mean motor foot switch have
some problem.Please check foot switch plug is inserted or not, foot
switch signal line is disconnected or not, the pin is deformation or
not, the governor Hall is short or not,replace the foot immediately.
Non professionals to ban open controller housing to avoid the
electric shock. 
Er-8 翻抬开关报警 
Warming 
机头翻倒时 E8 报警,机器不能运转,当机头放好报警自动解除。
when turnover the machine head, Error“E8”warning, machine
could not continue moving, please put the machine head with
correct normal position, the warning disappear directly. 

七段显示器字体与实际数值对照表 : 
7-Segment Display Characters Compare Table:数值字体部分 : (Arabic
Numerals)

英文字体部分:(English Alphabet)


Other Quick Control System manuals

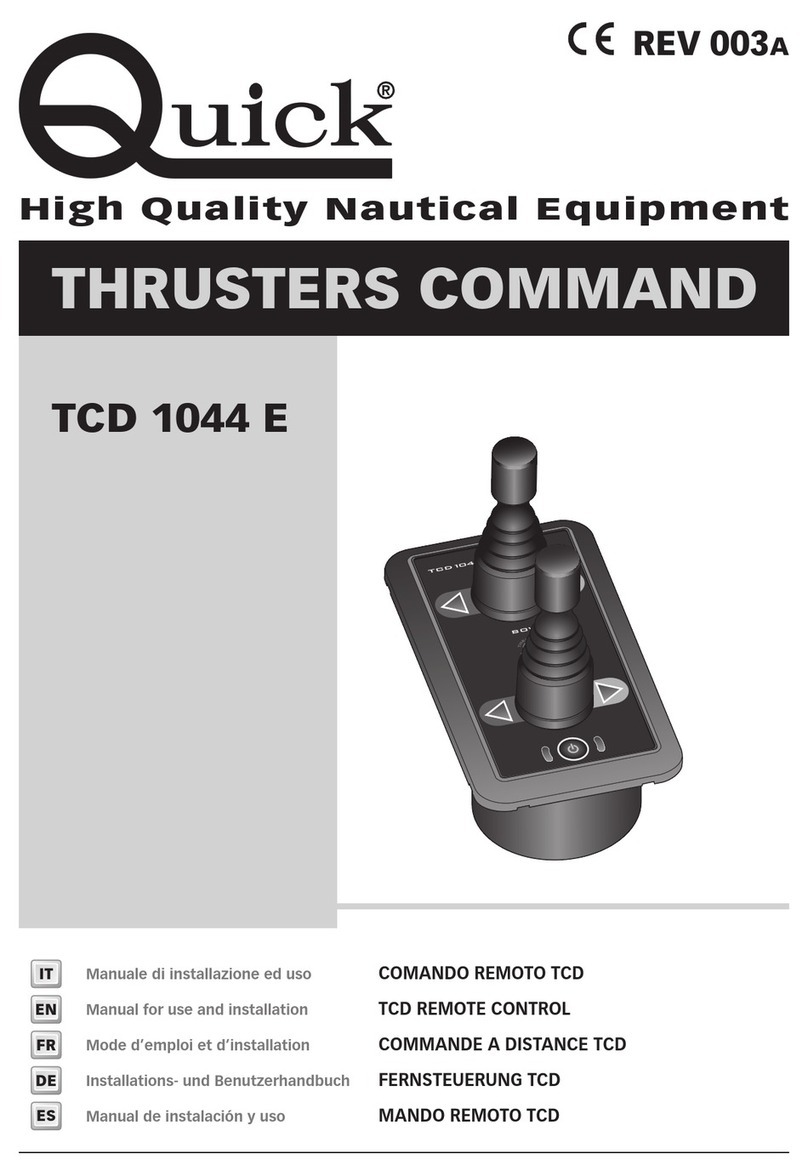
Quick THRUSTERS COMMAND Instruction manual

Quick

Quick THRUSTERS COMMAND Instruction manual

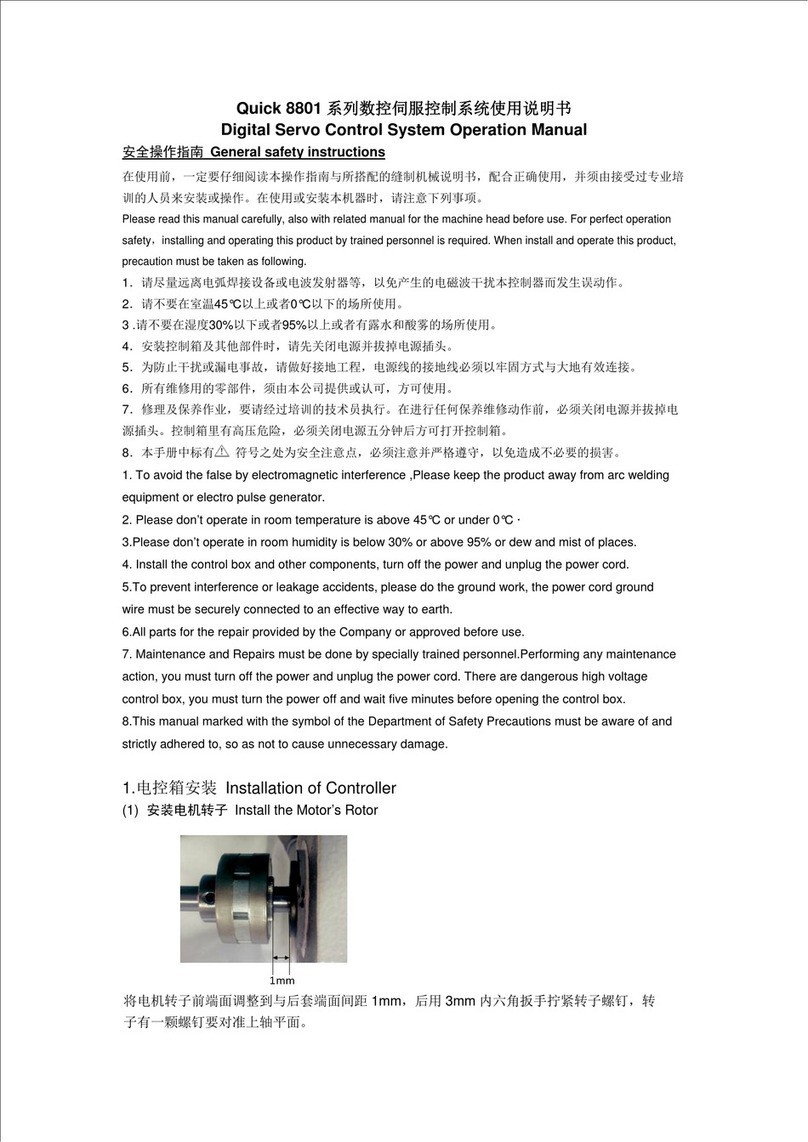
Quick 8801 User manual

Quick

Quick 8801 User manual

Popular Control System manuals by other brands

VPEB Dinamo user manual

VPEB

VPEB Dinamo user manual

Crestron FlipTop FT2-202-ELEC-PTL quick start guide

Crestron

Crestron FlipTop FT2-202-ELEC-PTL quick start guide

MojoDesk Hand Control 2020 Operation instructions

MojoDesk

MojoDesk Hand Control 2020 Operation instructions

Pixsys KTD710 user manual

Pixsys

Pixsys KTD710 user manual

FDC Orion-M Guide

FDC

FDC Orion-M Guide

DriSteem Vapor-logic3 Installation and operation manual

DriSteem

DriSteem Vapor-logic3 Installation and operation manual

Wondrwall Light switch user manual

Wondrwall

Wondrwall Light switch user manual

rotork Paksan P3F Technical manual

rotork

rotork Paksan P3F Technical manual

Coelbo SPEEDMATIC SET ALT Installation and operating instructions

Coelbo

Coelbo SPEEDMATIC SET ALT Installation and operating instructions

Helo WE 14 product manual

Helo

Helo WE 14 product manual

Seav LXB 2150 manual

Seav

Seav LXB 2150 manual

GE Multilin GEK-113328A instruction manual

GE

GE Multilin GEK-113328A instruction manual

Norac UC5-CAB-HG06-HG07 installation manual

Norac

Norac UC5-CAB-HG06-HG07 installation manual

Sargent EC700 manual

Sargent

Sargent EC700 manual

Halytech Illuminator User instructions

Halytech

Halytech Illuminator User instructions

Autopilot PPC10 Installation and user guide

Autopilot

Autopilot PPC10 Installation and user guide

Keystone RV KeyTV quick start guide

Keystone RV

Keystone RV KeyTV quick start guide

Thermo King Super II SR+ manual

Thermo King

Thermo King Super II SR+ manual

manuals.online logo
manuals.online logoBrands
  • About & Mission
  • Contact us
  • Privacy Policy
  • Terms and Conditions

Copyright 2025 Manuals.Online. All Rights Reserved.