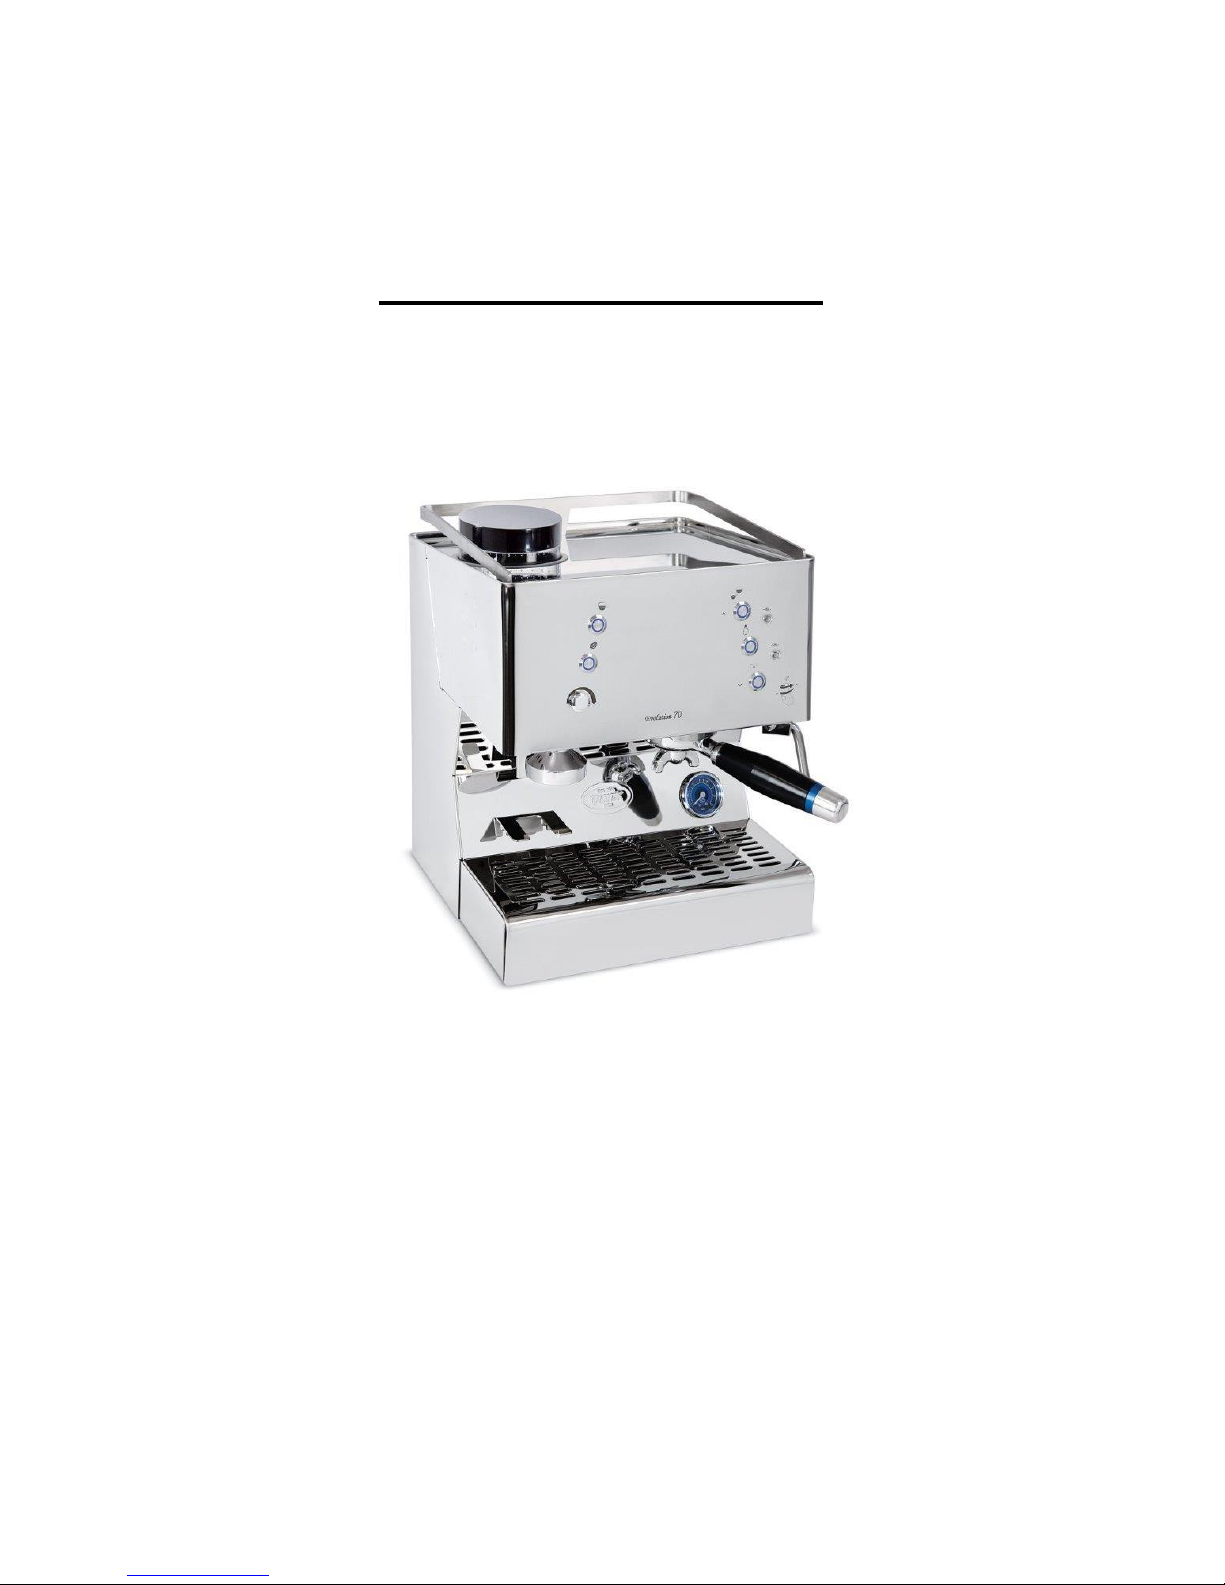
Mod. Evolution ’70 pulsanti Rev.05
L’operatore non deve:
Toccare con le mani le superfici calde, ma utilizzare
solo i comandi previsti;
Intervenire in opere di manutenzione o di trasporto
macchina con la spina inserita e la macchina calda;
Staccare la spina tirando il cavo di alimentazione;
Utilizzare la macchina se il cavo di alimentazione
risulta danneggiato;
Toccare la macchina con mani o piedi bagnati o
umidi;
C lo e la
macchina.
Lavare
pressione o con vapore;
Immergere la macchina in acqua o in altro tipo di
liquido;
Appoggiare contenitori di liquidi sulla macchina.
La macchina non è destinata a persone (inclusi
bambini) con capacità mentali, fisiche o sensoriali
ridotte, fatti salvi i casi in cui tali persone abbiano
ricevuto assistenza o formazione da una persona
responsabile della loro incolumità. Adottare le
dovute precauzioni per evitare che i bambini
giochino con ;
Qualora la macchina risultasse bagnata o
fortemente umida, bisogna astenersi da
quando non si abbia la certezza della sua asciugatura.
parte del servizio di assistenza per accertare eventuali
danni subiti dai componenti elettrici.
Controindicazioni d’uso
per altri scopi come per esempio macinare ed erogare
prodotti diversi da caffè o prodotti non alimentari.
7. TRASPORTO
Durante il trasporto tenere sempre il collo in posizione
documentazione a corredo che va conservata per
ulteriori consultazioni.
Aprire la parte superiore della confezione, togliere
-
lucro.
-
cessori, del cavo di alimentazione e della spina ed
in caso di danni, avvertire con tempestività il
rivenditore.
stica,
polistirolo espanso, chiodi, cartoni, ecc..) non devono
essere lasciati alla portata di bambini in quanto
potenziali fonti di pericolo. Non disperdere
affidandoli agli organi preposti a tali attività.
8. INSTALLAZIONE
zione
secondo i dati di targa.
Accertarsi che la linea elettrica abbia le stesse
caratteristiche della macchina.
di salvavita o di interruttore generale automatico con
una efficiente presa a terra. Qualora non vi fosse alcuna
sicurezza elettrica, fare installare da personale
qualificato un interruttore bipolare magnetotermico
differenziale come previsto dalle norme di sicurezza
vigenti.
E’ obbligatorio il collegamento a terra
dell’apparecchio. Il costruttore declina ogni
responsabilità qualora questa norma
antinfortunistica non venga rispettata.
Fare attenzione a non danneggiare il cavo di
alimentazione con piegature, schiacciamenti
o sollecitazioni.
-
na tirando il cavo, ma estrarlo impugnando la spina.
Si consiglia di evitare il collocamento della macchina in
nicchie o similari onde evitare disagi operativi, di
rifornimento e manutenzione.
Il piano sul quale va installata la macchina deve
essere ben livellato, asciutto, robusto e stabile ed
essere ad una altezza dal pavimento di almeno
80cm;
Posizionare la macchina ed inserire la spina del
cavo di alimentazione nella presa di corrente.
9. FUNZIONAMENTO
9.1. Riempimento
Riempire il serbatoio di acqua, utilizzare possibilmente
acqua potabile addolcita. Inserire il serbatoio
accertandosi che il tubo pescante in gomma non sia
piegato.
9.2. Accensione
per dare
alimentazione alla macchina. I led dei pulsanti si
accendono in sequenza per 4 secondi quindi si
spengono tutti.
NOTA
anti-orario)sensoinlanciala(Ruotare caffè.erogarediprimachiusa,siavaporelancialacheassicurarsi calore,discambiatoresolounconmacchineleperBENE: