manuals.online logo
Brands
  1. Home
  2. •
  3. Brands
  4. •
  5. Quoizel
  6. •
  7. Light Fixture
  8. •
  9. Quoizel TRE9009K Mounting instructions

Quoizel TRE9009K Mounting instructions

1of2
6 CORPORATE PARKWAY
GOOSE CREEK SC 29445
www quoizel com
,.
..
2017 QuoizelInc.
Package Contents
Pleasegoto forproductcleaningtips.Gotothe selection.
(1)A21MediumBasebulb150WMaximum.
www.quoizel.com Care + Maintenance
LightSource:
EstimatedAssembly Time:
Preparation:
20-30minutes
Identifyandinspectallpartsbeforebeginninginstallation.Checkpackagecontentlistanddiagramsbelowtobesureallpartsare
present.Ifanypartsaremissingordamaged,donotattempttoassemble,install,oroperatethefixture.Contactcustomerserviceforreplacement
parts.
ToolsRequired: Flathead screwdriver,Phillips screwdriver,pliers, wire cutters, wire strippers, electrical tape, safety glasses, marking pen, 1/16”
drillbit,centerpunch,hammer,drillandwrench.
Warnings and Cautions
Turn off electricity at circuit breaker or main fuse box before installation. Consult a licensed electrician if in doubt.
These instructions are provided for your safety. It is very important you read them completely before installing the fixture. We strongly
recommend that a licensed, professional electrician perform the installation.
Disconnect fixture from power source before replacing bulbs. Make sure bulbs are given sufficient time to cool before removal.
AMounting Screw
x3
Assembly Instruction Sheet #IS-TRE9009K
For Style TRE9009K
D
Thank you for purchasing a Quoizel product.
Need assistance with parts or assembly? Call Quoizel customer service at 1-800-645-3184
or visit us on-line at www.quoizel.com
Fixture
Body
x1
I
E
Steel Collar
x1
Socket Collar
x1
G
Socket
Collar Tool
x1
Curve
Panel
x2
Glass Panel
x2
Glass Shade
x1
F
BLock Ball
x2
CFixture Hood
x1
H
J
STEP 1 Attach the Glass Panels, Curve
Panels and Glass Shade to Fixture Body
-
A. Insert one Glass Panel (F) into the cage of
the Fixture Body (D) first. Attach the
bottom edge of the Glass Panel (F) to slot
in one of the rest sides. And fold the Tabs
in the top edge of the cage to secure the
top edge of the Glass Panel (F). Repeat
the same process to install another Glass
Panel (F) to the opposite side of the cage.
C. Place the Glass Shade (I) and the Steel
Collar (G) over the socket as shown. By
using the Socket Collar Tool (J), thread
the Socket Collar (H) onto the socket and
hand tighten until snug to secure the
Glass Shade (I).
B. Insert one Curve Panel (E) into the cage
of the Fixture Body (D). Attach the bottom
edge of the Curve Panel (E) to slot on one
narrow side of the cage. And fold the Tabs
in the top edge of the cage to secure the
top edge of the Curve Panel (E). Repeat
the same process to install another Curve
Panel (E) to another narrow side of the
cage. D
E
F
Socket
I
G
H
Figure 1
Slot
Tab
ReleasedDate:2017-01-05
STEP 2 -Mark the Location for the 3 Mounting Holes
A. Place the light fixture onto the post and mark the location of the 3
mounting holes on the fixture fitter onto the post with the marking
pen.
Fixture
Fitter
Marking Pen
Mounting
Hole
STEP 3 M C
EM H
-arking the enter of
ach ounting ole
A. Remove the light fixture. Using
the center punch and hammer
marking the center of each
mounting hole location that is
marked with the marking pen.
Center Punch
Hammer
Marking
Post
Lighting
Post
Post
STEP 4 Drill Holes-
A. Using the 1/16” bit and drill, drill a pilot hole completely through the
post at each (3) locations marked in step 5 above.
1/16” bit and drill
Post
Post
Fixture
Fitter
Figure 2
Figure 3
Figure 4
2of2
Thank you for purchasing a Quoizel product.
Need assistance with parts or assembly? Call Quoizel customer service at 1-800-645-3184
or visit us on-line at www.quoizel.com
TRE9009K
FINISH: MYSTIC BLACK
NOTE: ALL DIMENSIONS ARE ROUNDED
UP TO THE NEAREST 1/4"
4" Dia. 7.75"
7.75"
17.25"
8.5"
2017 QuoizelInc. ReleasedDate:2017-01-05
STEP 5 - Wire Connections
A. Use standard wire connectors (not included) to make all wire
connections. Twist connectors until wires are tightly joined together.
Wrap each connection with approved electrical tape and carefully
stuff all the connected wires into the Outlet Box.
White wire
from outlet box White wire
from fixture
Black wire from
outlet box (or Red)
Black wire
from fixture
Bare, or Green
Ground wire
from outlet box
Ground wire
from fixture
Figure 5
STEP 6 Attach the fixture
to the Post Mount
-
A. Place the fixture on the
post lining up the mounting
holes on the fixture fitter
with the holes on the post.
Use the Mounting Screws
(A) to attach the fixture to
the post.
Post
Hole
Fixture
Fitter
Mounting
Hole
Post
Lighting
A
Figure 6
STEP 7 - Install the Bulb and
Fixture Hood
A. Insert the bulb onto socket and
screw snugly into place.
B. Pass the Fixture Hood (C) over the
bolts on the top edge of the Fixture
Body (D) and secure with Lock
Balls (B). Hand tighten until snug.
Your fixture is now assembled and
ready to use. Enjoy!
B
C
Bulb (not
supplied)
Socket
Bolt
Figure 7
D

Other Quoizel Light Fixture manuals

Quoizel MLO8409WT User manual

Quoizel

Quoizel MLO8409WT User manual

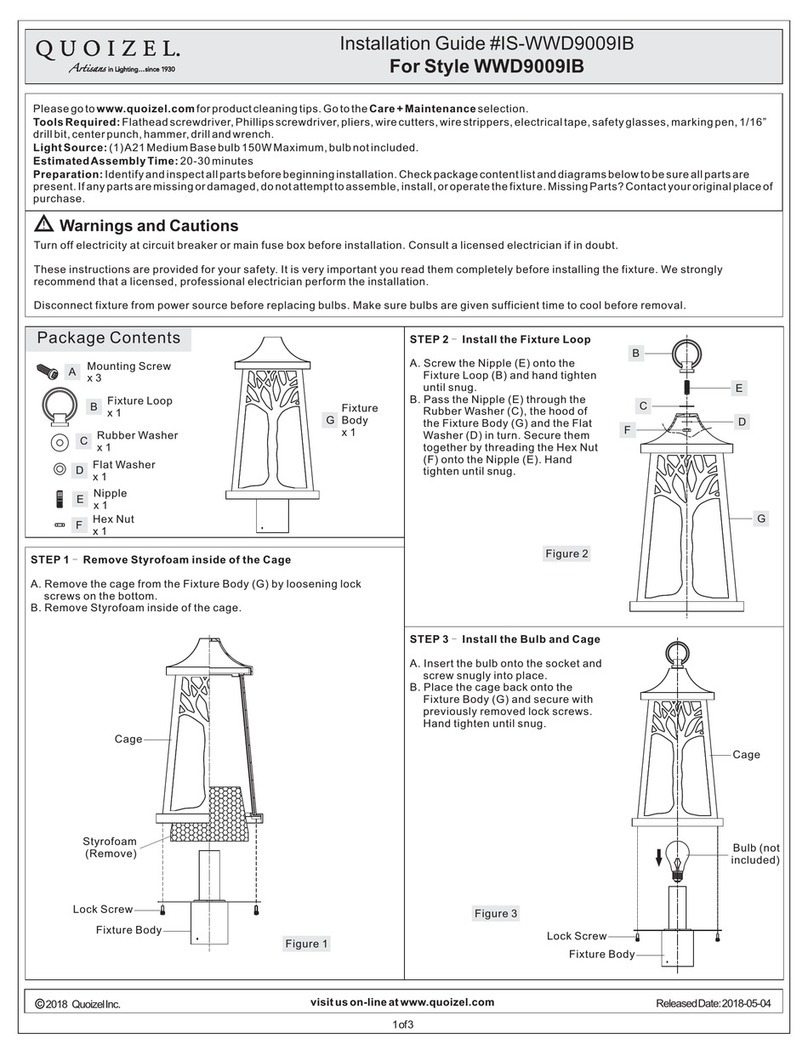
Quoizel WWD9009IB User manual

Quoizel

Quoizel WWD9009IB User manual

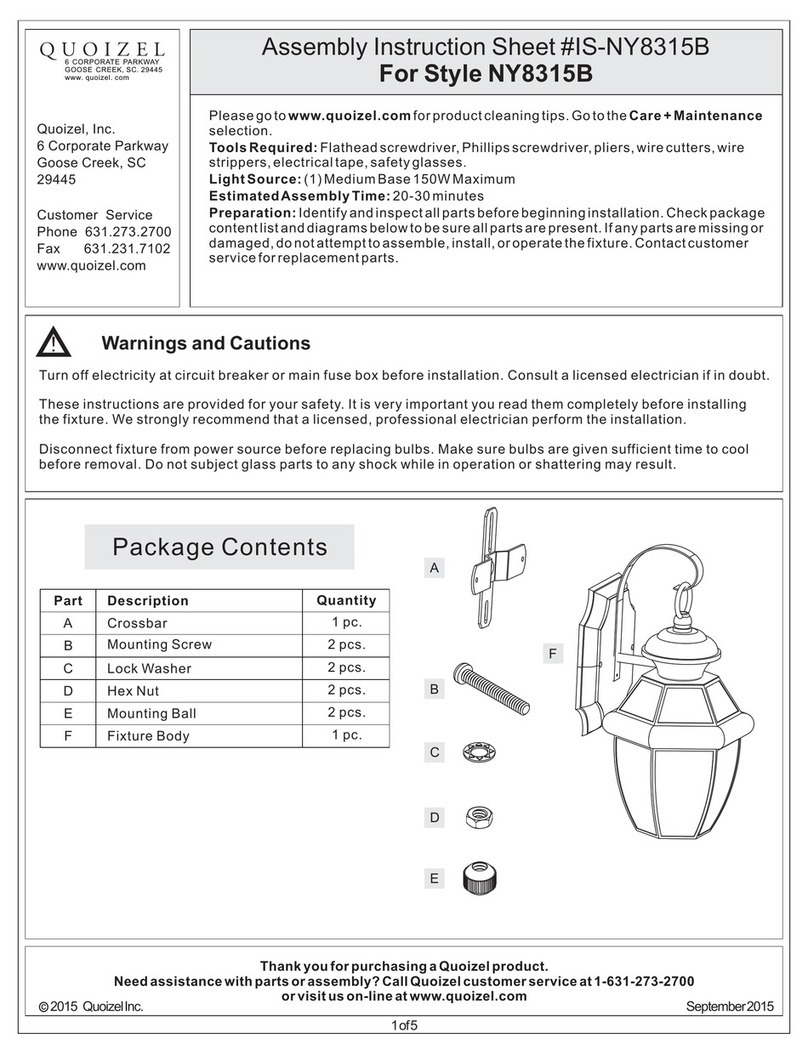
Quoizel NY8315B Mounting instructions

Quoizel

Quoizel NY8315B Mounting instructions

Quoizel PCDM1618C User manual

Quoizel

Quoizel PCDM1618C User manual

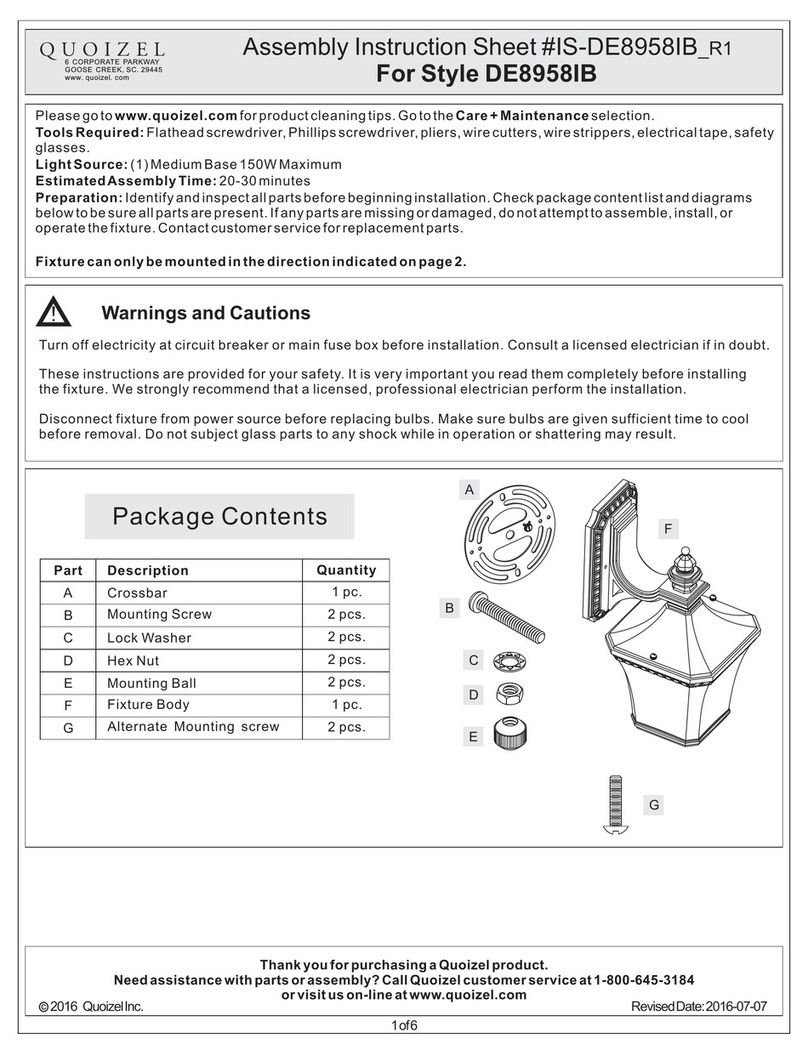
Quoizel DE8958IB Mounting instructions

Quoizel

Quoizel DE8958IB Mounting instructions

Popular Light Fixture manuals by other brands

daisalux LPS24 user manual

daisalux

daisalux LPS24 user manual

Philips 6912528PH Instruction leaflet

Philips

Philips 6912528PH Instruction leaflet

Lightolier Lytecaster 604MR specification

Lightolier

Lightolier Lytecaster 604MR specification

IKEA LUNNOM LED1839S2 quick start guide

IKEA

IKEA LUNNOM LED1839S2 quick start guide

Finelite HP-WG installation instructions

Finelite

Finelite HP-WG installation instructions

Boost BOOST-LIGHT120 user manual

Boost

Boost BOOST-LIGHT120 user manual

Lightolier Lytespan 8180WH specification

Lightolier

Lightolier Lytespan 8180WH specification

Cooper Lighting Halo L761 Specification sheet

Cooper Lighting

Cooper Lighting Halo L761 Specification sheet

Philips Lytecaster 2000P1 specification

Philips

Philips Lytecaster 2000P1 specification

Laser LSH-240RGB10W manual

Laser

Laser LSH-240RGB10W manual

elektraLite 1018 RGBWA user manual

elektraLite

elektraLite 1018 RGBWA user manual

Beamz 151.224 user manual

Beamz

Beamz 151.224 user manual

Lightolier Lytecaster 1100DAICM specification

Lightolier

Lightolier Lytecaster 1100DAICM specification

RSA Lighting Combo Mini CM3B specification

RSA Lighting

RSA Lighting Combo Mini CM3B specification

Lightolier WIRING OF AGILI-T FIXTURES Instructions for maintenance reference

Lightolier

Lightolier WIRING OF AGILI-T FIXTURES Instructions for maintenance reference

MBT MagikPar user manual

MBT

MBT MagikPar user manual

Color imagination SI-031 user manual

Color imagination

Color imagination SI-031 user manual

Stairville MH-575 S MKII Pro-Spot user manual

Stairville

Stairville MH-575 S MKII Pro-Spot user manual

manuals.online logo
manuals.online logoBrands
  • About & Mission
  • Contact us
  • Privacy Policy
  • Terms and Conditions

Copyright 2025 Manuals.Online. All Rights Reserved.