manuals.online logo
Brands
  1. Home
  2. •
  3. Brands
  4. •
  5. Quoizel
  6. •
  7. Light Fixture
  8. •
  9. Quoizel WWD9009IB User manual

Quoizel WWD9009IB User manual

1of3
Pleasegoto forproductcleaningtips.Gotothe selection.
markingpen,1/16”
drillbit,centerpunch,hammer,drillandwrench.
(1)A21MediumBasebulb150WMaximum,bulbnotincluded.
MissingParts?Contactyouroriginalplaceof
purchase.
www.quoizel.com Care + Maintenance
LightSource:
ToolsRequired:Flatheadscrewdriver,Phillipsscrewdriver,pliers,wirecutters,wirestrippers,electricaltape,safetyglasses,
EstimatedAssembly Time:
Preparation:
20-30minutes
Identifyandinspectallpartsbeforebeginninginstallation.Checkpackagecontentlistanddiagramsbelowtobesureallpartsare
present.Ifanypartsaremissingordamaged,donotattempttoassemble,install,oroperatethefixture.
For Style WWD9009IB
Warnings and Cautions
Turn off electricity at circuit breaker or main fuse box before installation. Consult a licensed electrician if in doubt.
These instructions are provided for your safety. It is very important you read them completely before installing the fixture. We strongly
recommend that a licensed, professional electrician perform the installation.
Disconnect fixture from power source before replacing bulbs. Make sure bulbs are given sufficient time to cool before removal.
Package Contents
AMounting Screw
x3
Fixture
Body
x1
ENipple
x1
G
STEP 1 Remove Styrofoam inside of the Cage-
A. Remove the cage from the Fixture Body (G) by loosening lock
screws on the bottom.
B. Remove Styrofoam inside of the cage.
2018 QuoizelInc. ReleasedDate:2018-05-04
visit us on-line at www.quoizel.com
Styrofoam
(Remove)
Cage
Fixture Body
Lock Screw
Figure 1
Installation Guide #IS-WWD9009IB
BFixture Loop
x1
CRubber Washer
x1
DFlat Washer
x1
FHex Nut
x1
STEP 2 Install the Fixture Loop-
A. Screw the Nipple (E) onto the
Fixture Loop (B) and hand tighten
until snug.
B. Pass the Nipple (E) through the
Rubber Washer (C), the hood of
the Fixture Body (G) and the Flat
Washer (D) in turn. Secure them
together by threading the Hex Nut
(F) onto the Nipple (E). Hand
tighten until snug.
B
C
D
F
E
G
STEP 3 Install the Bulb and Cage-
A. the the
B. Place the cage back onto the
Fixture Body (G) and secure with
previously removed lock screws.
Hand tighten until snug.
Insert bulb onto socket and
screw snugly into place.
Bulb (not
included)
Figure 3
Lock Screw
Cage
Fixture Body
Figure 2
2of3
STEP 7 - Wire Connections
A. Use standard wire connectors (not included) to make all wire
connections. Twist connectors until wires are tightly joined together.
Wrap each connection with approved electrical tape and carefully
stuff all the connected wires into the Outlet Box.
White wire
from outlet box White wire
from fixture
Black wire from
outlet box (or Red)
Black wire
from fixture
Bare, or Green
Ground wire
from outlet box
Ground wire
from fixture
Figure 5
HOW TO REPLACE GLASS PANEL
A. Unscrew lock screws on the bottom corners of the Fixture Body to
remove the cage from the Fixture Body.
B. Unscrew screws on the bottom corners of the cage and remove
blocks and the glass panel holder from the cage.
C. Replace glass panel carefully. Place the glass panel holder and
blocks back onto the cage and align holes on the blocks to mounting
holes on the bottom corners of the cage. Secure by threading
previously removed screws into the mounting holes on the corners
Hole
Mounting Hole
Glass Panel
Block
Fixture Body
Glass Panel Holder
Screw
Lock Screw
Cage
of the cage. Tighten
until snug with
screwdrivers.
D. Place the cage back
onto the Fixture Body
and secure by
threading lock screws
back into mounting
holes on blocks. Hand
tighten until snug.
Figure 4
STEP 6 Drill Holes-
A. Using the 1/16” bit and drill, drill a pilot hole completely through the
post at each (3) locations marked in step 5 above.
1/16” bit and drill
Post
STEP 5 M C E M H-arking the enter of ach ounting ole
A. Remove the light fixture. Using the center punch and hammer
marking the center of each mounting hole location that is marked
with the marking pen.
Center Punch
Hammer
Marking
Post
2018 QuoizelInc. ReleasedDate:2018-05-04
visit us on-line at www.quoizel.com
Figure 6
STEP 4 -Mark the Location for the 3 Mounting Holes
A. Place the light fixture onto the post and mark the location of the 3
mounting holes on the fixture fitter onto the post with the marking
pen.
Fixture
Fitter Marking Pen
Mounting Hole
Post
Lighting
Post Post
Fixture
Fitter
STEP 8 Attach the fixture to the Post Mount-
A. Place the fixture on the post lining up the mounting holes on the
fixture fitter with the holes on the post. Use the Mounting Screws (A)
to attach the fixture to the post.
Your fixture is now assembled and ready to use. Enjoy!
A
Hole
Post
Mounting Hole
Post Lighting
Fixture Fitter
Figure 7
Figure 7
3of3
2018 QuoizelInc. ReleasedDate:2018-05-04
visit us on-line at www.quoizel.com
WWD9009IB
FINISH: IMPERIAL BRONZE
22"
9.25” SQ.
TOP VIEW
NOTE: ALL DIMENSIONS ARE ROUNDED UP TO THE NEAREST 1/4"

Other Quoizel Light Fixture manuals

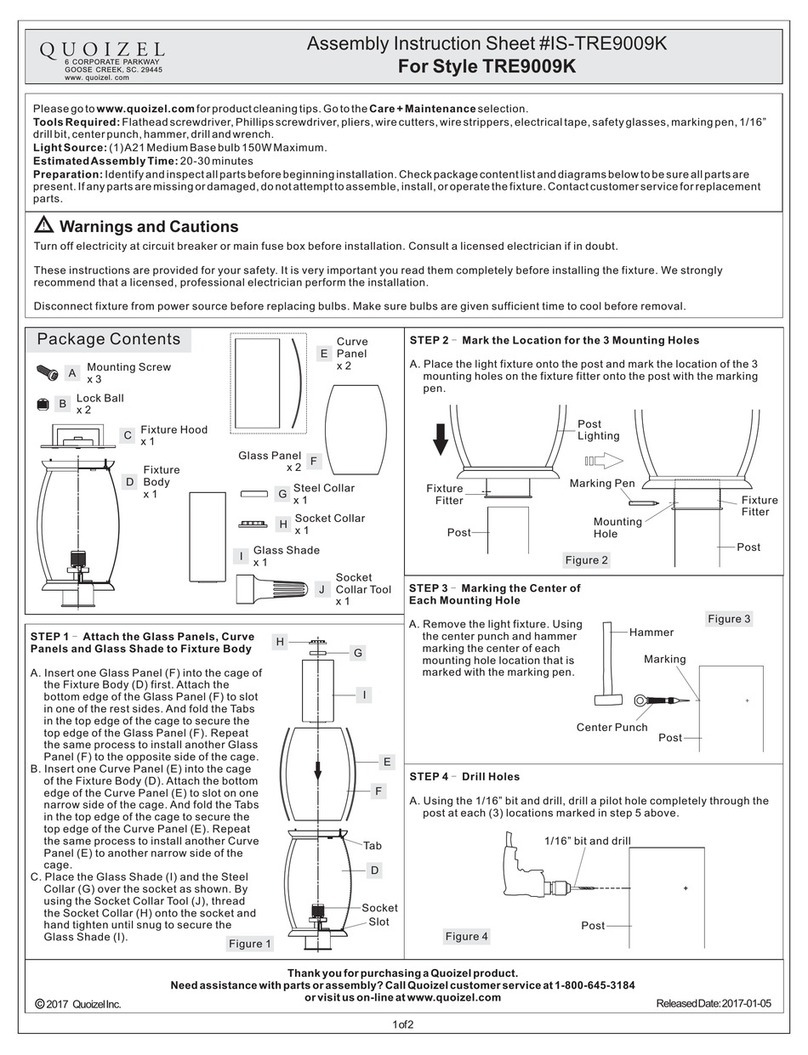
Quoizel TRE9009K Mounting instructions

Quoizel

Quoizel TRE9009K Mounting instructions

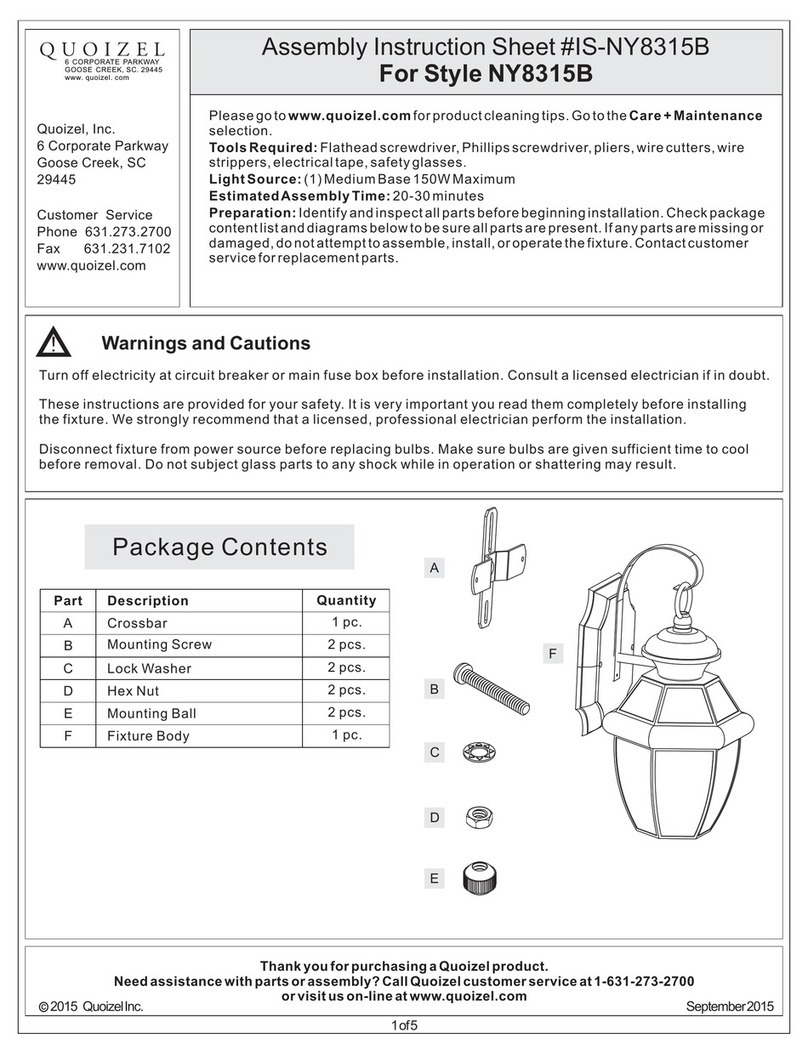
Quoizel NY8315B Mounting instructions

Quoizel

Quoizel NY8315B Mounting instructions

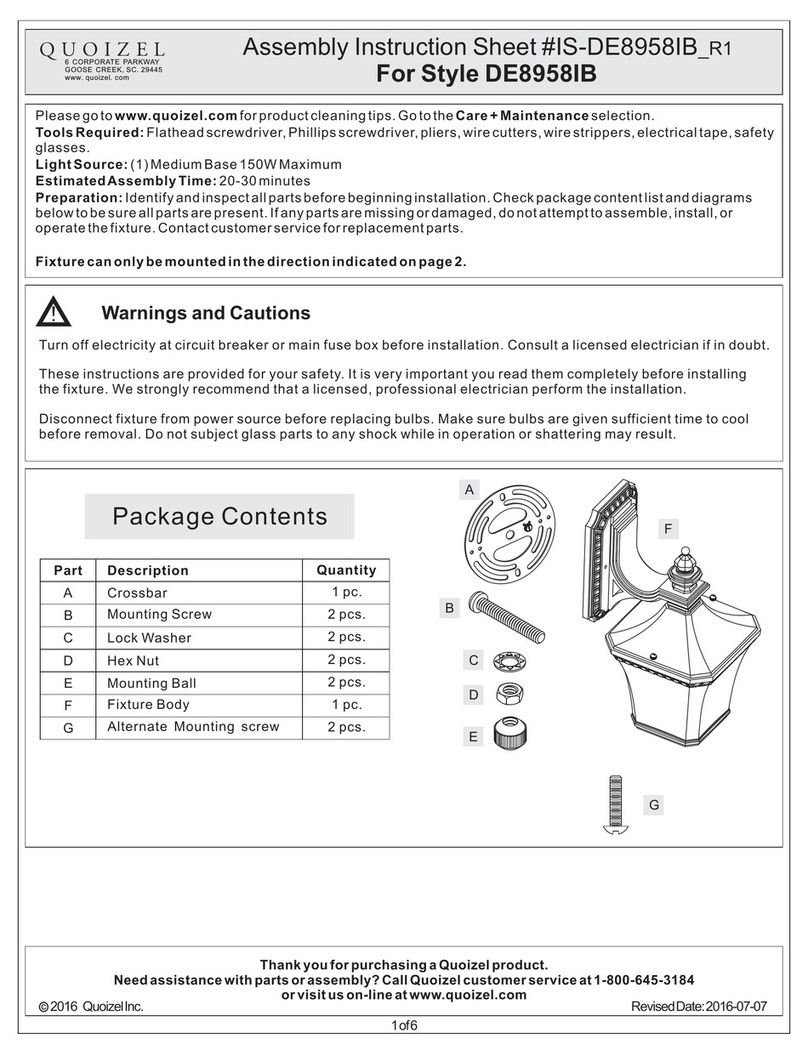
Quoizel DE8958IB Mounting instructions

Quoizel

Quoizel DE8958IB Mounting instructions

Quoizel MLO8409WT User manual

Quoizel

Quoizel MLO8409WT User manual

Quoizel PCDM1618C User manual

Quoizel

Quoizel PCDM1618C User manual

Popular Light Fixture manuals by other brands

Full Circle Gear Saturn Light Installation and assembly guide

Full Circle Gear

Full Circle Gear Saturn Light Installation and assembly guide

Manta TOUCH MD1 instruction manual

Manta

Manta TOUCH MD1 instruction manual

TINTSKY TD01 manual

TINTSKY

TINTSKY TD01 manual

Party Light & Sound PARTY-WASH7 user manual

Party Light & Sound

Party Light & Sound PARTY-WASH7 user manual

Philips VL72 installation instructions

Philips

Philips VL72 installation instructions

Bomma Blimp BOM1105722 installation manual

Bomma

Bomma Blimp BOM1105722 installation manual

Green Creative 17T8U6 Series installation guide

Green Creative

Green Creative 17T8U6 Series installation guide

Modulex MSP-080F installation guide

Modulex

Modulex MSP-080F installation guide

Cooper Lighting all-pro mst27920les instruction manual

Cooper Lighting

Cooper Lighting all-pro mst27920les instruction manual

Lightolier Lytespan 8235WH specification

Lightolier

Lightolier Lytespan 8235WH specification

Lightolier AGH specification

Lightolier

Lightolier AGH specification

JONATHAN Y JYL2011A manual

JONATHAN Y

JONATHAN Y JYL2011A manual

SIGNIFY Hadco V671 Series installation instructions

SIGNIFY

SIGNIFY Hadco V671 Series installation instructions

Chauvet Professional ROGUEOUTCAST1BEAMWASH Quick reference guide

Chauvet Professional

Chauvet Professional ROGUEOUTCAST1BEAMWASH Quick reference guide

Signtex Moonlite LED MHE Series Installation instructions & user manual

Signtex

Signtex Moonlite LED MHE Series Installation instructions & user manual

Triarch 29320/2 Assembly instruction

Triarch

Triarch 29320/2 Assembly instruction

Inter-lux Sattler Sky Assembly instruction

Inter-lux

Inter-lux Sattler Sky Assembly instruction

Martin CYCLO 04 DMX user manual

Martin

Martin CYCLO 04 DMX user manual

manuals.online logo
manuals.online logoBrands
  • About & Mission
  • Contact us
  • Privacy Policy
  • Terms and Conditions

Copyright 2025 Manuals.Online. All Rights Reserved.