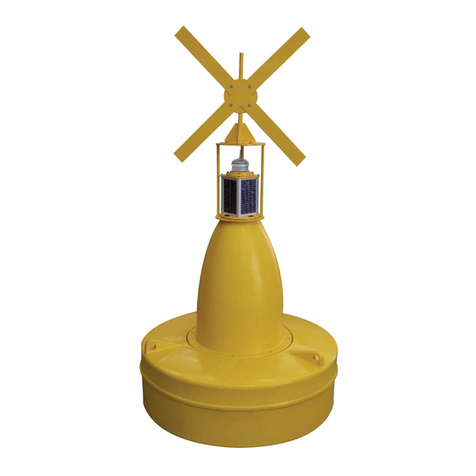
R.R. Forrest AQUA LANTERN User manual

ASSEMBLING YOUR AQUA LANTERN SOLAR LIGHTED BUOY
STEP 1
Remove the box contents and locate the flanged anchor
bracket and four mounting screws. 4 AA rechargeable
batteries are included and have been installed at the
factory.
STEP 2
Locate the four threaded holes on the bottom
of the buoy. Using a Flathead screwdriver, attach
the flanged anchor bracket to the bottom of the
buoy using the screws provided. CAUTION: Do
Not Over-Tighten Mounting Screws!
Page 1
58 C hesterfield Drive Noblesville, Indiana 46060 www.aqualantern.com
R R F orres t C ompany
. .

ASSEMBLING YOUR BUOY (Cont.)
Page 2
STEP 3
Locate the protective cover on top of the solar generator. Under the protective cover,
(REMOVE THIS BEFORE USE), is a magnet; using a Phillips screw driver, remove the two
small screws and the protective cover to expose the magnet. Touch your screwdriver to
the magnet and pull the magnet out to remove it. This operation will activate the
batteries for charging and normal operation. You may dispose of the magnet and
protective cover.
CONGRATULATIONS! NOW YOU CAN LIGHT UP THE LAKE!
YOUR AQUA LANTERN IS READY FOR USE.
STEP 4
Use proper hardware and tethering equipment for
safe anchoring of your Aqua Lantern.
ATTENTION: Anchoring hardware and equipment
are not included.

Page 3
STEP 1
At least every two years you will need to replace
your rechargeable batteries in the buoy's solar
generator.* To replace the batteries, you will first
need to remove the solar generator assembly by
turning it counter-clockwise from the buoy
enclosure. For easy removal, use the supplied
spanner wrench by aligning with radial grooves in
lid as shown. CAUTION: A rubber seal ring on the
threaded lid prevents moisture from penetrating
the solar compartment. Do not lose this seal ring
and always make sure it is in place before
threading the lid back on.
STEP 2
Using a Phillips screwdriver, remove the three
small screws holding the battery compartment
to the solar generator cover. Be careful not to
damage the exposed LED's or electronics.
CHANGING BATTERIES
Uses (4) AA, 1.2V, Ni-Mh (Nickel-Metal hydride) rechargeable batteries. Ensure replacement
batteries (not included) are fully charged prior to installation. Always follow battery
manufacturer's instructions to insure the longest life of your store brand batteries.
* ATTENTION: battery life will vary based on use and
operating conditions

STEP 4
Turn the battery compartment over to
observe the five screws holding the
protective cover in place. Extract these
screws and remove the cover to expose
the rechargeable batteries underneath.
Page 4
STEP 5
With the cover removed you may now replace the batteries.
TIP: After installing the new batteries, and before re-
assembling the solar unit, it is a good idea to take the
entire solar unit to a dark room to insure the solar unit is in
proper working order and the batteries have a solid
connection. When the LED's light-up you have successfully
replaced your batteries. Reverse steps 1 - 4 to re-assemble
your buoys solar generator.
STEP 3
Upon removing the three mounting screws, pull
the battery compartment away from the solar
generator cover. Use care when pulling or
prying the compartment away from the cover,
as to not damage the exposed LED's or external
wiring.
CHANGING BATTERIES (Cont.)
ATTENTION: If you live in a region where the outside temperature reaches a sustained 35 degrees in the
winter months, we recommend that you remove the Aqua Lantern from the lake and store it in a warm dry
place until spring. For additional information, visit "www.aqualantern.com"
Table of contents