manuals.online logo
Brands
  1. Home
  2. •
  3. Brands
  4. •
  5. RAB Lighting
  6. •
  7. Outdoor Light
  8. •
  9. RAB Lighting LESLIE LES2X13 User manual

RAB Lighting LESLIE LES2X13 User manual

LESLIE LES2X13 INSTALLATION INSTRUCTIONS
Thank you for buying RAB lighting xtures. Our goal is to design the best quality products to get the job done right. We’d like to hear your comments.
Call the Marketing Department at 888-RAB-1000 or email: marketing@rabweb.com
TM
IMPORTANT
READ CAREFULLY BEFORE INSTALLING FIXTURE. RETAIN THESE INSTRUCTIONS FOR FUTURE REFERENCE.
Fixtures must be wired in accordance with the National Electrical Code and all applicable local codes. Proper grounding is required
for safety. THIS PRODUCT MUST BE INSTALLED IN ACCORDANCE WITH THE APPLICABLE INSTALLATION CODE BY A PERSON
FAMILIAR WITH THE CONSTRUCTION AND OPERATION OF THE PRODUCT AND THE HAZARDS INVOLVED.
WARNING: Make certain power is OFF before installing or maintaining xture. No user serviceable parts inside.
CAUTION: For proper weatherproof seal, apply weatherproof silicone sealant around the edge of the Junction Box. This is
especially important with an uneven wall surface. Use silicone sealant on all plugs and unused conduit entries.
FIXTURE MOUNTING
Two LESLIE13 heads come pre-wired and assembled on
CU4 plate, allowing for mounting on round, rectangular
or octagonal surface or recessed junction boxes. Apply
weatherproof silicone sealant around the edge of the
Junction Box (not supplied). This is especially important
with an uneven wall surface.
1. Attach the Universal Mounting Bar with the screws
provided to the Junction Box. In case of surface mount
junction box, use with the Metal Surface Plate.
2. Use the ‘S’shaped hands free Hanging Hook to hold the
CU4 Plate during wiring.
3. Bring power leads and LESLIE13 head leads into
Junction Box.
4. Strip o atleast 1/2” of insulation from all leads, and
insert through openings in Metal Surface Plate (if
used).
5. Attach ground wire to grounding screw on Junction
Box. Complete wiring as shown in wiring diagram
section.
6. Align Gasket, CU4 Plate and Metal Surface Plate (for
use with surface mounted junction boxes) to ensure
proper seal.
7. Tighten Center Screw (make sure O-Ring Gasket is on
the screw) to attach CU4 plate to the box. Check that
the Gasket is fully sealed.
8. Insert plastic Finishing Cap in the center of the CU4
Plate for a weatherproof seal. Use silicone sealant on all
plugs and unused conduit entries.
9. Aim LESLIE13 heads in the desired direction and tighten
locknut and arm screw.
O-Ring Gasket
CU4 Plate
Gasket
Plug
Center Screw
Finishing
Cap
Metal
Surface
Plate
Hanging
Hook
Universal
Mounting
Bar
Bar
Screws
Junction Box
(not supplied).
LESLIE LES2X13 INSTALLATION INSTRUCTIONS
Thank you for buying RAB lighting xtures. Our goal is to design the best quality products to get the job done right. We’d like to hear your comments.
Call the Marketing Department at 888-RAB-1000 or email: marketing@rabweb.com
TM
TROUBLESHOOTING
1. Check that the line voltage at xture is correct. Refer
to wiring section.
2. Check the xture is grounded properly.
LES2X13-IN-0117
CLEANING & MAINTENANCE
CAUTION: Be sure xture temperature is cool enough
to touch. Do not clean or maintain while xture is
energized.
1. Clean lens & xture with non-abrasive cleaning
solution.
2. Do not open xture to clean the LED. Do not touch
the LED.
Easy Answers
rabweb.com
Visit our website for product info
Tech Help Line
Call our experts - 888 722-1000
e-mail
Answered promptly - sales@rabweb.com
Free Lighting Layouts
Answered online or by request
© 2017 RAB LIGHTING Inc.
Northvale, New Jersey 07647 USA
Note: These instructions do not cover all details or variations in equipment nor do they provide for every possible situation during
installation, operation or maintenance.
LIGHT
FIXTURE
(+)LINE BLACK
(-)COMMON WHITE
GROUND GROUND
ONOFF WIRING
Operates only at 120V, 60 Hz. Fixture can be dimmed with most
forward phase incandescent dimmers. For list of compatible
dimmers see www.rablighting.com.
1. Connect the black xture lead to the (+) LINE supply lead.
2. Connect the white xture lead to the (-) COMMON supply
lead.
3. Connect the GROUND wire from xture to supply ground.
Patent: US: D747,525; CA: D RAB Lighting Inc; CN: ZL201430359253.9; MX: 45200; TW: D171128, D173134

Other RAB Lighting Outdoor Light manuals
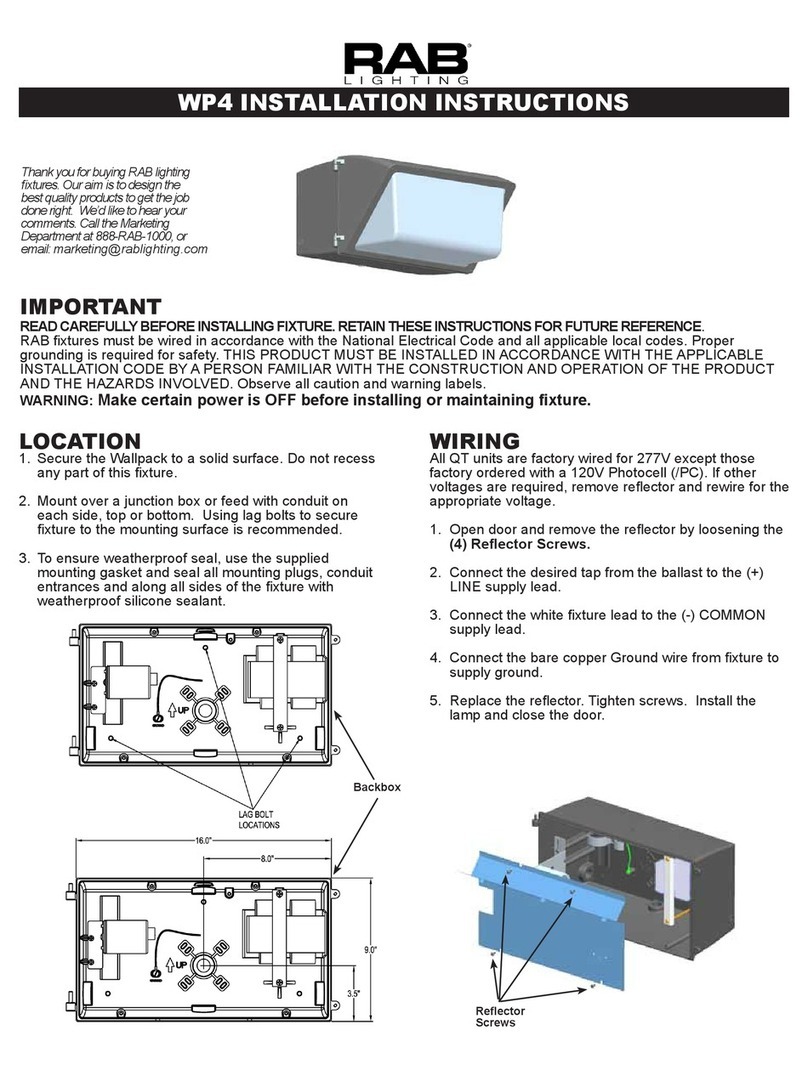
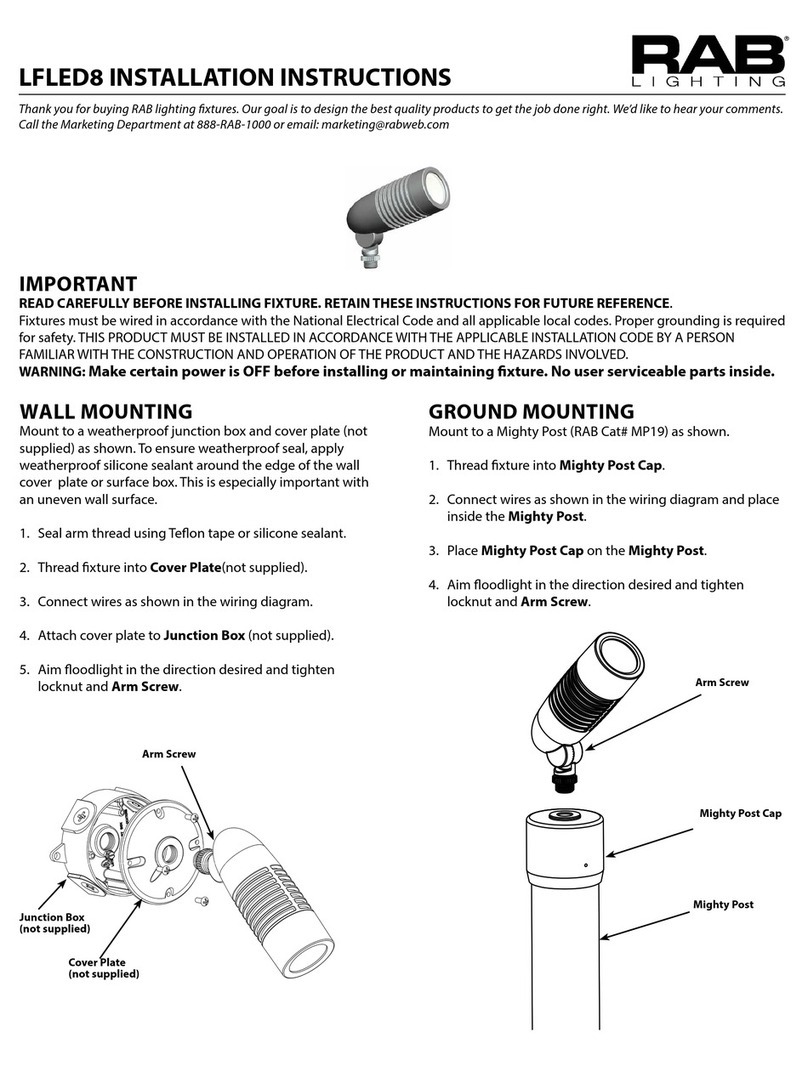
RAB Lighting LFLED8 User manual

RAB Lighting

RAB Lighting LFLED8 User manual

RAB Lighting WPLED26DC User manual

RAB Lighting

RAB Lighting WPLED26DC User manual

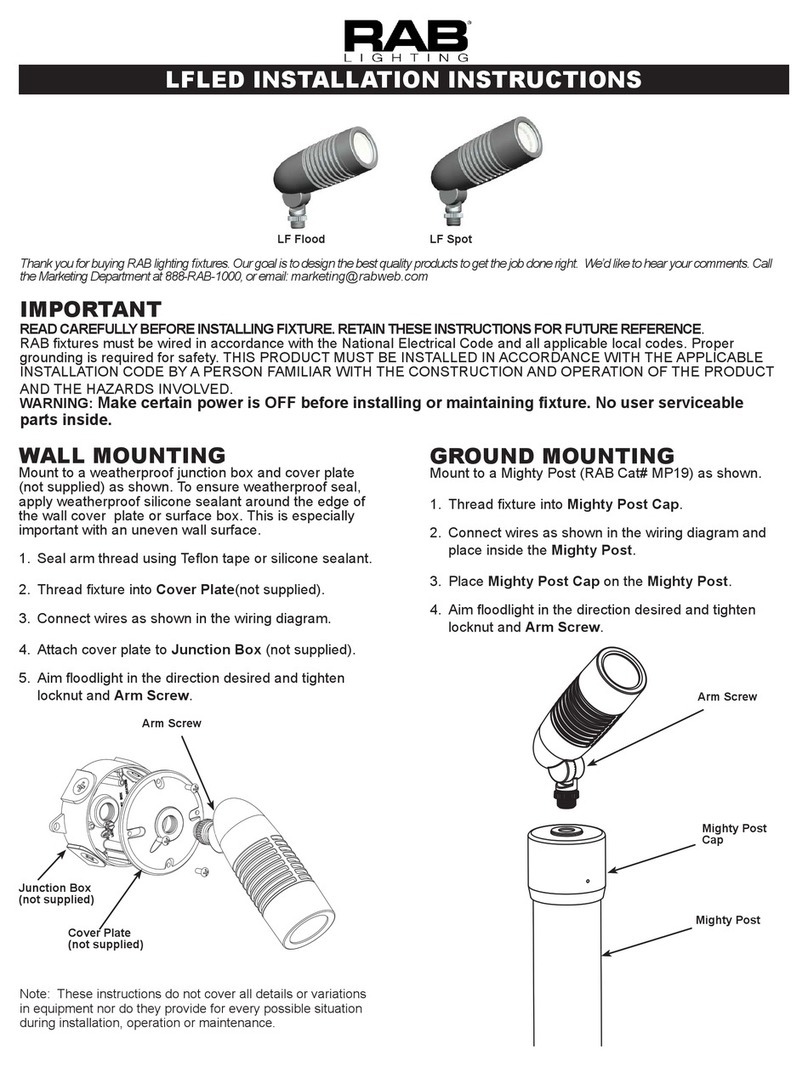
RAB Lighting WP4 Series User manual

RAB Lighting

RAB Lighting WP4 Series User manual

RAB Lighting WPLED 10 User manual

RAB Lighting

RAB Lighting WPLED 10 User manual

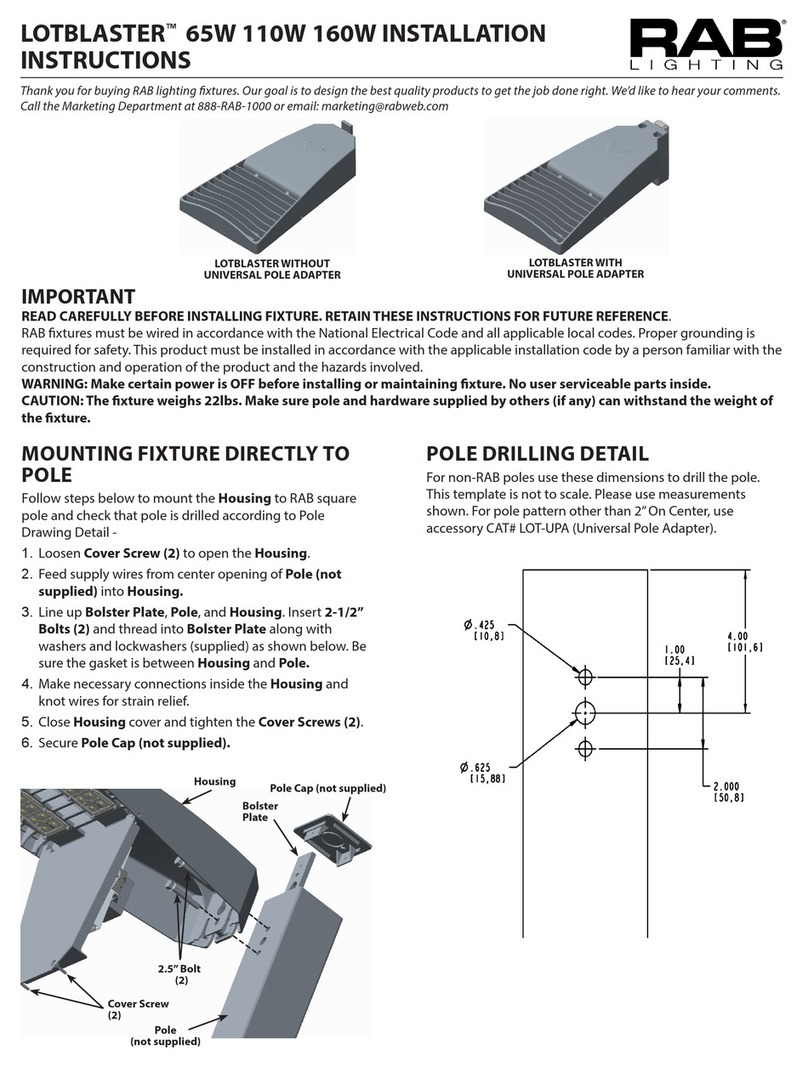
RAB Lighting LOTBLASTER 65W User manual

RAB Lighting

RAB Lighting LOTBLASTER 65W User manual

RAB Lighting WP1FC FULL CUT-OFF User manual

RAB Lighting

RAB Lighting WP1FC FULL CUT-OFF User manual

RAB Lighting WP3 User manual

RAB Lighting

RAB Lighting WP3 User manual
RAB Lighting WP1FC User manual

RAB Lighting

RAB Lighting WP1FC User manual

RAB Lighting LFLED4LV User manual

RAB Lighting

RAB Lighting LFLED4LV User manual

RAB Lighting ALED Series User manual

RAB Lighting

RAB Lighting ALED Series User manual

RAB Lighting LFLED Series User manual

RAB Lighting

RAB Lighting LFLED Series User manual

RAB Lighting WPLED52 User manual

RAB Lighting

RAB Lighting WPLED52 User manual

RAB Lighting TRIBORO TBLED Service manual

RAB Lighting

RAB Lighting TRIBORO TBLED Service manual

RAB Lighting WPLED104 Service manual

RAB Lighting

RAB Lighting WPLED104 Service manual
RAB Lighting TALLPACK User manual

RAB Lighting

RAB Lighting TALLPACK User manual
RAB Lighting HSLED Series User manual

RAB Lighting

RAB Lighting HSLED Series User manual
Popular Outdoor Light manuals by other brands

LIGMAN VA-20132 installation manual

LIGMAN

LIGMAN VA-20132 installation manual

LIGMAN CO-10196-1 instruction manual

LIGMAN

LIGMAN CO-10196-1 instruction manual

RZB Home + BASIC HB 301 Instruction

RZB

RZB Home + BASIC HB 301 Instruction

VIBIA 4710 Assembly instructions

VIBIA

VIBIA 4710 Assembly instructions

mMax 08482L Installation

mMax

mMax 08482L Installation

KMART SLR-15032 quick start guide

KMART

KMART SLR-15032 quick start guide

Wibre 4.0050 installation manual

Wibre

Wibre 4.0050 installation manual

Cooper Lighting Lumark Crosstour MAXX installation instructions

Cooper Lighting

Cooper Lighting Lumark Crosstour MAXX installation instructions

Gavita GAN Electronic 600W SE EU instruction manual

Gavita

Gavita GAN Electronic 600W SE EU instruction manual

JONATHAN Y JYL6505A quick start guide

JONATHAN Y

JONATHAN Y JYL6505A quick start guide

Hoftronic 5420573 user manual

Hoftronic

Hoftronic 5420573 user manual

Zafferano LRM01 operation instruction

Zafferano

Zafferano LRM01 operation instruction

HQ MAG-LAMP3B manual

HQ

HQ MAG-LAMP3B manual

Paradise Datacom GL23974 quick start guide

Paradise Datacom

Paradise Datacom GL23974 quick start guide

Elipta Nimbus 45 E1042T Installation notes

Elipta

Elipta Nimbus 45 E1042T Installation notes

Flash Furniture DN-SL114-8-BR-GG Assembly instructions

Flash Furniture

Flash Furniture DN-SL114-8-BR-GG Assembly instructions

Philips 168089316 user manual

Philips

Philips 168089316 user manual

Santa & Cole Oco 33 Fixed quick start guide

Santa & Cole

Santa & Cole Oco 33 Fixed quick start guide

manuals.online logo
manuals.online logoBrands
  • About & Mission
  • Contact us
  • Privacy Policy
  • Terms and Conditions

Copyright 2025 Manuals.Online. All Rights Reserved.