6
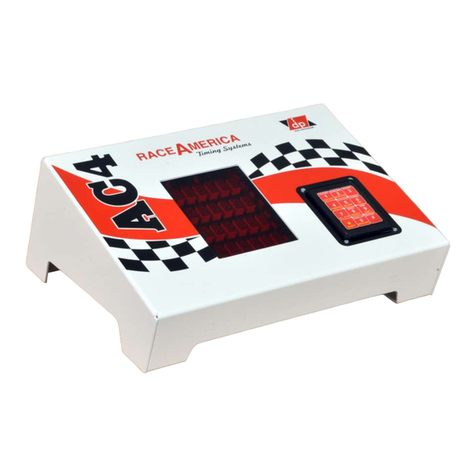
RaceAmerica Model 3850 Timer AC4
Keypad functions for each mode are described
in this manual.
SET-UP STEPS - WIRELESS TIMER
Place the ‘A’ unit at the Start and the ‘B’ unit
at the Finish per diagrams (Fig 4 or 5). Positioning
the antenna(s) as high in the air as possible will
optimize performance.
Power on a T-Link and observe the LED
illuminates alternating between red and green, .
If the battery charge is at minimum charge, the
T-Link will power o even if the power switch
is ON. When T-Links are powered on, the LED
will ash green when a wireless signal is received.
During normal operation, the LED on each T-Link
will ash red during transmit and ash green each
time signal is received from another T-Link.
The *4 CONFIG menu in Fig 11 is used
to configure the timer for single/dual sensor
operation, minutes/seconds display, sensor lockout
times, printer conguration and timslip header
printing. See the full CONFIG properly set up
and aligned on the racing surface, the timer console
will continue to ‘monitor’ the track sensor at the
start line to start the next timer or at the nish line
to stop the next timer (lap-timer uses only the start
beam).
NOTE: once the start or nish line beam
is interrupted, the system imposes a two to nine
second lockout (see CONFIG menu) of that sensor
to allow blowing debris to settle. During the
last second of the lockout, the system performs
alignment testing of the triggered sensor to
determine if the alignment has changed. Failure
of the starting line beam alignment is indicated
by ashing [StArt] [SEnSor] [test] [fAiLEd].
[Finish] [SEnSor] [tESt] [FAiLEd] would
indicate the nish line alignment has failed testing.
These messages are displayed until another
message updates the Status Display. This feature
helps in early detection and resolution of a low
battery in the Beam Emitters, someone tripped
over a cable, or a sensor has been bumped out of
alignment.
NOTE: Once all four timers are actively
counting, any additional interruption of the start
line beam will not start a new timer until one of the
current timers is stopped by a nish line crossing
or manually stopped via the keypad (Wired only).
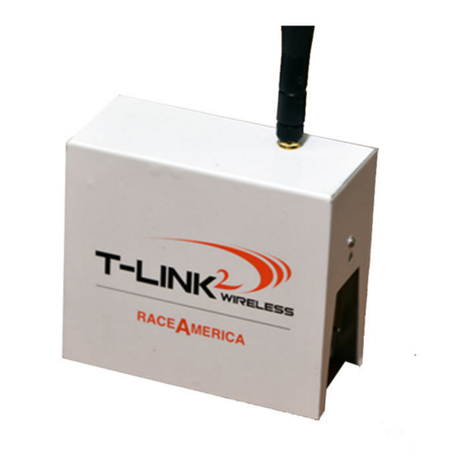
Install the antennas on all T-Link units. If the
antenna has been bent down for transport, loosen
the antenna slightly and rotate the upper portion
of the antenna into position. Hold the upper
portion of the antenna while tightening the knurled
area on the bottom portion of the antenna. The
antenna should point in the vertical direction and
be o the ground by eight to ten feet for optimal
performance.
STEP 1 -
Familiarize yourself with the Components
pictured in this manual and how they interconnect.
Track Sensor Cables are used to connect the
starting line and nish line to the timer console
or T-Link Wireless units (Fig. 1 thru 6).
All connectors are keyed for proper
orientation. The 12VDC battery is connected
with the RED alligator clip to plus (+) terminal
of the battery and the BLACK alligator clip to
(-) terminal of the battery. Do not connect to an
operating motor vehicle! Optional 110/230VAC
adapters can also be used instead of a battery.
The free standing, battery powered Model
5040/5050 IR Beam Emitters are placed on the
end of the start line and nish line away from
the timer console and the Model 5140 IR Track
Sensors are placed on the console side of the start
line and nish line. Each of the Beam Emitter and
Track Sensor units are fully interchangeable with
each other. The Track Sensor cables plug into
their respective start and nish connectors on the
underside of the console.
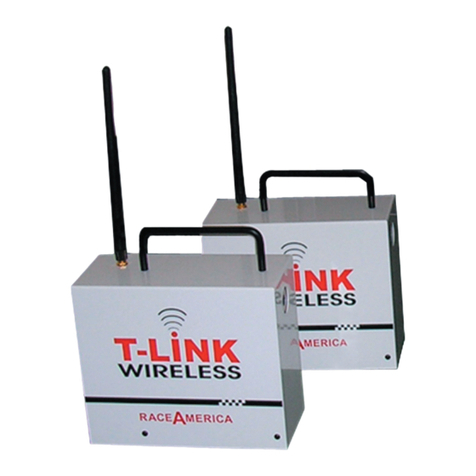
If the T-Link Wireless option is used to
connect the track sensors, follow set-up per the
diagrams (Fig 3 or 5).
