4
Owner’s Manual: 05025X1
1786850 Rev L
ECO 17-0032
Feb 2020
www.radiaproducts.com (PHONE) 800-221-1083 | (INTL) +1-763-533-2969 | (FAX) 763-533-0015
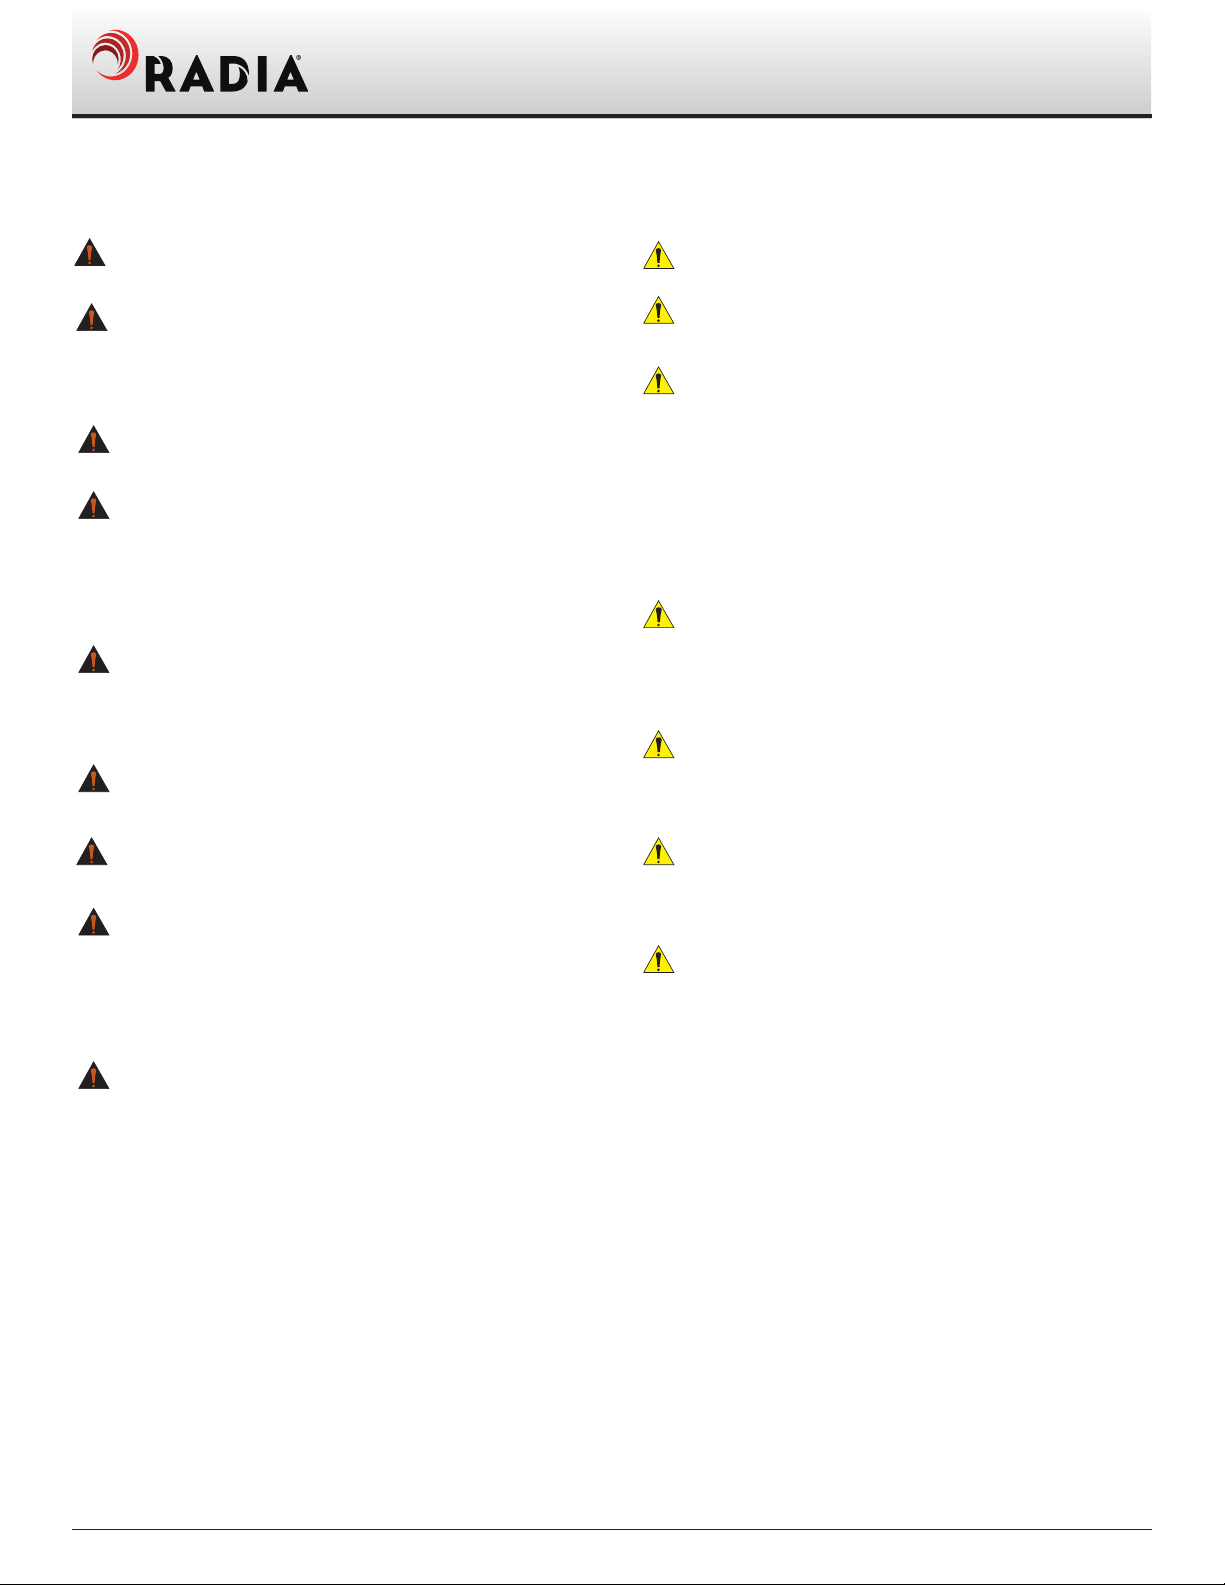
- Machine must be properly grounded before use; improper grounding could
cause electric shock and injury.
-Disconnect power cord before servicing, cleaning or removing any cover,
and follow lockout/ tagout procedures in owner manual; failure to disconnect
power could cause electric shock and injury.
-Review Owners Manual before installing or operating.
- La maquinaria debe ser apoyada correctamente en el suelo antes de usar, el
no apoyarla puede casuar choque elêctrico y daños.
-Desconecte la energía antes de dar mantenimiento, limpiar o quitar caulquier
cubierta, y siga los procedimientos de bloqueo/etiquetado del manual, Fallar
en desconectar puede causar choque eléctrico y daños.
- Revise el manual del usuario antes de instalar u operar.
- La machine doit e'tre correctement mis a' la terre avant de les utilizer mise
a' la terre incorrecte peut provoquer un choc e'lectrique et de blessure.
- De'branchez le cordon d'alimentation avant de proce'der a'l'entretien,
le nettoyage ou le retrait des capots: suivez la proce'dure d'isolation/
consignation proce'dures dans le manul de l'opre'rateur; E'chec de
de'brancher la source d'alimentation peut provoquer shock and e'lectrique blessyres.
-Re'examiner le fonctionnement manuel avant l'installation.
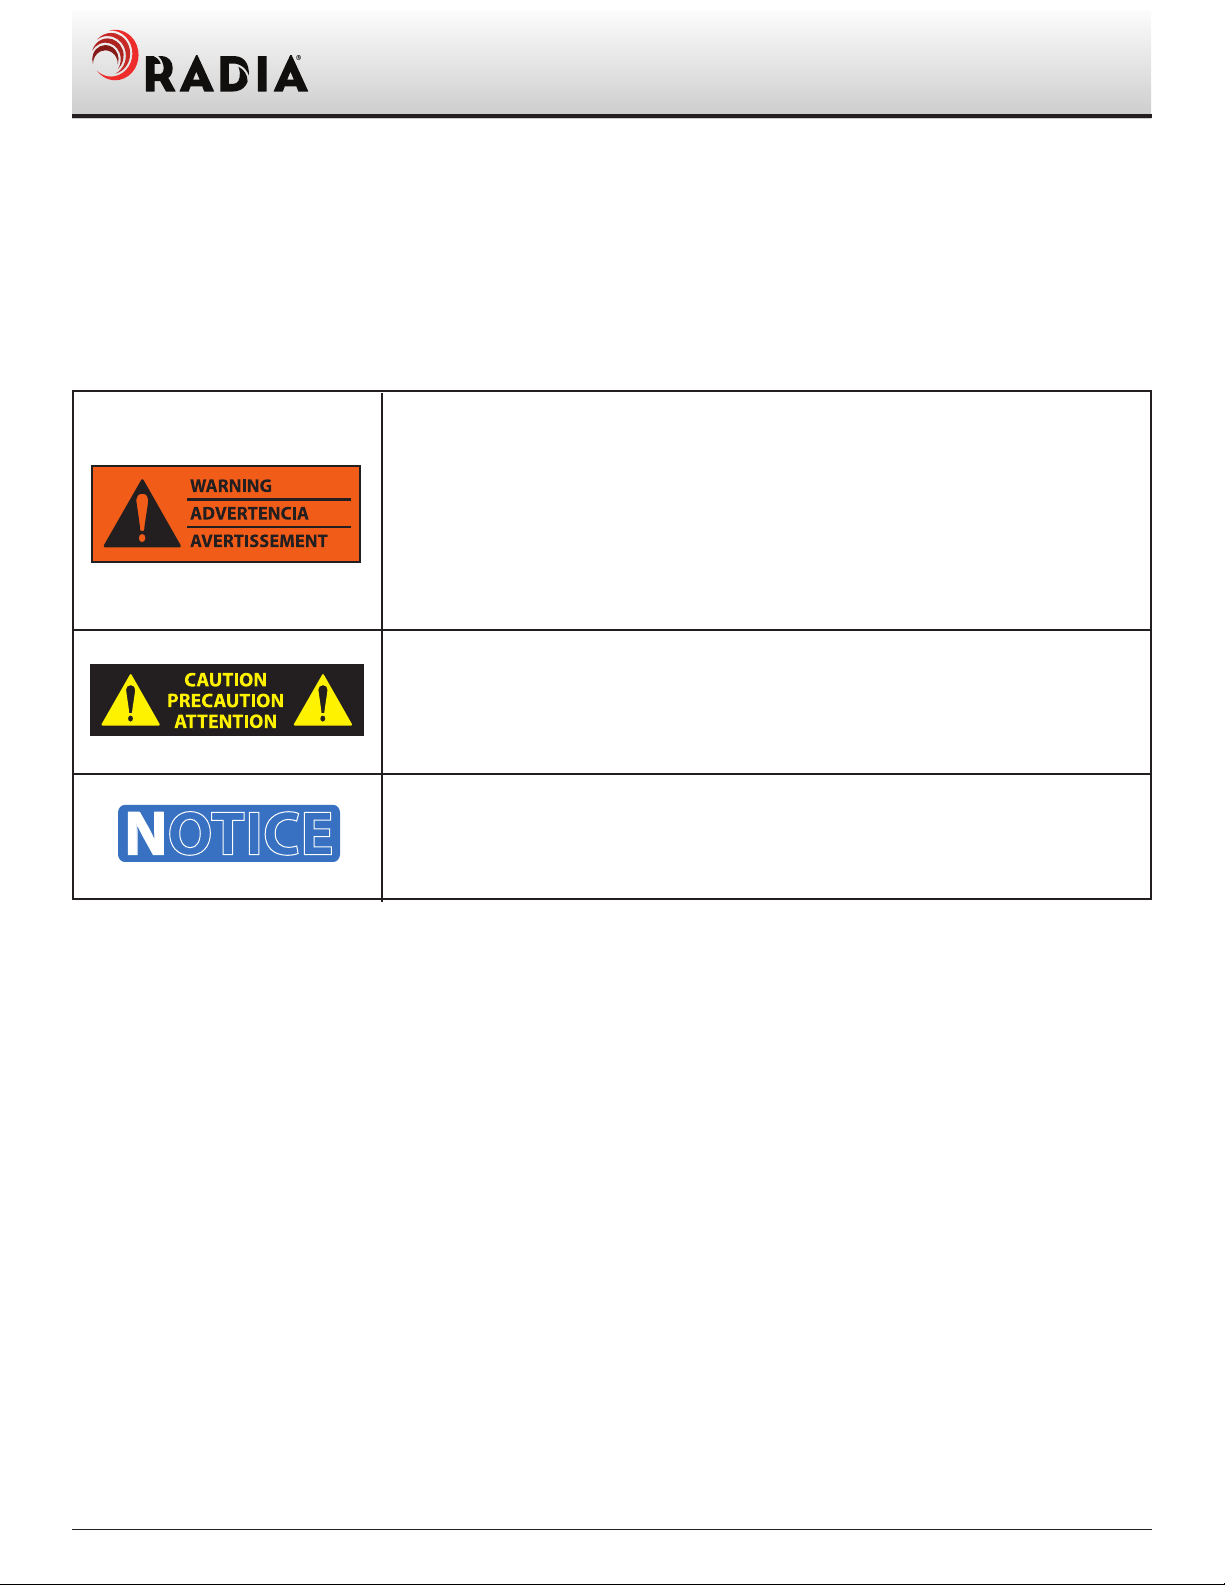
WARNING
ADVERTENCIA
AVERTISSEMENT
Part No. 1781570
NOTICE
1. POSTION CONTAINER PROPERLY?
2. ATTACH THE BAIL SPRING?
3. TIGHTEN CLAMP SECURELY?
BEFORE RUNNING MACHINE, DID YOU...
IMPORTANT MAINTENANCE ITEMS
WEEKLY
WEEKLY
WEEKLY
EVERY 6
MONTHS
EVERY 6
MONTHS
AS NEEDED
CLAMP
RELESE LEVER
THRUST
BEARING
BOTTOM PLATE
CLAMPING
SCREW
GREASE ZERKS
VERTICAL
SLIDE TUBES
ITEM MAINTENANCEFREQUENCY
LUBRICATE SHAFT WITH 3 IN OIL
TURN ROTATING ASSBEMLY UPSIDE DOWN AND
LUBRICATE ALL AROUND OUTSIDE EDGE OF
THRUST BEARING WITH 3 IN 1 OIL.
CLEAN OFF PAINT WITH HOT
SOAPY WATER.
GREASE WITH STANDARD MUlTI-PURPOSE
LITHIUM BASED GREASE, TWO SQUIRTS PER
ZERK ONLY, OVER GREASING WILL CAUSE
PREMATURE FAILURE OF BEARING.
GREASE WITH STANDARD MUTI-PURPOSE
LITHIUM BASED GREASE AS NEEDED.
CLEAN OFF DIRT AND PAINT
WITH HOT SOAPY WATER
Part No. 1784000
1.1 Safety Precaution Labels1.1 Safety Precaution Labels
Part No. 1784462
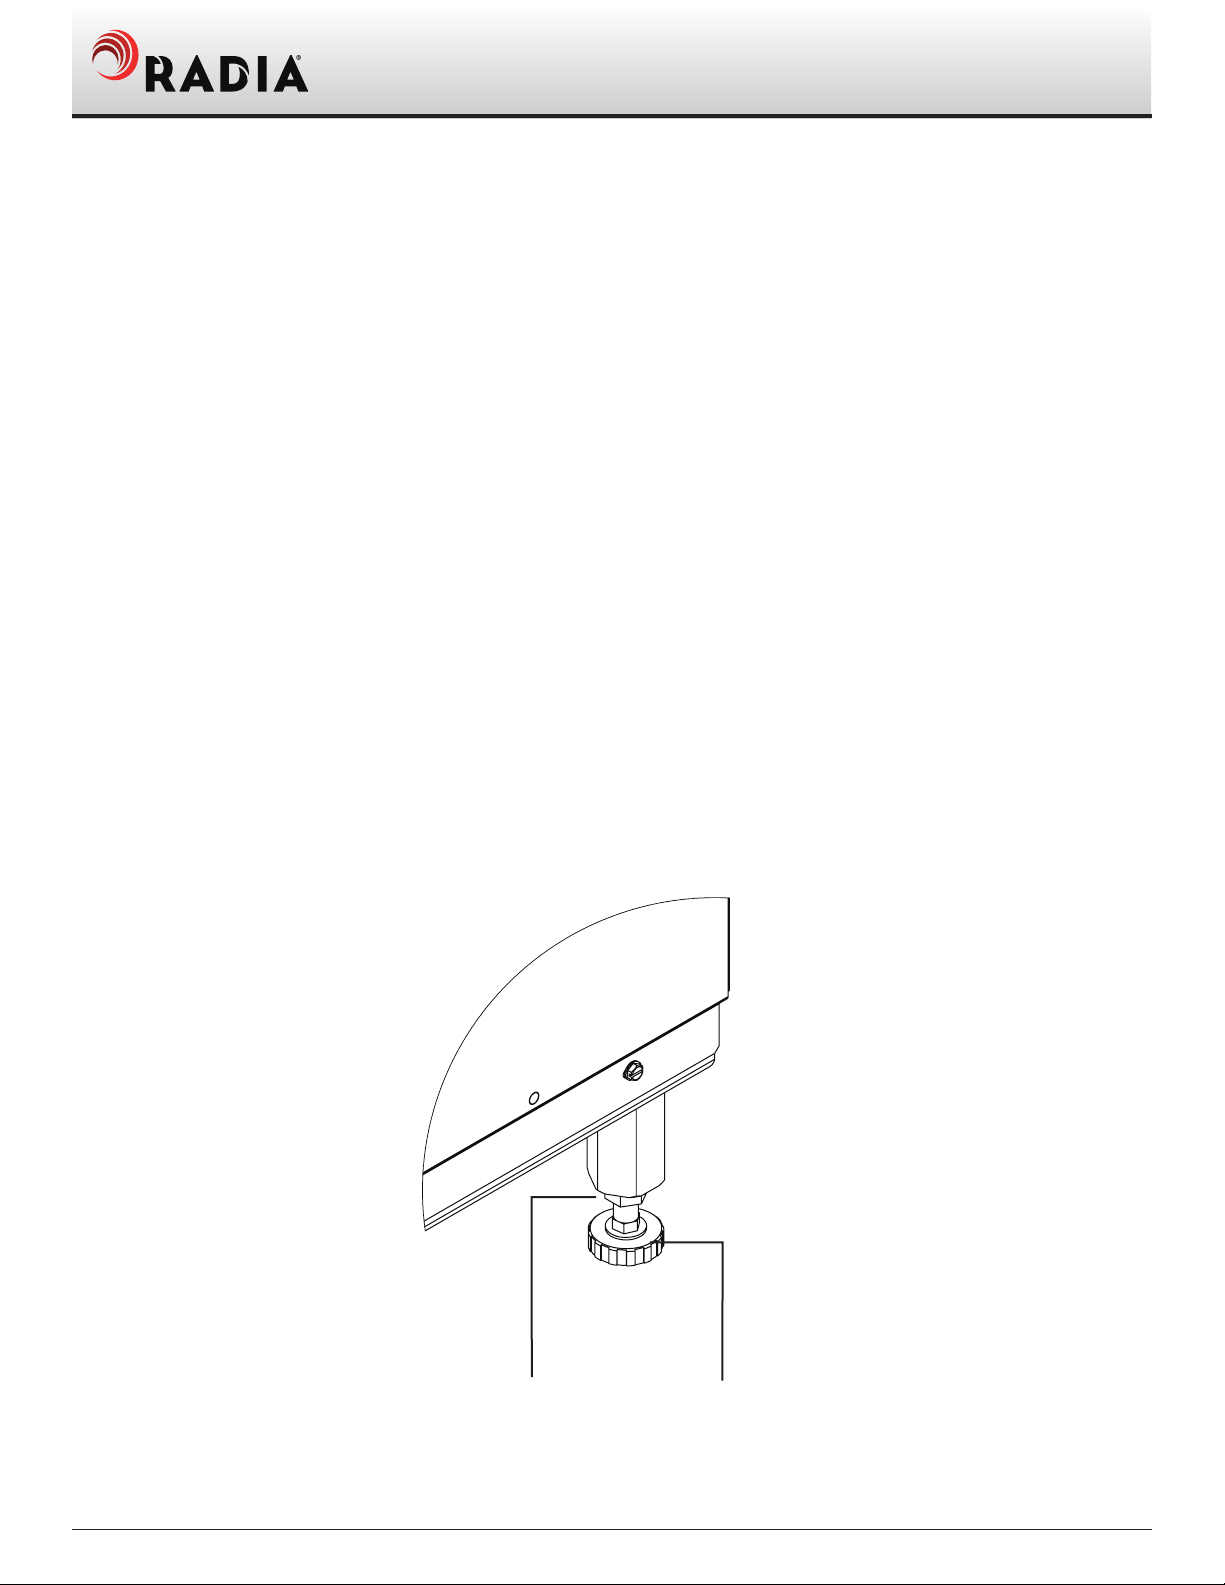
NOTICE
DO NOT OVER -TIGHTEN!
Tighten clamp up to 1/2 turn
after contact with pail lid.
Part No. 1784963
MOVING PARTS INSIDE
PARTES EN MOVIMENTO
PIE'CES EN MOVEMENT
-Do not open door until machine comes to complete stop;
moving parts inside could cause serious injury.
-No abra la puerta hasta que la marquina se detenga
completamente, las partes internas en movimiento pueden
causar heridas graves.
- Ne pas ouvrir la porte avant que la machine ne s'arrête
complètement. Pièces en mouvement à l'intérieur
pourraient provoquer des blessures graves.
WARNING
ADVERTENCIA
AVERTISSEMENT
Safety Information, Continued..