3. Installation Example
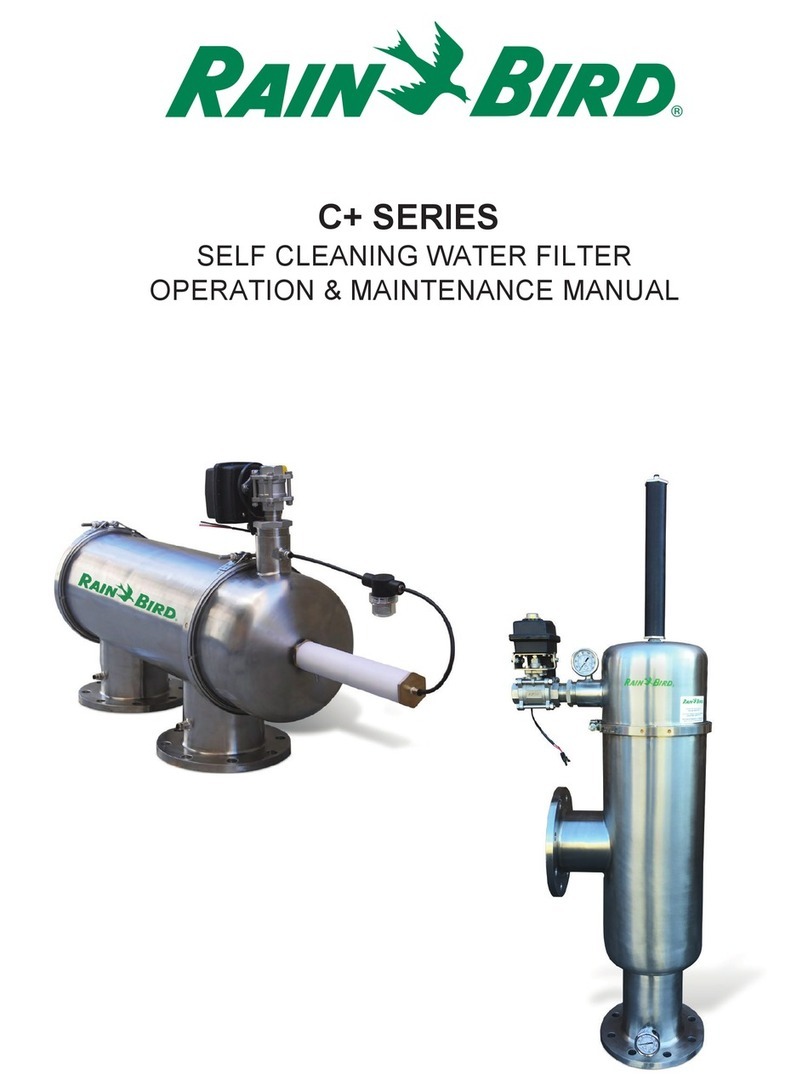
How your lter is installed will depend on how your system is structured and the specic requirements of your site. This example illustrates a
stand-alone lter installation with minimal added components in discharge plumbing like what is located on a municipal feed water source
(or pumped water where the pump is located remotely).
* User to supply
Union tting*
1/4” Connection
1/4”Tubing
Piston
1” Hydraulic drain valve
Union tting*
Union tting*
Outlet (to irrigation)Inlet (from pump)
Drain (to drain)
Unions are required for ease of maintenance and in order to make installation easier. With unions, at all recommended spots, the
lter may be removed for service and any threaded connections can also be easily accessed if any of these need to be tightened up
or resealed due to movement during shipping or installation. The drain will be a 1” union. The inlet and outlet will be either 1” or 2”
unions depending on the model ordered. Unions will make servicing and winterizing the lter much easier. A bypass loop with
bypass valve is also recommended so that the lter can be bypassed during service if required.
Drain should not discharge
under water level, or in any
way that would provide
back pressure, as this will
impede performance
The discharge needs to be
unobstructed and if longer
than 20 feet the discharge
line should be up-sized to
1.25” or 1.5” PVC.
Gauges on the inlet
and outlet are highly
recommended to be able to
monitor pressure dierential
visually.
The drain line can be swivelled 360
degrees to any discharge direction by
loosening the band clamp (remembering
to tighten it afterward).
Follow standard PVC solvent welding procedure to plumb the lter into the irrigation line.
The Inlet, Outlet and Drain line pipes need to be supported so that no stress is transferred to
the lter. Pipe support is attached to pipe with a pipe attachment. Can take various forms like
this:

