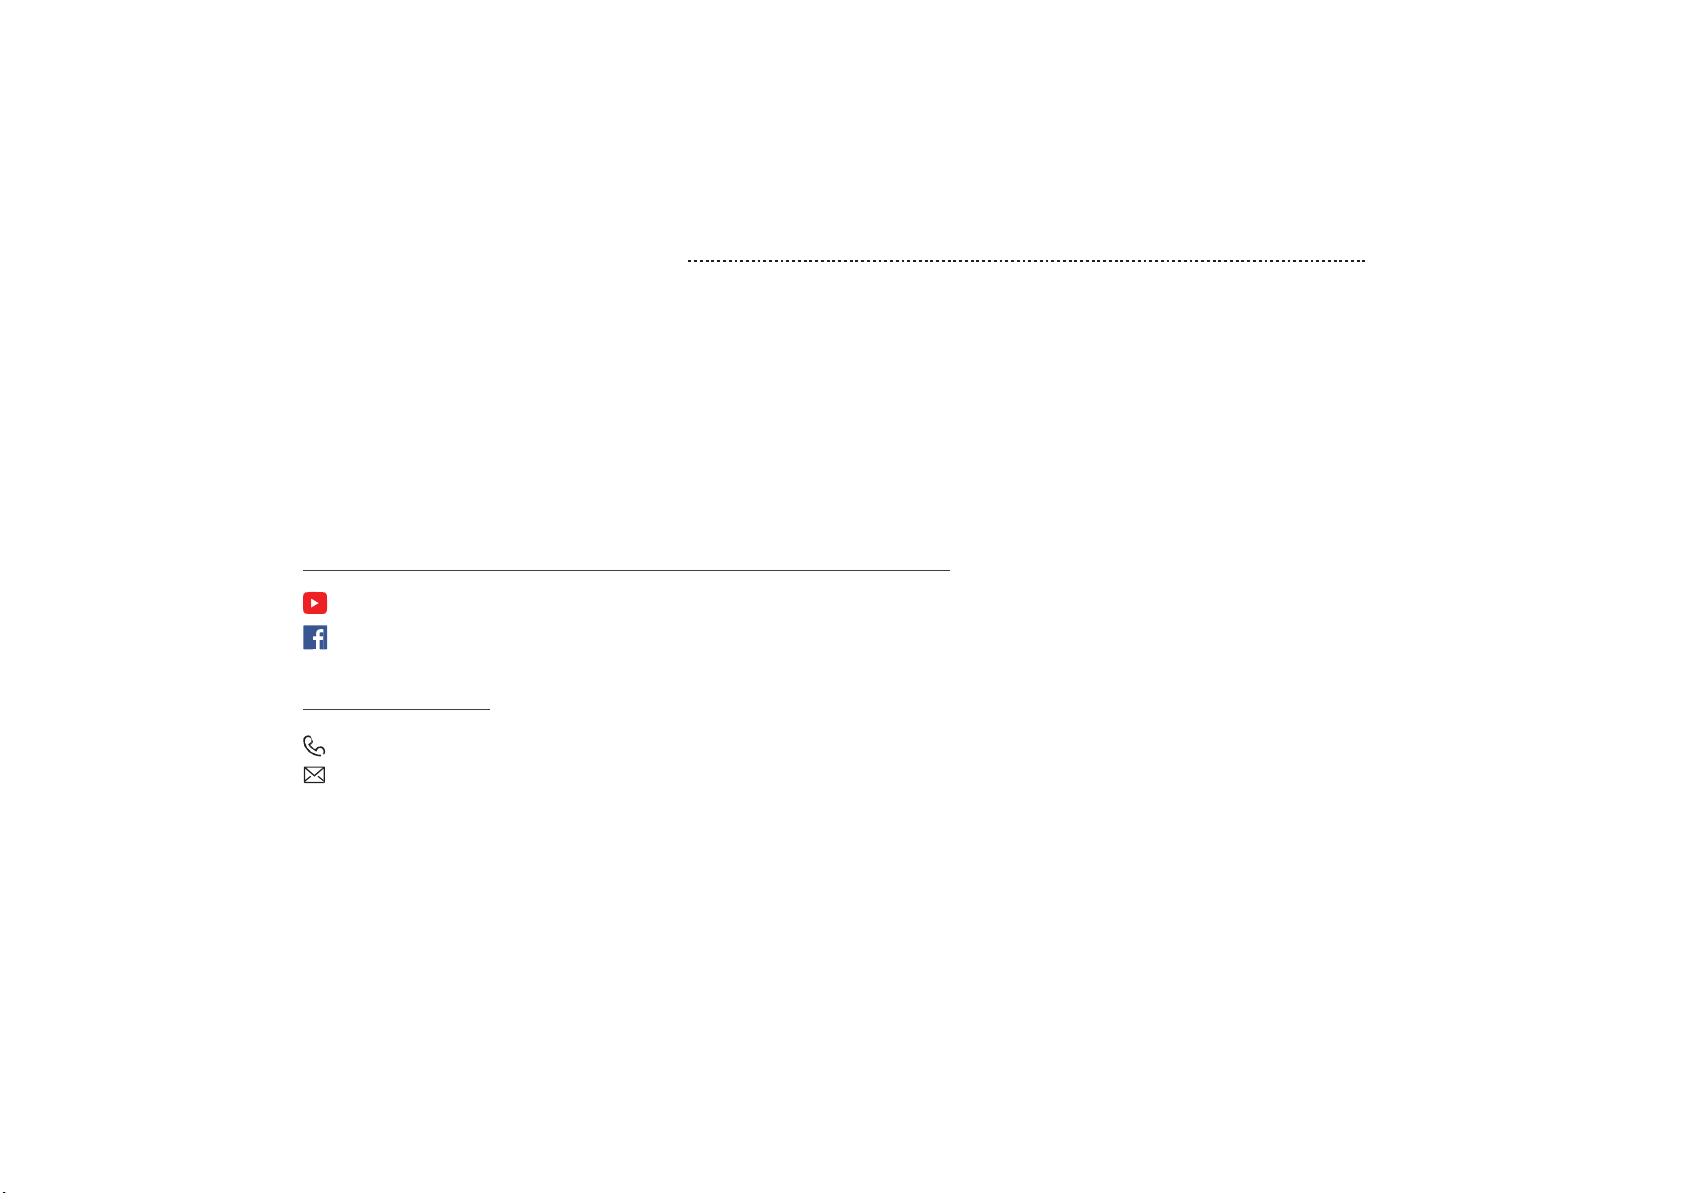
FEATURES OVERVIEW
wifi
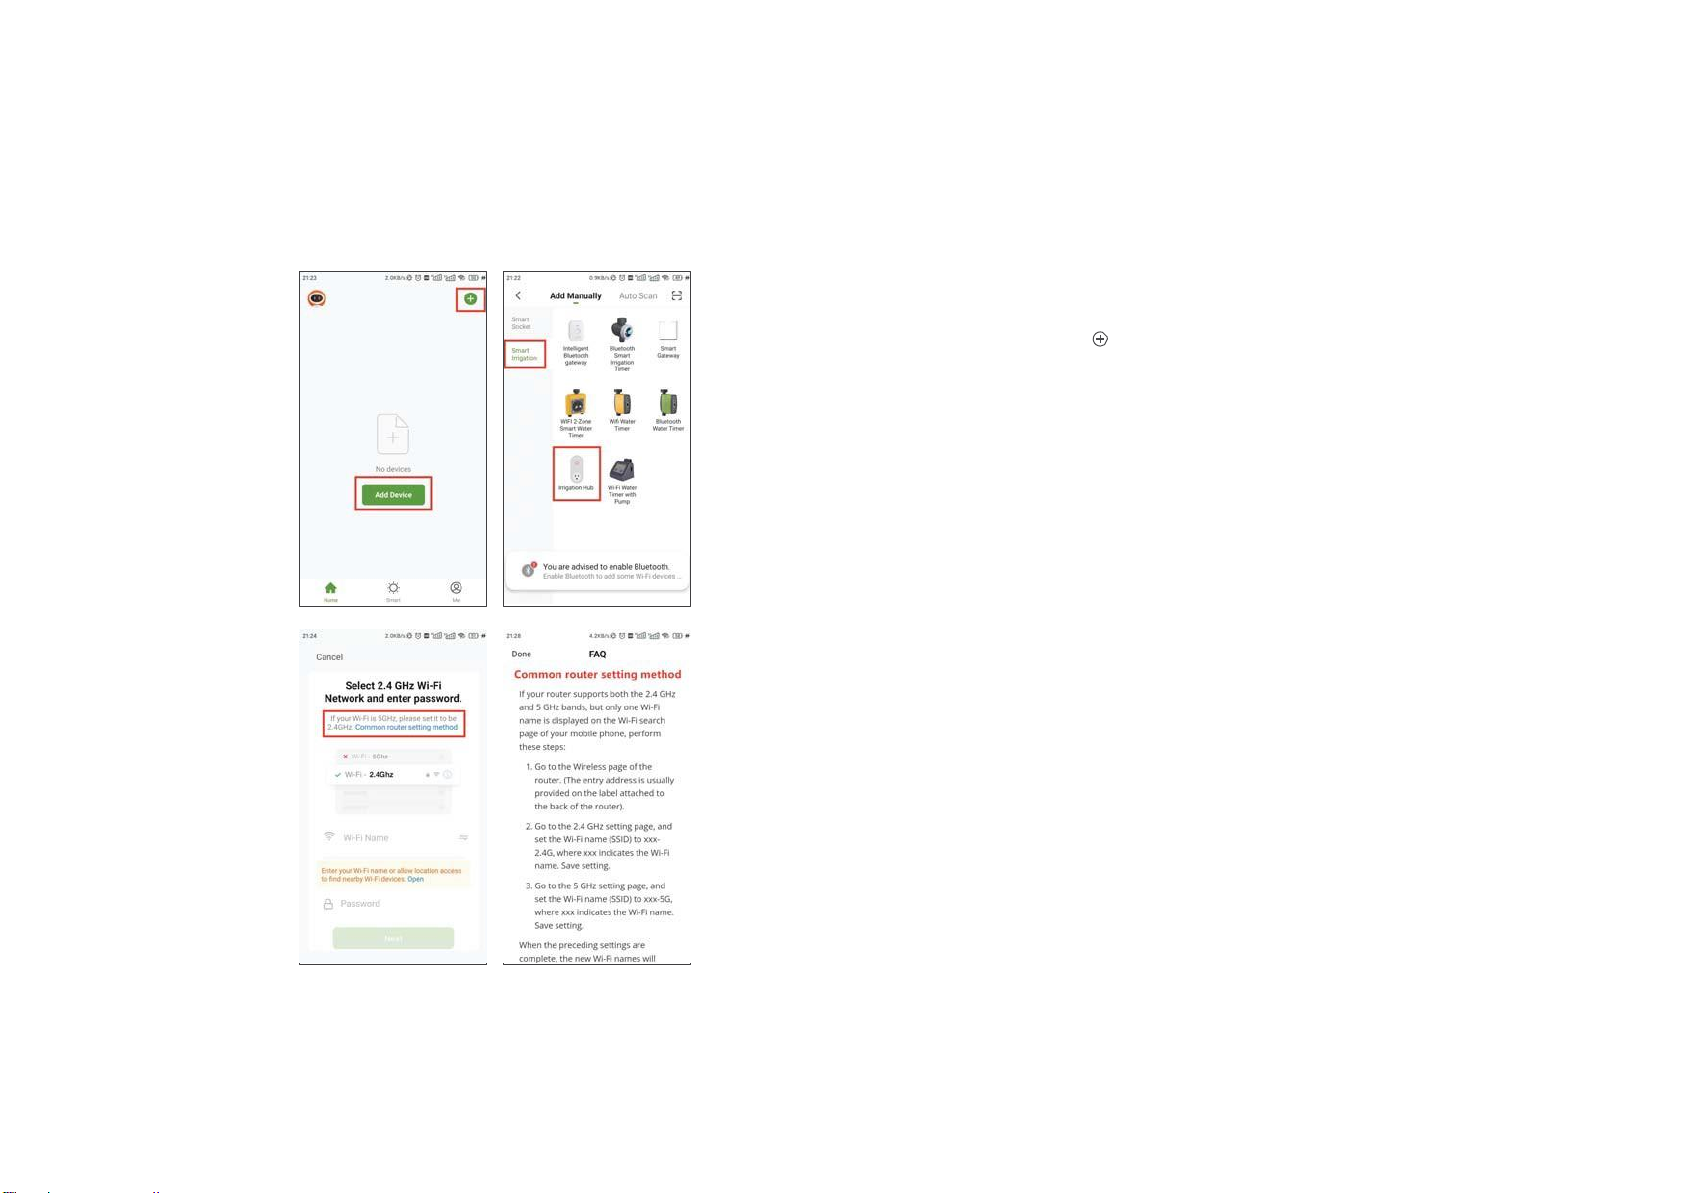
wifi
2.4G
only
RF
wifi wifi
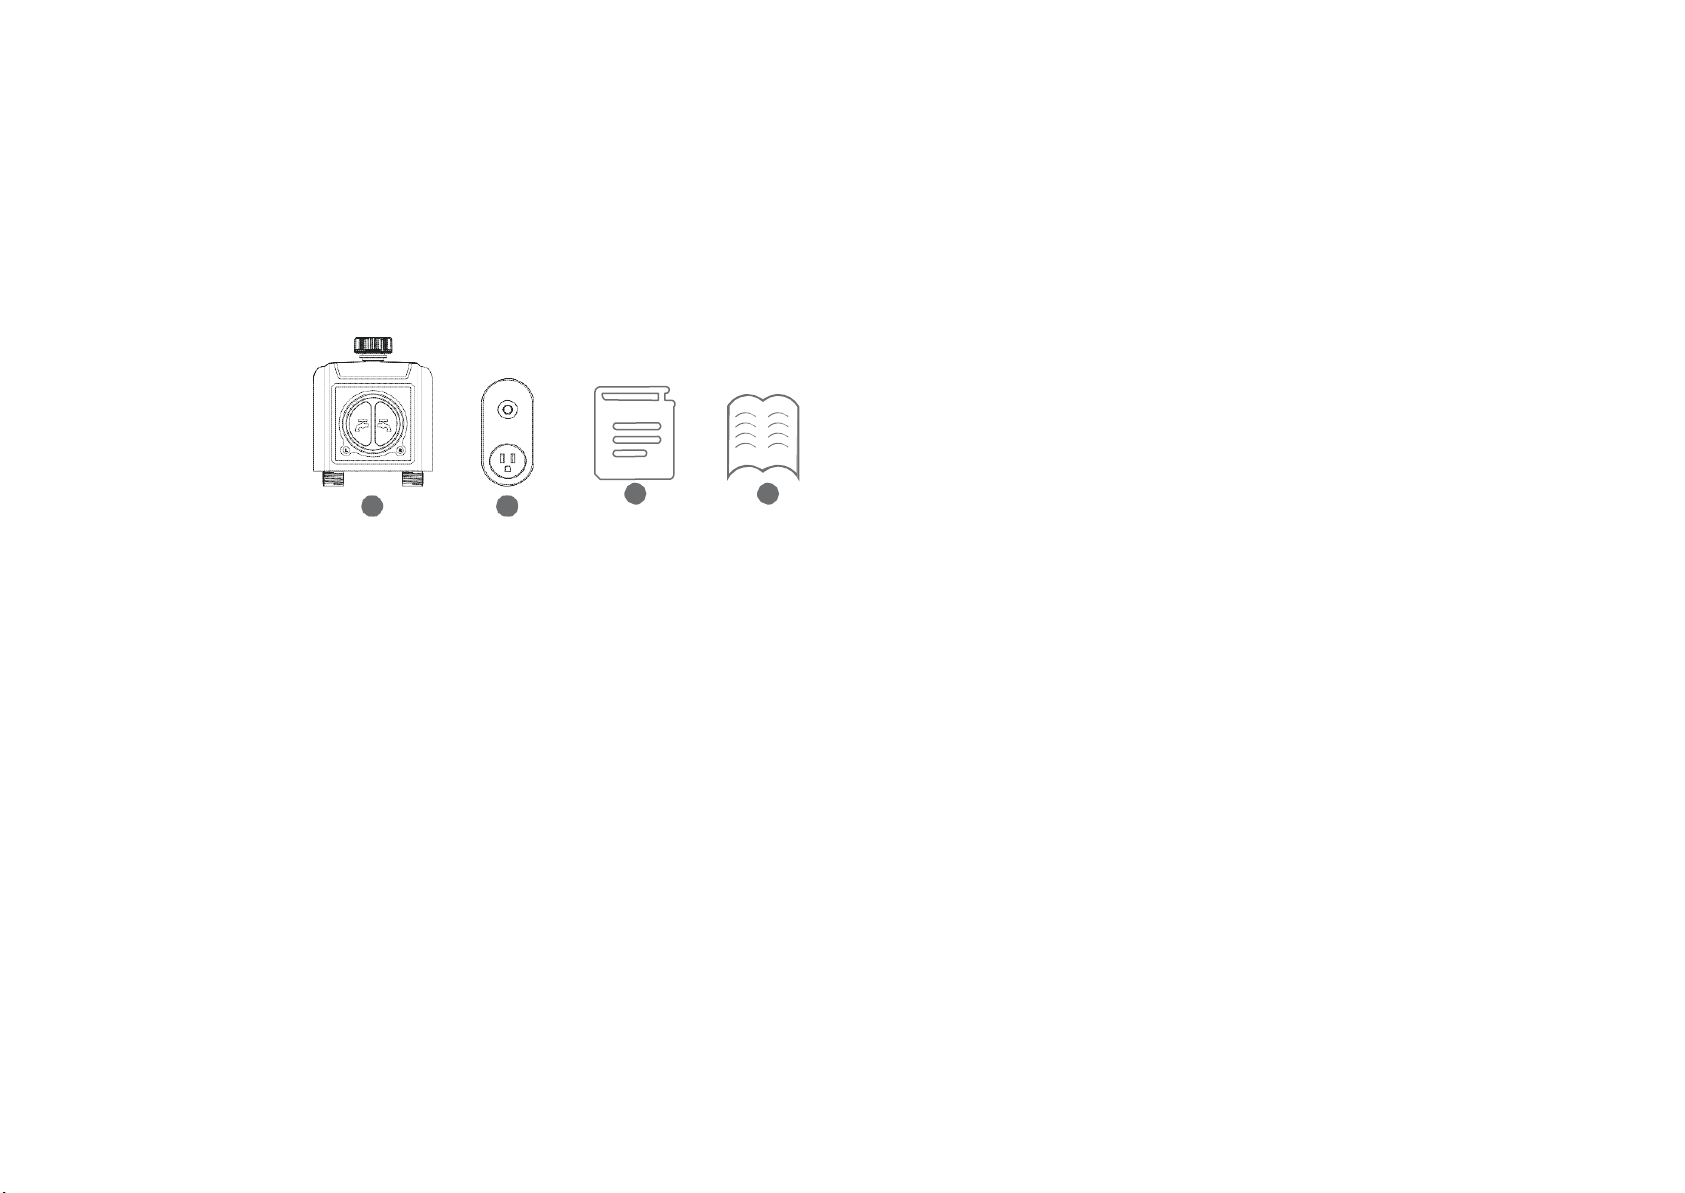
CLOUD
RF
ROUTER
1)
WiFi Rem。te C。ntr。l:
Connect with
2.4GHz
WiFi, set and check irrigation schedule by APP.
2)
2 Water Outlets: Watering schedules can be set independently in different zones.
3 ) WiFi S。cket: The WiFi Hub can be use as WiFi socket.
4)
Manual Watering: Manually turn on/off watering and set watering time.
5)
Watering 。n Schedule: Each zone can set up to 3 separate watering programs per day. Each watering programs has different stat time and
watering duration.
6)
Aut。matic Watering: ①When the WiFi timer is connected to the WiFi soil sensor (not included), it can automatically irrigate or stop according to
the soil temperature and humidity data;
②When you locate the home address for the timer, the APP will automatically synchronize the local weather information, and the timer can be
automatically executed according to the weather trigger conditions you set.
7)
Rain Delay: Manual Rain Delay and Automatic Rain Delay
8)
Water Fl。w Meter: Built-in water flow meter to track water usage in the last 10 days.
9)
Tw。Watering M。des:
Irrigation mode and Mist mode.
10)
C。-management with family: Home Management allows you to Add family members and give them permissions, manage the irrigation of your
home garden together.
11)
L。w Battey and Water Leak Alarm: APP will send you alet messages when low battey or product failure.
12)
One WiFi hub can pair with maximum 4 WiFi water timers. One WiFi water timer can pair with 2 WiFi soil sensor.
*
Only compatible with Rainpoint TCS005FRF Wi-Fi soil sensor (not included).
*
Only applicable to 2.4Ghz WiFi
- 04 -