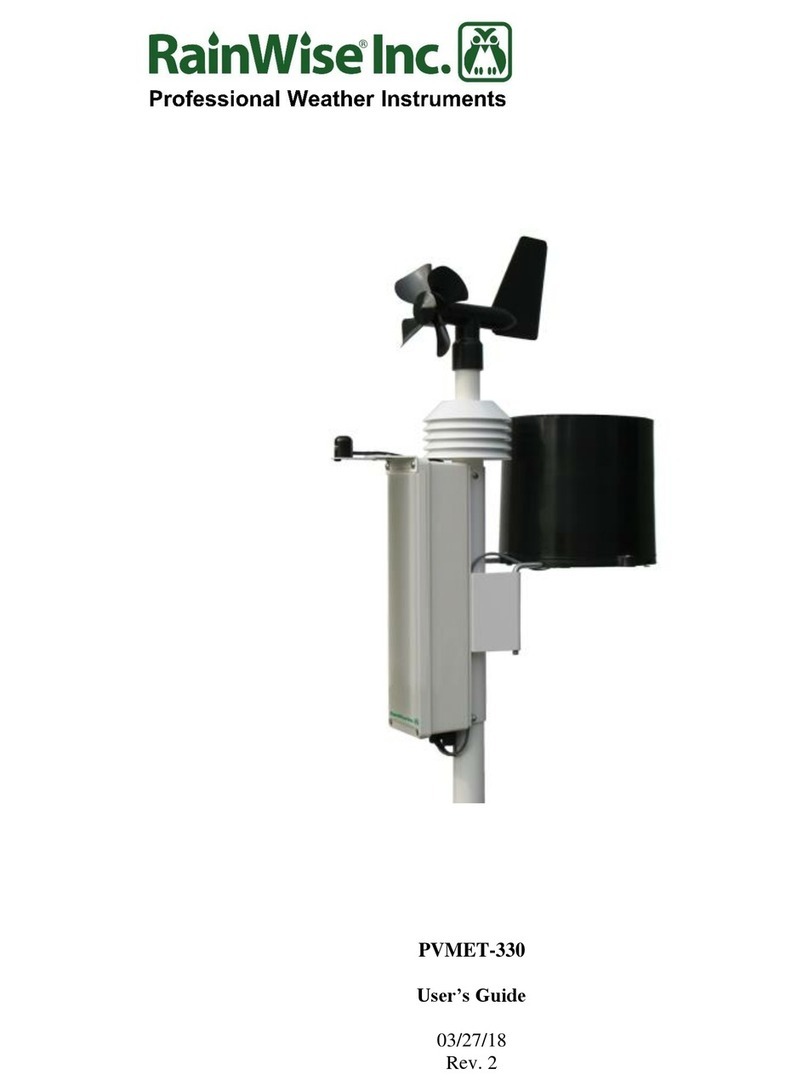
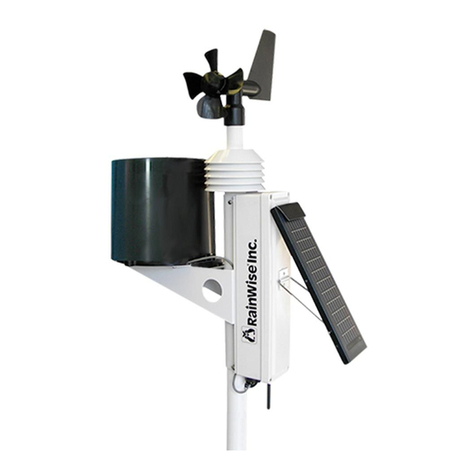
RainWise MK4-C User manual

www.rainwise.com
RainWise MK4-C
Cellular Weather Station
Instruction Manual


When weather matters, get it right.
Adapt to whatever’s on the horizon with the RainWise MK4-C, the
accurate, reliable and accessible professional-grade weather station.
Welcome to Rainwise

4 |
Contents
CONTENTS
Getting to Know Your RainWise MK4-C
Components & Hardware ..................................6–7
Introduction .............................................................8
Getting Started with Your Weather Station
Station Siting & Setup ....................................10 –11
Unboxing ................................................................12
Activating Data Plan & Registering Online ......13
Set Up & Installation
Assembling Weather Station ........................14–16
Conrming Online Status ....................................17
Mounting ..........................................................18–19
Powering Up...........................................................20

| 5
CONTENTS
Find additional product information, FAQs, technical support, instructional
videos and more at https://rainwise.com/mk4-c
Product Safety & Information
Troubleshooting............................................. 21–22
Specications .................................................. 23–25
Product Safety .......................................................26
Compliance...................................................... 27–28
Proposition 65 Warning .......................................29
Warranty..................................................................30
Appendix 1: Tripod Mount...................................31
Appendix 2: Mono Mounts..................................32

6 |
Components & Hardware:
Getting to Know Your RainWise MK4-C
COMPONENTS & HARDWARE
Vane Anemometer Anemometer Mast
Extension
PV Power Panel
Rain Gauge
Station Base Assembly

| 7
Aspirated Temperature
and Humidity Sensors
Components & Hardware (continued):
COMPONENTS & HARDWARE
Expansion Sensors:
The MK4-C will accommodate expansion sensors and sensor upgrades* including:
» An ultrasonic wind sensor upgrade with no moving parts
» A solar irradiance sensor
» A UV sensor
» A 20 ft anemometer cable extension kit
» A family of agricultural sensors for:
3Leaf wetness
3Soil temperature
3Soil humidity
*Sensors and upgrades are in development
Please subscribe to product update
announcements at www.rainwise.net.

8 |
You are minutes away from the ability to
monitor weather with professional-grade
accuracy anywhere, for any personal or
professional reason.
The RainWise MK4-C Cellular Weather
Station delivers accurate hyper-local
weather information. It is lightweight,
durable, easy to set up and quick to
connect.
Your MK4-C station is equipped with CAT/
LTE-M and NB-IoT cellular connectivity
(including one year of free data) that
transports your weather data to a personal
dashboard where you can view and share
data, view history and graphs, and build
reports. Set up your dashboard at www.
rainwise.net. Refer to page 12 of this manual
for further instruction.
Check your MK4-C weather station data at
www.rainwise.net.
INTRODUCTION
Introduction
View your MK4-C weather station
data at www.rainwise.net and
via the RainWise iOS & Android app.

| 9
Getting Started with Your
RainWise MK4-C
1. Plan your station location and mounting. Conrm you
have purchased the correct mounting hardware (Tripod or
Mono Mount, sold separately) for your chosen location.
2. Unbox the station
3. Activate your data plan
4. Register the station account
5. Assemble the station
6. Mount the station
7. View your data on rainwise.net
IMPORTANT: Read through this guide in its entirety before starting, and
complete the steps in the order they’re presented:
GETTING STARTED

10 |
Station Siting and Setup
STATION SITING & SETUP
Where you install your RainWise MK4-C can positively or negatively impact
accuracy. Natural and articial obstructions around the weather station, like
trees or other structures, could skew the data. You can get more detailed station
location and siting guidelines at https://rainwise.com/mk4-c
» Your station requires direct sunlight to maintain the battery charge at a healthy
level. Installing the station in a partially shaded location will have an adverse
eect on the battery lifetime and may limit the data transmission frequency.
» Pick a spot you can easily access, as you may have to remove debris from the
rain gauge bucket once or twice a year.
» The station should ideally be mounted at least 5 ft (1.52 meters) above ground
and away from roads, buildings and other sources of radiant heat.
» The station should be well away from trees that could shade the station, block
wind or create a natural umbrella.
» For best results with a roof mount, install the station at the highest point on the
roof.
Location Considerations:

| 11
STATION SITING & SETUP
Mounting Considerations:
» The rain gauge must be level to provide accurate rainfall measurements.
Ensure that your chosen mounting location is sturdy and does not sway in the
wind with the additional weight of the station. Excess motion or tilting will
greatly reduce the accuracy of rainfall measurements.
» The assembled station weighs 8.4 lbs, but wind will increase loading on the
mount. Mounting hardware is not included with the station.
» In the Northern Hemisphere, the PV power panel must point south to capture
maximum solar energy and for the anemometer to provide accurate wind
direction. In the Southern Hemisphere, the panel should point north.

12 | UNBOXING
Unboxing
What’s included:
» The pre-assembled station base; including rain gauge, air temperature, RH, and
barometric pressure sensors
» Anemometer mast extension
» Vane anemometer (wind speed and direction sensors)
» Assembly tools: 5mm hex key and #2 Phillips tool (Two spare screws included)
» If you opted to purchase a Mono Mount, your package will include the Mono
Mount parts

| 13
REGISTER
Activating Data Plan & Registering Online
3» Go to https://rainwise.net/inview/register1.php
» Create a new account or log in to your existing account from
rainwise.net in the upper right hand corner (g A).
» Enter your RainWise MK4-C MAC address and serial number, found on
the label on the battery door cover under the station (g B).
Figure A
Figure B
Type the Serial Number
& MAC address here and
click next
You must visit the RainWise registration page and enter your weather station’s
MAC address and serial number to activate the station’s data plan:

14 | STATION ASSEMBLY
Assembling Your Weather Station
» Find the three screws on the anemometer mast
extension. Remove and save the small Philips screw
at the dimpled end. (g C).
»This screw has a smaller head than the other two.
» Loosen the screw closest to the middle of the
extension by three turns.
» The non-dimpled end is marked with red tape.
Remove the screw and the tape and save the screw
for attaching to the station base (g D).
» Pull the anemometer cable out of the station base
(g E), and straighten the cable. Feed the cable into
the end that was marked by red tape and continue
to push the cable through the anemometer mast
extension (g F) while sliding the extension onto
the station base so the connector comes out of the
dimpled end (g G).
IMPORTANT: Complete these steps before powering up your
station to ensure the sensors initiate correctly.
4
Figure D
Figure E
Assemble the Anemometer
Figure C
Figure F
Figure G

| 15
» Rotate the anemometer mast extension until the
screw aligns with the slot in the station base, then
slide the screw all the way into the slot and hand
tighten (g H).
» Place the screw that was removed from the
non-dimpled end of the mast (g D) into the hole
below the station base slot and hand-tighten it
well.
» Plug the end of the cable into the anemometer.
The red side should be closest to the hub’s center
and the black side closest to the hubwall (g I).
» Slide the anemometer hub onto the anemometer
mast extension with the slot oriented in line with
the dimple as shown (g J).
» Replace the screw that was removed from
the dimpled end of the mast to secure the
anemometer in place and handtighten with a
Phillips screwdriver (g K).
Spare screws are provided in the zip lock bag with the
assembly tools.
Station Assembly
STATION ASSEMBLY
Figure I
Figure H
Figure J
Figure K

16 | STATION ASSEMBLY
Station Assembly
» Slightly loosen the 5mm hex bolt with included
wrench, adjust the PV power panel angle to match
your latitude as indicated in the table below, then
re-tighten the bolt (g L).
Latitude Angle from
vertical
Clicks from
vertical
0–22.5 75° 5
22.5–55 45° 3
55–90 15° 1
Figure L
Align the PV Panel
0Clicks 1Click (15°) 2Clicks 3Clicks (45°)
4Clicks 5Clicks (75°) 6Clicks

| 17
Connection Status
CONNECTION STATUS
Conrming Your Station is Online
» Flip the toggle switch on the underside
of the station base to “ON”(g M).
» The LED light on the PV power panel will
ash magenta. This means the station
is attempting to connect to a cellular
network.
» The light will ash green when the
station has successfully connected. Go
to rainwise.net on your mobile device
to conrm your station is transmitting
data from all sensors. (g N)
» Refer to the troubleshooting guide
at the end of this manual if the LED
indicator does not blink green within 20
minutes of turning the station on.
To conserve power, turn the station o if you
don’t plan on mounting it within 12 hours.
In areas with poor cellular signal strength, you
may need to optimize the station location and
antenna conguration. Get detailed instructions
on your station’s signal strength indicators at
rainwise.com/help/battery-mode
5
Note: You may experience cellular service
interruption due to weather, location,
network limitations and other factors.
Figure N
Figure M

18 |
Mounting
Refer to
https://rainwise.com/mk4-c
» Mount the station.
See appendix for Mono Mount and Tripod Mount
mechanical drawings (page 31-32). Find detailed
instructions and installation videos at
https://rainwise.com/mk4-c.
» Conrm that the rain gauge bucket is level using
one of these methods:
3Place a level across the top of the rain bucket
and take two readings perpendicular to each
other (g O & P).
3Cover the rain gauge bucket drain with a
piece of duct tape and add approx. 16 oz of
water. If level, the edges of the water should
be centered in the bottom of the bucket.
Remove the tape to allow the water to pass
through the drain and test the rain gauge
(g Q).
6
Figure O
Figure P
Figure Q
MOUNTING INSTRUCTIONS

| 19
Mounting Instructions:
» Mount the support mast securely to the support structure using the Mono
Mount or Tripod (sold separately) or standard U-bolts. Do not tighten the
support structure to the MK4-C unit, as directional orientation will be required.
» Rotate the assembled unit until the electronics enclosure with the solar panel
cover faces south if you’re in the Northern Hemisphere, or north if you’re in the
Southern Hemisphere. This will capture maximum solar energy and help the
anemometer provide accurate wind direction. Use a compass for accuracy.
» Secure the support mast to the assembly. Prevent rotation by lining up the two
holes in each mast
At this point, the entire unit should be secured to the support structure. It is crucial
that the device is oriented as precisely as possible.
MOUNTING INSTRUCTIONS

20 |
Powering Up
POWERING UP
After mounting the station, conrm the power is ON and
the station is transmitting to rainwise.net as shown in
gure R.
Data can take up to 15 minutes before it is shown on rainwise.net
7
Figure R
Table of contents
Other RainWise Weather Station manuals
Popular Weather Station manuals by other brands

Sencor
Sencor SWS 9898 user manual

Alpha Omega Instruments
Alpha Omega Instruments AO-WDS65E user manual

ECOWITT
ECOWITT WH5360B manual

La Crosse Technology
La Crosse Technology WS-1913U-IT instruction manual

La Crosse Technology
La Crosse Technology C84428 instruction manual

Davis Instruments
Davis Instruments Vantage VUE Sensor Suite manual