manuals.online logo
Brands
  1. Home
  2. •
  3. Brands
  4. •
  5. RainWise
  6. •
  7. Weather Station
  8. •
  9. RainWise MKIII-SP1-LR User manual

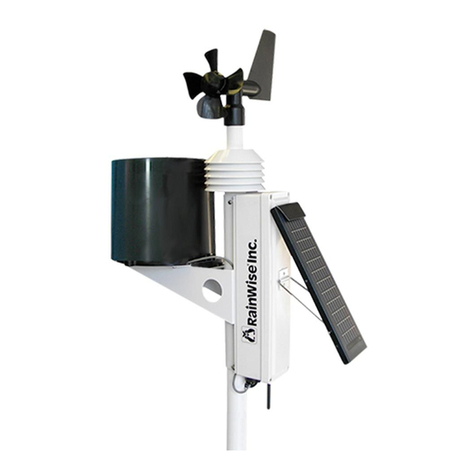
RainWise MKIII-SP1-LR User manual

I-800-762-5723
1-800-762-5723
Instructions
for the RainWise
MKIII –SP1-LR
Weather Station
Rev: 1.0 - 03-20-09
A word about location and instrumentation:
Selecting the best location for the weather station is critical to ensure
accurate and reliable data. Keep the following facts in mind when se-
lecting your location.
1. The weather station should be higher than the receiver. Data is
transmitted at an angle slightly down from horizontal. Range can
be significantly reduced if the receiver is mounted higher than trans-
mitter.
2. Radio range is affected by the height of the station above the
ground. The station should be mounted approximately 10 feet
above the ground to ensure a reasonable range. Avoid mounting
the station on or near metal objects. Metal can interfere with the
radio signal.
3. Keep a clear line of sight. Try to avoid sending the signal through
trees or any other object if possible.
4. Try keep the weather station as close to the receiver as possible.
Although a range of 400 feet may be possible, the closer the re-
ceiver is to the transmitter the stronger the signal will be.
5. Keep the receiver away from all other electronics, its’ sensitivity
may be reduced by interference. Windows are generally good loca-
tions for receivers as long as the glass is not coated with a low E
metal film.
6. Whenever possible test the desired location. Set up the receiver
and make sure that it receives data from the weather station. You
can simply switch the weather station on and hold it roughly where
it will be mounted. Its usually easiest to do this with two people.
Mount the support tube as indicated; A tripod is
shown. You can also use U-bolts or a Mono Mount.
Insert the neck down end into the MKIII sensor as-
sembly until it bottoms with the retaining screw in
the slot. Tighten the screw.
1.
Rotate the assembly until the solar panel faces
TRUE SOUTH, TRUE NORTH if you are in the
southern hemisphere. Secure the support tube to
the assembly to prevent it from rotating.
2.
3.
This leaf wetness sensor is designed to be mounted on the
North side of the MK-III weather station. The bracket provided with the
sensor insures a solid and secure installation.
1. Loosen the two screws under the rain collec-
tor . Do not remove them completely.
2. Slide the sensor bracket into position between
the head of the screw and the large flat
washer.
3. Tighten the screws to secure both the leaf
wetness sensor and rain collector.
4. Plug the leaf wetness sensor connector into to
the MK-III.
5. Place the excess cable against the body of
the weather station as shown in the picture.
6. Use the two cable ties supplied to secure the
cable to the rain collector support arms.
Installing the Leaf Wetness Sensor
This completes the MK-III installation!
Please refer to Computer Interface Instruction manual for details on how to
install and configure the receiving side of the weather station.
Adjust the solar panel angle for optimum performance. Use
the table below to determine your optimum angle.
Latitude Panel Angle
(from vertical)
0° - 22.5° 60°
22.5° - 55° 30°
55° - 90° 15°
The top of the solar panel is hinged. Lift the bottom of the
solar panel up and insert the two support bars into the appro-
priate mounting holes in the solar panel.
4.
Turn the system on by pulling switch forward toward the front
of the unit. The switch will click into position. The system is
now transmitting.
5.

Other RainWise Weather Station manuals

RainWise Weather Oracle User manual

RainWise

RainWise Weather Oracle User manual

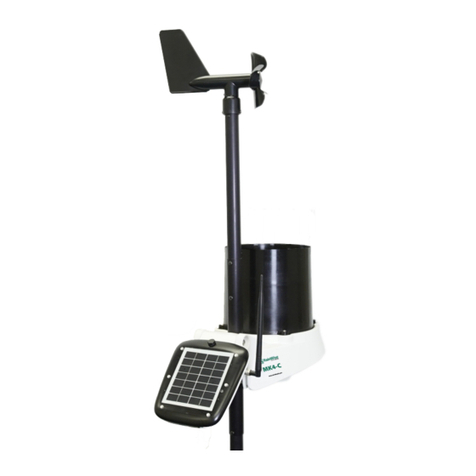
RainWise MK4-C User manual

RainWise

RainWise MK4-C User manual

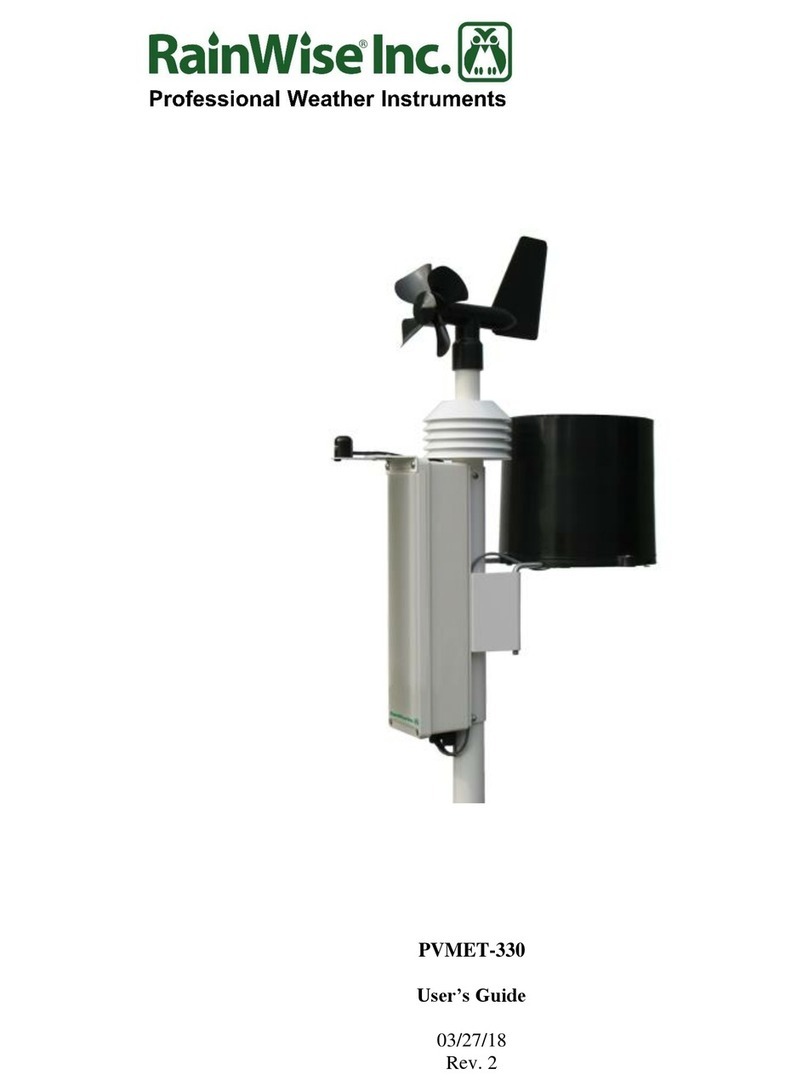
RainWise PVMET-330 User manual

RainWise

RainWise PVMET-330 User manual

RainWise PVmet 500 Series User manual

RainWise

RainWise PVmet 500 Series User manual

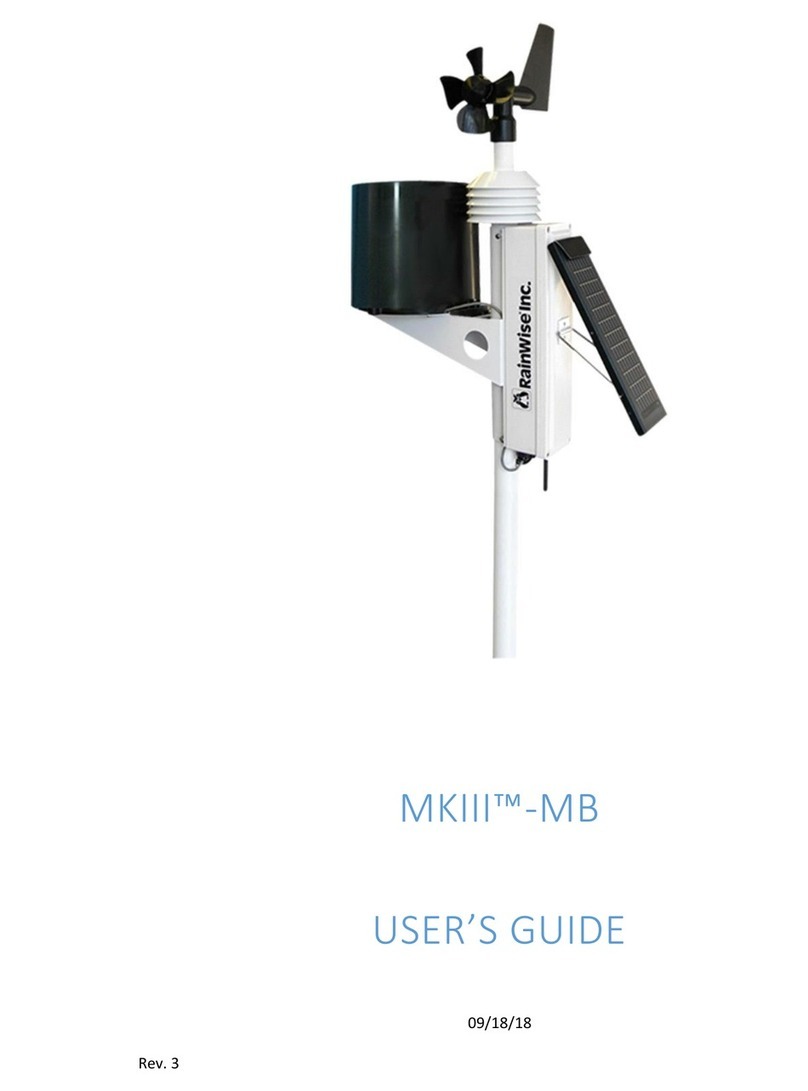
RainWise MKIII-MB User manual

RainWise

RainWise MKIII-MB User manual

RainWise MK-III Series User manual

RainWise

RainWise MK-III Series User manual

Popular Weather Station manuals by other brands

UPM WT260H owner's manual

UPM

UPM WT260H owner's manual

PRO SIGNAL PSG04175 manual

PRO SIGNAL

PRO SIGNAL PSG04175 manual

Hyundai WS 1890 GIRL instruction manual

Hyundai

Hyundai WS 1890 GIRL instruction manual

Rain Bird WS PRO LT installation manual

Rain Bird

Rain Bird WS PRO LT installation manual

Technoline WS9767 instruction manual

Technoline

Technoline WS9767 instruction manual

ACU-RITE 00821SBDI instruction manual

ACU-RITE

ACU-RITE 00821SBDI instruction manual

Hama 00076045 "EWS-800" operating instructions

Hama

Hama 00076045 "EWS-800" operating instructions

ALDI Sempre user manual

ALDI

ALDI Sempre user manual

Bresser 7003500 instruction manual

Bresser

Bresser 7003500 instruction manual

Bresser MyTime Crystal P Colour instruction manual

Bresser

Bresser MyTime Crystal P Colour instruction manual

Hama 186421 operating instructions

Hama

Hama 186421 operating instructions

LEYBOLD 666 348 instruction sheet

LEYBOLD

LEYBOLD 666 348 instruction sheet

Gill Instruments MetPak PRO user manual

Gill Instruments

Gill Instruments MetPak PRO user manual

La Crosse Technology C85845 user manual

La Crosse Technology

La Crosse Technology C85845 user manual

Procon Druck DPI 142 user manual

Procon

Procon Druck DPI 142 user manual

La Crosse Technology S84107V2 instruction manual

La Crosse Technology

La Crosse Technology S84107V2 instruction manual

Honeywell TE821W user manual

Honeywell

Honeywell TE821W user manual

Ea2 AL803 user manual

Ea2

Ea2 AL803 user manual

manuals.online logo
manuals.online logoBrands
  • About & Mission
  • Contact us
  • Privacy Policy
  • Terms and Conditions

Copyright 2025 Manuals.Online. All Rights Reserved.