Rapid 2600KP User manual

RAPiD Safe 2600KP
Item No. 98177
Exterior: 10.7"x 8.7" x 2.9"
Interior: 7.0" x 7.7" x 2.2"
Power: 12 V 1.0A or four (4) AA batteries
(batteries not included)
12
45
6
73
Not Pictured:
• Owner’s Manual
• Warranty Card
RAPiD Safe 2700KP
Item No. 98172
Exterior: 12.7" x 8.7" x 2.9"
Interior: 9.0" x 7.7" x 2.2"
Power: 12 V 1.0A or four (4) AA batteries
(batteries not included)
3
Table of Contents
Warnings and Important Information................................................. Page 2
Items Included........................................................................................ Page 3
Setup and Operation ............................................................................. Page 4
Warranty.................................................................................................. Page 9
Product Registration and Service ...................................................... Page 10
Frequently Asked Questions ............................................................... Page 10
Mounting Template ............................................................................... Page 11
Items included with your RAPiD®Safe
1. RAPiD®Safe 2600KP or RAPiD®Safe 2700KP
2. Wall Power Supply
3. One (1) RFID Adjustable Wristband (No. 98141)
4. Two (2) RFID Adhesive Decals (No. 98168)
5. One (1) RFID Key Fob Tag (No. 98167)
6. Two (2) Circular Barrel Keys
7. Security Cable
16-HMC-0113 Instructions Rapid Safes 2600KP-2700KP - INSIDE PGS-4A.indd 3 8/25/16 4:14 PM

Power Jack
Stop Catches
Foam
Power Jack
4
Batteries
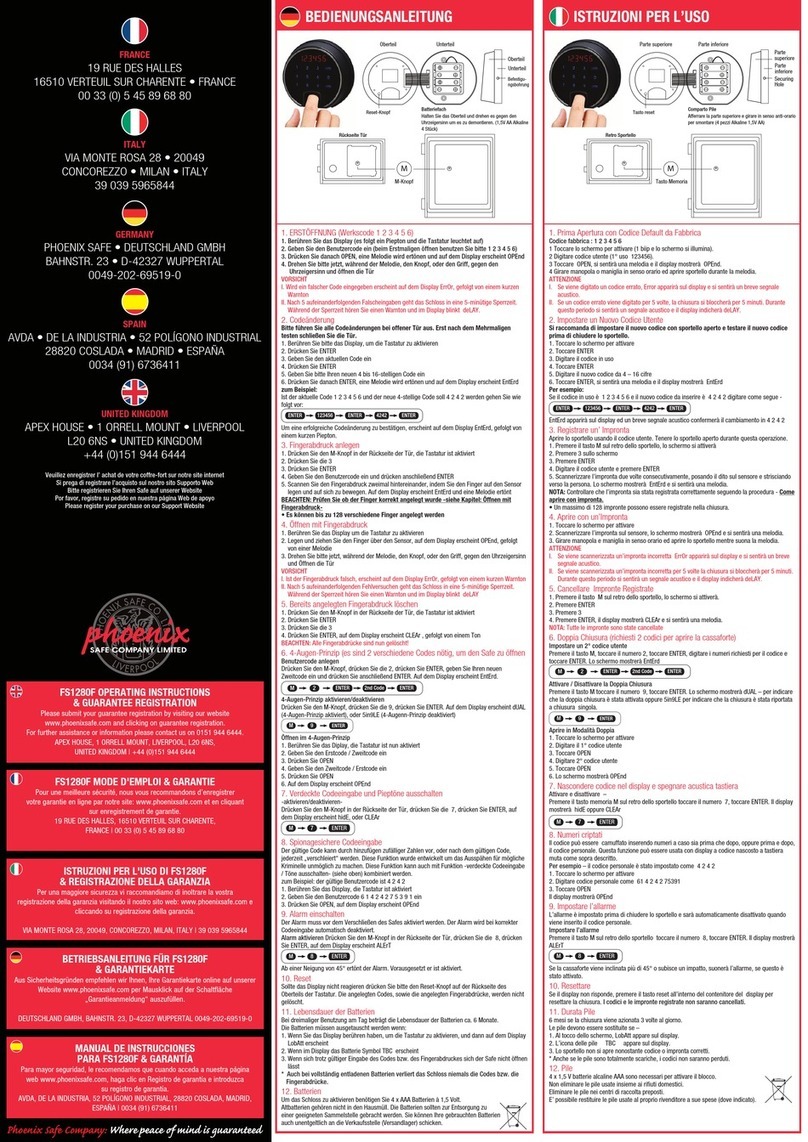
For backup or mobile use, your safe
requires four AA batteries (not included).
To install batteries, remove inner foam
from base and verify AC adapter is
uplugged. Press down on the two lock
tabs and rotate door forward on the
battery compartment. Only use new
high quality AA batteries. Replace all
batteries at the same time.
AC Power
The RAPiD®Safe is designed to be
powered by either the AC power
supply or four AA batteries.
To connect the AC power supply,
first open the safe with the circular
key, and then press in the lid’s stop
catches to fully extend the lid for
easy access. Remove the foam from
the lower compartment, and insert
the power jack through the square
hole in the bottom of the safe. With
the battery door closed, plug the
AC power supply into the back of
the front panel. The cord should be
routed to the left side of the safe
before reinserting the foam.
RAPiD®Safe Setup and Operation
Congratulations on purchasing the technologically advanced RAPiD®Safe.
You have taken a significant step in securing the safety of your handgun.
To achieve the best experience with your RAPiD®Safe, please read all
instructions carefully, and understand its operation.
After the RAPiD®Safe has been taken out of the box, please check to be sure
both circular barrel keys fit and unlock your RAPiD®Safe. Contact Hornady®
at 800-338-3220 if the keys do not work. Store keys in a secure location
outside the safe.
16-HMC-0113 Instructions Rapid Safes 2600KP-2700KP - INSIDE PGS-4A.indd 4 8/25/16 4:14 PM

RFID Reader
& Key Pad
“H” Button
Lock Tabs
5
Battery Power Mode
When the RAPiD®Safe is unplugged,
and is operating on battery power, you
must press any button on the lid to
activate the reader.
Pressing any button on the lid causes
the system to go from battery saving
mode to ready status.
For example: To open your safe with an
RFID tag, while the system is running on
battery power, first press any button on
the lid to bring it to ready status. Place
your RFID tag within 1" of the center of
the RFID reader to open the safe.
Keypad Tones On/Off
Press and hold the “H” button on the
keypad for 5 seconds until the light turns
off to toggle sound on and off.
To check battery level:
1. Disconnect from AC power source.
2. Press and release “H” button
on the lid.
3. The LED light on the “H” button
will flash.
a. Flashing Green – Good battery
b. Flashing Yellow – Low battery
c. Flashing Red – Dead battery
4. After 10 seconds the safe will
return to normal operation.
NOTE: Replace batteries every twelve
months or if they become weak.
16-HMC-0113 Instructions Rapid Safes 2600KP-2700KP - INSIDE PGS-4A.indd 5 8/25/16 4:14 PM

One to five RFID tags can be programmed
into the safe.
6
How to Program Your
RFID Tags
Your RAPiD®Safe includes three (3) styles
of RFID tags, including:
• 1 Wristband
• 1 Key Fob
• 2 Decals
*Additional styles and sizes can be
purchased separately.
The RAPiD®Safe can store up to 5 tags.
To program these tags:
1. Open the RAPiD Safe with either the
key or a previously programmed RFID
tag or key code. (The key code safe
does not ship with pre-programmed
RFID tags. A RFID tag must be
programmed to work with this safe.)
2. Locate the red program button.
Press and release the button to begin
programming a RFID tag. The first
available program location will begin
to blink.
3. Hold the RFID tag within 1" of the
illuminated RFID reader area on the
top of the safe lid. If the programming
was successful, the safe should
beep two times and the available slot
should go from blinking to solid red for
approximately ten seconds.
NOTE: If the user attempts to
program a RFID tag that is already
stored into the safe, the safe will
beep three times and the RFID tag
will not be programmed into the
duplicate slot. The RFID tag can only
be programmed into one location.
16-HMC-0113 Instructions Rapid Safes 2600KP-2700KP - INSIDE PGS-4A.indd 6 8/25/16 4:14 PM

Program Button
7
4. Verify the RFID tag is programmed
by holding the tag over the RFID
reader with the lid open. The motor
should cycle after each scan.
5. If the RFID tag does not program
into the safe, the program function
will time out after ten seconds
and the safe will return to normal
operation. If multiple attempts to
program a RFID tag fails, please
contact Hornady at 800-338-3220.
6. One to five RFID tags can be
programmed into the safe.
How to Program Your Key Code
A single user defined 4 to 6 digit code can be entered into the RAPiD®Safe.
1. Open the RAPiD Safe with either the key or a previously programmed RFID tag
or key code. The safe ships with a default code and should be reprogrammed
before first use.
2. Locate the red program button to begin programming your key code. The first
available tag location will begin to blink to indicate program mode.
3. With the lid open, enter a 4 to 6 digit code into the keypad on the lid. Press the
“H” after entering your code. Verify your code is correct by re-entering your
code and pressing “H”. The motor should cycle.
4. Your key code can now be used to open the safe.
NOTE: Only one key code can be entered into the safe. If a second code is
entered, it will override the previous code. **A total of 5 RFID tags and 1 key
code can be entered into the safe.
16-HMC-0113 Instructions Rapid Safes 2600KP-2700KP - INSIDE PGS-4A.indd 7 8/25/16 4:14 PM

Cable Lug
Loop
8
How to remove all tags from safe:
1. Open the RAPiD®Safe with either the key or a previously programmed RFID tag
or key code. Locate the red program button. Press and hold the button for five
seconds to erase all tags from the safe. All five red LEDs will begin to blink in
sequence. (The safe does not allow individual tags to be removed. They must all
be erased at one time. The intended RFID tags can then be reprogrammed back
into the safe with the instructions above.)
NOTE: To abort the erase procedure, press the “H” button on the lid of the safe
or do not touch anything and the erase procedure will automatically abort after
10 seconds and return to normal operation. Test RFID tags and the key code to
confirm they are operational.
2. To confirm erasing procedure, press and release the program button again.
All five LEDs will blink three times to visually confirm all RFID tags have been
removed. All RFID tags will no longer work until they are programmed back into
the safe with the instructions in the “How to Program Your RFID Tags” section.
Closing the Safe
The safe has a latch closure sensor that will illuminate the LED in the keypad
when the lid is closed.
Green – Latch has fully closed.
Blinking Red – Latch has NOT fully closed.
Press lid down to fully close or re-open and check for interference.
Security Cable
The RAPiD®Safe includes a security cable that can be looped around a
stationary object. With the safe lid open, feed the lug end through the loop end
and place the lug end of the cable into the security cable slot and close the lid.
16-HMC-0113 Instructions Rapid Safes 2600KP-2700KP - INSIDE PGS-4A.indd 8 8/25/16 4:14 PM

9
RAPiD®Safe Limited Warranty
Hornady®Security™warrants the RAPiD®Safe will, in normal use and service,
be free from defects in workmanship or materials for one (1) year from date
of purchase.
This Limited Warranty does not cover any of the following:
(a) Damage, deterioration, or malfunction resulting from accident,
negligence, misuse, improper installation, or lack of maintenance;
(b) Any defects not discovered and reported to Hornady®Security™
during the one (1) year warranty period;
(c) Usual and customary deterioration or wear resulting from normal use.
This Limited Warranty is not transferable and is enforceable by the original
owner only. In the event that Hornady®Security™receives notice from the
original purchase of a warranty claim in conformity herewith, Hornady®
Security™will promptly undertake an investigation of such claim. If the warranty
claim is covered by the Limited Warranty, Hornady®Security,
™
will, in its sole
discretion, repair the defect(s) or replace RAPiD®Safe at the expense of
Hornady®Security.
™
Disclaimer of Implied Warranties. EXCEPT AS IS OTHERWISE EXPRESSLY
SET FORTH IN THE ABOVE LIMITED WARRANTY, HORNADY®SECURITY™
MAKES NO OTHER REPRESENTATIONS OR WARRANTIES OF ANY KIND,
WHETHER EXPRESSED OR IMPLIED, BY OPERATION OF LAW OR OTHERWISE
WITH RESPECT TO THE RAPiD®SAFE OR ANY COMPONENT PART THEREOF,
INCLUDING WITHOUT LIMITATION ANY REPRESENTATION OR WARRANTY
WITH RESPECT TO MERCHANTABILITY OR FITNESS FOR ANY PARTICULAR
PURPOSE OR USE.
Limitation on Liability. THE OBLIGATION OF HORNADY®SECURITY™TO REPAIR
OR REPLACE AS PROVIDED ABOVE SHALL BE THE SOLE AND ONLY REMEDY
RESPECTING ANY DEFECT IN THE RAPiD®SAFE, OR ANY COMPONENT
PART THEREOF. IN THE EVENT THAT THE FOREGOING REMEDY FAILS OF
ITS ESSENTIAL PURPOSE, THE LIABILITY OF HORNADY®SECURITY™TO
PURCHASER SHALL NOT, IN ANY EVENT, EXCEED THE ACTUAL PURCHASE
PRICE OF THE NON-CONFORMING GOODS; AND
Limitation on the Nature of Damages. HORNADY®SECURITY™SHALL NOT,
UNDER ANY CIRCUMSTANCES, BE LIABLE TO THE PURCHASER OR ANY
THIRD PARTY FOR ANY SPECIAL, INDIRECT, INCIDENTAL, CONSEQUENTIAL,
LIQUIDATED OR PUNITIVE DAMAGES OF ANY NAME, NATURE OR
DESCRIPTION. HORNADY®SECURITY™IS NOT RESPONSIBLE FOR DAMAGE TO
OR THEFT OF THE RAPiD®SAFE, OR ITS CONTENTS.
16-HMC-0113 Instructions Rapid Safes 2600KP-2700KP - INSIDE PGS-4A.indd 9 8/25/16 4:14 PM

10
Product Registration and Service
You must register your RAPiD®Safe in order to obtain Warranty Service. Simply
complete and return the enclosed product registration card or submit through
our website by going to hornady.com/warranties.
To Receive Warranty Service
In order to report a warranty claim, call Hornady®Security™at 800-338-3220 to
request a return authorization number. Returns will not be accepted without prior
return authorization by Hornady®Security.™When a return authorization number
has been obtained, be sure all contents have been removed from the RAPiD®
Safe before sending it for service. Hornady®Security™is not liable for any loss,
theft, or damage to personal property.
Post-Warranty Service Information
For issues concerning service after the Limited Warranty expires, contact
Hornady®Security™at 800-338-3220.
Frequently Asked Questions
I’ve lost my keys. Can I get a replacement?
For security reasons, Hornady®WILL NOT provide replacement barrel keys
for the RAPiD®Safe. Consult a locksmith if needed.
Where can I find the serial number?
The serial number is located on the bottom of the safe. Prior to mounting the safe,
record the serial number for future reference.
How long should the batteries last?
Quality batteries should last approximately 12 months, depending on use.
How do I return my RAPiD® Safe for warranty work?
Call Hornady®at 800-338-3220 and one of our technicians will assist you.
Why isn’t my RFID wristband, key fob, or decals opening the safe?
• Be sure the RFID tag is programmed to your safe. The RAPiD®Safe allows
five (5) RFID tags to be programmed for use.
• Check the power source. If the unit is plugged into an electrical outlet, the
green LED light should be on. If the unit is on battery power, press the button
on the top of the safe to bring the system to ready before placing the
RFID tag on the reader.
16-HMC-0113 Instructions Rapid Safes 2600KP-2700KP - INSIDE PGS-4A.indd 10 8/25/16 4:14 PM

11
FCC STATEMENT
1. This device complies with Part 15 of the FCC Rules. Operation is subject to the
following two conditions:
(1) This device may not cause harmful interference, and
(2) This device must accept any interference received, including interference that
may cause undesired operation.
2. Changes or modifications not expressly approved by the party responsible for
compliance could void the user’s authority to operate the equipment.
This equipment has been tested and found to comply with the limits for a Class B
digital device, pursuant to part 15 of the FCC Rules. These limits are designed to
provide reasonable protection against harmful interference in a residential
installation. This equipment generates, uses and can radiate radio frequency
energy and, if not installed and used in accordance with the instructions, may cause
harmful interference to radio communications. However, there is no guarantee that
interference will not occur in a particular installation. If this equipment does cause
harmful interference to radio or television reception, which can be determined by
turning the equipment off and on, the user is encouraged to try to correct the
interference by one or more of the following measures:
—Reorient or relocate the receiving antenna.
—Increase the separation between the equipment and receiver.
—Connect the equipment into an outlet on a circuit different from that to which the
receiver is connected.
—Consult the dealer or an experienced radio/ TV technician for help.
16-HMC-0113 Instructions Rapid Safes 2600KP-2700KP - INSIDE PGS-4A.indd 11 8/25/16 4:14 PM
This manual suits for next models
1
Table of contents