Rauch AERO ISOBUS User manual

AERO ISOBUS
Please read carefully
before using the
machine!
Keep for future use
This operator's and assembly manual is
an integral part of the machine. Suppliers
of new and second-hand machines are
required to document in writing that the
operator's and assembly manual was
delivered with the machine and handed
over to the customer. Version 2.10.00
5903001-c-en-0522
Original instructions
Complementary instructions

Dear customer,
By purchasing the machine control unit AERO ISOBUS for the AERO GT 60.1 mineral fertilizer
spreader, you have shown confidence in our product. Thank you very much! We want to justify this
confidence. You have purchased a powerful and reliable machine control unit.
However, in case unexpected problems arise, our customer service department is always there for
you.
Please read this operator's manual as well as the operator’s manual for the machine
carefully before using the machine, and follow the advice given.
This manual may also describe equipment that is not included in your machine control unit.
Note the serial number of the machine control unit and of the machine
The machine control unit AERO ISOBUS has been calibrated at the factory for
the fertilizer spreader with which it was supplied. It cannot be connected to
another machine without new calibration.
Please enter the serial number of the machine control unit and of the machine
here. When connecting the machine control unit to the machine, these numbers
must be checked.
Serial number of electronic machine control unit:
Machine serial number:
Machine year of manufacture:
Technical improvements
We continuously strive to improve our products. For this reason, we reserve the right to make any
improvements and changes to our machine that we consider necessary without notice. We do not
accept any obligation to make such improvements or changes on machines that have already been
sold.
We will be pleased to answer any other questions that you might have.
Yours sincerely
RAUCH Landmaschinenfabrik GmbH

Table of contents
1 User instructions 5
1.1 About this operator’s manual 5
1.2 Meaning of warnings 5
1.3 Notes on text descriptions 6
1.3.1 Instructions and procedures 6
1.3.2 Lists 6
1.3.3 References 6
1.3.4 Menu hierarchy, keys and navigation 7
2 Layout and function 8
2.1 Display 8
2.1.1 Description of the working screen 8
2.1.2 Display fields 9
2.1.3 Spreading operation status display 11
2.1.4 Display of sections 11
2.2 Library of icons used 12
2.2.1 Navigation 12
2.2.2 Menus 12
2.2.3 Working screen icons 13
2.2.4 Other icons 14
2.3 Structural menu overview 16
3 Attachment and installation 17
3.1 Tractor requirements 17
3.2 Connections, sockets 17
3.2.1 Power supply 17
4 Operation 18
4.1 Switching on the machine control unit 18
4.2 Navigation within the menus 18
4.3 Main menu 19
4.4 Hydraulic axle 20
4.5 Fertilizer settings 22
4.5.1 Application rate 23
4.5.2 Turns pro kg 23
4.5.3 Calibration 24
4.5.4 Fertilizer charts 27
4.6 Machine settings 31
4.6.1 AUTO/MAN mode 32
4.6.2 +/- quantity 33
4.6.3 Forward speed calibration 33
4.7 Folding the boom in/out 36
4.7.1 Folding out the boom 36
4.7.2 Folding in the boom 38
4.8 Manual adjustment of the boom 38
4.9 System/Test 39
Table of contents
AERO ISOBUS 5903001 3

4.9.1 Total data counter 40
4.9.2 Test/diagnosis 41
4.9.3 Service 49
4.10 Info 49
4.11 Weighing/Trip counter 49
4.11.1 Trip counter 50
4.11.2 Rest (kg, ha, m) 51
4.12 Using the joystick 52
4.12.1 CCI A3 joystick 52
4.12.2 CCI A3 Joysticks operating levels 52
4.12.3 CCI A3 joystick button functions 53
4.13 WIFI module 55
5 Spreading operation 57
5.1 Working with sections 57
5.2 Spreading with the AUTO km/h operating mode 57
5.3 Spreading with the MAN km/h operating mode 58
5.4 Automatic re-tensioning of the boom 59
5.5 DistanceControl 59
6 Alarm messages and possible causes 60
6.1 Meaning of the alarm messages 60
6.2 Fault/alarm 61
6.2.1 Acknowledging an alarm message 61
7 Special equipment 63
8 Guarantee and warranty 64
Table of contents
45903001 AERO ISOBUS

1 User instructions
1.1 About this operator’s manual
This operator's manual is an integral part of the machine control unit.
The operator’s manual contains important instructions for safe, proper, and economic use and
maintenance of the machine control unit. Compliance with its stipulations helps to avoid risks,
reduce repair costs and downtime, and to increase the reliability and service life of the machine
controlled with it.
The operator's manual must be kept in an easily accessible location close to where the control unit is
used (e.g., in the tractor).
The operator's manual does not replace your own responsibility as operator and operational staff of
the machine control unit.
1.2 Meaning of warnings
The warnings in the operator’s manual are classified according to the severeness of the risk and the
probability of its occurrence.
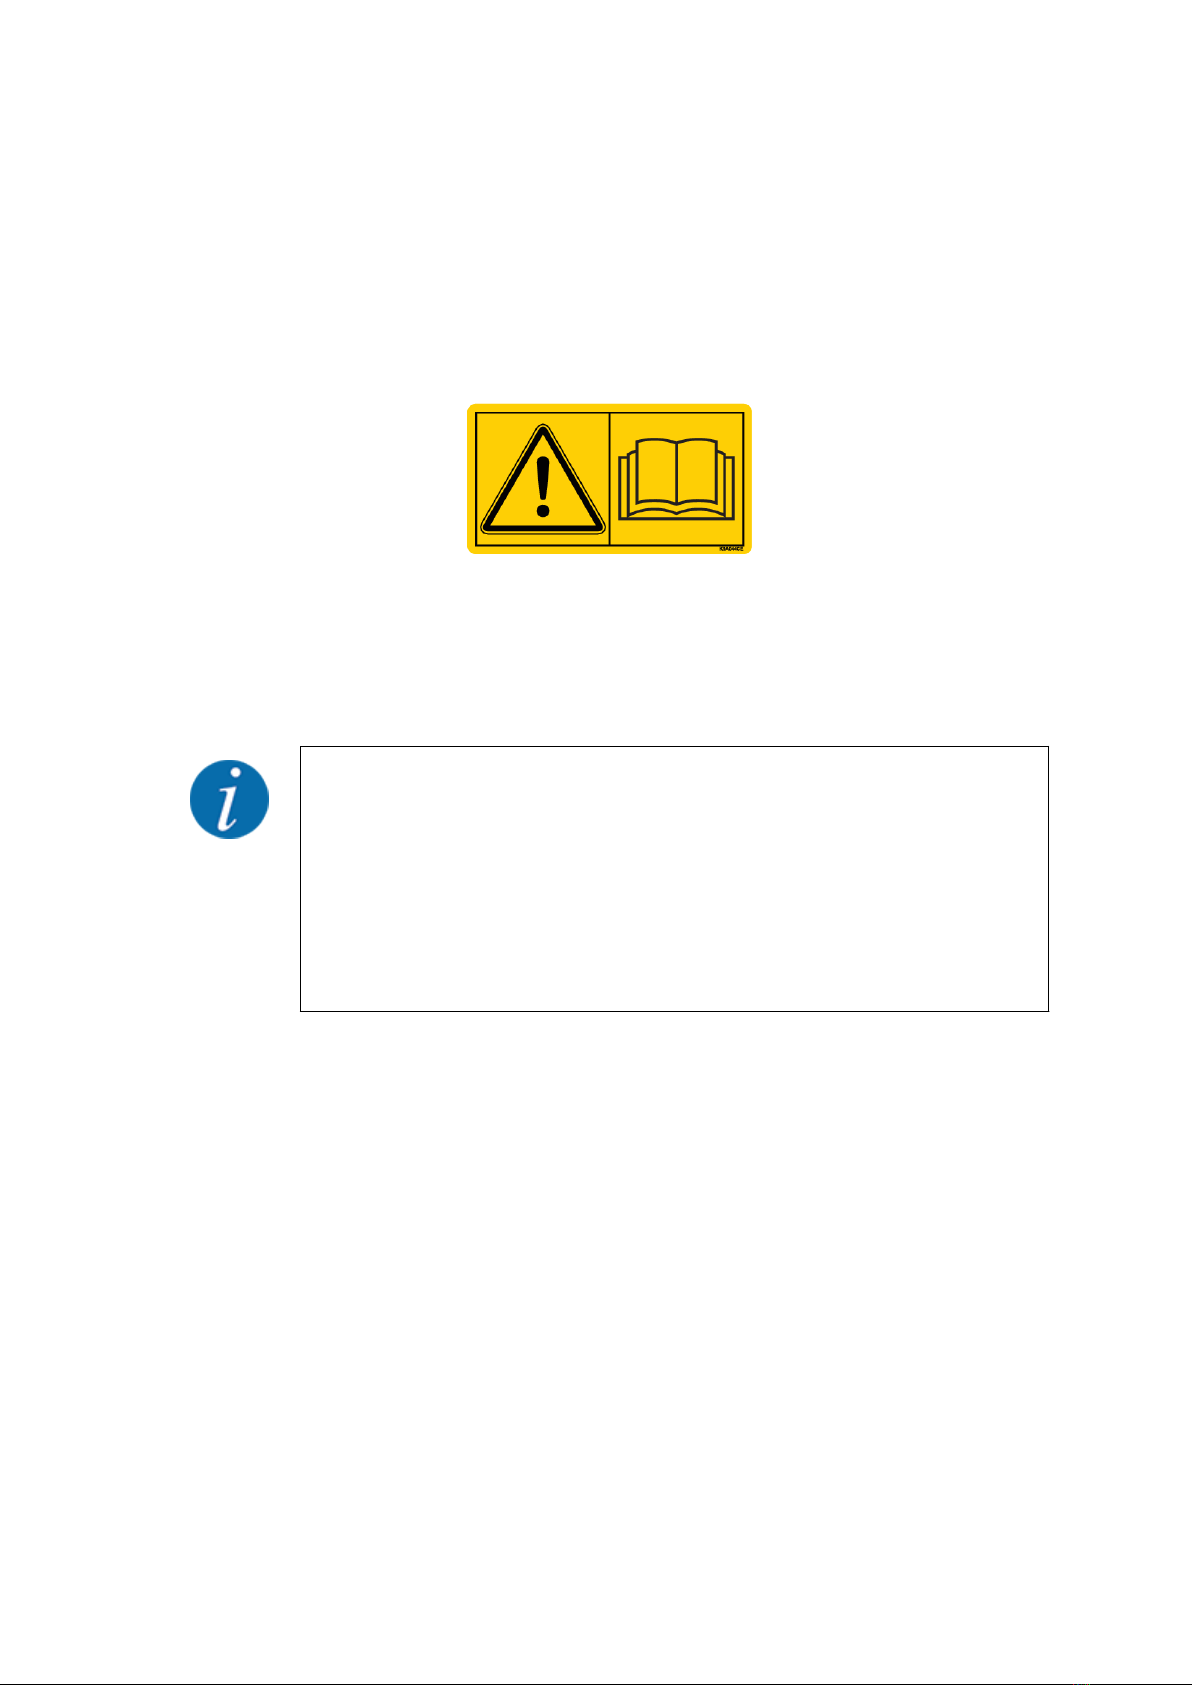
The warning symbols draw attention to the unavoidable residual risks inherent in the design to which
users of the machine are exposed. The warnings used are structured as follows:
Symbol + signal word
Explanation
Level of danger of warnings
The level of danger is indicated in the signal word. The levels of danger are classified as follows:
DANGER!
Type and source of danger
This warning warns of a danger posing an immediate threat to the health and life of people.
Ignoring these warnings will result in severe injury or death.
uAlways observe the measures described to prevent this danger.
WARNING!
Type and source of danger
This warning warns of a potentially dangerous situation for personal health.
Ignoring these warnings leads to severe injury.
uAlways observe the measures described to prevent this danger.
1. User instructions
AERO ISOBUS 5903001 5

CAUTION!
Type and source of danger
This warning warns of a potentially dangerous situation for personal health.
Ignoring these warnings leads to injury.
uAlways observe the measures described to prevent this danger.
NOTICE!
Type and source of danger
This warning warns of material and environmental damage.
Ignoring these warnings will result in damage to the machine and to the environment.
uAlways observe the measures described to prevent this danger.
This is a note:
General information containing application tips and particularly useful information, but which
constitutes neither warnings nor hazards.
1.3 Notes on text descriptions
1.3.1 Instructions and procedures
Steps that the operator must carry out are shown as follows.
uInstruction for action step 1
uInstruction for action step 2
1.3.2 Lists
Lists without a specific sequence are shown as lists with bullet points:
• Property A
• Property B
1.3.3 References
References to other sections in the document are shown with paragraph number, header text and/or
page number:
•Example: Please also note 2 Layout and function
1. User instructions
65903001 AERO ISOBUS

References to other documents are shown as information or instructions without the exact chapter or
page number:
•Example: Follow the instructions in the operator’s manual of the universal drive shaft
manufacturer.
1.3.4 Menu hierarchy, keys and navigation
Menus are the entries listed in the main menu window.
The menus list submenus and/or menu items where settings can be made (selection lists, text or
number entries, starting a function).
The various menus and buttons of the machine control unit are illustrated in bold letters.
The hierarchy and the path to the requested menu item are marked with an > (arrow) between menu
and/or menu item(s):
• System / Test > System / Test > Test/diagnosis means that you can reach the menu item Voltage
via the menu item System / Test and the menu item Test/diagnosis.
○ The arrow > corresponds to the operation of the scroll wheel and/or the button at the screen
(touchscreen).
1. User instructions
AERO ISOBUS 5903001 7

2 Layout and function
Due to the great variety of different ISOBUS-compatible terminals, this chapter is limited to the
functions of the electronic machine control system without indicating a specific ISOBUS terminal.
• Please observe the instructions for the operation of your ISOBUS terminal in the
corresponding operator's manual.
2.1 Display
The display shows the current status information as well as the selection and input options for the
electronic machine control unit.
The most important information concerning the operation of the machine is displayed in the working
screen.
2.1.1 Description of the working screen
The exact representation of the working screen depends on the actual settings selected and on
the machine type.
2. Layout and function
85903001 AERO ISOBUS

Fig. 1: Machine control unit display
[1] Display of fertilizer information (fertilizer
designation and composition)
Button: Adjustment in the fertilizer chart
[2] Display of sections and individual fertilizer
output
[3] Rate change for the right boom section
[4] Function keys
[5] Freely definable display fields
[6] Actual speed of metering units
[7] Target speed of metering units
[8] Application rate adjustment for the left boom
section
[9] Display of boom-type mineral fertilizer
spreader
[10] Current application rate from the fertilizer
settings or the task controller
Button: direct entry of the application rate
[11] Selected operating mode
2.1.2 Display fields
The three display fields in the working screen can be individually adjusted and assigned the following
values as desired:
• Forward speed
• Turns/kg
• ha trip
• kg trip
• m trip
• kg left
• m left
• ha left
• Oil temperature
2. Layout and function
AERO ISOBUS 5903001 9

Fig. 2: Display fields
[1] Display field 1
[2] Display field 2
[3] Display field 3
Select display
uPress the corresponding display field in the touch screen.
The available options are displayed in a list.
uSelect the new value to be assigned to the display field.
uPress the OK button.
The working screen is displayed.
The respective display field displays the new value.
2. Layout and function
10 5903001 AERO ISOBUS

2.1.3 Spreading operation status display
Fig. 3: Display of the spreading operation states
A Spreading operation inactive (STOP) B Machine in spreading operation (START)
2.1.4 Display of sections
Fig. 4: Display of the section states
[1] Activated sections on entire working width
[2] Reduce right section button
[3] Right section is reduced by several partial
sections
Further display and setting options are explained in chapter 4 Operation.
2. Layout and function
AERO ISOBUS 5903001 11

2.2 Library of icons used
The AERO ISOBUS machine control unit displays icons for the individual menus and functions on the
screen.
2.2.1 Navigation
Symbol Meaning
Go to the left; previous page
Go to the right; next page
Back to the previous menu
Switch from a menu window directly to the main menu
Switch between working screen and menu window
Cancellation, closing the dialog window
2.2.2 Menus
Icon Meaning
Switch from a menu window directly to the main menu
Switch between working screen and menu window
SpreadLight operating lights
Working screen
Hydraulic axle
2. Layout and function
12 5903001 AERO ISOBUS

Icon Meaning
Fertilizer settings
Machine settings
System/Test
Information
Weighing/Trip counter
2.2.3 Working screen icons
Icon Meaning
Start spreading and control of application rate
The spreading operation has started; stop the application rate regulation
Activate Distance Control (option)
Distance Control (option) is active
Reset the quantity adjustment to the pre-set application rate
Switch between working screen and menu window
Selection of the surplus/shortage quantity on the left, right or both spreading sides (%)
Quantity adjustment + (plus)
2. Layout and function
AERO ISOBUS 5903001 13

Icon Meaning
Quantity adjustment - (minus)
Quantity adjustment, left + (plus)
Quantity adjustment, left - (minus)
Quantity adjustment, right + (plus)
Quantity adjustment, right - (minus)
Increase left sections (plus)
Reduce left sections (minus)
Increase right sections (plus)
Reduce right sections (minus)
2.2.4 Other icons
Symbol Meaning
Fold in start sections and central sections of the boom
Fold out start sections and central sections of the boom
2. Layout and function
14 5903001 AERO ISOBUS

Symbol Meaning
Fold in end sections of the boom
Fold out end sections of the boom
Lock boom
Unlock boom
Automatic axle suspension active
Automatic axle suspension switched off
Lift boom
Lower boom
Inclination of boom, lift left
Inclination of boom, lift right
Automatic retensioning of the boom during spreading operation
2. Layout and function
AERO ISOBUS 5903001 15

2.3 Structural menu overview
2. Layout and function
16 5903001 AERO ISOBUS

3 Attachment and installation
3.1 Tractor requirements
Before installing the machine control unit, ensure that your tractor meets the following requirements:
• A minimum voltage of 11 V must always be guaranteed, even if multiple loads are connected
simultaneously (e.g., air conditioning system, lights)
• Oil supply of metering units: at least 30 l/min per p = 180 bar, single-acting or double-acting valve
(depending on equipment),
• PTO speed can be adjusted to 1,000 rpm and must be maintained (basic requirement for a
correct metering quantity).
On tractors without load-switchable transmission, the forward speed must be selected by
using the correct gear ratio in such a way that it corresponds to a PTO speed of 1,000 rpm.
• 9-pin socket (ISO 11783) located at the rear of the tractor, for connecting the machine control unit
to the ISOBUS
• 9-pin terminal plug (ISO 11783) for connecting an ISOBUS terminal to the ISOBUS
The power supply of the machine control unit is implemented via the 9-pin ISOBUS socket at the rear
of the tractor.
If the tractor is not equipped with a 9-pin socket at the rear, a tractor assembly set including a 9-pin
socket for the tractor (ISO 11783) and a forward speed sensor may be purchased additionally as
special equipment.
• The tractor has to provide the speed signal to the ISOBUS.
Check with your dealer that your tractor is equipped with the required connections and sockets.
• Due to the numerous configurations of tractor/machine/terminal, please contact your dealer
for selecting the correct connection.
3.2 Connections, sockets
3.2.1 Power supply
The power supply of the machine control unit is implemented via the 9-pin socket at the rear of the
tractor.
3. Attachment and installation
AERO ISOBUS 5903001 17

4 Operation
CAUTION!
Risk of injury due to ejected fertilizer
In the case of a fault, it is possible that the metering slide unexpectedly opens during road
transport to the spreading location. There is a risk of slipping and personal injury due to ejected
fertilizer.
uBefore leaving for the spreading location, always switch off the electronic machine control
unit.
4.1 Switching on the machine control unit
Requirements:
• The machine control unit is correctly connected to the machine and the tractor.
• The minimum voltage of 11 V is guaranteed.
uStart the machine control unit.
After a few seconds, the start-up screen of the machine control unit is displayed.
Subsequently, the machine control unit displays the activation menu for a few seconds.
uPress the enter key.
The working screen then appears.
4.2 Navigation within the menus
Please refer to chapter 1.3.4 Menu hierarchy, keys and navigation for important notes regarding
the display and navigation between menus.
Accessing menus and menu entries by touching the touch screen or pressing the function
keysby touching the touch screen or pressing the function keys is described below.
• Observe the operator's manual of the terminal used.
nAccessing the main menu
uPress the Working screen/main menu function key. See 2.2.2 Menus.
The main menu is displayed.
Accessing the sub-menu via the touch screen
uPress the button of the desired sub-menu.
4. Operation
18 5903001 AERO ISOBUS

Windows appear with prompts for various actions.
• Text input
• Value input
• Settings made in further sub-menus
Not all parameters are displayed simultaneously on one screen. You can switch to the next or
previous menu windows (tabs) using the left/right arrow keys.
nExiting menus
uConfirm settings by pressing the Return key.
You will return to the previous menu.
uPress the Working screen/main menu key.
You will return to the working screen.
uPress ESC.
The previous settings are retained.
You will return to the previous menu.
4.3 Main menu
Fig. 5: Main menu with sub-menus
4. Operation
AERO ISOBUS 5903001 19

Sub-menu Meaning Description
Working screen Switches to the working screen
Hydr. axle suspension Calibration of automatic axle
suspension
4.4 Hydraulic axle
Fertiliser settings Fertilizer and spreading operation
settings
4.5 Fertilizer settings
Machine settings Tractor and machine settings 4.6 Machine settings
Boom folding Folding the boom in/out 4.7 Folding the boom in/out
System / Test Settings and diagnosis of the machine
control unit
4.9 System/Test
Info Machine configuration display 4.10 Info
Weighing/Trip count. Values regarding spreading work
carried out and functions for weighing
operation
4.11 Weighing/Trip counter
In addition to using the sub-menus, you can select the Lift/lower and Inclination to the left/right
function keys in the main menu.
• The function keys are only visible if the pendulum frame is unlocked.
• See Chapter 4.8 - Manual adjustment of the boom - Page 38
4.4 Hydraulic axle
In this menu, you can activate the automatic suspension.
NOTICE!
Damage to the machine
If the suspension is not operated in automatic mode, there is a danger of damage to the machine.
uMake sure that the tractor unit's hydraulic system and the control unit are switched on.
uAccess the menu Main menu > Hydr. axle suspension.
4. Operation
20 5903001 AERO ISOBUS
Table of contents
Other Rauch Industrial Equipment manuals