Rayrun P20 User manual

Tunable White LED Controller
Wireless Remote Control
Model: P20(-S)
Full Protection High Power
Wireless Remote
Waterproof Compact Size
Wide Voltage Range
P20 tunable white LED controller is designed to drive
constant voltage LED products in voltage range of DC5-
24V. The main unit works with a RF remote controller, user
can setup LED brightness and color temperature from the
remote controller. The main unit is powered by DC power
supply and receives remote controller commands to drive
LED fixtures.
Introduction
1. Power supply input
Wiring & Indicator
The controller supply voltage range is from DC 5V to
24V. The red power cable should be connected to power
positive and black to negative. (For other cable color,
please refer to the labels). The LED output voltage is at
same level as the power voltage, please make sure the
power supply voltage is correct and the power rating is
capable for the load.
2. LED output
Connect constant voltage LED loads. Please make
sure the LED rated voltage is same as the power supply
and each channel’s maximum load current is in range of
the controller rated current. The black cable should be
connected to LED positive, the white cable should be
connected to cool white LED’s negative and the yellow
cable connected to warm white LED’s negative.
3. Work status indicator
This indicator shows all working status of the
controller. It displays different events as following:
Steady blue: Normal working.
Short white blink: Command received.
Long single white blink: Mode cycle edge.
Single yellow flash : Edge of the content.
Red flash: Overload protection.
Yellow flash: Overheat protection.
White blink for 3 times: New remote paired.
Please connect the controller output to LED loads
and power supply to the controller power input. The
power supply voltage must be same as the LED load's
rated voltage. Check all cables to be well connected
and insulated before power on.
To 110/230
AC power
5-24V DC output
Power supply P20 LED
Controller
Constant voltage
LED load
Remote
Controller
5-24V DC 5-24V Driving
4. Wiring diagram
5. Turn ON / OFF
Press ‘I’ key to turn on unit or press ‘O’ key to turn off.
Main unit will memorize the on/off status and will restore
to the previous status on next power on.
Please use remote controller to turn on the unit if it
was switched to off status before power cut.
Functions
8
10
9
5
6
7
WARM
NEUTRAL
COLD
Pair new
remote
Press within 10
seconds after
receiver powered on

6. Brightness control
Adjust overall brightness. Press to increase
brightness and press to decrease. The color
temperature will keep unchanged when adjust brightness.
The controller applies brightness gamma correction on
dimming control, makes the brightness tuning more
smooth to human sense.
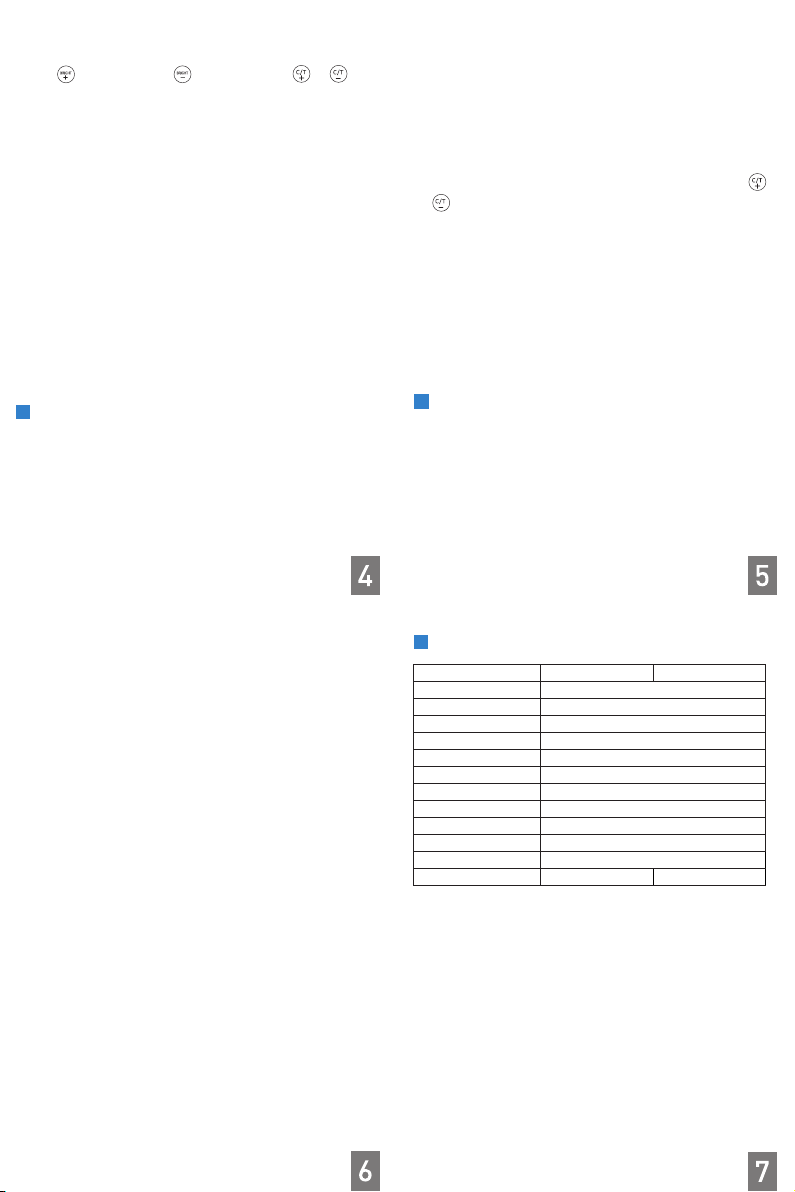
7. Color temperature control
Adjust LED color temperature. Press to increase
the color temperature and press to decrease. The
overall brightness will keep unchanged when adjusting
color temperature.
9. Color temprature shortcut keys
Set the color temperature to full cool white, full
warm white or neutral white which is 50% warm and
50% cool white.
10. Remote indicator
This indicator blinks when remote controller is
working. If the indicator flash slowly when pressing keys,
it means the remote battery is nearly empty and please
change the battery in this case. The battery model is
CR2032.
8. Brightness shortcut keys
Jump to the relative brightness level when press the
corresponding keys.
11. Using the remote controller
Please pull out the battery insulate tape before
using. The RF wireless remote signal can pass through
some nonmetal barrier. For proper receiving remote
signal, please do not install the controller in closed
metal parts.
12. Pair a new remote controller
The remote controller and main unit is 1 to 1 paired as
factory default. It’s possible to pair maximum 5 remote
controllers to one main unit and each remote controller
could be paired to any main unit.
13. Keep current remote only
In some cases, one main unit might be paired with
several remote controllers but extra remote controllers are
no longer needed. User could simply pair the current
using remote to main unit again, then the main unit will
dis-pair all other remote controllers and recognize current
one only.
User could pair a new remote controller to main unit
by following two steps:
1). Plug off the power of main unit and plug in again
after more than 5 seconds.
2). Press and key simultaneously for about 3
seconds, within time of 10 seconds after the main unit
powered on.
Advanced features
14. Waterproof (-S version)
The IP-68 waterproof feature with glue injection
finish is available on -S version controllers. For overall
waterproof performance, the cables must be waterproof
treated separately.
Wireless signal degrade : The wireless communication
ability could degrade when using at wet environment,
please be aware that the wireless control distance will be
shortened in such case.
15. Protection function
The controller has full protection function against
wrong wiring, load short circuit, overload and overheat.
The controller will stop working and the indicator will
flash with red / yellow color to indicate the malfunction.
The controller will try to recover from protection status
in a short time when the working condition is good.
For protection issues, please check the situation
with different indicator information:
Red flash: Check the output cables and load, make
sure no short circuit and the load current is in rated
range. Also the load must be constant voltage type.
Yellow flash: Check the installation environment,
make sure in a rated temperature range and with good
ventilation or heat dissipation condition.
Model
P20
P20-S
Brightness grade
7 levels
Color temperature grade
7 levels
Color temp. shortcut
3 shortcuts
Brightness shortcut
3 shortcuts
PWM grade
4000 steps
Overload protection
Yes
Overheat protection
Yes
Working voltage
DC 5-24V
Remote frequency
433.92MHz
Remote control distance
>15m at open area
Rated output current
2x7A
IP Grade
IP63
IP68
Specification
Operation

简介
P20 LED 5V冷暖⽩ 控制器⽤来驱动电压范围为 到
24V LED LED LED的 灯带或 模块等恒压 灯具。⽤⼾可以
通过卡⽚式射频控制器来调节 灯具的亮度和⾊LED
温。控制器需要直流电源供电,并根据接收到的遥控器
指令驱动LED灯具,实现亮度和⾊温的调节功能。
控制器可接受电压为5V到24V的直流电源供电,
请将红⾊电缆线连接到电源的正极,⿊⾊电缆线连接
到电源的负极。请确保LED灯具的额定电压与电源电
压相同,且电源的功率满⾜控制器和灯具的需求。
为保证安全,在通电前请先确保所有电缆均已可靠
连接且绝缘良好。
安装
1.电源输⼊
2.LED输出
连接到LED灯具。请将⿊⾊电缆线连接到LED灯具的
正极,⽩⾊电缆连接到LED灯具的冷⽩电缆,⻩⾊电缆
连接到LED灯具的暖⽩电缆,请确保LED的额定电压与
电源相同,并且每个通道的最⼤负载电流在控制器的额
定电流范围内。
型号:P20(-S)
RF⽆线遥控
冷暖⽩LED控制器
3.⼯作状态指⽰灯
该指⽰灯显⽰控制器的⼯作状态,指⽰灯与控制器
⼯作状态和对应关系如下:
蓝⾊常亮:正常⼯作
⽩⾊单闪:收到命令
⽩⾊慢闪:已到模式循环边缘
⻩⾊慢闪:达到速度或亮度极限
红⾊闪烁:过载保护
⻩⾊闪烁:过热保护
⽩⾊闪烁3次:新遥控器配对成功
请将控制器输出与LED恒压灯具相连接,并将控制
器输⼊与电源相连接。 LED电源电压需与 恒压灯具的
额定电压相同。请在通电前检查所有电缆连接是否正
确。
RF遥控器
功能
5.开关
按“I”键开启灯光,按“O”键关闭。控制器会记忆断电
前的开关状态,如果在断电前处于关机状态,下次通电
后请使⽤遥控器开灯。
5-24VDC
接交流 电 5-24V
直流电 源
LED控制器 L ED恒压灯具
4.接线图解
8
配对新
遥控器
控制器通电后10
秒钟内同时按下
全功能保护 高功率
无线遥控
防水功能 小尺寸
宽电压输入

后缀为-S版本的控制器应⽤了注胶防⽔⼯艺,可以
达到IP68的防⽔等级。为了确保整体的防⽔效果,需要
对输⼊输出电缆做单独的防⽔处理。
请注意:在浸⽔环境下,控制器的⽆线接收性能会下
降,遥控器的控制距离会缩短甚⾄⽆法控制。
遥控器和控制器出⼚默认为1对1的配对状态。1个
控制器最多可配对5个遥控器,⽽遥控器可配对到任意
的控制器。
如需配对新遥控器,请按以下两个步骤操作:
1)断开控制器电源,并在超过5秒后重新通电。
2)在控制器通电后的10秒内,同时按下新遥控器
和键约3秒钟。
配对成功后,控制器指⽰灯将闪烁3次提⽰配对完
成。
遥控器操作⽅法
9.使⽤遥控器
使⽤前请拔出遥控器电池绝缘⽚。RF⽆线遥控信号
可以穿过⼀定的⾮⾦属屏障,为了保证控制器的接收效
果,请勿将控制器安装在有⼤⾯积⾦属遮挡的位置。
10.与新遥控器配对
11.保留当前遥控器并清除其他遥控器
在控制器已与多个遥控器配对,⽽仅想保留当前遥
控器的情况下,可以将正在使⽤的遥控器与控制器再进
⾏⼀次配对操作,此后控制器将清除其他已配对的遥控
器⽽仅保留当前使⽤的遥控器。
⾼级功能
12.IP68防⽔(-S版)
13.保护功能
本产品具有完善的保护功能,可以最⼤程度的防⽌
因接线错误、负载短路、过载或过热⽽引起的产品损坏。
当发⽣以上异常状态时控制器将停⽌⼯作,同时指⽰灯
会闪烁红⾊或⻩⾊。当⼯作状态良好时,控制器会尝试
恢复正常⼯作。
当控制器停⽌⼯作时,请检查指⽰灯的状态,在不同
的闪烁状态下应检查相应的故障:
红⾊闪烁:请检查输出电缆是否短路、负载电流是否
过⾼,并且请确保所驱动灯具为恒压驱动类型。
⻩⾊闪烁:请检查控制器的安装环境以及负载功率,
并确保控制器散热条件良好且负载功率在额定范围之
内。
⾼级功能
型号
P20
P20-S
⾊温可调阶数
7级
亮度可调阶数
7级
PWM分 辨 率
4000级
⾊温快捷键
3个
亮度快捷键
3个
过载保护
有
过热保护
有
⼯作电压
DC5-24V
遥控器⼯作频率
433.92MHz
遥控器⼯作距离
空旷地带>15⽶
额定输出电流
2x7A
防⽔等级
IP-63
IP-68
规格
6.亮度与⾊温调节
按键增加亮度,按键降低亮度。按和键
来调节⾊温。
本机的调光控制应⽤了伽玛校正原理,可以使亮度
调节更加顺滑,更符合⼈眼的视觉体验。
7.亮度与⾊温快捷键
按下相应键时跳转到相对的亮度级别。快捷键的亮
度等级为⼈眼感受的级别,与实际输出功率并不成⽐
例。
跳转到对应的⾊温。 快捷键分别有⾊温 全冷⽩、全暖
⽩或中性⽩ 即 暖⽩和 冷⽩ 。( 50% 50% )
8.遥控器指⽰灯
按下遥控器按键时,该指⽰灯会快速闪烁。如果指
⽰灯慢闪,则说明遥控器电池电量已耗尽,请更换遥控
器电池(CR2032型纽扣电池)。
This manual suits for next models
1
Other Rayrun Lighting Equipment manuals