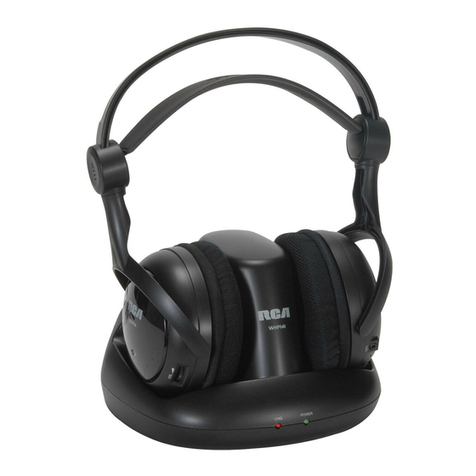
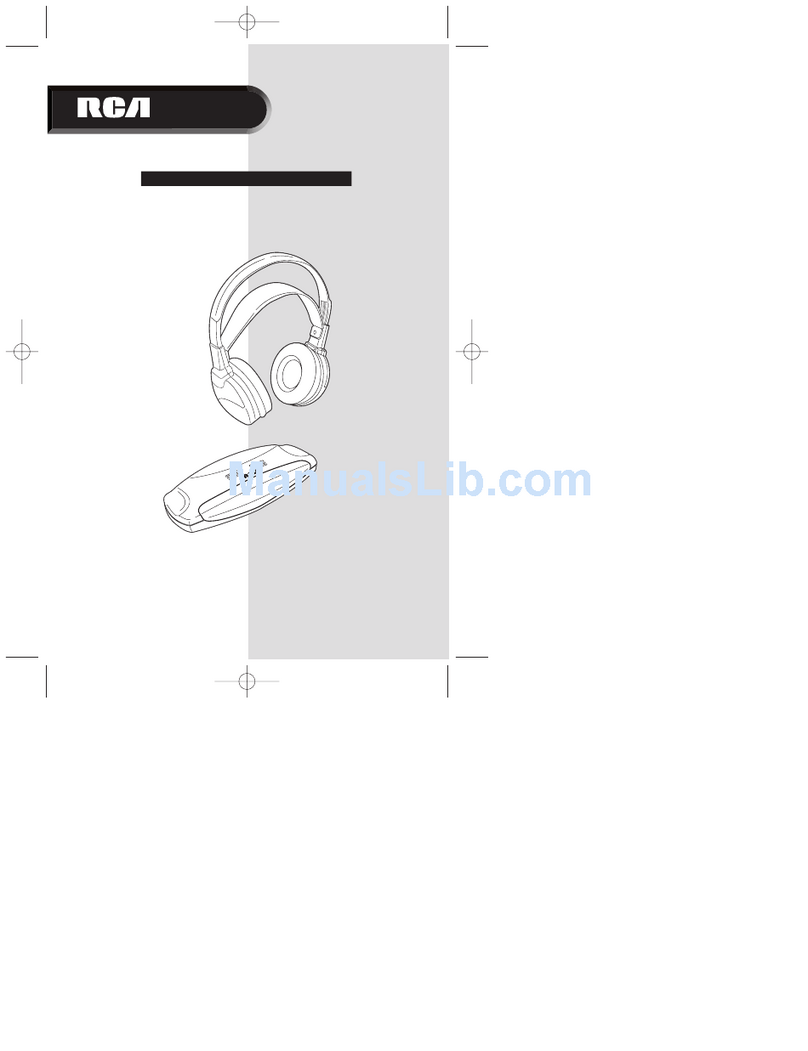
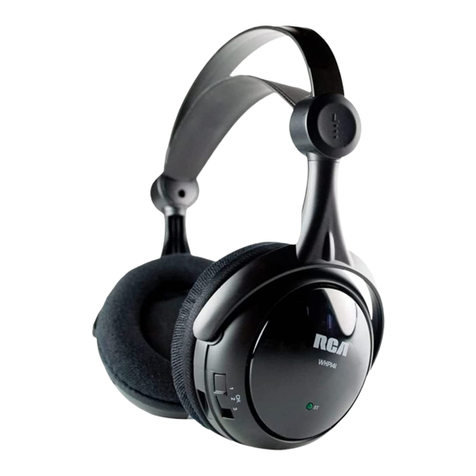
RCA WHP140 Installation guide

Thank you for choosing the
RCA Wireless Headphones.
Before attempting to use
your Wireless Headphones,
please remove all parts
from the box and read
the installation and use
instructions carefully.
Limited One-Year Warranty WHP140
feet
*
up to
* Open field tested
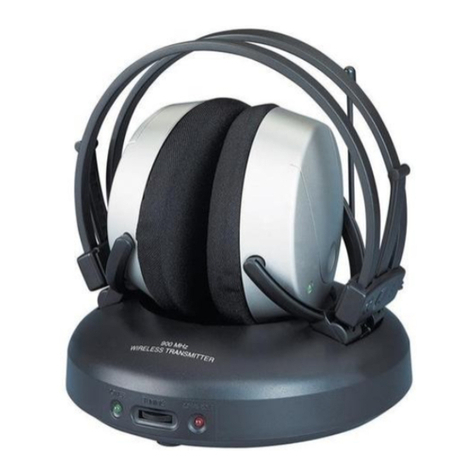
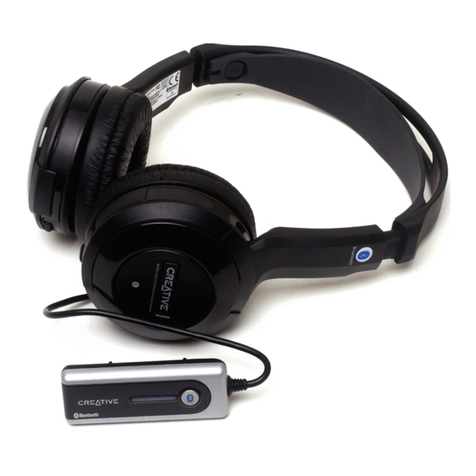
Wireless Headphones
with 900 MHz transmitter

3
FEATURES
900 MHz RF technology lets you roam freely throughout your house
Operating distance up to 100 feet
No line-of-sight limitation
Convenient power and tuning controls located on headphones
TABLE OF CONTENTS
Introduction . . . . . . . . . . . . . . . . . . . . . . . . . . . . . . . . . . . . . . . . . . . . . . . .3
Features . . . . . . . . . . . . . . . . . . . . . . . . . . . . . . . . . . . . . . . . . . . . . . . . . . .3
Transmitter . . . . . . . . . . . . . . . . . . . . . . . . . . . . . . . . . . . . . . . . . . . . . . . . .4
Headset safety . . . . . . . . . . . . . . . . . . . . . . . . . . . . . . . . . . . . . . . . . . . . . .4
Installation . . . . . . . . . . . . . . . . . . . . . . . . . . . . . . . . . . . . . . . . . . . . . . . . .5
Operation . . . . . . . . . . . . . . . . . . . . . . . . . . . . . . . . . . . . . . . . . . . . . . . . . .8
Specifications . . . . . . . . . . . . . . . . . . . . . . . . . . . . . . . . . . . . . . . . . . . . . . .9
Troubleshooting . . . . . . . . . . . . . . . . . . . . . . . . . . . . . . . . . . . . . . . . . . . .10
Warranty . . . . . . . . . . . . . . . . . . . . . . . . . . . . . . . . . . . . . . . . . . . . . . . . . .12
INTRODUCTION
This 900 MHz stereo wireless headphone system features a compact
design that uses the latest wireless technology that enables you to
enjoy music and TV sound just about anywhere inside or outside your
home. You can simply connect the system to any sound source, such
as a DVD, DBS, CD, TV, VCR, stereo receiver and radio.

54
HEADSET SAFETY
■Do not play your headset at a high volume.
Hearing experts advise against continuous extended play.
■If you experience a ringing in your ears, reduce the volume
or discontinue use.
■Make sure the volume level of the headphone is set at a comfortable
listening level before placing it in position over your ears.
TRANSMITTER
POWER LED
INDICATOR
CHANNEL TUNING WHEEL
BUILT-IN 3.5MM
STEREO AUDIO CORD DC POWER JACK
FRONT
BACK
INSTALLATION
Please follow this quick set-up guide to ensure trouble free installation
of your headphones.
Step 1:
Connect the built-in 3.5mm Stereo Audio Cord to the audio output
jack of your audio source, e.g. TV, HiFi, CD, DVD player etc. The
3.5mm plug is standard and will fit in the jack marked PHONES or
LINE OUT that is available on most portable CD, MP3 players or
portable audio device.
* If you are connecting to a stereo receiver or if your audio source has
two RCA output jacks (red and white in color), use the Y-connection
Cord that is included for connecting the transmitter to the
the jacks marked AUDIO OUT or LINE OUT.
Step 2:
Connect the plug end of the AC Adapter to the DC IN Socket,
located on the back of the transmitter, and plug the adapter into
the AC wall outlet.
Step 3:
The transmitter is now ready to receive an audio signal. When there
is a signal received from the audio source, the Power LED Indicator
will glow RED to confirm that the transmitter is operating.
Make sure the transmitter is located on a secure flat surface, preferably
above head level. This will assure the best performance and allow the
headphone to receive the wireless signal.
* The transmitter has an auto-cut-off function. When there is no audio
signal (such as when a CD has finished and the player stops) for
a period of about 90 seconds, the power of the transmitter will be
automatically cut off. You will then hear some noise from the headset
and the LED on the earcup will turn RED. Once an audio signal is
restored to the transmitter (resume playing the CD or audio program)
then the LED on the transmitter will glow RED indicating that it is
transmitting audio once again (the LED on the headphone will turn
back to GREEN to indicate normal operation).

76
INSTALLATION (continued)
Step 5:
Switch on your music device (TV, HiFi, CD, DVD etc.) to begin
playing your audio program. If you have the transmitter connected
to a portable CD or MP3 player, make sure the volume level on the
player is set to a mid-level setting to assure a strong input signal to
the transmitter.
Step 6:
Listen to the sound coming from the headphone before placing it in
position on your head to make sure the volume is not too loud. Adjust
the volume control by rotating the thumbwheel to the desired level.
Please refer to the previous HEADPHONE SAFETY section for
quidelines on operating safety.
If there is no sound or it is distorted, then tune the headphone by
adjusting the CHANNEL TUNING THUMBWHEEL until the sound
is improved and the LED light turns GREEN.
RIGHT SIDE LEFT SIDE
BATTERY
COMPARTMENT
COVER
DUAL
COLOR LED
INDICATOR
VOLUME
CONTROL
KNOB
POWER
ON/OFF
SWITCH
CHANNEL
TUNING
THUMBWHEEL
INSTALLATION (continued)
Step 4:
Placing your thumb on the Battery Compartment Cover on the left
side of the headphone, gently push up in a sliding motion to remove
the cover. Then insert the 2 “AA” size batteries into the battery
compartment, carefully following the markings inside to assure the
batteries are inserted properly with the + and – ends in the correct
position. Then slide the battery cover into place until the tabs lock
to secure it in the proper position. Then locate the Power ON/OFF
Switch and slide it to ON.
*Note: You may use nickel-cadmium or nickel-metal hydride
rechargeable batteries to operate the headphones. However, they
may not be recharged in the headphones. Use your charging device
with the batteries to recharge them.

98
SPECIFICATIONS
Model WHP140
Description Radio Frequency
Wireless Headphones System
(Power Auto Cut Off/Dual Color
LED Indicator)
Transmitter
Carrier Frequency 900 MHz
Effective Range 100 feet (open field)
Power Supply AC Adapter, 12V 200mA
Headphones
Frequency Response 100-7,000 Hz
Signal to Noise Ratio 50 dB
Distortion <2%
Channel Separation 25 dB
Power Supply 2 x 1.5V AA size batteries
System Includes 1 Transmitter
(built-in 3.5mm stereo audio cord)
1 Headphones
1 AC/DC adapter for transmitter
1 Y-connection Cord
2 AA heavy duty batteries
OPERATION
1. Turn on the audio source (TV or audio component) to which the
transmitter is connected.
2. Slide the ON/OFF switch on the headphone to “ON.”
3. Listen to the volume coming from the ear cups on the headphone to
make certain that the volume is not too loud before placing the unit
on your head. (See the section titled “Headset Safety” on page 1.)
Adjust the volume as needed using the VOLUME CONTROL wheel
located on the right ear cup. Once the volume level is at a comfortable
setting, place the headphones over your ears and adjust the volume
as desired.

1110
TROUBLESHOOTING (continued)
PROBLEM
Interference:
Power auto-cut-off:
SOLUTION
A) On the back of the transmitter, there is a
CHANNEL TUNING THUMBWHEEL.
Select a different frequency channel by
turning the thumbwheel up or down. Then
adjust the thumbwheel on the channel
tuning control on the headphones until the
LED Indicator glows GREEN showing that
the channel has been properly tuned.
A) The transmitter has an auto-cut-off function.
When there is no audio signal (such as
when a CD has finished and the player
stops) for a period of about 90 seconds,
the power of the transmitter will be
automatically cut off. You will then hear
some noise from the headset and the
LED on the earcup will turn RED. Once an
audio signal is restored to the transmitter
(resume playing the CD or audio program),
then the LED on the transmitter will glow
RED indicating that it is transmitting audio
once again (the LED on the headphone
will turn back to GREEN to indicate
normal operation).
TROUBLESHOOTING
If you encounter any trouble in setting up the Headphones,
please check the following points:
PROBLEM
Distorted sound
quality or
unclear sound:
No sound from
the headphones:
Mono sound:
SOLUTION
A) Check if the sound of your audio source is
distorted and whether the volume control
is set to an adequate level.
B) Make sure that your audio equipment, the
transmitter and headphones are connected
properly and switched ON. If the batteries
in the headphones have insufficient power,
replace them with fresh batteries.
C) Check if you have selected the best channel.
Adjust the Channel Tuning once again to
check. If necessary, you may change the
setting of the transmitter by turning the
CHANNEL TUNING THUMBWHEEL up
or down, then adjusting the thumbwheel
on the HEADPHONES to tune in a better
channel setting to improve audio or
eliminate interference.
A) Check if the batteries are inserted properly
into the battery compartment and whether
the headphones are switched ON.
B) Check if the batteries in the headphones
have sufficient power—replace them
if necessary.
c) Check if the transmitter is properly
connected and powered on with the
AC/DC Adapter (the Power LED
Indicator should glow RED).
D) Check if all the cords are properly connected.
E) Check if the distance between the
headphones and transmitter are within the
effective range. (The effective range of the
device is approx. 100 feet). Move closer to
the transmitter to receive the sound.
A) Check if the audio source is mono only,
use a stereo audio source.

THOMSON INC. warrants that for 1 year from date of purchase,
it will replace this product if found to be defective in materials
or workmanship. Return it postage prepaid to the Product
Exchange Center address for prompt, no charge replacement
with a current equivalent. This replacement is THOMSON INC.’s
sole obligation under this warranty. THOMSON INC. will not be
responsible for any incidental or consequential damages, or for
any loss arising in connection with the use or inability to use this
product. Some states do not allow the exclusion or limitation of
incidental or consequential damages, so the above limitation or
exclusion may not apply to you. This warranty excludes defects
or damage due to misuse, abuse, or neglect. This warranty gives
you specific legal rights, and you may also have other rights,
which vary from state to state.
LIMITED ONE-YEAR WARRANTY
© 2003 THOMSON INC.
Product Exchange Center
11721 Alameda Ave.
Socorro, TX 79927
WHP140 US IB RevA
Trademark(s) ® Registered
Marca(s) Registrada(s)
Made in China
Other manuals for WHP140
1
Table of contents
Other RCA Headphones manuals

RCA
RCA WHP170 User manual

RCA
RCA WHR120RS Installation guide

RCA
RCA WHP140 User manual

RCA
RCA HP59MIC User manual

RCA
RCA WHP141 - WHP 141 - Headphones User manual

RCA
RCA 900 MHz User manual

RCA
RCA WHR 100 User manual

RCA
RCA WHP145 User manual

RCA
RCA WHP150 User manual

RCA
RCA WHP141 - WHP 141 - Headphones User manual