RCA RLC2626 User manual

RLC2626

In case ofsmoke, strangenoiseor strangesmell
from theunit:
Turn offthepowerswitch immediately;
Disconnectthepower plugfromthepower outlet;
Contactyourdealer orservicecentre.Never
attempt tomakerepairs yourself because this
could bedangerous.
High Voltage
Do not open
Risk of electronicshock,donotopen.
Donotattempt toservicethisproductyourself
as openingor removing covers mayexpose
youto dangerous voltage orother hazards.
Referall servicingtoqualifiedservice personnel.
CAUTION
Important SafetyInstructions
Important Safety Instructionsand Maintenance
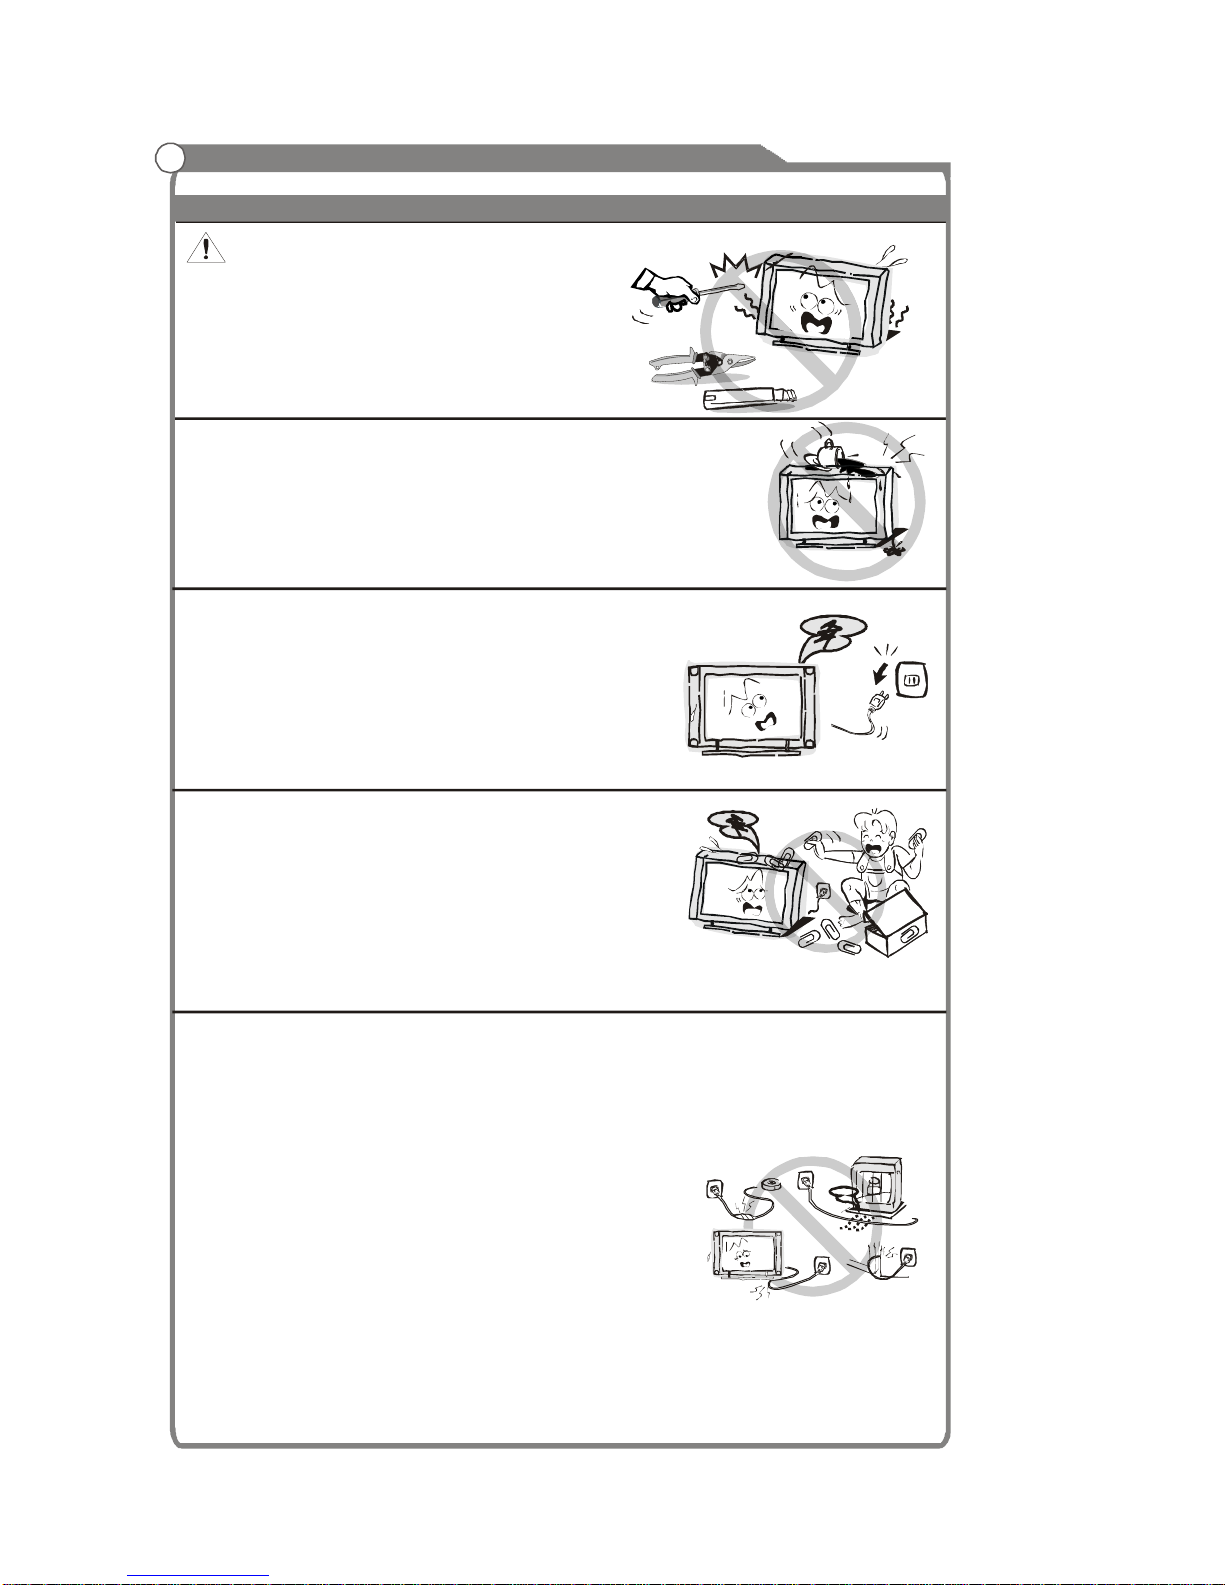
Never pushobjects ofany kindinto theset
throughthecabinetslotsastheymaytouch
dangerous voltagepointsor short-circuit partsthat
could result inafireor electricshock.Neverspill
liquid of any kindontheset. Usespecial caution
inhouseholdswherechildrenarepresent. The
apparatusisnot suitableforchildrenunder 3-year
to operate.
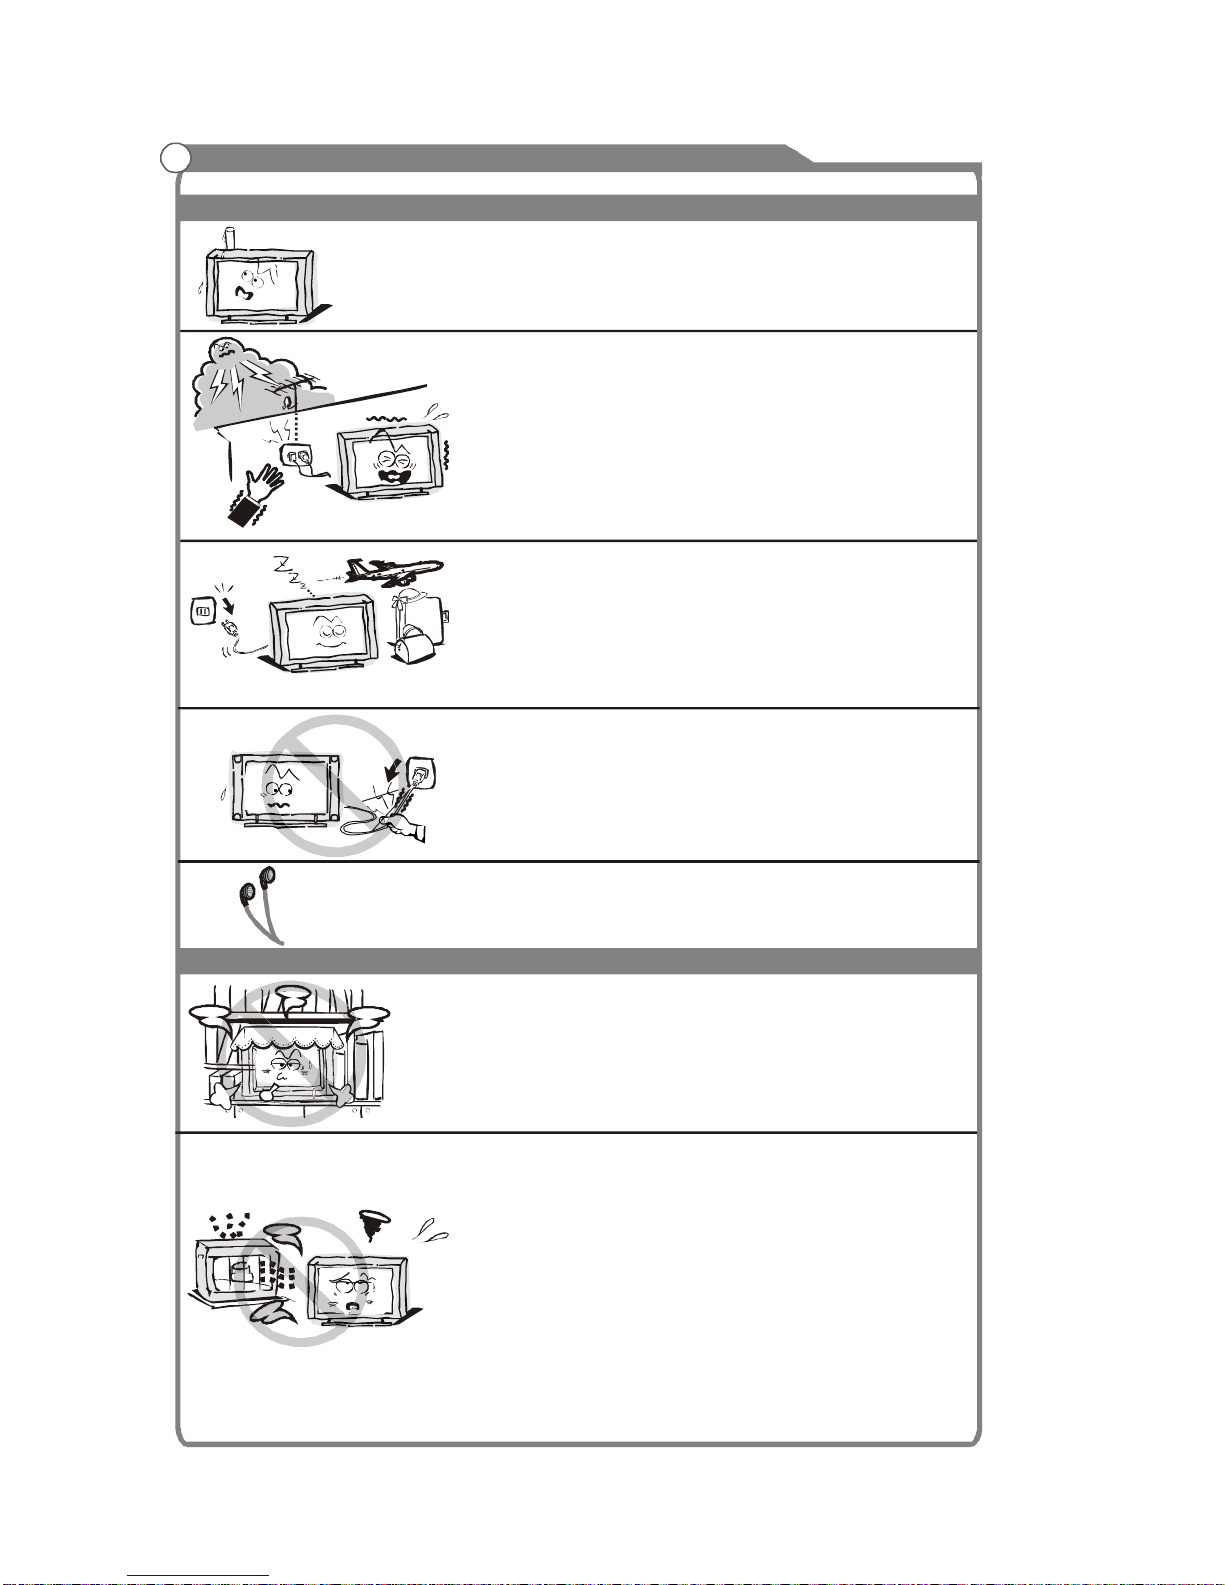
Thisproductisequippedwithapolarizedplug(aplug
havingonebladewiderthan theother).
Thisplugwill fit intothepoweroutletonly oneway,
thisisaSafetyfeature.If you areunable to insert the
plugfully intotheoutlet,tryto reverse theplugandif
theplug shouldstillfail tofit, contact your electrical
technician toreplaceyour obsoleteoutlet.
Donotdefect the safetypurposeof thepolarizedplug.
Powersupplycords should be routedsafety to
preventlifeand propertyfromdangerous with
damaged cord.
Mains plugisusedasthedisconnect device. It
shall remain readilyoperableandshouldnot be
obstructedduringintendeduse.Tobe completely
disconnected the apparatusfrom supplymains, the
mains plugofthe apparatus shall bedisconnected.
To reducetheriskoffireor electricshock, donot
expose thisproduct torainor moisture.
Theapparatusshall notbeexposedtodripping
or splashingandnoobjectsfilledwith liquids,
such asvases,shall beplacedontheapparatus.
1

Important Safety Instructions andMaintenance
ImportantSafety Instructions
Always turnthe set offwhen it is not beingused.
Unplug theapparatus from theAC outlet when it will
not be usedforalongperiod oftime. And whenthere
is a lightning,unplugthe unit fromtheACoutlet
immediately.Never touch theantennawire during
lightning.
Anoutside antennasystemshould notbe located in
thevicinity of overheadpower linesor other electric
light or powercircuits,or where it can fall into such
powerlines or circuits.Wheninstallingan outside
antenna system,extremecare shouldbe takento keep
fromtouching suchpower lines or circuits ascontact
withthemmightbefatal.
Installation
Theventilation should not beimpededby covering the
ventilationopeningwith items, such as newspapers,
tablecloths,curtains, etc.
Atleast 10 cmspace shouldbe left aroundthe
apparatusforsufficientventilation.
Theproductshould besituated away from heat
sources such as radiators,heat registers,stoves,or
other products (includingamplifiers) that produce heat.
Placetheapparatus insuch a position thatthescreen
is notexposed to directsunlight.Itis best to have soft
indirectlightingwhile watchingand avoid complete
dark environment and reflectionfrom the screenas
these may cause eyefatigue.
Keep the product awayfromhighmagnetic field (i.e.
power-amplifiedpower speaker)to avoid affectingthe
tint;
2
Donot pull theplugout by the wire;
Nevertouch theplug withwethands.
Excessivesoundpressure fromearphonesand
headphones cancause hearingloss.
Toavoid the fire,nonakedflame source,
suchas lighted candles, should be
placedon theapparatus.

3
Important Safety Instructions andMaintenance
Installation
Do not place thisapparatusnear water,for example,
near a bathtub,wash bowl,kitchensink,or laundry
tub;inawet basement;or aswimming pool;and
thelike;
Cleaning
When theTV being moved infromcold place,it needs
some right timefor dewinside unit evaporatingfully
before turnon theunit;
Unplugthis apparatusfromtheAC outletbefore
cleaning. Donot useliquidcleanersor aerosol
cleaners. Usea dampcloth forcleaning;
Do not place the set on anunstable cart, stand, table
or shelf.The set mayfall,causingserious personal
injury as wellasdamage totheproduct.Useonly with
thecart,stand,tripod,bracket,or table specifiedby
themanufacturer, or sold with theapparatus.An
appliance and cart combination should bemoved with
care. Quick stops,excessive force,anduneven
surfaces maycause the appliance and cart
combinationto overturn.
To prevent injury, this apparatusmustbesecurely
attachedto thefloor/wallin accordancewith the
installation instructions.
Move
For your protection,please readthisinstruction completely, andkeepthis manualfor
futurereference.

4
General description5
Specifications andaccessories6
Overview7
Basic operation10
External connection12
Basic operation14
Trouble shooting23
Picturedefects and countermeasures24
Basic operation
Contents

5
General description
Feature:
lZeroXradiation compliesto green environment protection requirement
lAutotuningandfinetuning
lOnecompositevideo inputsocket(back)
lOne side composite video input socket
lOneS-Videoinput socket
lOnePC VGA input socket
lOne YPbPr input socket
lOneHDMIinputsocket (HDMI1.3)
lOneAV output socket
lHeadphone
lMulti-languageOSD
lProgrammable TVsleep timer
lNo-signal automaticpowerofffunction
lPC VGA mode:VGA, SVGA,XGA
lYPbPr mode:480i,480P, 576P, 720P,1080i, 1080P
lHDMImode:480P,576P,720P,1080i,1080P
Note:
1. In case of anydesign change,a notice will not be released.
2. The composite video output function only supportTVandAVinput.
Specification

6
Specifications:
Accessories:
l Usersmanual l Remotecontrol
l Wall-mountedaccessories:Two wall-mountedbrackets, four fixedscrews
and fourfixed sleeves.(Optional)
Note:
1.Due to TV may be usedwith differentdisplayscreen,weightmarked in this
user'smanual or in packaging box are subject tochangewithout notice.
2.Theillustrations and on-screen displaysin this usersmanualare for
explanationpurposesandmay vary slightlyfromactualoperations.In case of
anydesign change, anotice will not bereleased.
Specifications and accessories
Description
Dimensions
(LXWXH) TV with stand
TV withoutstand
TV with stand
TV withoutstand
1366X768
4WX2
74W
~120V60Hz
RLC2626
645X108X434mm
645X235X493mm
6.4Kg
7.2 Kg

7
Overview
1. Power indicator
Green:Normal playing status.
Red: Standby status.
2. IR remote sensor
Point remote control atthis sensor to
conductremote control.
3. VOL/
Press these twobuttons to increaseor
decreasethevolume oroperate menu.
4. PROG /
Press these twobuttons to select channel
oroperatemenu.
5. MENU
Press this button todisplay OSD menu.
6.
Press this button toenter standby mode
undernormal play,and press this button
to enter normalplay modeunder standby
mode.
7. INPUT
Press this button todisplay the selectable
signal source for main source.
AV2 IN
Headphone
IR remote sensor
Power indicator
1
2
3
4
5
6
7
8
10
AUDIO(R&L)
VIDEO 2

8
Overview
AVAUDIO OUT
Audioout for external devices.
AV VIDEO OUT
Videooutforexternaldevices.
YPb/CbPr/Cr
ConnecttoYPbPr/YCbCrvideo.
IN

9
Overview
Remote control
Loading batteries:
1)Remove thelid of the battery compartment.
2)Insert 2size AAAbatteries with polaritiesas indicated inside the compartment.
3)Replace the lid.
Note:
1)One loadingofbatteries willlast1yearunder normal use.
2)Ifyoudon tintendto usetheremotecontrol for a longperiodof time, remove
them toavoiddamageduetoleakage.
3)Do not mixold and newbatteries,or differenttypes.
4)Don t throw thebatteries into fire or water.
5) The batteries (battery pack or batteries installed) shall not be exposed to exces-
sive heat such assunshine, fireorthelike.

10
Basic operation
Remote control introduction
1.INPUT
Selectinput source.
2.POWER
Turnyour TVon and off.
3.0~9
Use these keys to input digit, letters and special characters.
4.INFO
Displays the program information.
5.RECALL
Toswap to the previous program you wanted from current program.
6.SOUND
Selectaudio mode. Press the keyrepeatedlyto choose one of themodes among
Normal, News, Music, Preference.
7.PICTURE
Select picturemode.Pressthe key repeatedly to chooseoneof the modes among
Normal, Sports, Mild,Preference.
8.SLEEP
TVwill be switched off automaticallyatpreset sleep time if you have set sleep
timer. Use your remote control to set thesleep timer. Press SLEEP button on the
remote control, then press this button again to set sleep timer: Off,15Min,30Min,
45Min,60Min,90Min,120Min.
Note: The sleeptimeryou havesetwill be canceledwhentheTV turnsofforifa
power failureoccurs.When SLEEP TIMER is 60 seconds only, left tunime will be
displayed on the screen, andanyoperation will cancel SLEEP TIMERfunctionby
pressing anybutton on the remote control oron the unit.
9.ZOOM
Change the displaymode press the keyrepeatedlyto choose one ofthe modes
among Full, 4:3.
10.CCD
Select closed caption mode. Pressthekeyrepeatedly tochooseone ofthe modes
amongOff,CC1,CC2,CC3,CC4,Text1, Text2,Text3,Text4.
11.MTS
Select MTS sound system. Press the keyrepeatedlyto choose one of the modes
among Mono, Stereo, Sap.

11
Basic operation(tobecontinued)
12.FREEZE
No available for this model.
13.AV
SwithtoAV mode directly.
14.YPbPr
Switch toYPbPrmodedirectly.
15.PC
Switch to PCmode directly.
16.TV
SwitchtoTV mode directly.
17.HDMI
Switchto HDMI modedirectly.
18.
Press this button to shut off sound of the TV temporarily,press again to restore
TV sound.
19.VOLq/p
Press these buttons to adjustTVvolume.
20.PROGq/p
Press these buttons to change program upward or downward.
21.MENU
Displaythemain menu.
22.EXIT
Exit the menu.
23.Arrow buttons(q/p/t/u)
Press these buttons to movecursor up/down/left/right for menu.
24.OK
Validationkey.

12
Externalconnection
Antenna connection
Antenna inputimpedance of this unit is75ohm. VHF/UHF 75ohmcoaxial cable can
beconnected totheantennajack directly, iftheantennacable is a 300ohm flat
feeder cable, you need to use the 300ohm/75ohmconverter toconnect the antenna
cable to the antenna jack.
l75 coaxial cable is recommended to eliminate interferenceand double image
dueto the unmatchedinputimpedance oftheantenna.
lThe antenna cableand powerlineshould notbe bundled together.
Stand and Wall-mounted
1.Howto mount the LCD TV ?
(1) Take out the bracket hole cover from groove withscrew driver and place onthe
bracket hole;
(2)Fasten 4 screws intofournuts onthe rearcover;
(3)Fasten2bracketswith4 M8 screws on thewall asfigure2shown;
(4) Carefully check for the strength before releasing the LCDTV.
Figure 2
Figure 1
Nut hole
200mm

13
Externalconnection
2. How to assemble the stand?
Beforeattaching/detaching the stand, make sure to turn off the TV.
Before performing workspread cushioning over the base area to lay the LCDTV on.
Thiswillprevent itfrom beingdamaged.
Figure1
Figure2
Figure3
A.M4X8screw
B.TransitionBoard
C. M4X8 screw
D. Stand
Assemblinginstruction:
1.UnfastenscrewsA from theLCD TV.(Figure1)
2.DetachtheTransitionBoardBfromtheLCDTV.(Figure1)
3.Fixthe standandtheTransitionBoardtogether withscrewsC.(Figure2)
Thefixingdirectionfollowsthelabelofthestandandthetransitionboard.
4.Putthetransitionboardand thestandbackinto theLCDTV.(Figure3)
5.Fastenscrewsinto theholestofixthestandandTV cabinettogether. (Figure3)
Note:Todisconnectthestandfrom theTV,perform theabovestepsinreverseorder.

14
PICTURE
AUDIO
CHANNEL
FUNCTIONSETTING
MENU
EXIT
SELECT
ADJUST
ALWAYSDURATION
OSD POSITION
SCREEN SAVER
LANGUAGEENGLISH
OFF
MID
Basic operation(tobecontinued)
Turning the TVOnand Off
1.Insert the powercordplug intoaACoutlet, the TV
willenterstandbymode.Press POWER button
on the remote control toturn it on . The indicator
willswitch fromredto green.
2.Ifyouwantto stopwatchingTV orgooutfora
while,you can press POWER button on the re-
mote control. If you wanttowatch TVagain,you
canpress thisbutton again.
3.Unplug the power cord when the TV will not be
used foralongperiod time.
Autopower-off
The TV will enter standby mode in15 seconds
inPCmode,and in other modes itwillenter
standby mode in5minutes when no signal
sleep is on.
Memorizing the Channels
YourTVcanmemorizealloftheavailable
channels.After theavailablechannelsare
memorized, usePROGr/sbutton tobrowse
channels.
Language select
Before using TV, you can setthe language:
1)Press MENU button on the remote control, then
press t/uArrow button to select “Setting”menu
as following:

15
Basic operation(tobecontinued)
2) Press p/qArrow buttonto enter thesubmenu andpress t/uArrowbutton to
select thelanguageyou desire.
Selecting input source
PressINPUT button ontheremotecontrol,thenyoucan selectinput sourcesas
following:
Setting color system
In order to meet the color system in your country,you can set the color systemas
following: Press q/pArrowbutton to select “COLOR SYSTEM”under “CHANNEL”
menu,andthenpress t/uArrow button tochangevideoformatas following:
Tunersetup
Press MENU buttonon the remote control, then press t/uArrowbuttonto select
“CHANNEL”:
1)SOURCE
Press q/pArrowbuttonto select “SOURCE”,and press t/uArrowbutton to
select “Air”or “cable”.
2)CHANNEL
Press q/pArrowbuttonto select “CHANNEL”and press t/uArrowbuttonto
select the channel number.
3)COLORSYSTEM
Press q/pArrowbutton to select “COLORSYSTEM”and press t/uArrow
button to select the right colorsystem.
PICTURE
AUDIO
CHANNEL
FUNCTIONSETTING
MENU
EXIT
SELECT
ADJUST
55.25MHZ
OFFSKIP
FINE TUNE
COLORSYSTEM
CHANNEL
SOURCEAIR
2
AUTO
AUTO SEARCH
AFT
OFF
TVAV1AV2 S-VIDEO HDMI PC
COMPONENT
AUTO
PALM PALN NTSC M

16
Basic operation(tobecontinued)
4)SKIP
Press q/pArrow button to select “SKIP”,then press t/uArrowbutton to select
“On”or “Off”. On: skip the channel; Off: not skip.
5)AFT
Press q/pArrowbutton toselect “AFT”, then press t/uArrowbutton to select
“On”or “Off”.
6)FINE TUNE
In case of bad image orsound of TV program,youcan useFineTune function
to obtain satisfied image or sound withoperating steps as follows:
Press q/pArrow button toselect “FINE TUNE”and press t/uArrowbutton to
conductfinetuningfrom high frequency tolow frequencyor from lowfre-
quency to highfrequency till best picture or sound effectisobtained.
Note: Only if “AFT”is setto “OFF”,you can adjust the “FINE TUNE”.
7)AUTOSEARCH
Press q/pArrowbutton to select “AUTO SEARCH”, then press uArrowbutton
to startAuto Search:
TV willtune automaticallyand allprograms found will besaved.Please don t
interrupt it.
Note:
i) If youuse theTV for the first time, you must use “AUTO SEARCH”to search
and memorizeall channels.
ii) If your TV is not in TV input state, you must switch it to TV state at first.
iii) If you want to stop the process of “AUTO SEARCH”,just press MENUbutton
toexit.
AIR
AUTO SEARCH
CH:1

17
Adjusting the Picture
Press MENU button ontheremote control,thenpress t/uArrowbuttonto select
“PICTURE”menu.
1) Adjusting Picture Mode
Press q/pArrowbuttonto select “PICTURE MODE”,and press t/uArrow
buttonto adjust picturemode toyour desire.
Note: “BRIGHTNESS”, “CONTRAST”, “COLOR”adjusting are only available in
preference mode.
2)Adjusting the Brightness ofpicture
Press q/pArrowbutton toselect “BRIGHTNESS”,and press t/uArrow button
toadjustbrightness to your desire.
3)Adjusting the Contrastof picture
Press q/pArrowbuttontoselectthe “CONTRAST”,thenpress t/uArrow
button to set contrastto your desire.
4)Adjusting the Tint of picture
Press q/pArrowbutton toselect the “TINT”, then press t/uArrowbutton toset
tint to your desire.
Note: Only available in NTSC.
5)AdjustingtheColor ofpicture
Press q/pArrow button to select the “COLOR”,then press t/uArrow button to
setsaturationto your desire.
6)Adjustingthe Sharpness of picture
Press q/pArrowbutton to select the “SHARPNESS”,then press t/uArrow
buttontoset sharpnesstoyourdesire.
7)Adjusting theBacklight of picture
Press q/pArrowbuttontoselectthe “BACKLIGHT”,then press t/uArrow
button to set backlight toyour desire.
Note:Backlight function is only availableformodels with this function.
8)AdjustingtheColorTempof picture
Press q/pArrowbutton to select the “COLOUR TEMP.”, then press t/uArrow
button tosetcolour temperature to yourdesire.
9)Adjustingthe Scale Mode of picture
Press q/pArrowbutton to select the “SCALE”, then press t/uArrow button to
set scale mode to your desire.
Basic operation(tobecontinued)
PICTURE
AUDIO
CHANNEL
FUNCTIONSETTING
MENU
EXIT
SELECT
ADJUST
PICTURE MODEPREFERENCE
FULL
STANDARD
BRIGHTNESS
CONTRAST
COLOR
SHARPNESS
BACKLIGHT
COLOUR TEMP.
SCALE
50
50
50
50
50
TINT 50

18
PICTURE
AUDIO
CHANNEL
FUNCTIONSETTING
MENU
EXIT
SELECT
ADJUST
ALWAYSDURATION
OSD POSITION
SCREEN SAVER
LANGUAGEENGLISH
OFF
MID
Note:It is useless underno signalmode.
Adjusting the Sound
PressMENU button on theremotecontrol, then press t/uArrow button toselect
“AUDIO ”menu.
1)AdjustingSoundMode
Press q/pArrowbuttonto select “SOUND MODE”,use t/uArrowbuttonto
adjustsound mode.
2)Adjusting the Equalizer
Press q/pArrowbutton toselect “EQUALIZER”,use t/uArrow button to adjust
the frequency.
3)AdjustingBalanceofsound
Press q/pArrow button toselect “BALANCE”,use t/uArrowbutton toadjust
sound balance.
4)AdjustingAVL
Press q/pArrowbuttontoselect “AVL”andpress t/uArrow buttontosetit
“ON”or “OFF”.
5)Adjust MTS
Press q/pArrow button to select “MTS”,use t/uArrow button to adjust to your
desired.
Note: Only available in TV.
OSD Setup
PressMENUbutton on the remote control and press t/uArrow buttonto select
“SETTING”menu.
Basic operation(tobecontinued)
PICTURE
AUDIO
CHANNEL
FUNCTIONSETTING
MENU
EXIT
SELECT
ADJUST
SOUNDMODEPREFERENCE
MONO
OFF
EQUALIZER
BALANCE
MTS
50
AVL

19
1)OSD Language
Press q/pArrow button to select “LANGUAGE”and press t/uArrow button to
select language you desire.
2)Adjusting SCREEN SAVER
Press q/pArrow buttontoselect“SCREEN SAVER”andpress t/uArrow
button to set screen saver.
3)AdjustingOSD Position
Press q/pArrowbutton to select “OSDPosition”and press t/uArrowbutton
to set position of OSD.
4)AdjustingOSDTimer
Press q/pArrow buttontoselect “DURATION”,Press t/uArrowbutton to
select one time fromthe following times:5s,10s,15sand always.
Functionsetup
Press MENU button on the remote control or TV side panel, press t/uArrowbutton
to select “FUNCTION”menu.
1)SLEEPTIMER
Please referto page 10.
2)NO SIGNAL SLEEP
Refer to page 14 “Auto power-off”.
3)OPC
Press q/pArrow buttontoselect “OPC”in “Function”menu.press t/uArrow
button to set it “ON”or “OFF”or “DEMO”.
Note: Not available in VGA.
4) CLOSEDCAPTION
Press q/pArrowbutton to select “CLOSED CAPTION”in “Function”menu.
Press the keyrepeatedlyto choose one of the modes among Off, CC1,CC2,
CC3,CC4,Text1, Text2, Text3,Text4.
Basic operation(tobecontinued)
PICTURE
AUDIO
CHANNEL
FUNCTIONSETTING
MENU
EXIT
SELECT
ADJUST
OFFCLOSEDCAPTION
PARENT CONTROL
OPC
NO SIGNAL SLEEP
SLEEP TIMEROFF
ON
ON
Table of contents
Other RCA LCD TV manuals

RCA
RCA LCDS2022B User manual

RCA
RCA RS50U1-EU User manual

RCA
RCA 19LA30RQ User manual

RCA
RCA RLC3209 User manual

RCA
RCA Scenium LCDX3022W User manual

RCA
RCA l46wd250 - LCD Scenium Flat HDTV Parts list manual

RCA
RCA 42LB45RQ User manual

RCA
RCA Roku Streaming Stick LRK65G55R120Q User manual

RCA
RCA 46LB45RQ User manual

RCA
RCA LRK32G45RQ User manual

RCA
RCA SCENIUM L37WD14 User manual

RCA
RCA RB32H1-EU User manual

RCA
RCA RLDED3930A-RK User manual

RCA
RCA LED32B30RQ User manual

RCA
RCA LRK55G55R120Q User manual

RCA
RCA LED32B30RQD User manual

RCA
RCA 55LA55R120Q User manual

RCA
RCA RLDED3230A-RR User manual

RCA
RCA SLD55A55RQ User manual

RCA
RCA LED40G45RQ User manual