Remote Controller
8
Universal remote code
This is the code for remote control of
RLEDV1920A,if you want to change to a
universal remote control,you can edit
this code into your universal remote control.
(1)Open the battery compartment cover
on the back side
(2)Insert two 1.5V batteries of AAA type
with correct polarity
(3)Close the battery compartment cover
on the back side
Universal Remote Control code:007F
(Universal Remote control is not included)
MENU SO URCE
ENT ER
EXIT
SLEE P
P.MOD E S.MO DE
DISPLAY
MTS / MP3PROG
ZOOM
D.MENU D.TITLE
ANGLE
EPG
D.DISP
REV FWD PREV
FAV-
GOTO
AUDIO SUBTITLE
FAV FAV+
PROG STEP REPEAT A-B
NEXT
D.setup
D.Menu D.Title Goto D.Disp
PROG STEP REPEAT A-B
Zoom Angle Subtitle
Audio
D.TITLE:
A-B During the playback,press thi s button to r epeat
playback of a specific section on a d isc.
SLEEP: Select amount of time before TV turn
off
automatically.
S.MODE: Press to cycle through the different sound settings
P.MODE: Press to cycle through the different picture settings
D.DISP:
D.MENU:
Press "-" t o enter a pro gram numb er for mult iple prog ram
channel , such as 2-1 e tc.
GOTO:
STEP:Play for single frame ima ge
ZOOM In DVD source adjust DVD picture size
MTS / MP3PROG:
Press to select the audio mode,yo u can selec t stereo, Mono,
or SAP(second audio pr ogram). /When pla ying mp3 di sc,
press MP3 PROG and add the favorite m usic to pla ylist,
press PROG two times to see the progr ammed pla ylist.
CH +/- : Press to scan through or to s elect a channel.
V +/-: Press to increase / decre ase the sound level.
EPG:
D.Setup:
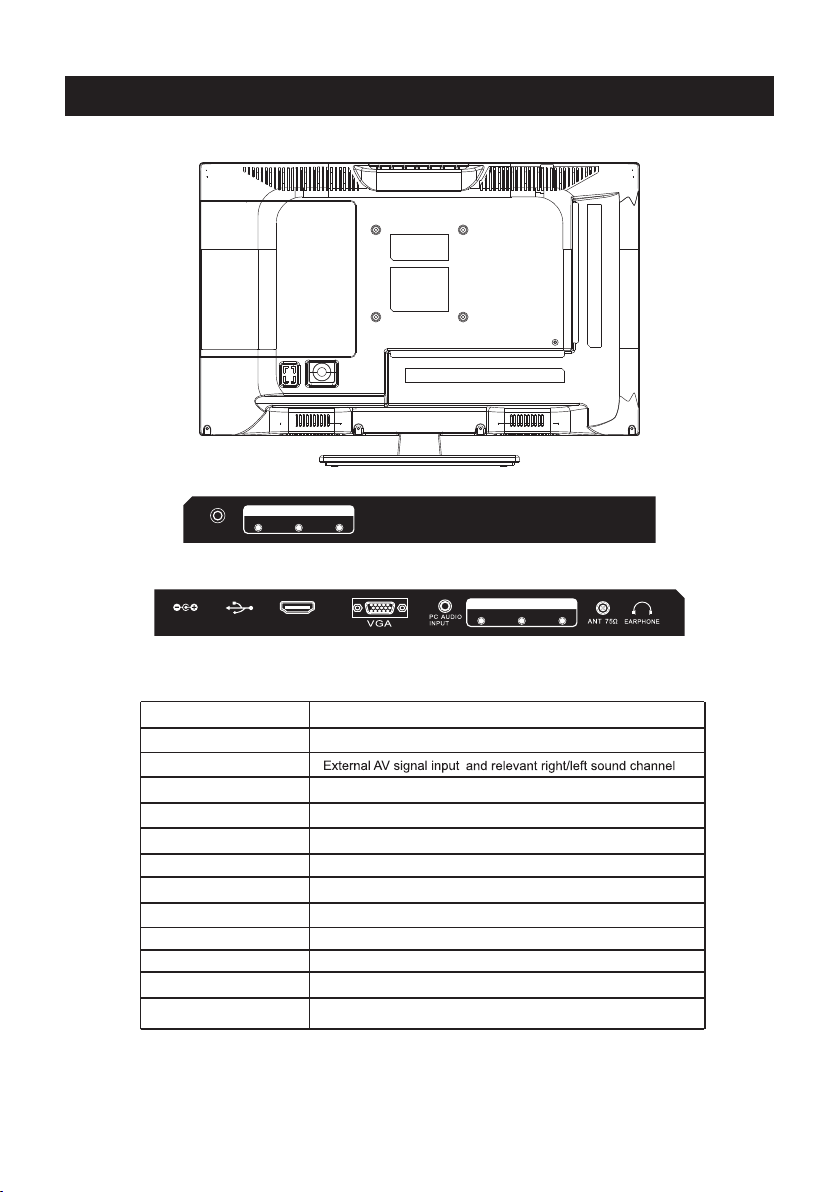
AVTV HDMI PC
YPbPr DVD