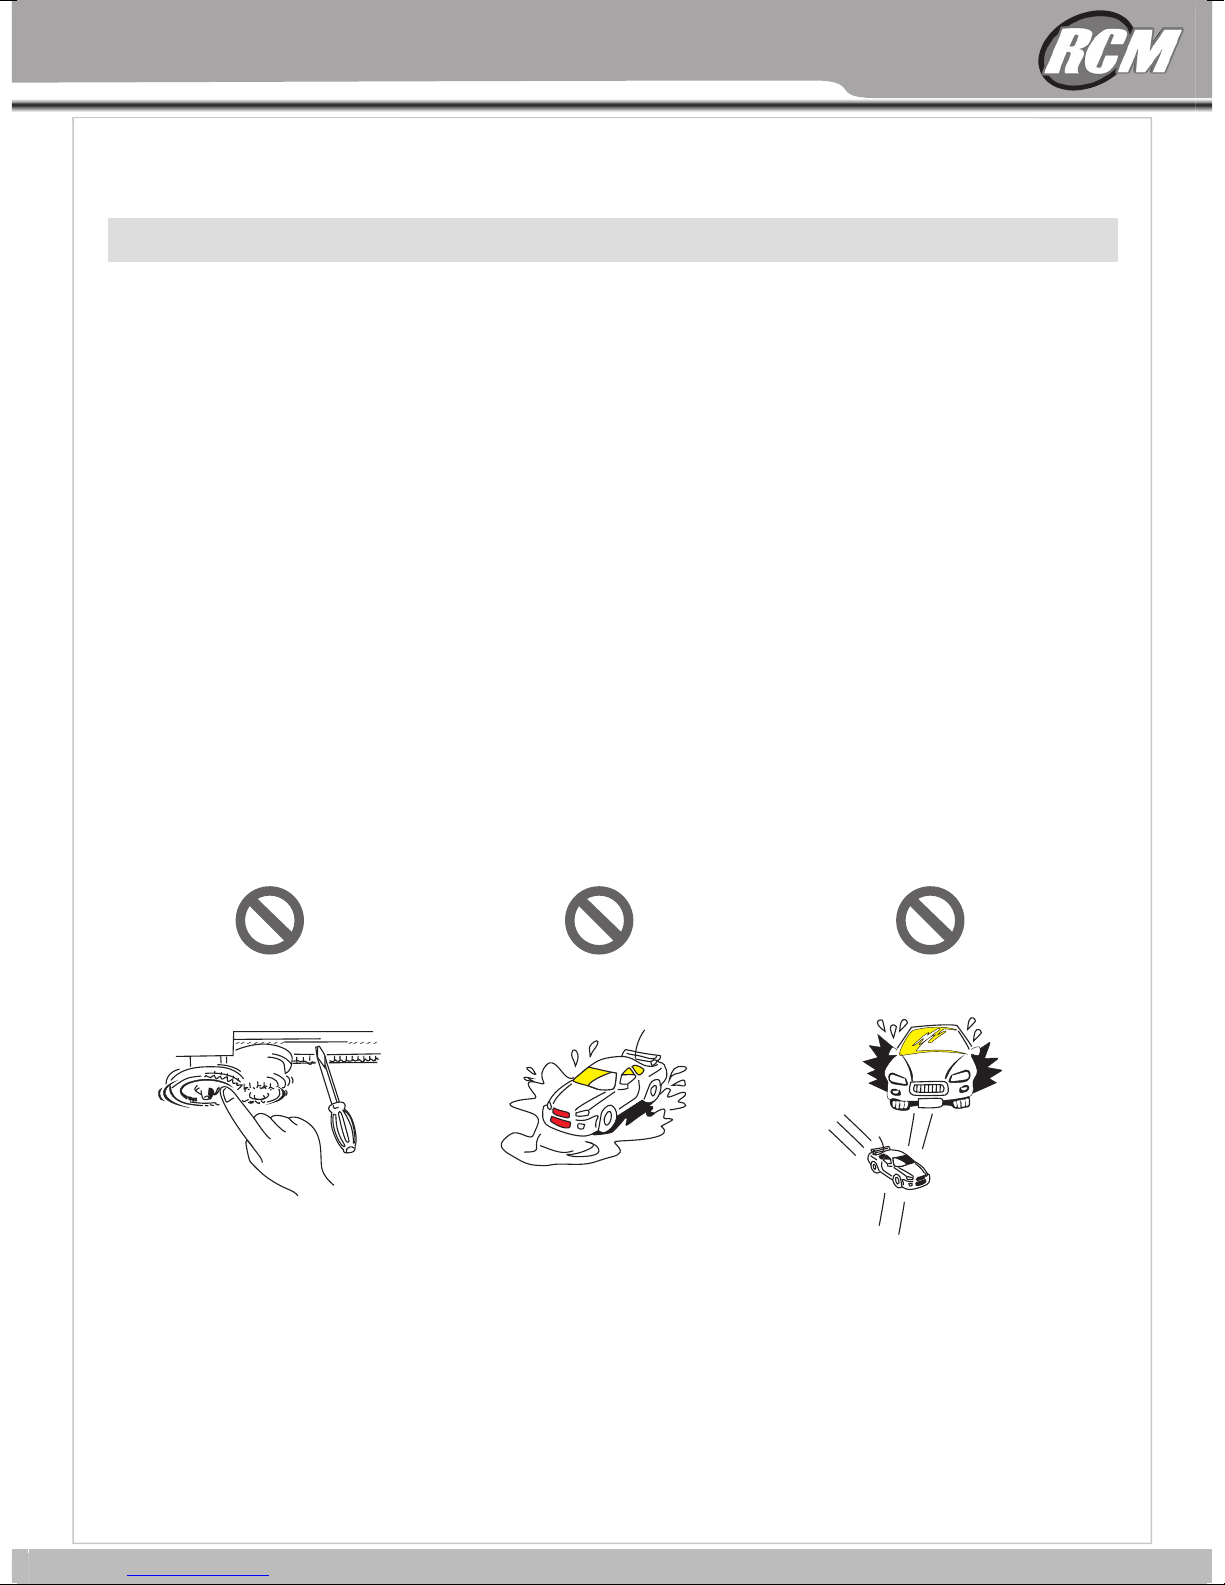
1. Don't operation the models close to open fires or near heat source.
2. Operation must be in the open and dry site .
3. The thunderstorm weather is forbidden to operate this product.
4. Away from the high voltage cables.
5. Some of the parts will be exothermic or burning after operated.
6. Please do not use hand or foreign body contact activities of the parts before cut off
the power supply, .
7. During the operation, if foreign matter or liquid get into eyes, please timely with
plenty of water flush eyes, and immediately consulting professional doctor. As the
body is injured, please seek immediate medical attention.
8. Keep out of the reach of children, this is not toy, strongly suggest adult supervision.
9. Placed in ventilated and dry place, do not use, take the battery out.
10.The product items do not diet or swallowed.
SAFETY GUIDELINES
3
Thank you for choosing the ZD racing series products. Our company take the target of offering the top
quality and best service. Through attending the competitions and repeated testing the products,
constantly enhancing our experience,then further improving the design and quality control. Only for
showing the great performance products. This manual including all the important matter before operating
the car. We advise studying and knowing the control system before assembling or playing it. As well as
the further upgrade and maintenance. Please feel free to consult our authorized dealer,nominated model
shop or special after-sale service station if any question refer to the play or use. Our website
is:www.xingyaohua.com. We are wholeheartedly for your service.
The Model Car is not a toy. It is the casual item combine a lot of high technology products. If using
improper may bring serious damage. Please read the manual detailed before using, and keep yourself
safe.
Attention: Any operation of the Model car,the manufacturer and dealers are incapable of take the
responsibility of the accidents caused by wear out or abnormal assemble.
This product is provided to those who have operation remote control model car experience or a
technical personnel in the guidance of the local legal field, in has to ensure the safe and correct operation
under the condition of use.Our company will not accept any operation and use the control on any
performance and safety responsibility
The RC products are belong to consumable goods,if disassemble,it may cause the spare parts loss,Any
use of goods caused by bad or not satisfied, will not be able to replace or return, such as in case of
operation maintenance problems, the company designated national distributor model shop and special
after-sale service store will provide technical guidance, and special parts supply services.
Warning: because of the neglect of these operating instructions, and use wrongly may cause
property damage or serious injury.
Note: because of the neglect of these operating instructions, and use wrongly could be
dangerous.
Ban: in any prohibited environment, do not try to operation.
Our company take the fully responsibility to the quality defect during the manufacturing process.
This assurance is only subject to the product only and its spare parts.
These situation below are not included:
The breakage caused by using,assembling or adjustment.
The other breakage not related to the quality itself.
QUALITY ASSURANCE
IMPORTANT STATEMENT
INTRODUCE
2
Than yk o fu o cr hoosin tg h MCRe serie ps roducts O. u cr ompan ty ak te h te arge ot of fferin tg h te op
qualit ay n bd es st ervice. Throug ah ttendin tg h ce ompetition as n rd epeate td estin tg h pe roducts,
constantl ey nhancin og u er xperience,the fn urthe ir mprovin tg h de esig an n qd ualit cy ontrol O. nl fy or
showin tg h ge rea pt erformanc pe roducts. Thi ms anua il ncludin ag l tl h ie mportan mt atte br efor oe perating
th ce a W.r ae dvis se tudyin ag n kd nowin tg h ce ontro sl yste bm efor ae ssemblin og pr layin ig t. A ws el al s
th fe urthe ur pgrad ae n md aintenance P. leas fe ee fl re te co onsul ot u ar uthorize dd eale ,r nominate md odel
sho op sr pecia al fter-sal se ervic se tatio in af n qy uestio rn efe tr to h pe la oy ur se O. u wr ebsite
is se.ocitimcr.www//:ptth: W ae r we holeheartedl fy o yr ou sr ervice.
The Model Car is not a toy. It is the casual item combine a lot of high technology products. If using
improper may bring serious damage. Please read the manual detailed before using, and keep yourself
safe.
A ttentio n: Any operation of the Model ca ,r the manufacturer and dealers are incapable of take the
responsibilit oy tf h ae ccident cs ause bd wy ea or u ot ar bnorma al ssemble.
This product is provided to those who have operation remote control model car experience or a
technical personnel in the guidance of the local legal field, in has to ensure the safe and correct operation
under the condition of use.Our company will not accept any operation and use the control on any
performanc ae n sd afet ry esponsibility
The RC products are belong to consumable goods,if disassemble,it may cause the spare parts loss,Any
use of goods caused by bad or not satisfied, will not be able to replace or return, such as in case of
operation maintenance problems, the company designated national distributor model shop and special
after-sal se ervic se tor we il pl rovid te echnica gl uidance a, n sd pecia pl art ss uppl sy ervices.
W a r n i n g: becaus oe tf h ne eglec ot tf hes oe peratin ig nstructions a, n ud s we rongl my a cy ause
p
ropert dy amag oe sr eriou is njury.
N o te : becaus oe tf h ne eglec ot tf hes oe peratin ig nstructions a, n ud s we rongl cy oul bd e
dangerous.
B a n : i an n py rohibite ed nvironment d, no o tt r ty oo peration.
Ou cr ompan ty ak te h fe ull ry esponsibilit ty to h qe ualit dy efec dt urin tg h me anufacturin pg rocess.
Thi as ssuranc ie os nl sy ubjec tt to h pe roduc ot nl ay n id t ss par pe arts.
T h e s e s i tu a tio n b e lo w a r e n ot i n c lu de d :
Th be reakag ce ause bd uy sing,assemblin og ar djustment.
Th oe the br reakag ne o rt elate td to h qe ualit iy tself.
Q U A L IT Y A S S U R A N C E
IM P O R T A N T S T A T E M E N T
IN T R O D U C E
B-1 0 E
2
2
manual_kapton.indd 2 07/10/13 19:55