Reebok InView User manual

RB5298IS01SPO.indd
5/3/11; rev 6/6/11; 6/16/11
4" × 2.25" Rick W.
NY Office
4 Executive Plaza,
Yonkers, NY 10701
TEL: 914.964.5200
FAX: 914.964.0333
HK Office
Units 705 & 706, Tower III,
Enterprise Square, 9 Sheung Yuet Road,
Kowloon Bay, Hong Kong
Tel: 852.2757-4711 Fax: .852.2758.8052
Print Colors
Approved
Product Manager
Production Checklist:
Artwork Prepared by:Date: Artwork Revised by:
Approved
Designer
Approved
Proof Reader
6/6/11 Rick W.
model: InView™ Pedometer
Data Visible Only to the User
Featuring:
• Step & Distance Tracking
• Time in Motion
• Calories Burned
RB5298IS01SPO.indd 1RB5298IS01SPO.indd 1 6/16/11 3:33 PM6/16/11 3:33 PM

INDEX
BUTTON FUNCTIONS pg04
ACTIVATE YOUR PEDOMETER pg05
INSTALLING THE CLIP pg06
RESETTING PEDOMETER pg07
MODES pg08-13
overview pg09
steps pg10
distance pg11
calories pg12
activity timer pg13
SET UP pg14-20
entering set up pg15
units of measure pg16
weight pg17
height pg18
stride pg19
exiting set up pg20
APPENDIX pg21-27
measuring stride length pg22
care & maintence pg23
warnings & cautions pg24
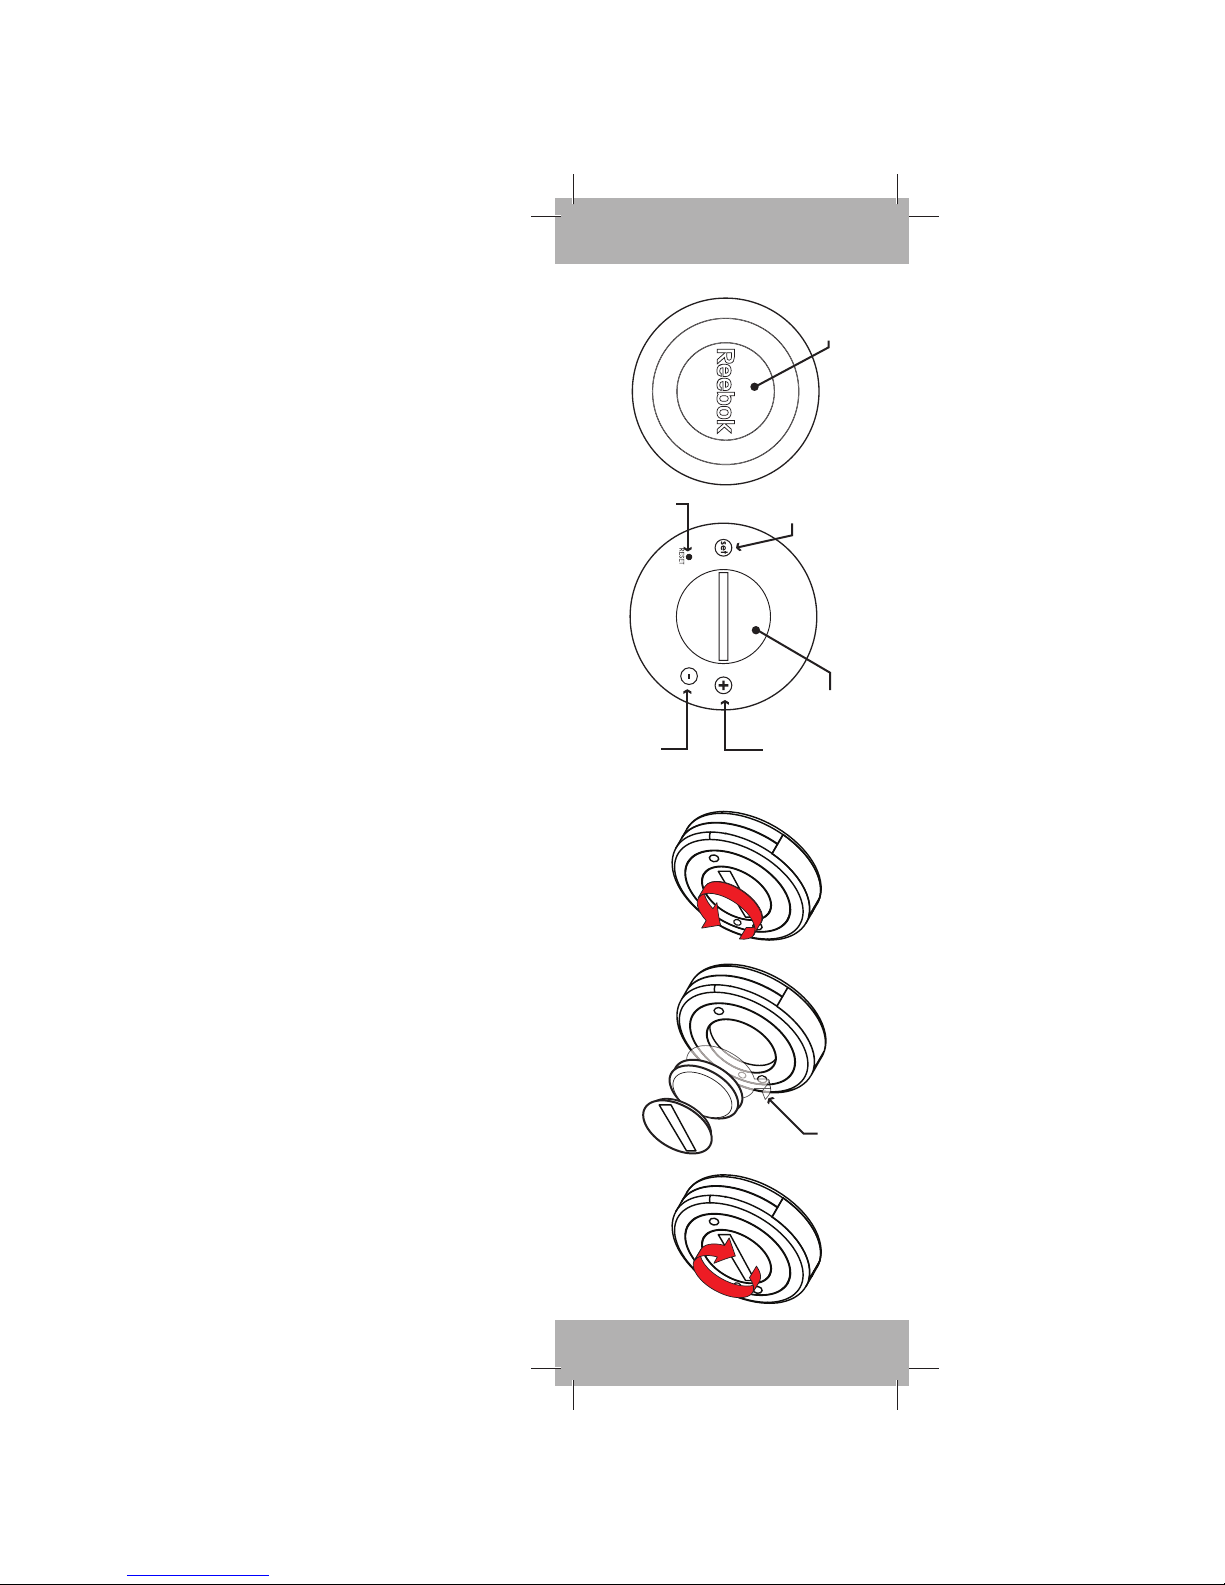
battery replacement pg25
battery safety info pg26
restore factory settings pg27
WARRANTY pg28
We’d like to thank you for choosing a REEBOK tness
product to guide you on your journey to improved
health and tness.
We strive to create quality products which are
functional, accurate, well designed and easy to use.
We believe everyone should have access to information
which will help them achieve their tness goals.
If you have questions, comments or need assistance
please contact Customer Support by calling
1-866-694-4575.
RB5298IS01SPO.indd 2-3RB5298IS01SPO.indd 2-3 6/16/11 3:33 PM6/16/11 3:33 PM

4 5
PRODUCT OVERVIEW
PRODUCT OVERVIEW
Use a coin to unscrew battery cap. Remove the clear plastic battery tab,
reinsert the battery, then screw the cap back into place.
MODE/RESET
SET
INCREASE
DECREASE
BATTERY
COVER
RESTORE
FACTORY
SETTINGS
remove clear
plastic sheet
BUTTON FUNCTIONS ACTIVATING THE PRODUCT
RB5298IS01SPO.indd 4-5RB5298IS01SPO.indd 4-5 6/16/11 3:33 PM6/16/11 3:33 PM

6 7
INSTALLING THE CLIP
PRODUCT OVERVIEW
PRODUCT OVERVIEW
Installing the clip is easy. Simply tuck one edge of the pedometer
into the clip, then push the other side into place.
To reset all pedometer functions to zero,
press & hold the MODE (REEBOK) button for 3 seconds.
Press &
HOLD
RESET PREVIOUS WALK DATA
RB5298IS01SPO.indd 6-7RB5298IS01SPO.indd 6-7 6/16/11 3:33 PM6/16/11 3:33 PM

8 9
MODES
features & functions.
MODES
Press the MODE (REEBOK) button to advance through the functions
(STEPS, DISTANCE, CALORIES, ACTIVITY TIMER)
Press to cycle
through
functions
RB5298IS01SPO.indd 8-9RB5298IS01SPO.indd 8-9 6/16/11 3:33 PM6/16/11 3:33 PM

10 11
MODES
MODES
MODE 1: STEPS
The step counter will begin counting after 5 consecutive steps
to eliminate false readings.
Distance is measured based on a stride length calculated in the setup.
MODE 2: DISTANCE
RB5298IS01SPO.indd 10-11RB5298IS01SPO.indd 10-11 6/16/11 3:33 PM6/16/11 3:33 PM

12 13
MODES
MODES
MODE 3: CALORIES BURNED
Calories are calculated based on the weight you enter in the setup. Activity Time (TMR) is the total time you are actually moving throughout
the day. If you are not moving, the timer will not increase.
MODE 4: ACTIVITY TIME
RB5298IS01SPO.indd 12-13RB5298IS01SPO.indd 12-13 6/16/11 3:33 PM6/16/11 3:33 PM

14 15
SETUP
SETUP
Press MODE button until you are on the STEP screen. Press & hold the SET
button for 3 seconds to enter SETUP. The screen will empty & “LB”will ash
on the far right of the screen to indicate that you are now in SETUP MODE.
Press & hold
SET to enter
SETUP
TIP: Ensure set button is fully
depressed. You may need
to use an object if you are
unable to use your nger.
STEP 1:
ENTER SETUP MODE
RB5298IS01SPO.indd 14-15RB5298IS01SPO.indd 14-15 6/16/11 3:33 PM6/16/11 3:33 PM

16 17
SETUP
SETUP
Select your preferred units of measure:
IMPERIAL (lbs/miles) or METRIC (kg/km).
change
accept
setting
Set your weight. Be sure to go back & update
your weight as you meet your tness goals.
accept
setting
decrease
increase
STEP 2:
UNIT OF MEASURE
STEP 3:
SET WEIGHT
LB
RB5298IS01SPO.indd 16-17RB5298IS01SPO.indd 16-17 6/16/11 3:33 PM6/16/11 3:33 PM

18 19
SETUP
SETUP
Height setting creates an automatic stride length.
See following page for more details.
accept
setting
decrease
increase
Stride length is the average length of your stride.
It is based on your height setting, but can be adjusted
for your preference. See appendix for more details.
NOTE: The number
shown is based on the
height you entered, so
it may be something
other than the “30”
shown here.
accept
setting
decrease
increase
STEP 4:
SET HEIGHT
STEP 5:
STRIDE LENGTH
RB5298IS01SPO.indd 18-19RB5298IS01SPO.indd 18-19 6/16/11 3:33 PM6/16/11 3:33 PM

20 21
APPENDIX
STEP 6:
SAVING & EXITING
SETUP
CONGRATULATIONS! Settings are complete. If you need to adjust again,
hold SET (in the STEPS screen) for 3 seconds to re-enter set up.
accept
setting
& exit
RB5298IS01SPO.indd 20-21RB5298IS01SPO.indd 20-21 6/16/11 3:33 PM6/16/11 3:33 PM

22 23
APPENDIX
MEASURING STRIDE LENGTH
APPENDIX
CARE & MAINTENANCE
• NEVER attempt to disassemble your unit.
• DO NOT expose the unit to extreme heat, shocks, magnetic elds,
electrical noise, strong vibration or long-term exposure to direct sunlight.
• DO NOT drop or step on the pedometer.
• TO CLEAN THE UNIT: wipe with a lightly moistened cloth. Apply mild
soap to the area if there are stubborn stains or marks. Do not expose the
unit to strong chemicals such as gasoline, cleaning solvents, acetone,
alcohol or insect repellents as they may damage the unit’s seal, case
and/or nish.
• STORE the unit in a dry place when you are not using it.
CUSTOMER SUPPORT
If you have questions, comments or need assistance with your REEBOK
InView Pedometer, you may contact Customer Support by calling
1-866-694-4575.
HOW TO MEASURE YOUR STRIDE LENGTH
Your stride length is automatically determined based upon your height
input during the setup sequence. You may choose to adjust this stride
length by obtaining your personalized measurements as detailed below.
1. Your stride is the distance between your back foot’s toe and your front
foot’s toe (g. 1). To obtain your stride length, walk or run 10 steps and
then measure the distance with a tape measure from the rst step’s toe
to the 10th step’s toe (g. 2). Divide your total distance by 10 to get your
average stride length.
2. For a quick estimate, walk 3 steps, measure the distance, and divide by 3.
The more steps you take, the more accurate and realistic your stride will
be. An average walking stride for a female is 2 feet (24in), a male is 2.5
feet (30in).
FIGURE 1 FIGURE 2 START WALKING/RUNNING DIVIDE TOTAL
DISTANCE BY 10
1 23 45 67 89 10
STRIDE
RB5298IS01SPO.indd 22-23RB5298IS01SPO.indd 22-23 6/16/11 3:33 PM6/16/11 3:33 PM

24 25
APPENDIX
WARNINGS & CAUTIONS
APPENDIX
BATTERY REPLACEMENT
WARNING: Before starting any exercise program or performing any
vigorous physical activity, we strongly suggest you visit your doctor for a
complete physical and to discuss your plans.
CAUTION: We recommend that use of the unit in the water be avoided
whenever possible.
CAUTION: Avoid exposing your pedometer to extreme conditions for a
prolonged period of time.
CAUTION: Avoid rough usage or severe impacts to your pedometer.
The REEBOK InView Pedometer uses a
single CR2032 lithium battery.
Battery replacement will be required
from time to time.
To replace the battery of your pedometer,
use a screw driver or coin to remove the
back cover and replace the batteries.
RB5298IS01SPO.indd 24-25RB5298IS01SPO.indd 24-25 6/16/11 3:33 PM6/16/11 3:33 PM

26 27
APPENDIX
BATTERY SAFETY INFORMATION
APPENDIX
RESTORE FACTORY SETTINGS
The purpose of the crossed-out wheelie bin symbol is to remind us that most
electrical products, and batteries, contain trace elements (including Mercury — Hg,
Cadmium — Cd and Lead — Pb) which could be harmful to our environment and
therefore our health. We must all be careful to dispose of them responsibly in a
specically designated way — either using a collection scheme or into the correctly
labelled civic amenity (NOT into general waste) — this will help your local authority to
arrange to recycle or dispose of them in the appropriate manner.
CAUTION – BATTERY SAFETY INFORMATION
• Non-rechargeable batteries are not to be recharged
• Rechargeable batteries must be removed before recharging
• Rechargeable batteries should only be recharged under adult supervision
• Do not mix alkaline, standard (carbon-zinc), or rechargeable (nickel-cadmium) batteries
• Exhausted batteries are to be removed
• Do not mix old and new batteries
• Do not dispose of batteries in re; batteries may explode or leak
• Do not dispose of product in re; batteries may explode or leak
• If this product will not be used for an extended period of time, remove the batteries from the product
• The supply terminals are not to be short-circuited
• Batteries are to be inserted with correct polarity
• Clean the battery contacts and also those of the product prior to battery installation
• As always, dispose of batteries in an eco-friendly manner
RESTORE
FACTORY
SETTINGS
If for any reason you need to restore your pedometer to the original
factory settings, simply insert the end of a paperclip (or similar object)
into the pinhole marked “RESET” and push the internal button.
RB5298IS01SPO.indd 26-27RB5298IS01SPO.indd 26-27 6/16/11 3:33 PM6/16/11 3:33 PM

28
WARRANTY
GUARANTEE CERTIFICATE – FOR PURCHASES MADE IN THE U.S.:
If at any time within one (1) year from the purchase date of this product, it fails to perform properly
because of defects in material or manufacturing, return it prepaid to:
EB SPORT GROUP, 585 Oak Ridge Road, Hazleton, PA 18202
Complete this Guarantee Certicate and enclose it (or a copy of it) with the product.
(PLEASE PRINT CLEARLY) NAME TEL
STORE PURCHASED FROM
ADDRESS
CITY STATE ZIP
DATE OF PURCHASE PURCHASE PRICE
PROBLEM WITH PRODUCT
REPLACEMENT: This product has been carefully designed, manufactured and packaged. If any parts are
missing or damaged, please contact us at the address above and we will replace the unit at no charge.
(Guarantee does not cover crystal or battery.)
©2011 Distributed by EB Sport Group, Yonkers, NY 10701
© 2011 Reebok International Limited. REEBOK is a registered trademark of Reebok International Limited. RB5298IS01SPO
RB5298IS01SPO.indd 28RB5298IS01SPO.indd 28 6/16/11 3:33 PM6/16/11 3:33 PM
Other Reebok Pedometer manuals