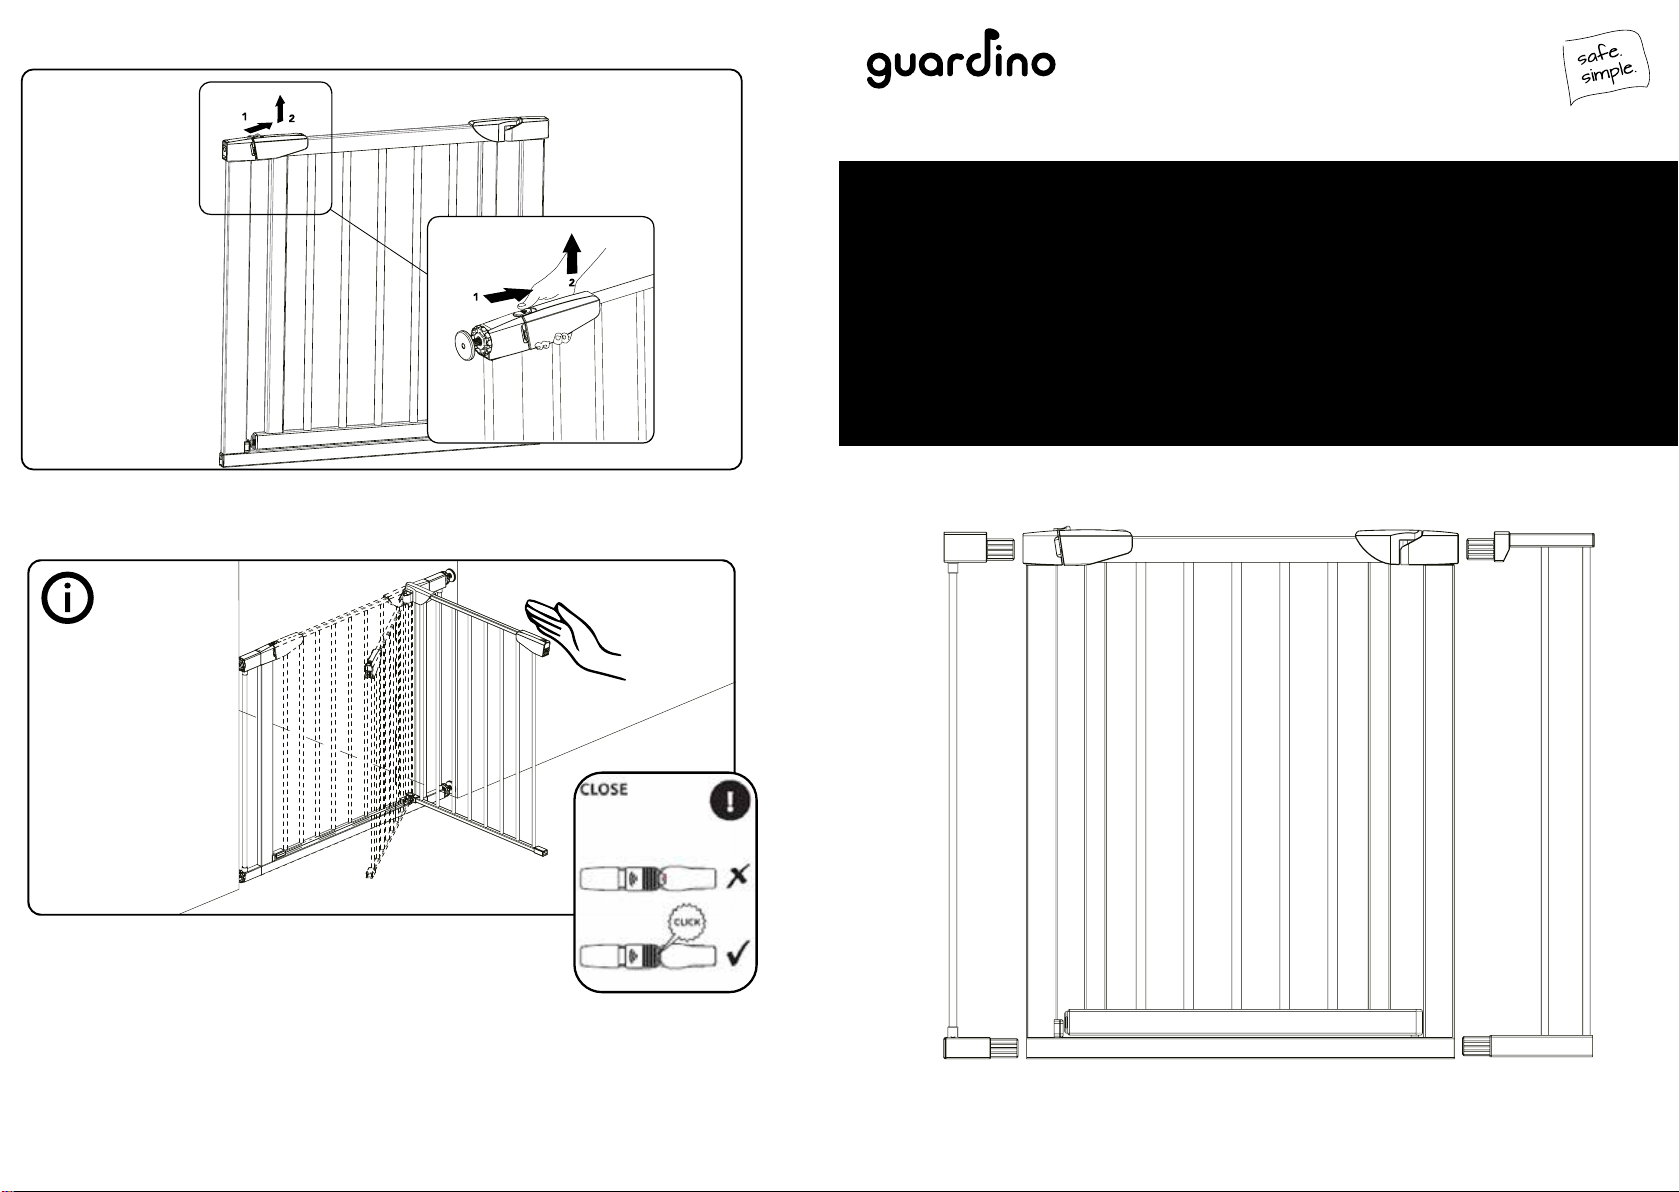
Montage // Installation
Anbringung mit Verlängerung // Attachment with extension
1.1a
M
N
O
1.2a
WARNING-Do not use the pressure-mounted gate at the top of stairs! Danger to life! (g.B)
At the top end, it is best to use a Reer stair gate without a frame.
If the safety gate ist installed between two clean and structurally sound surfaces according to
the instructions, it corresponds to the requirements of the directive EN 1930:2011.
ATTENTION:
- the safety gate is only suitable for children up to the age of 24-months
- if you determine that your child is able to open the gate alone, resectivley able to
climb over it (individual child develoment), please do not continue to use the gate
- ensure that no objects are located near the safety gate, which your child could use as
a climbing support
- for older children, there is the risk that they will climp over it
- adults should also always open the door gate when wanting to pass and not step over
it
- older children may not swing on the gate door
- the safety gate should always be closed and locked, open only for passing
after installation of the safety gate, please read the instructions again to ensure that
the gate is installed and mounted properly
- check the gate for secure mounting and static stability on a regular basis; if necessary,
adjust according to the indications in the instructions subsequently
- only spare parts and accessories supplied by the manufacturer may be used
- only use the item for the intended purpose and observe the safety notes
- upon indication of defects, the gate must no longer be used
- toys may not be hung on the safety gate
- the child safety gate is suitable for household use only
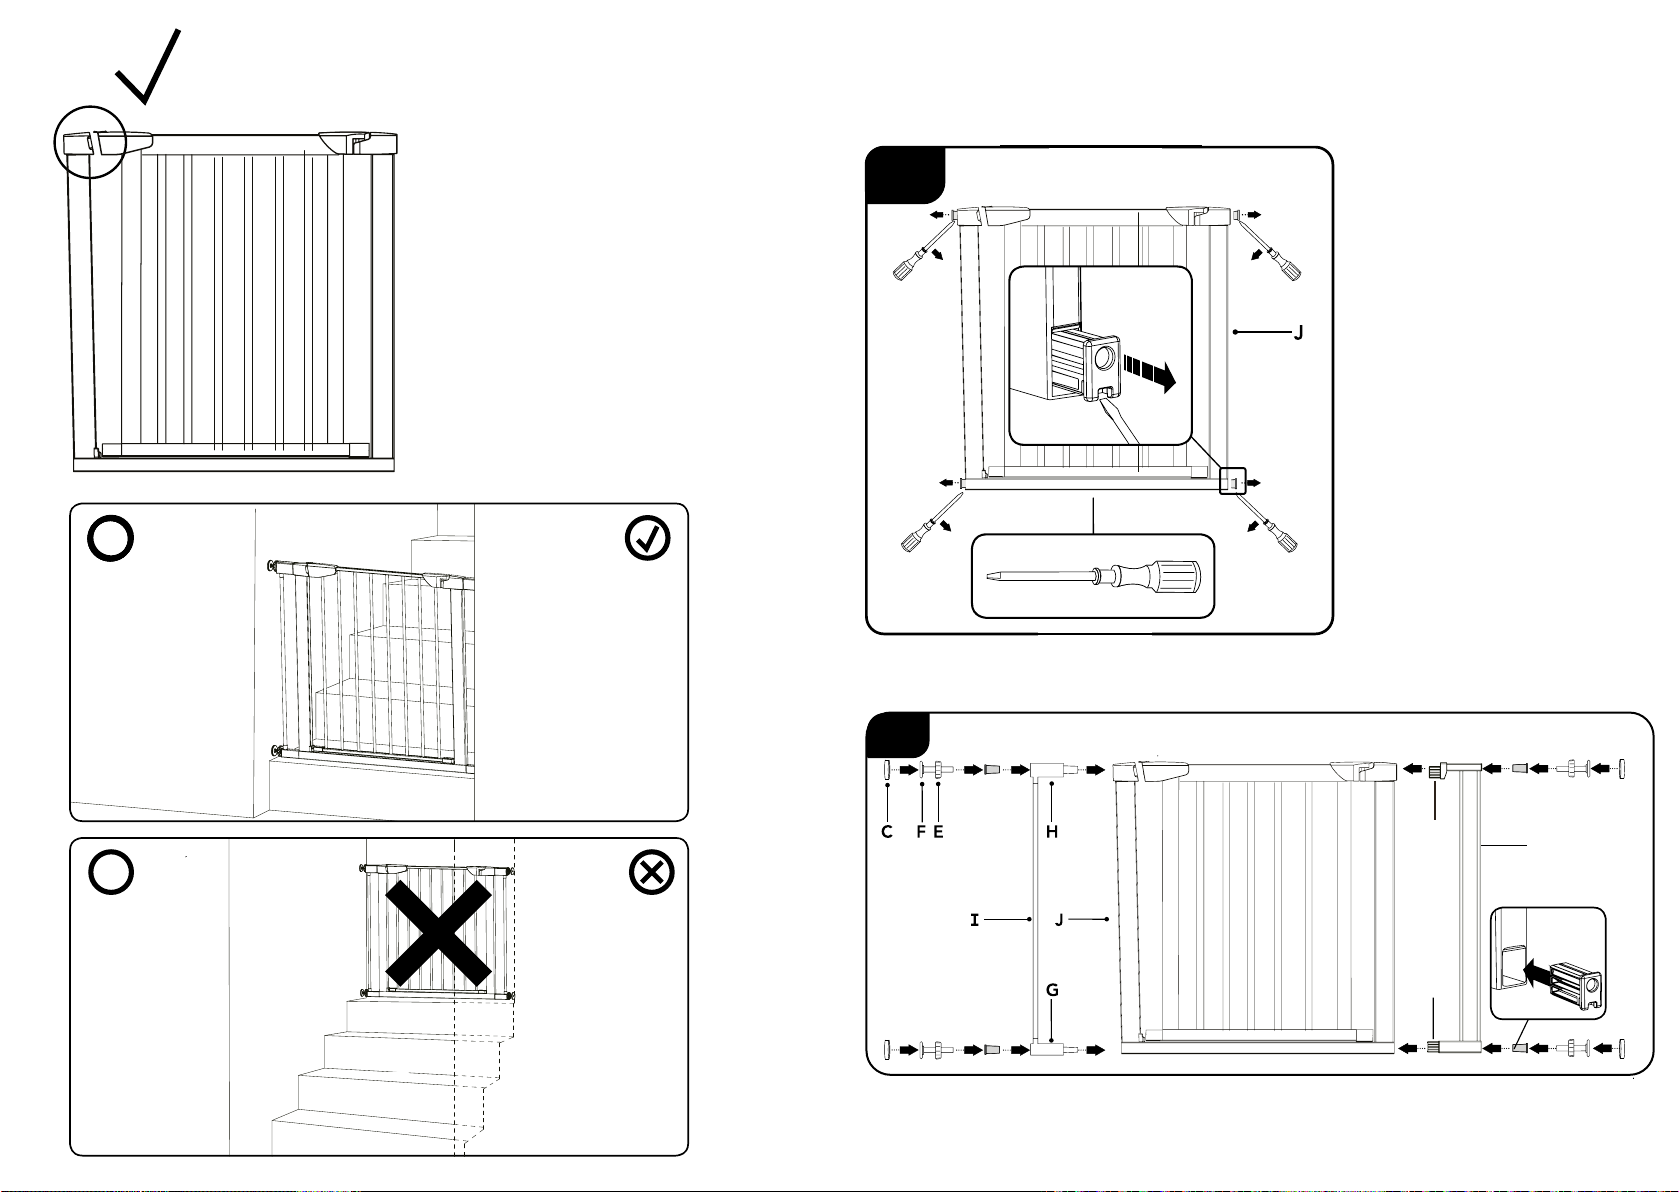
- if the safety barrier is used at the bottom of the stairs, it should be positioned in the
front of the lowest tread possible (g. A)
- the gate must always open in the direction away from the hazard zone!
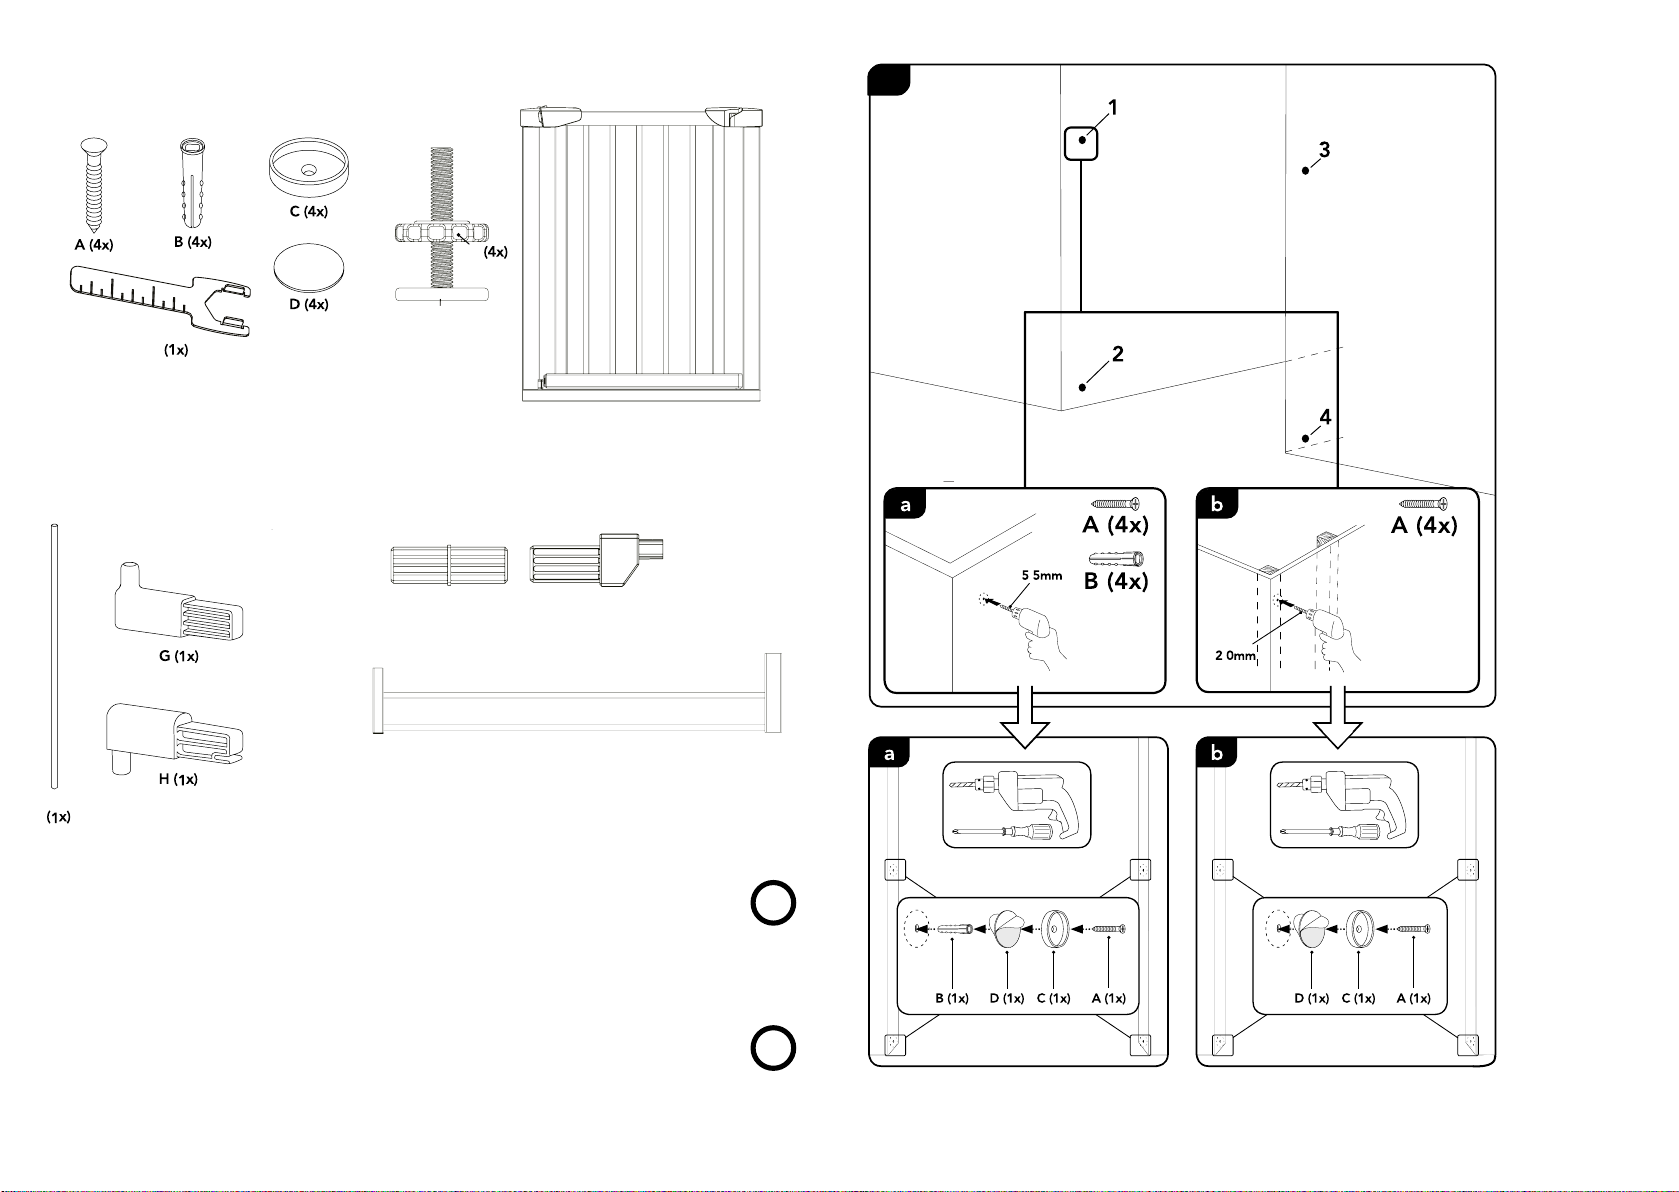
- we recommend screwing in all the clamp shells as this is the safest type of installa-
tion.
- Place the safety gate on the oor, and make sure the gate stands upright in the
middle of the of doorway so that there is 15-56 mm between the safety gate the the
door frame on either side (Fig. C).
- The safety gate is not a toy. It does not replace the proper supervision of an adult!
- Cleaning: Do not use any harsh cleaning agents or abrasive materials. Clean the safety
gate on a regular basis with a damp cloth and a little dishwashing liquid.
WARNING-Incorrect installation may be dangerous.
WARNING-The child saety gate may not to be used if damaged or if individual parts are
missing.
WARNING-The child safety gate may not to be used in windows.
WARNING-Never use without wall cups.