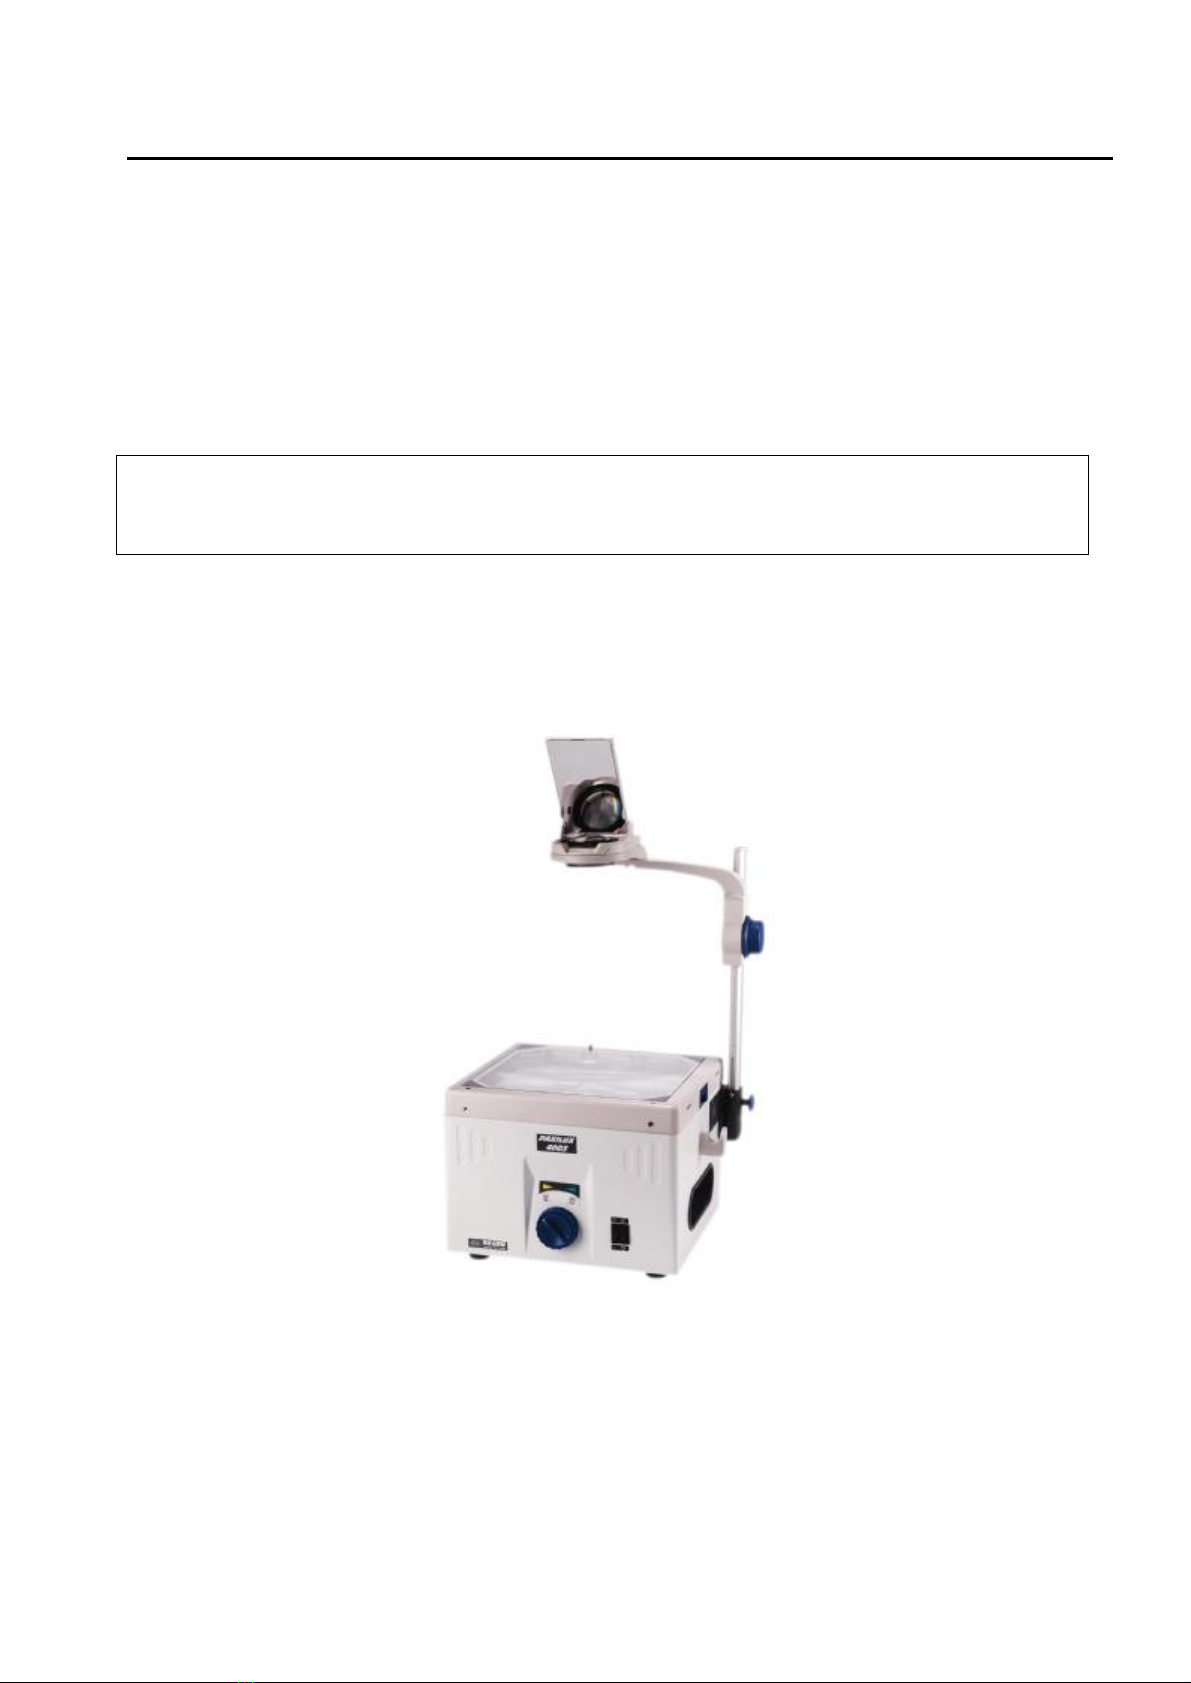
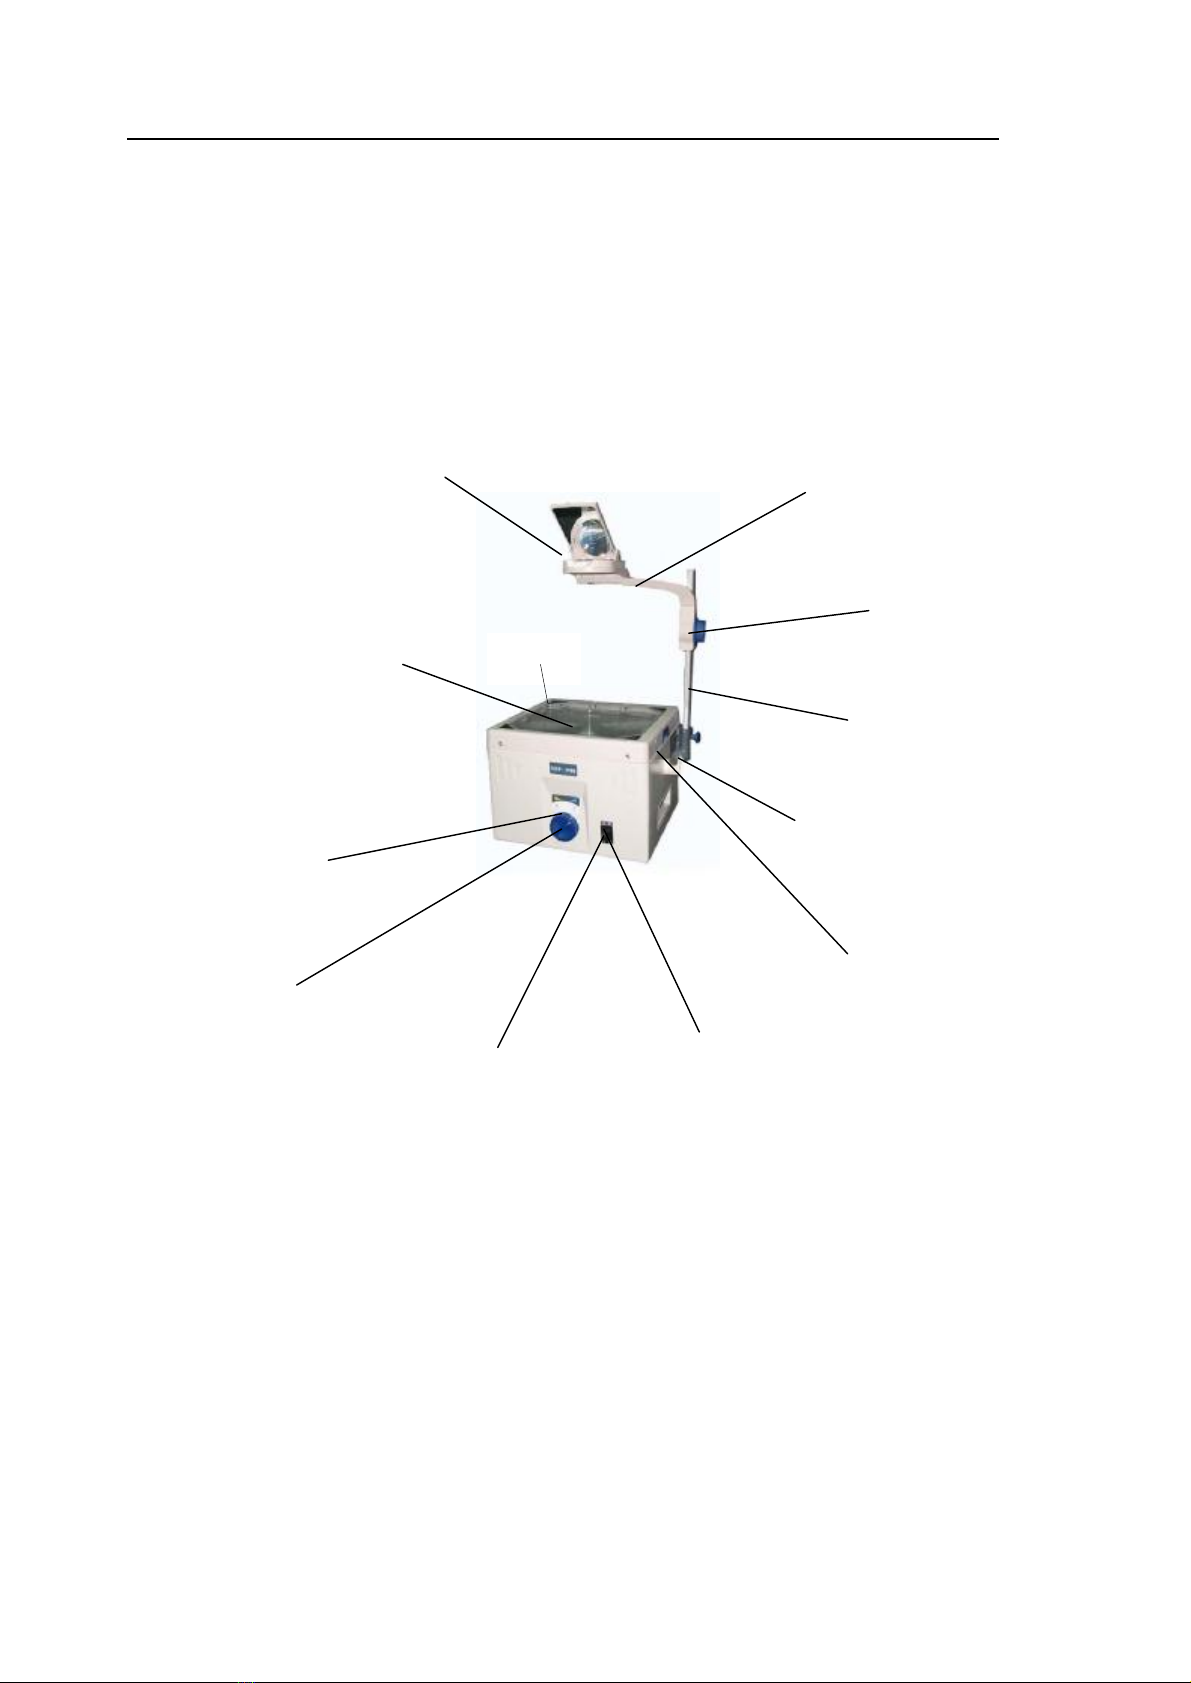
Overhead Projektorreflectacubus251, 253 und 401, 403 Bedienungsanleitung
WichtigeSicherheitshinweise 1
BeiderBenutzung desGer tessolltenstetsdiegrundlegenden Sicherheitsvorschriften
eingehalten werden. Zudiesen z hlen unteranderemfolgende:
1.VorGebrauchdieBedienungsanleitung sorgf ltigdurchlesen.
2.Stellen Siesicherdass derSchalterauf dierichtige Voltzahleingestellt ist.
3.Achten Siedarauf, dass dieLüftungsöffnungenfreivon Hindernissen sind.Stellen Sie
dazudasGer teaufeine festeUnterlage.Schalten SiedasGer tesofortaus,wenn
dieLüftung nicht ordnungsgem ß arbeitet.
4.UmdieGefahreinesStromschlageszuverringern,dasGer tnichtdemontieren,
sondernInspektionen und Reparaturen durcheinen qualifizierten Fachmann
durchführenlassen.FehlerhafteRemontage kann beisp tererInbetriebnahmeeinen
Stromschlag verursachen.
5. Öffnen Sieden ProjektionsspiegelbevorSiedasGer teeinschalten.
6.StetsdasNetzkabelziehenbevorderGer tedeckelzwecks Reinigung, Wartung oder
Lampenwechselgeöffnetwirdund wenn dasGer tenichtinBetrieb ist. Niemalsam
Kabelzerren,umesausderSteckdosezuziehen,sondernimmerden Stecker
ergreifen und ausderSteckdoseziehen.
7.VordemLampenwechselGer t abkühlen lassen. VerbrennungsgefahrimInneren des
Ger tes!
8.UmdieGefahreinesStromschlageszuvermeiden,dasGer tnichtRegen und
Feuchtigkeit aussetzen odermit anderen Flüssigkeiten inKontakt bringen.
9.Ger t vollst ndigabkühlen lasen, bevorSieeswegr umen.
10.Kabelsolegen,dass niemand überdasKabelfallen oderausreißenkannunddass es
nicht mit heißen Ger teteilen inKontakt kommen kann.
11.WirdeinGer tvon KindernbedientoderinIhrerN he betrieben,istaufmerksame
Aufsichtnotwendig.LassenSieGer tenieunbeaufsichtigt, solangesieinBetrieb sind.
EinSicherheitsunterbrechungsschalteristanderOberkantedesGeh useunterteils
angebracht.WenndieAuflageplattegeöffnetwirdschaltetsicherStrom
automatischab.BittestellenSiesicher,dass w hrendderWartungoderReparatur
zus tzlichderNetzsteckergezogenist.