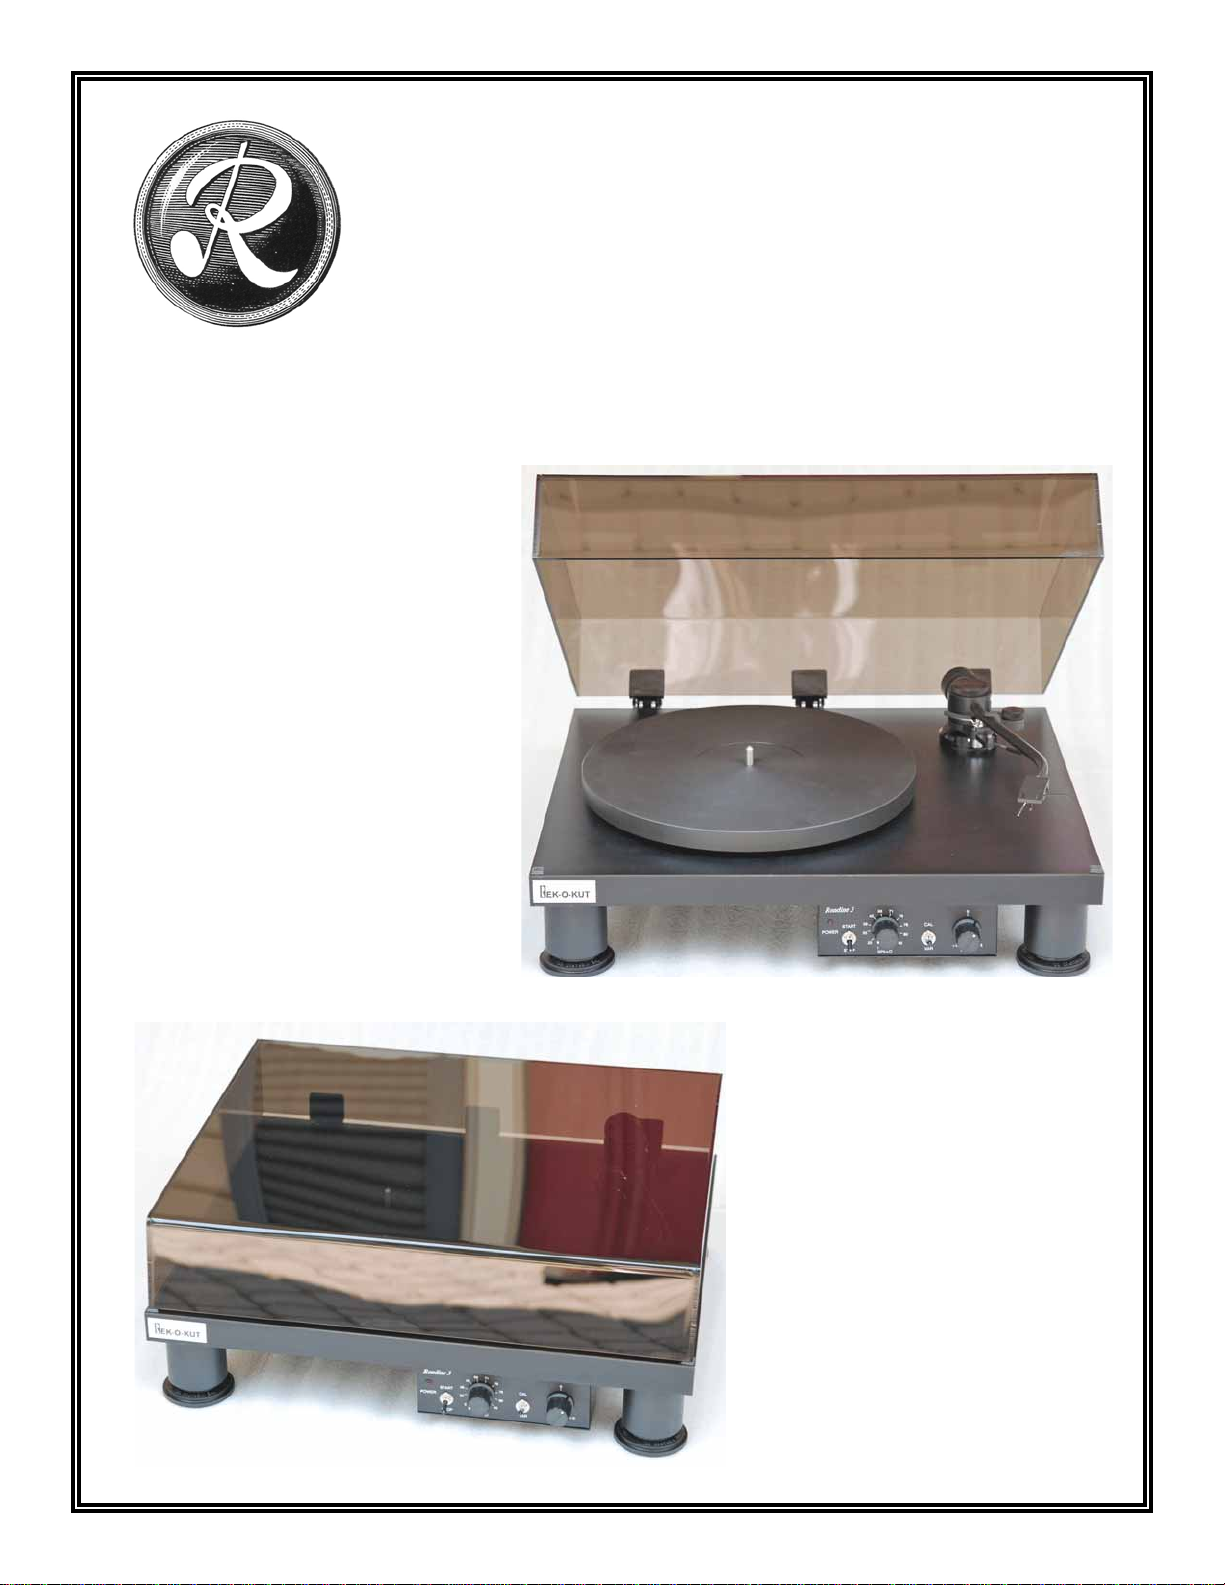
Please read the following before operating the Rek-O-Kut Rondine 3 turntable.
UNPACKING AND SETUP
The carton contains the dust cover, platter, turntable base, its vibration isolation feet, and all accessories.
The surface onto which the Rondine 3 is to be used should be relatively level and sturdy. It should not rock in response to
floor traffic.
1. Remove the Base Unit from the carton. Save all packing material for reshipping should that become necessary.
2. Carefully set the Base Unit on the surface onto which it is to be used. At this point, the feet have no protection
underneath them to protect furniture surfaces – so be careful.
3. Place one Vibrapod underneath each foot. This isolates the Rondine 3 from floor vibration and also prevents marring of
the surface by the legs.
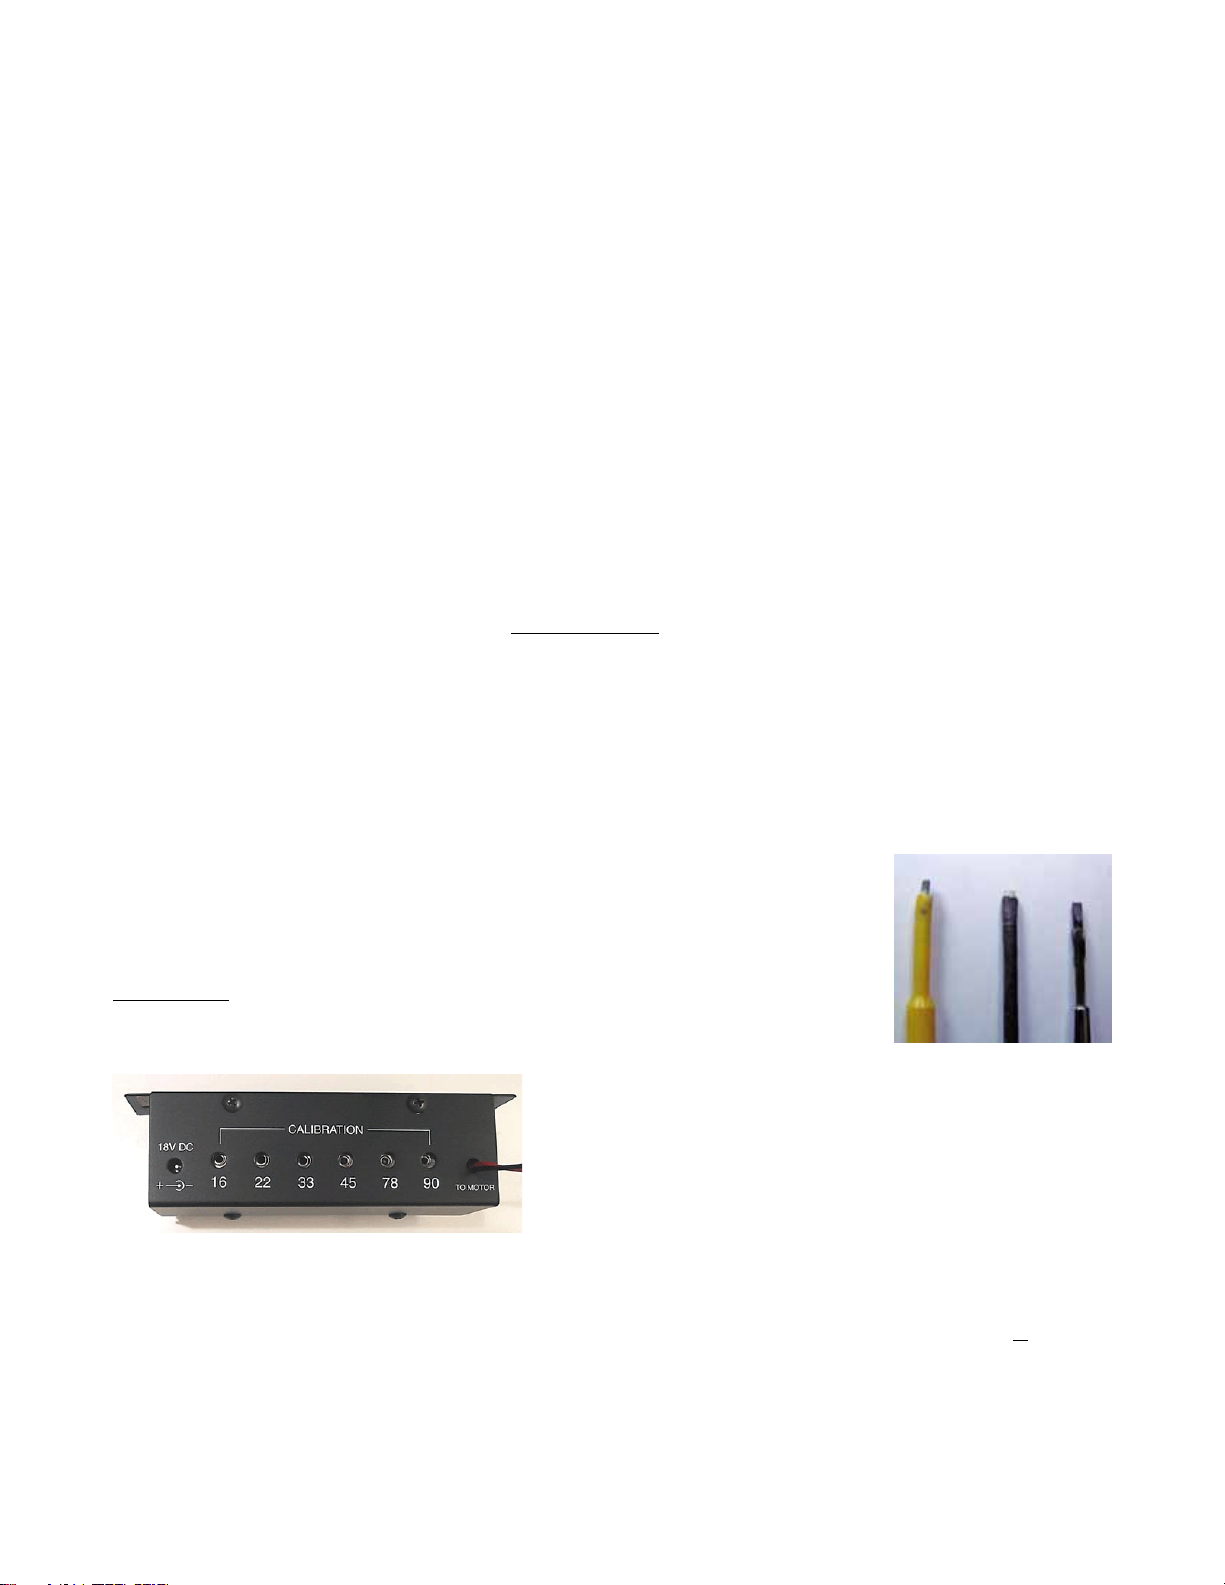
4. Remove the Power Transformer from the carton. Set the voltage to that
of your line outlet. Route the power cable underneath the Rondine 3
from behind and push it into the appropriate power input jack labeled
“18VDC.”
CAREFUL, DO NOT PUSH THE CONNECTOR INTO ONE OF
THE SPEED CALIBRATION ACCESS HOLES!
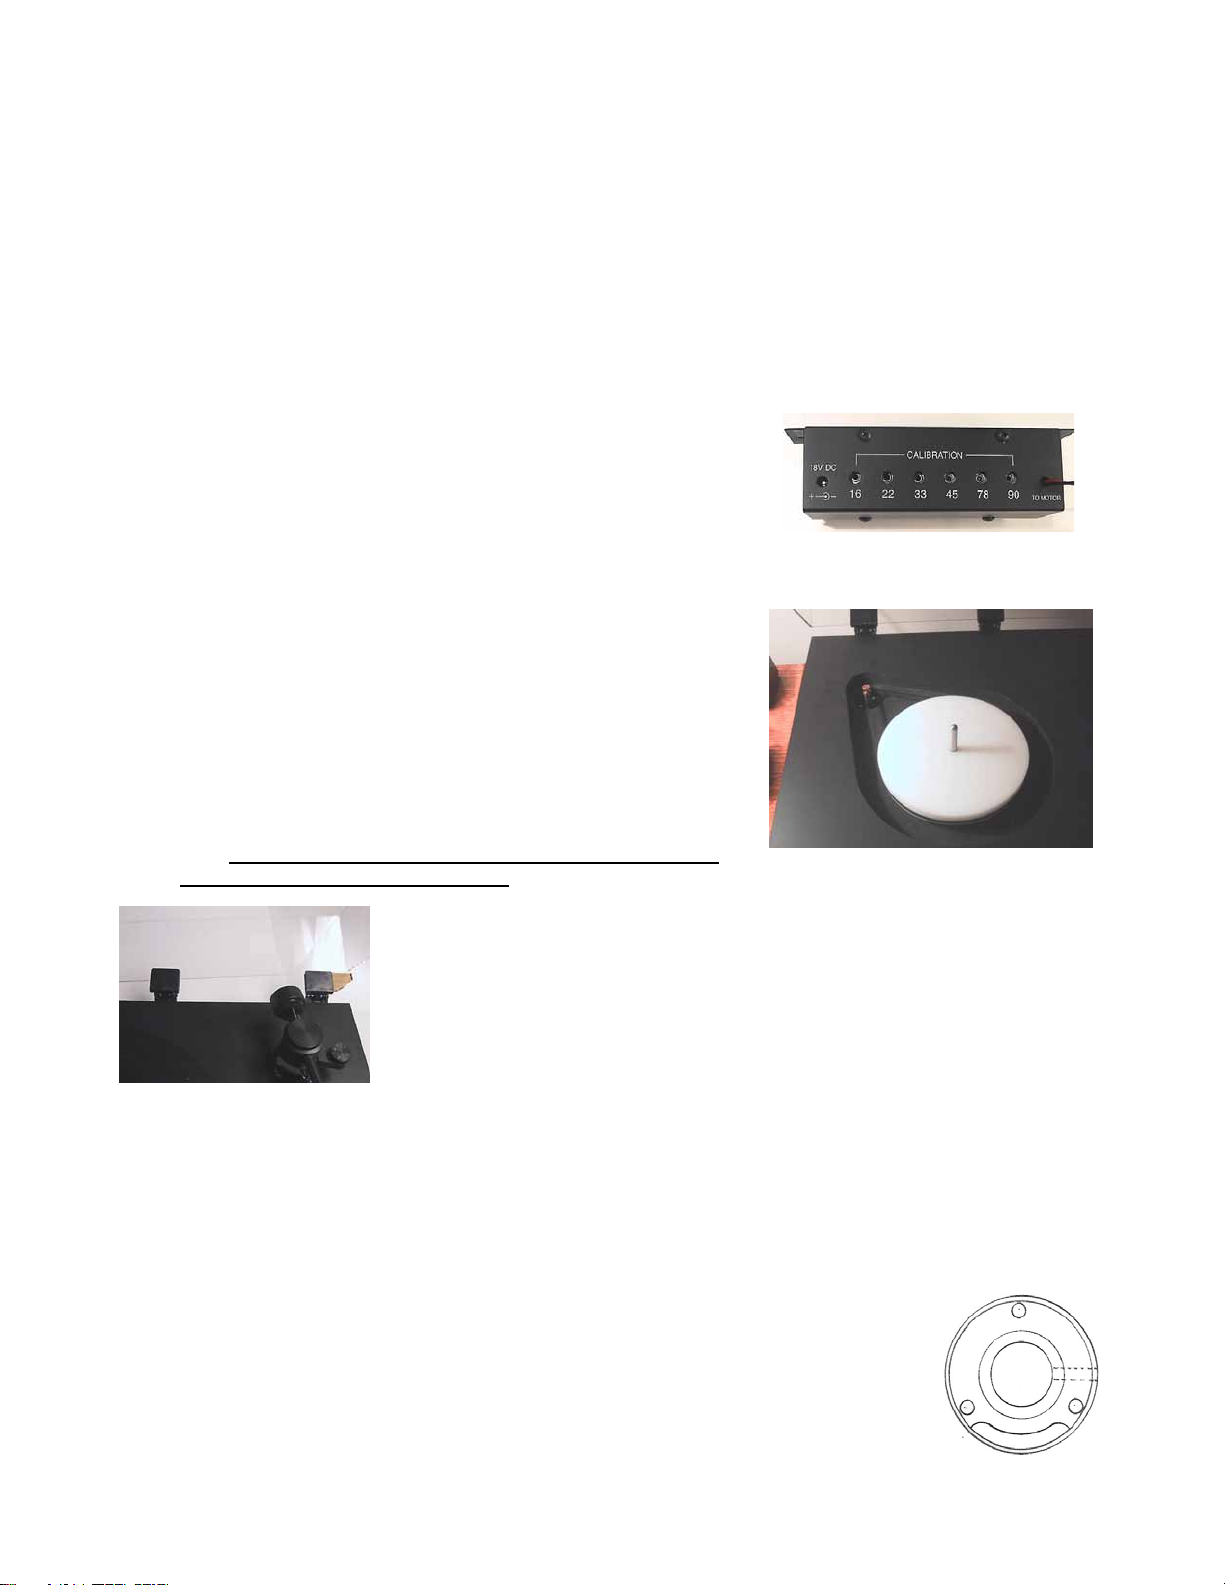
5. Remove any shipping shims that may be located underneath the white sub-platter.
This will allow the spindle to drop into its bearing well.
6. Locate the belt and loop it around the motor pulley and sub-platter.
7. Locate the platter and carefully put in on the spindle, cosmetic side
up. It should slip down snuggly, but not tightly. BE CAREFUL
NOT TO MAR THE UPPER SURFACE OF THE PLATTER.
8. Place the removable portion of the spindle into the platter hole.
9. Locate the counter weight and slide it on the rear end of the arm.
10. Remove any restraints holding the arm in place.
11. Locate the headshell, and install the appropriate cartridge.
12. Locate the arm cable and plug it into the bottom of the arm.
13. Locate the dust cover. Identify the rear.
14. Note: You may have to insert thick cardboard shims into the hinges
to open them up to receive the dust cover. Alternately twist a screwdriver blade in the hinge jaws to pry them
open. This is best a two person job.
Starting at one end, maneuver one end of the dust cover rear into the jaws of the first
hinge, and push it in as far as possible as you can. You may encounter resistance about
half way in do to internal plastic nubs. Just push the cover past them. Remove the
cardboard shim. Then get the dust cover edge started into the jaws of the middle hinge.
Continue until all three hinges grip the dust cover and all shims are removed. Close the
dust cover and align it with the base by sliding it from side to side.
CAUTION: Use care when adjusting the dust cover. It is easily broken.
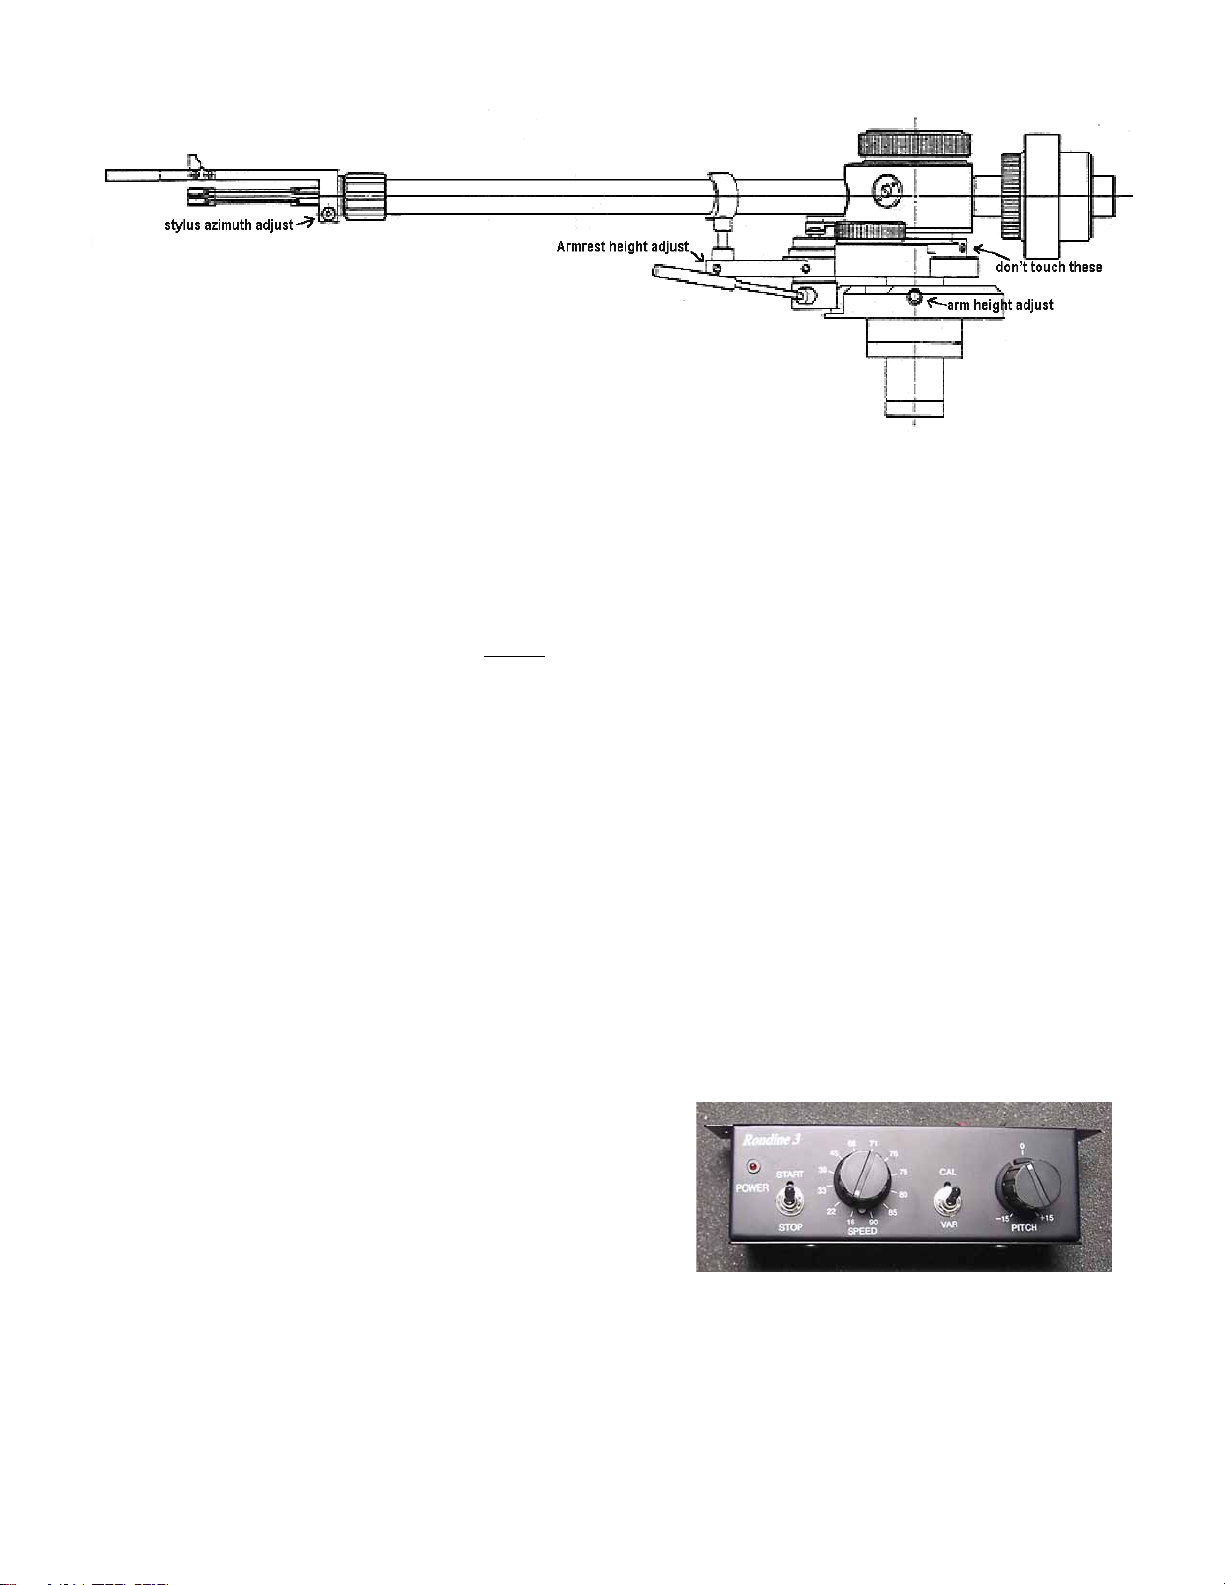
TONEARM SETUP
1. Mount the cartridge to the headshell as follows: white to left (+), red to right (+), blue to left (-), and green to right (-).
Use alignment gauge to adjust cartridge position if extreme accuracy is desired. Try to keep the cartridge parallel to the
alignment gauge lines at min. and max. diameters as closely as possible.
2. Attach the headshell to the end of the arm.
3. Adjust the height of the arm such that with the stylus in contact with a record, the arm tube is
parallel to the surface of the record. Adjust the hex screw in the right side of the circular base.
Caution: do not loosen the set screws that hold the anti-skating mechanism to the arm bearing
assembly.
Page -1-