manuals.online logo
Brands
  1. Home
  2. •
  3. Brands
  4. •
  5. Relax
  6. •
  7. Bathroom Fixture
  8. •
  9. Relax Light 67-B1 User manual

Relax Light 67-B1 User manual

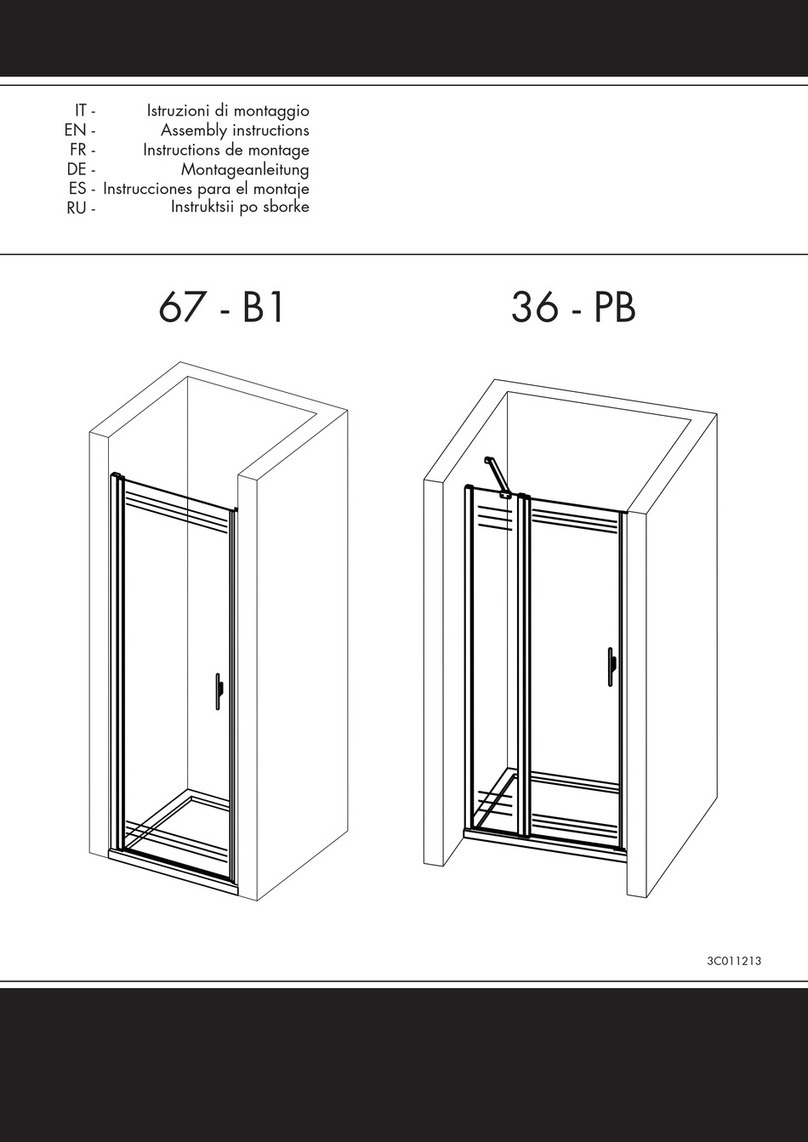
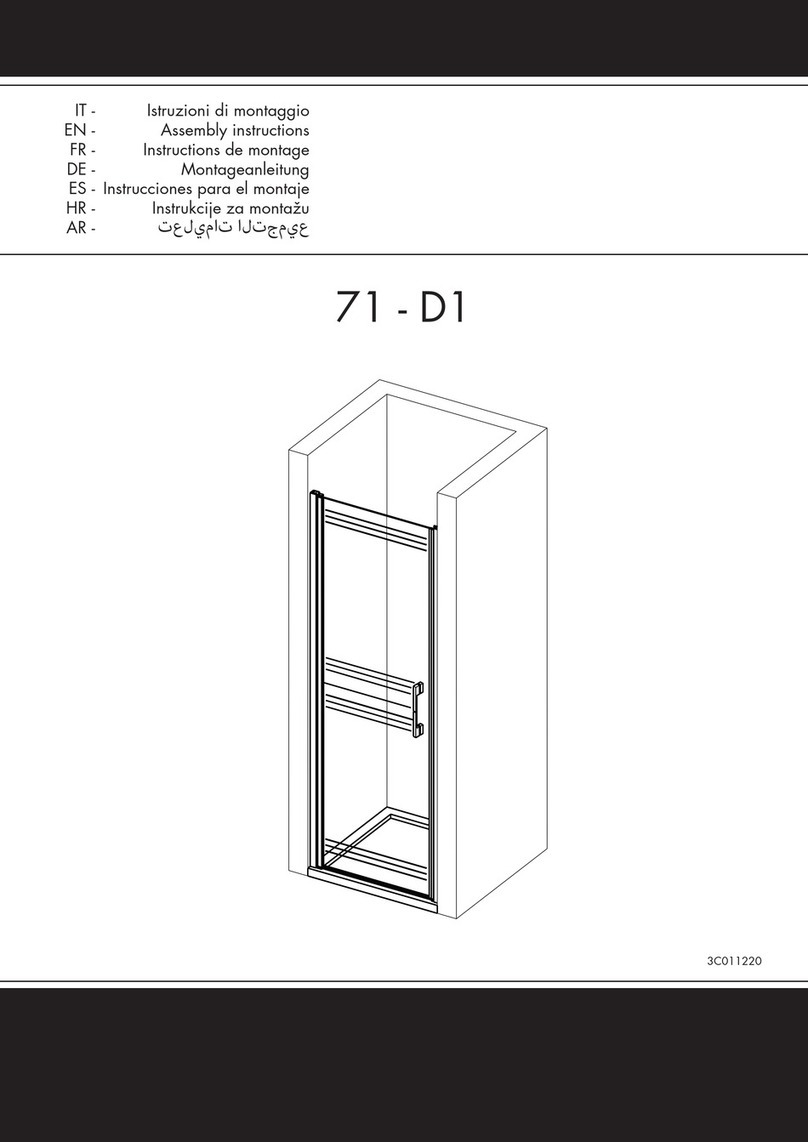
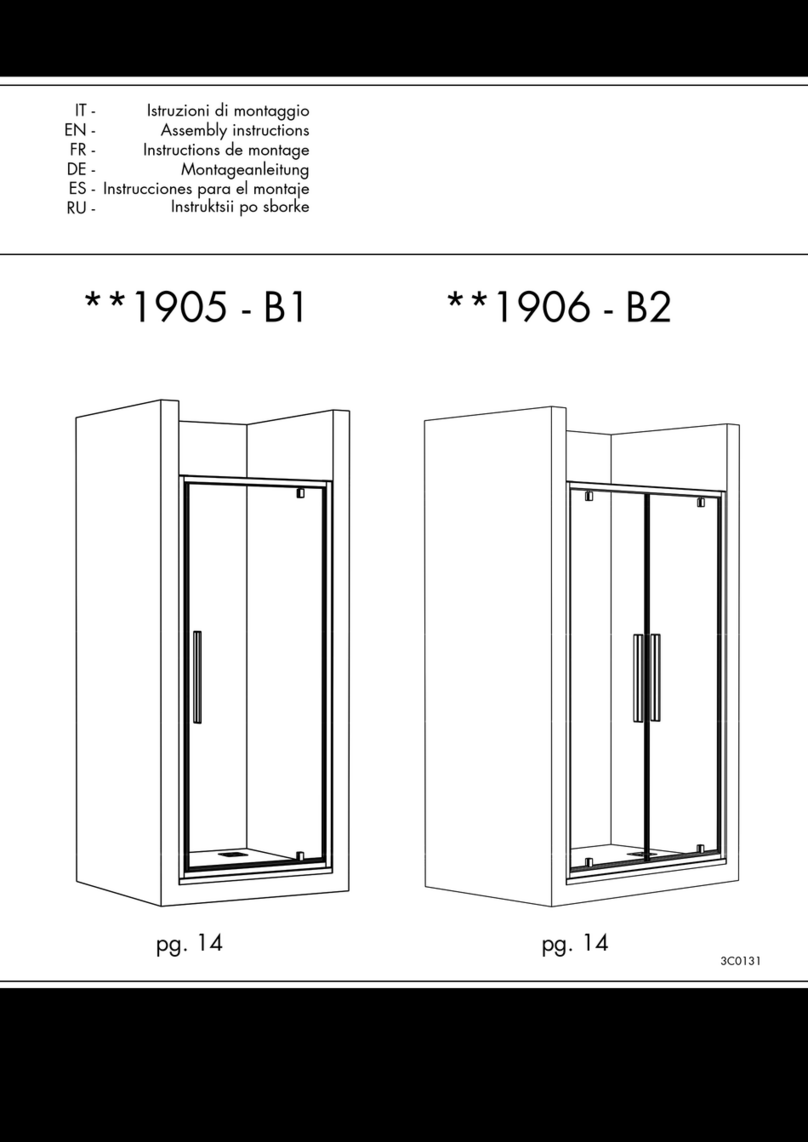
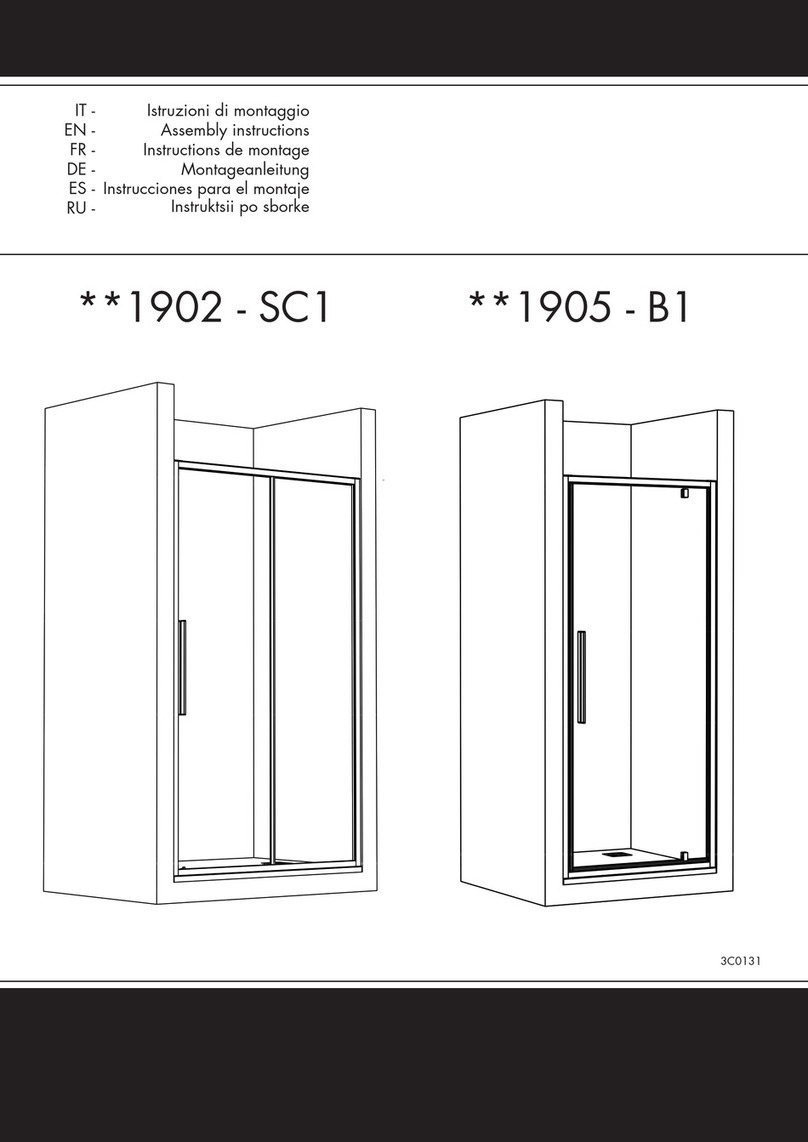
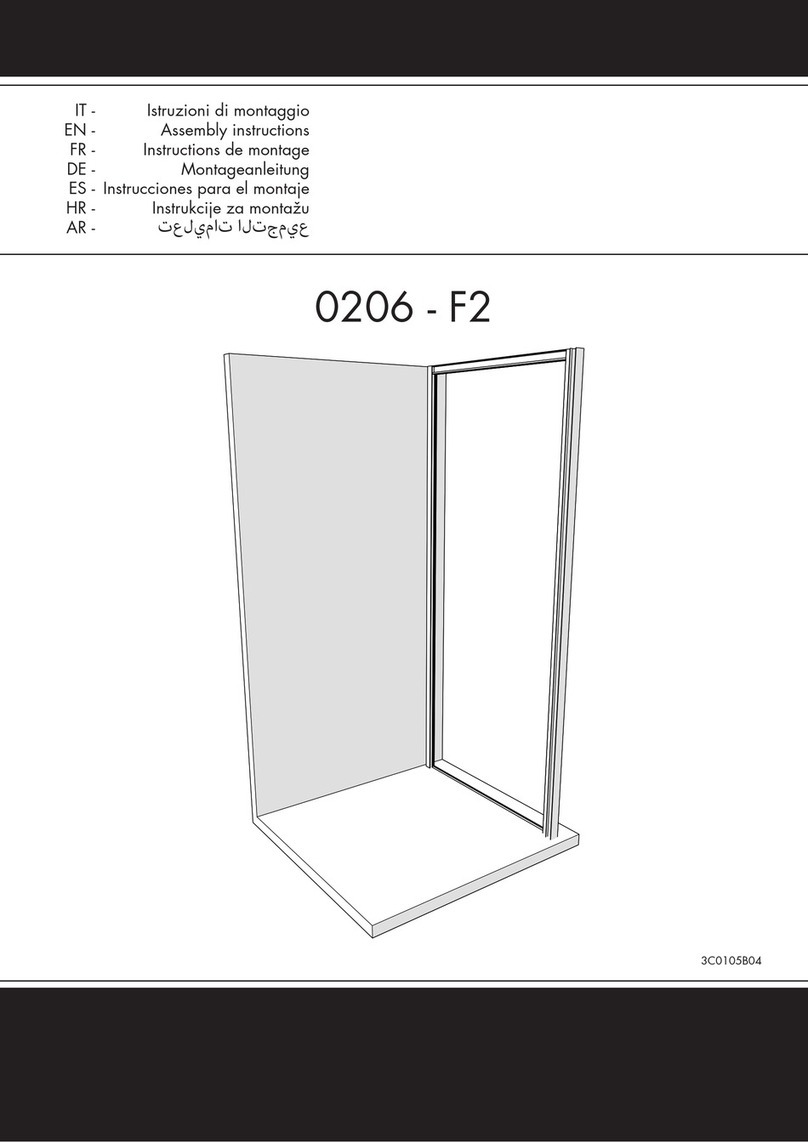
Istruzioni di montaggio
Assembly instructions
Instructions de montage
Montageanleitung
Instrucciones para el montaje
Instruktsii po sborke
IT -
EN -
FR -
DE -
ES -
RU -
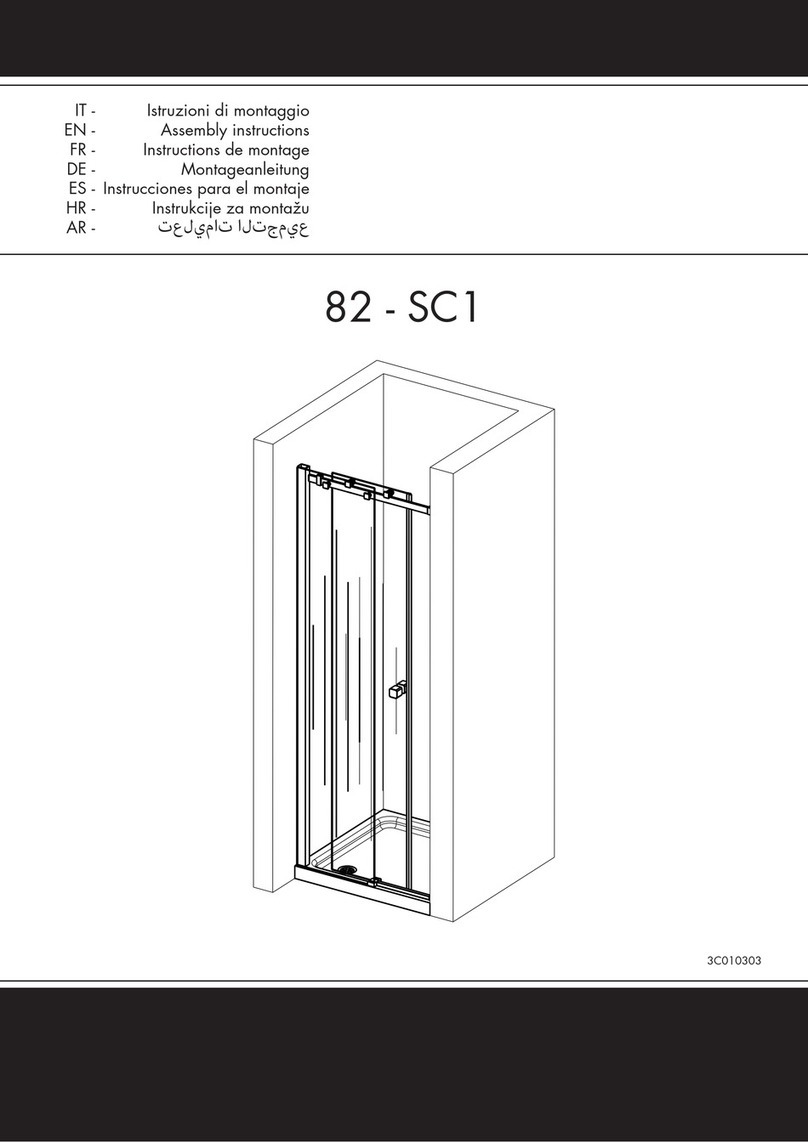
67 - B1
3C011213
36 - PB
2
IT
FR DE
EN
Importante!
Prima del montaggio controllare se il prodotto
ha subito danni di trasporto. Per danni su prodotti
già installati l'azienda non si assume alcuna responsbilità.
Per la pulizia utilizzare esclusivamente un detergente a pH
neutro. Non utilizzare solventi, detergenti abrasivi, acidi
alcalini, ossidanti o contententi cloro.
Attenzione:
piatto doccia prima dell'installazione della cabina.
linee elettriche o del gas. I tasselli e le viti fornite a corredo
alla cabina doccia sono adatti per murature in laterizio e
intonaco. Per pareti in materiale costruttivo diverso utilizzare
parete, il montaggio e la siliconatura della cabina doccia
devono essere eseguiti in modo preciso e professionale. In
della cabina doccia contatti il servizio clienti +39 0421
323159.
Siliconatura:
A montaggio ultimato pulire la cabina doccia e le piastrelle.
cristallo. Non utilizzare la cabina doccia per le 24 ore
successive, in modo da garatire l’asciugatua del silicone.
Important!
transport damage. For damages on products already
installed, the company assumes no responsibility. Use only
a neutral pH detergent for cleaning. Do not use solvents,
abrasive detergents, alkaline acids, oxidizers or chlorine-
containing compounds.
Attention:
carried out precisely and professionally.
enclosure please contact the customer service +39
0421 323159.
Silicone sealing:
applying a line of sealant along these edges. Let it dry for
Important!
dommages de transport. Pour les dommages sur les
produits déjà installés, l'entreprise n'assume aucune
responsabilité. Utilisez uniquement un détergent à pH
neutre pour le nettoyage. Ne pas utiliser de solvants, de
détergents abrasifs, d'acides alcalins, d'oxydants ou de
composés chlorés.
Attention:
cabine.
les lignes électriques ou de gaz. Les chevilles et les vis
fournies avec la cabine de douche conviennent aux murs
de brique et de plâtre. Pour les murs faits d'un matériau
Il est conseillé de n'utiliser que du silicone ou un matériau
isolant adapté aux surfaces sur lesquelles la cabine de
douche sera installée. Le montage mural, le montage et
le siliconage de la cabine de douche doivent être réalisés
avec précision et professionnalisme. En cas de doutes et
de questions concernant l'installation de la cabine de
0421 323159.
Une fois l'assemblage terminé, nettoyer la cabine de
la charge et le verre en appliquant une ligne d'étanchéité
le long de ces bords. Laissez sécher pendant 24 heures
avant d'utiliser la cabine de douche.
Wichtig!
Transportschäden erlitten hat.
installierten Produkten übernimmt das Unternehmen
geeignet ist, auf denen die Duschabtrennung installiert
3
AR
ES HR
¡Importante!
Para daños en productos ya
instalados, la compañía no asume ninguna responsabilidad.
Use solo un detergente de pH neutro para la limpieza. No
utilice disolventes, limpiadores abrasivos, ácidos alcalinas,
oxidantes o que contiene cloro.
Atención:
plato de ducha antes de instalar la cabina.
las líneas eléctricas o de gas. Los tapones y tornillos
suministrados con el recinto de la ducha son adecuados
para paredes de ladrillo y yeso. Para paredes hechas de
pared, el montaje y la silicona de la cabina de ducha
deben realizarse de forma precisa y profesional. En caso
de los contactos de la cabina de ducha de servicio al
cliente +39 0421 323159.
Sellado de silicona:
Una vez que se ha completado el montaje, limpie la ducha
vidrio aplicando una línea de sellador a lo largo de estos
bordes. Deje que se seque durante 24 horas antes de usar
el puesto de ducha.
RU
xxxx 98 - 100 xx
xxxxxxxx xxxxxx =MIN - MAX
MIN - MAX
MIN - MAX
4
B1 N.1
B2 N.2 B1 N.1 N.2 N.6 3.9X32
N.6 N.6 N.6 3.5X13
B1 N.1
B2 N.2
B1 N.1
B2 N.2
B1 N.1
B2 N.2 B1 N.1
5
AB
D
C
E
5
4
3
6
NO !
8
9
10
9
7
24 h
67
12
11
9
10
AB
D
C
E
2
4
3
11
1
56
12
11
7
9
12
24 h
NO !
8
10
8
SX DX
UP
DOWN
180°
PROFILO DI CONTENIMENTO
ID. 3C0123
Istruzioni di montaggio
Assembly instructions
Montageanleitung
IT -
EN -
DE -
Instructions de montage
Instrucciones para el montaje
FR -
ES -
A
2
PROFILO DI CONTENIMENTO
12345
6 7 8 9 10
IL PROFILO DI CONTENIMENTO DEVE:
1 - ESSERE INSTALLATO DOPO AVER FISSATO LA CABINA DOCCIA
2 - ESSERE TAGLIATO A MISURA (IL PROFILO E’ FORNITO DI DIMENSIONE MAGGIORATA)
3 - ESSERE FISSATO CON I PARTICOLARI DI GIUNZIONE E SILICONE
IT
IL PROFILO DI CONTENIMENTO DEVE:
1 - ESSERE INSTALLATO DOPO AVER FISSATO LA CABINA DOCCIA
2 - ESSERE TAGLIATO A MISURA (IL PROFILO E’ FORNITO DI DIMENSIONE MAGGIORATA)
3 - ESSERE FISSATO CON I PARTICOLARI DI GIUNZIONE E SILICONE
EN
IL PROFILO DI CONTENIMENTO DEVE:
1 - ESSERE INSTALLATO DOPO AVER FISSATO LA CABINA DOCCIA
2 - ESSERE TAGLIATO A MISURA (IL PROFILO E’ FORNITO DI DIMENSIONE MAGGIORATA)
3 - ESSERE FISSATO CON I PARTICOLARI DI GIUNZIONE E SILICONE
DE
IL PROFILO DI CONTENIMENTO DEVE:
1 - ESSERE INSTALLATO DOPO AVER FISSATO LA CABINA DOCCIA
2 - ESSERE TAGLIATO A MISURA (IL PROFILO E’ FORNITO DI DIMENSIONE MAGGIORATA)
3 - ESSERE FISSATO CON I PARTICOLARI DI GIUNZIONE E SILICONE
FR
IL PROFILO DI CONTENIMENTO DEVE:
1 - ESSERE INSTALLATO DOPO AVER FISSATO LA CABINA DOCCIA
2 - ESSERE TAGLIATO A MISURA (IL PROFILO E’ FORNITO DI DIMENSIONE MAGGIORATA)
3 - ESSERE FISSATO CON I PARTICOLARI DI GIUNZIONE E SILICONE
ES
B
C
3
PROFILO DI CONTENIMENTO
IT
EN
DE
FR
ES
1
7 / 8
Esterno
External
Extern
Externe
Externo
Interno
Internal
Intern
Interne
Interna
LIGHT AB+F3
LIGHT AB+AB
LIGHT PA+F3
LIGHT PA+PA
LIGHT B2
LIGHT PS
LIGHT D1
LIGHT AS+AS
LIGHT D2+D2
LIGHT RB
LIGHT RF
LIGHT B1
LIGHT PB
LIGHT B2+F4
LIGHT PS+F4
MINIMAL RB
MINIMAL AB+F3
MINIMAL AB+AB
MINIMAL PS
MINIMAL PS+F4
MINIMAL B1
D
E
4
PROFILO DI CONTENIMENTO
Esterno
External
Extern
Externe
Externo
Esterno
External
Extern
Externe
Externo
Interno
Internal
Intern
Interne
Interna
Interno
Internal
Intern
Interne
Interna
5 / 6
9 / 10
PETRARCA AF+F3
PETRARCA AB+AB
PETRARCA RB
LIGHT RF
PETRARCA B1
MINIMAL AC+F3
MINIMAL RC
MINIMAL C1
PETRARCA AF+F3
LIGHT AB+F3
LIGHT PA+F3
MINIMAL AC+F3
MINIMAL AB+F3
F
G
5
PROFILO DI CONTENIMENTO
Esterno
External
Extern
Externe
Externo
Interno
Internal
Intern
Interne
Interna
SOLO PER VETRO SPESSORE 8 MM
ONLY FOR GLASS THICKNESS 8 MM
NUR FÜR GLASDICKE 8 MM
SEULEMENT POUR LE VERRE 8MM D’ÉPAISSEUR
SÓLO PARA VIDRIO 8 MM DE ESPESOR 2
3
WALL 8A
WALL 8C
ELITE A
ELITE C
PETRARCA B1
LIGHT B1
LIGHT PB
LIGHT PS
LIGHT D1
MINIMAL PS
MINIMAL C1
MINIMAL B1
H
6
PROFILO DI CONTENIMENTO
Esterno
External
Extern
Externe
Externo
Interno
Internal
Intern
Interne
Interna
4
PETRARCA AB+AB
LIGHT AB+AB
LIGHT PA+PA
LIGHT AS+AS
LIGHT D2+D2
MINIMAL AC+AC
MINIMAL AB+AB
•
•
•
•
•
LIGHT PE

This manual suits for next models

1

Other Relax Bathroom Fixture manuals

Relax Unico 1901-A User manual

Relax

Relax Unico 1901-A User manual

Relax STONE User manual

Relax

Relax STONE User manual

Relax Cover AF 1712 User manual

Relax

Relax Cover AF 1712 User manual

Relax 88-B1 User manual

Relax

Relax 88-B1 User manual

Relax Light 695-RF User manual

Relax

Relax Light 695-RF User manual

Relax Axia 80-SF+F1 User manual

Relax

Relax Axia 80-SF+F1 User manual

Relax Unico 1903-SC2 Series User manual

Relax

Relax Unico 1903-SC2 Series User manual

Relax Light 36-PB User manual

Relax

Relax Light 36-PB User manual

Relax 82-SC1 User manual

Relax

Relax 82-SC1 User manual

Relax Puro 2002-SC1 Series User manual

Relax

Relax Puro 2002-SC1 Series User manual

Relax Unico SC1 User manual

Relax

Relax Unico SC1 User manual

Relax Smart 0801-A User manual

Relax

Relax Smart 0801-A User manual

Relax 0206-F2 User manual

Relax

Relax 0206-F2 User manual

Relax Unico 1905-B1 Series User manual

Relax

Relax Unico 1905-B1 Series User manual

Relax LAGO User manual

Relax

Relax LAGO User manual

Relax 0203-SC2 User manual

Relax

Relax 0203-SC2 User manual

Relax Puro 2003-SC2 Series User manual

Relax

Relax Puro 2003-SC2 Series User manual

Relax Axia SF+F1 User manual

Relax

Relax Axia SF+F1 User manual

Relax Light D1 71 User manual

Relax

Relax Light D1 71 User manual

Relax Unico 1902-SC1 Series User manual

Relax

Relax Unico 1902-SC1 Series User manual

Relax Light AB 63 User manual

Relax

Relax Light AB 63 User manual

Relax 63-VP1 User manual

Relax

Relax 63-VP1 User manual

Relax Smart 0801-A User manual

Relax

Relax Smart 0801-A User manual

Popular Bathroom Fixture manuals by other brands

Salvatori EDO TOILET ROLL HOLDER manual

Salvatori

Salvatori EDO TOILET ROLL HOLDER manual

agape MARSIGLIA ACER0705M Assembly instructions

agape

agape MARSIGLIA ACER0705M Assembly instructions

METHVEN RERE 16-1027 installation guide

METHVEN

METHVEN RERE 16-1027 installation guide

Peerless Faucet Core PTT188743 quick start guide

Peerless Faucet

Peerless Faucet Core PTT188743 quick start guide

Spectrum Brands Pfister R89-330C Maintenance & Care Guide

Spectrum Brands

Spectrum Brands Pfister R89-330C Maintenance & Care Guide

Kesseböhmer Turn-Motion Mounting instructions

Kesseböhmer

Kesseböhmer Turn-Motion Mounting instructions

Presto 27115 quick start guide

Presto

Presto 27115 quick start guide

König HC-SH11N manual

König

König HC-SH11N manual

Speakman S-1498-LH instructions

Speakman

Speakman S-1498-LH instructions

Bradley S19-315FPBF Installation

Bradley

Bradley S19-315FPBF Installation

Tiger Boston 5855.6.00 Series Mounting instructions

Tiger

Tiger Boston 5855.6.00 Series Mounting instructions

Clou Flush 3 CL/03.80031 installation instructions

Clou

Clou Flush 3 CL/03.80031 installation instructions

CDX Kensington QB552743 Fitting instructions

CDX

CDX Kensington QB552743 Fitting instructions

Helvex H-3012 installation guide

Helvex

Helvex H-3012 installation guide

KAWAJUN SE22W installation manual

KAWAJUN

KAWAJUN SE22W installation manual

Kohler K-701803T-FMSW installation instructions

Kohler

Kohler K-701803T-FMSW installation instructions

BELLOSTA brunsin 5708/CL/E installation instructions

BELLOSTA

BELLOSTA brunsin 5708/CL/E installation instructions

Zenith 5804B Assembly instructions

Zenith

Zenith 5804B Assembly instructions

manuals.online logo
manuals.online logoBrands
  • About & Mission
  • Contact us
  • Privacy Policy
  • Terms and Conditions

Copyright 2025 Manuals.Online. All Rights Reserved.