Reliable Equipment REL-CS16 Manual

1
DISTRIBUTED BY
WARNING
All information found in this guide
must be read and understood before
use or testing of this tool. Failure
to read and understand these warnings
and safe handling instructions could result
in severe personal injury and or death.
OPERATORS’ GUIDE
For cutting and trimming of limbs
and branches from the ground or
an aerial bucket.
REL-CS16
HYDRAULIC
CHAINSAW
CS Manual 10-08
RELIABLE EQUIPMENT & SERVICE CO., INC.
92 Steamwhistle Drive • Ivyland, PA 18974 • USA
Phone: 215-357-3500 • Fax: 215-357-9193
MODEL: REL-CS16
MAX. PRESSURE: 2,000 PSI
SERIAL NO.: ____________
YEAR: ___________

2
TABLE OF CONTENTS
Saw Description ........................... 2
Registration .................................. 2
Safety Instructions ....................3-6
SPECIFICATIONS
General.......................................... 7
Connections and Hoses .............. 8
Pre-Operation ............................... 9
Spool Selector .............................. 9
Operation of Saw........................ 10
MAINTENANCE
General........................................ 11
Chain Oiler .................................. 12
Chain Tension ............................ .13
Troubleshooting ......................... 14
DESCRIPTION
The REL-CS16 hydraulic chainsaw is intended for safe pruning, trimming and felling
of trees from the ground or aerial bucket. The powerful hydraulic drive motor provides
continuous cutting from any Open-Center or Closed-Center hydraulic system with
an operating pressure between 1,000 to 2,000 psi at 4-8 gpm.
Features include a 16 inch bar (standard), anti-kIck chain, adjustable automatic chain
oiler, safety trigger to prevent accidental chain movement, covered sprocket guard,
and a quick set spool which can be turned 180 degrees for closed-center or open-
center operations.
UPON RECEIPT OF THIS TOOL, COMPLETE THE REGISTRATION BELOW.
SERIAL NUMBER
DATE OF PURCHASE
DEALER NAME
PARTS LISTS
Major Components..................... 15
Saw Body, Chain side ................ 16
Saw Body, Motor side ................ 17
Sprocket Cover........................... 18
Handle Assembly ....................... 19
Motor Assembly ....................20-21
REPAIR INSTRUCTIONS
Disassembly ............................... 22
This symbol indicates items
of extreme importance. Safety
of user and others may be in
jeopardy if these instructions
are not read and understood.

3
WARNING
BEFORE USING THIS CHAINSAW, READ THE WARNINGS
and the recommended practices described in this manual.
Failure by the operator to read and fully understand these
warnings will leave this person unqualified to use and
operate this tool. Property damage, severe personal injury,
and/or death could result by not following these warnings.
Eye
Protection
These warnings will appear in appropriate locations when they are pertinent to the
particular subject being shown. Read each one carefully and follow them strictly.
WARNING
Always wear eye protection to avoid
injury from flying debris or hydraulic
oil leaks. Failure to do so can result
in serious personal injury.
Hard Hat
WARNING
Alwayswear a hardhat toavoid injury
from debris. Failure to do so can
result in serious personal injury.
Hearing
Protection
WARNING
Always wear hearing protection, to
avoid hearing loss due to long term
exposure to high noise levels.
Foot
Protection
WARNING
Always wear foot protection.
Failure to do so can result in serious
personal injury.
Dust Mask
WARNING
Some timbers may produce irritants.
Failure to observe this warning
may result in serious health issues
and/or breathing difficulty.
WARNING
Operation/Safety
methods may vary in
accordance with the
working guidelines
established by each
utility or contractor.
For your own safety, ensure that you
fully comply with all safe operation
guidelinesrequired byyour employer.

4
Jamming / Pull-In
Jamming or pinching will occur when the wood being cut
closes in on the top of the chain or guide. This action results
in pushback or a kickback, usually very fast with strong force
toward the operator. Be careful and be aware of what causes
this set of circumstances, so the operator can do everything
possible to avoid them.
WARNING
Safety
DO NOT attempt to make any changes to any of the component
parts or accessories when connected to the power source.
DO NOT adjust, inspect, or clean tool while the tool is connected
to the power source. The tool could accidentally start up
and cause serious injury.
DO NOT lock the trigger in the On Position. In an emergency, it is impossible
to shut down the tool. Serious damage or injury could occur during the
time required to stop the tool.
DO NOT alter or remove the safety latch attached to the trigger. This latch is
designed to prevent accidental movement of the trigger, which could cause
the chain to start up and cause severe personal injury or property damage.
DO wear protective gloves when handling or adjusting the saw chain. The saw can
and will cause damage to the hands without gloves either running or stopped.
Failure to follow these warnings can result in serious injury and/or death.
WARNING
Tip Contact / Kickback
Accidentally touching an object with the tip of the chainsaw
can cause a rapid movement of the assembly up and back
towards the operator, with possible injury to the operator
or damage to the surrounding objects.
Worn or Damaged Saw Chain
DO NOT operate this tool with a worn or damaged saw chain.
Worn, damaged, or dull saw chain will increase the
likelihood of kickback or pushback.
WARNING
WARNING

5
WARNING
Oil Injection Injury
Hydraulic oil or fluid under the skin is a serious injury. Oil
under pressure can penetrate the skin and may cause
dismemberment or loss of life. Seek medical assistance
immediately if such an injury should occur.
Always wear safety gloves and eye protection when operating or handling.
DO NOT use fingers or hands to attempt to locate a leak.
DO NOT Handle Hoses or Couplers while the hydraulic system is pressurized.
NEVER open or service the system before completely depressurizing.
Electrical Shock Hazard
Use only certified nonconductive hoses and fittings. Always
wear and use the necessary clothing, equipment and safety
practices to protect against electrical shock. Failure to
follow these rules can result in serious personal injury.
WARNING
WARNING
General Safety
Ensure that all fellow employees and bystanders are clear and
protected from possible injury caused by this tool or the
operations being performed. Persons in close proximity could
be injured and property damaged if the tool were to malfunction.
This tool should always be used within the limits and purposes
stated by the product manufacturer. Abuse or usage over and
above the manufacturers’ intended purposes could cause
damage to the tool and severe injury to the operator.
Burn Hazard
Saw body, blade, bar as well as other components will be hot
during and after use. Use care when handling this tool. Hot
surfaces may cause serious burns. Failure to observe this
warning may result in serious personal injury.
WARNING

6
Burn Hazard
Do Not connect or disconnect tool, hoses or fittings while
power source is running or while hydraulic fluid is hot.
Hot hydraulic fluid may cause serious burns.
Failure to observe this warning could result in serious injury.
WARNING
Safe Operation & Care
USE THIS TOOL FOR CUTTING WOOD ONLY, Any other use
can result in injury or property damage.
INSPECT TOOL BEFORE USE. Replace any worn, damaged
or missing parts. A damaged or improperly assembled tool
may malfunction, injuring operator and/or nearby personnel.
INSPECT HYDRAULIC HOSES AND COUPLINGS before each
use. Repair or replace if any cracking, leakage, wear or
damage is is found. Worn or damaged hoses may fail
resulting in personal injury or property damage.
CLEAR WORK AREA of all bystanders and unnecessary
personnel before operating this tool. Falling debris could
cause serious injury or death.
Failure to observe this warning could result in serious injury.
CAUTION
Safe Handling
HYDRAULIC FLUID MAYCAUSE SKIN IRRITATION.
Handle hydraulic tools and hoses with care to prevent
hydraulic fluid from making contact with skin.
IN THE EVENT OF ACCIDENTAL SKIN CONTACT with hydraulic
fluid, immediately wash the area thoroughly.
Failure to observe this warning could result in serious injury.
CAUTION
Vibration Hazard
Apply just enough pressure to make the cut. Applying
excess pressure to the tool may cause operator discomfort
or temporary numbness.
Failure to observe this warning could result in serious injury.
CAUTION

7
TOOL SPECIFICATIONS
Overall Length .................................................................... 32 in. (81.28 cm)
Width................................................................................... 10 in. (19.05 cm)
Weight ............................................................................ 9.75 lbs. (4.22 kg)
Pitch............................................................................... .375 in. (8.26 mm)
Chain Gauge................................................................. .050 in. (1.47 mm)
Chain Bar Length.......................................................... 16 in. (40.64 cm)
Flow Range ............................................................... 4-8 gpm (15-30 lpm)
Operating Pressure............................... 1,000 - 2,000 psi (69-140 bar)
HYDRAULIC FLUIDS
All hydraulic fluids that meet these listed specifications or the listed HTMA specifications
may be used for this tool.
S. U. S.
@ 100OF (38OC) ........................................................................... 140 TO 225
@ 210OF (99OC) ......................................................................... 40 minimum
FLASH POINT ........................................................ 340OF min. (170O C min.)
POUR POINT..... ..................................................... -30OF min. (-34OC min.)
These specifications must be strictly adhered to for this tool
to function properly. Any deviation can cause severe injury
or death. Use only factory specified parts when repairing
and/or replacing. Severe damage to the tool can occur with
non-specified parts.
WARNING
Always use chains rated for 4,200 FPM (1,280 MPM) or higher.
Always use chains that meet applicable safety code specifications.
Failureto heedthese warningscould result insevere bodilyinjury.
WARNING

8
HOSESAND FITTINGS
There exists the potential for shock in using anything other
than certified nonconductive hoses and hydraulic oil with
dielectric properties, when using system components near
energized electrical lines. Failure to recognize these conditions
could cause electrocution.
Hoses and fittings used with this tool must comply with S.A.E. J1273 which covers
recommended practice for selection, installation, and maintenance of hose and hose
assemblies. The correct hoses and fittings are available from your supplier.
WARNING: Failure to comply with these warnings could result in severe bodily injury.
WARNING
UNIT/HOSE CONNECTIONS
ALWAYS SHUT OFF pump/power source before connecting or
disconnecting system components. ALWAYS DEPRESSURIZE
hydraulic system before disconnecting this unit or any of the
systems components.
ALWAYS TIGHTEN couplings completely. Loose or improperly
tightened couplings will not allow fluid to pass through the hose
creating a blockage in the supply or return line.
WARNING
HOSE INSTALLATION
Care must be taken to assure the correct connection of the hoses
to the pressure “P” and return “T” ports. If the hoses are incor-
rectly connected, the tool will run in reverse. This will damage
the tool and create dangerous conditions for the operator.
Always inspect hoses and connectors before using this tool
each time before using. Replace or repair if any leakage is
evident. Leakage is a sign of deterioration in component parts.
Worn or leaking parts must be repaired or replaced, or injury
and severe damage could result.
CAUTION

9
PRE-OPERATION OF SAW
WARNING! DO NOT connect hoses or fittings to this chainsaw before completing all the
following instructions.
Before attempting to run or use the saw, check all connections, including hoses,
couplings, chain tension, cleanliness, and ensure that safety trigger is moving freely.
Wear all safety items required and make sure that the working area is clear of
obstructions and non essential personnel. Set the saw to Open or Closed-Center,
according to which system the power supply pump provides. It is important to know
which type of power system is supplying the saw so that the chainsaw can be properly
set. All these items are crucial to the safe operating procedure of the chainsaw.
Setting Spool Selector for Open Center/Closed Center System
Make sure hoses are disconnected from the chainsaw and inspect the following items:
Inspect the saw chain. The chain tension should be set per Fig. 3. If the tension is too
tight, the saw guide bar will wear excessively. If the tension is too loose, the chain could
jump the track. Follow the settings as described in Fig. 3.
Set the automatic oiler as described in Fig. 2. If set properly, a fine mist should show at
the tip of the chain. Too much fluid will drain the reservoir of oil. Follow the instructions on
page 12. Check the fluid level regularly for fluid loss.
Inspect the chain for damage. The saw will not function properly with a worn or damaged
chain. Look for bending, wear, or any damage to the chain assembly.
Damaged chain assemblies could cause pinching or kickback, resulting in serious
injury to the operator.
CAUTION
New saw chains require a break-in period. The chain tension will need to
be adjusted frequently as described on page 13.
FIGURE 1
Turn Selector with
wrench or screw driver
Open-Center Closed-Center

10
OPERATION
Hold the chainsaw control handle in one hand and the forward handle in the other hand.
After positioning the saw in the cutting area, engage the trigger actuator, allowing the
trigger to be depressed. Depress the trigger slowly and allow the chain to start rotating.
When at full speed, feed the saw into the material. Twisting or jamming the saw while
cutting can cause problems such as kickback, jamming, pulling, or stalling within the
cut. This can cause failure and damage to the saw. This can also seriously injure the
operator. (See Safety Instructions)Allow the chain blade to do the work while applying
a pressure against the cut. When the cut is completed, release the trigger and the saw
will stop rotating.
Thereare anumberofsafetyitems thatneedtobeaddressed whenusingthetool. Seekout
the supervisor for basic instruction in handling the tool. Some basic problems are easily
overcomebyknowing the rulesofoperation.
Kickback was described earlier in this manual (see page 4). Read again.
Kickback occurs when the tip of the blade touches the wood. Faithfully avoid touching the
wood at either the tip or the top side of the blade. Touching the tip will kick the saw up
and back toward the operator at lightning speed.
Touching the wood with the top side will pull the saw out of the operator’s hands. Both
situations can cause serious injury and/or damage to the operator, nearby persons, and
surrounding equipment.
Always be aware of the material being cut. Such things as nails and other hard objects
can cause kickback and damage to the chain blade. This will cause a serious
malfunction.
Always run the chain at full speed when cutting.
Always stand to the side of the cutting path of the chain.
Never be off balance or overreach while cutting.
Always wear and use proper safety equipment. (i.e. hand and eye protection)
Always be alert to shifting or falling tree limbs. Binding and pinching of the chainblade
will occur and cause difficulty in handling.
To store the chainsaw between operations, find a clear, flat space and lay the saw on
the space. Another option is to hang the chainsaw in an out of the way space.
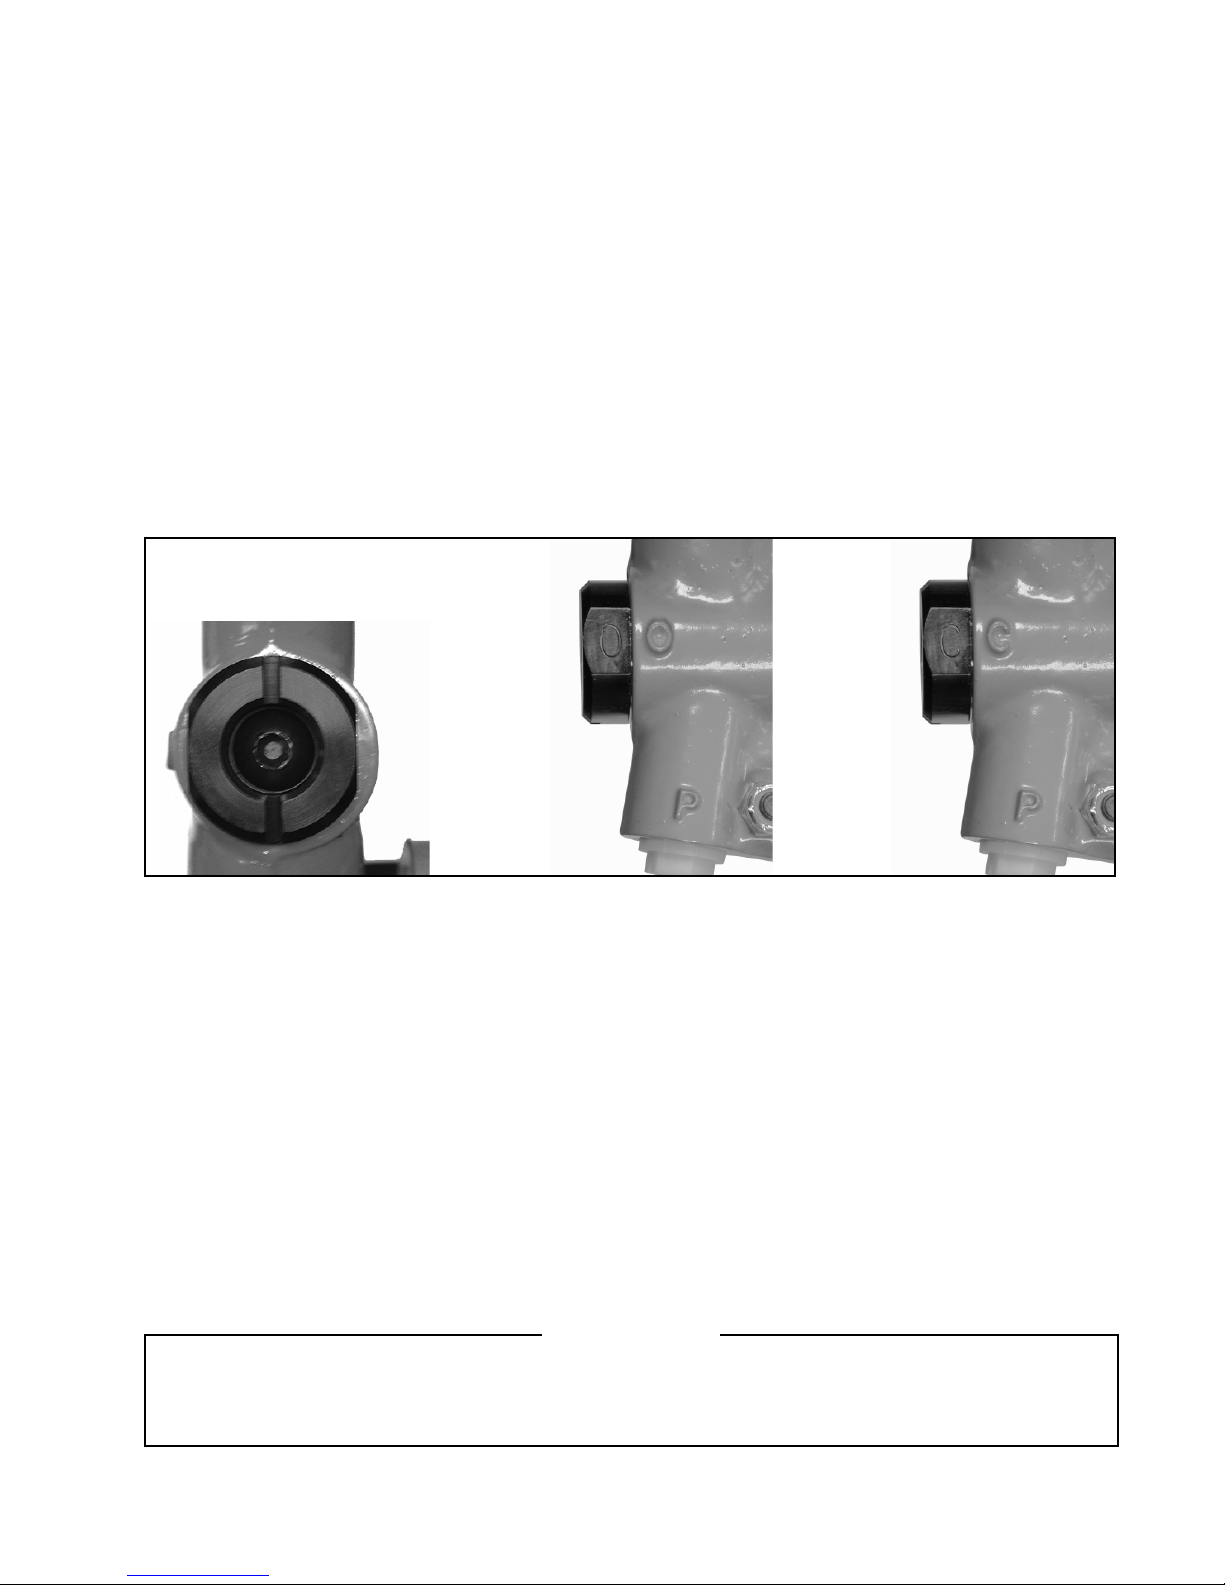
If the chainsaw is out of use for a period of time, shut off the hydraulic power source
to prevent unnecessary heat and wear on the chainsaw and hoses.
OPERATIONAL SAFETY

11
MAINTENANCE
The service schedule should be followed as closely as possible. The life, reliability, and
safety of the tool is dependent on maintenance and will help the tool to remain productive
for a much longer period.
DAILY MAINTENANCE
CLEAN: All surfaces including handle, trigger, trigger actuator, fittings, hoses, motor
and housing.
INSPECT: Saw chain for wear and damage. Worn or damaged parts can cause kickback
during operation. Improperly sharpened chain components can cause a malfunction.
Inspect saw frequently while in use (NOT RUNNING). Inspect for damage and tension.
Inspect for cracked hoses and leaking fittings.
CHECK: Fluid level of the power source reservoir frequently. The automatic oiler uses
hydraulic fluid for the bar and chain, this will cause the fluid level to drop.
All the above items must be replaced with new parts if signs of wear are evident.
ADJUST: Saw chain and automatic oiler. Too much or too little tension will wear the
chain. Insufficient oil will wear the saw chain and the chain guide, and cause heat to
build up at the tip where most of the wear occurs. The automatic oiler should allow oil to
show at the tip as a fine mist when the saw is running at full speed.
FLUID CONTAMINATION: Cover the ends of fittings with a rubber dust cap when
disconnected. This will help keep the fluid from contamination.
MONTHLY MAINTENANCE: Inspect per Appendix A, SAE Standard J1273, 5/86 for
hose or fitting damage such as wear, cracks or leakage, replace the necessary parts.
NOTE: Keep decals clean and legible. Replace decals when necessary. Part #RL29400
Date Parts or Service Required

12
SERVICE
Automatic Chain Oiler:
Theautomaticchainoilerisdesignedtocontinuouslylubricatethechainandtheguidebar while
the chainsaw is running. This lubrication is an important factor in minimizing wear and tear on
componentsasiscommonlyfoundinchainsaws.Byutilizingthefluidfromthesupplycircuit and
sendingthefluid throughameteringvalve, thefluidis thendirectedtothe chainandguidein the
quantity required. By adjusting the metering screw, fluid can be applied at a greater or lesser
volume,dependingon theusageofthe chainsaw.
WARNING: Disconnect the hydraulic source! Severe injury can
occur if the power is on and the saw starts running accidentally!
UseAdjustableoiler plug with Keystylegripforsimple flow adjustment. Shown in Figure2.
Turn the screw counterclockwise to increase the oil flow. To decrease the flow, turn the screw
clockwise. Make adjustments by turning no more than ½ turn. Run the saw at full speed and
watch the end of the saw. If a fine mist appears at the end while running, then it is adjusted
properly. If there is no visible mist, make another adjustment counterclockwise.
If adjusting an older unit and change in flow occurs while running, clean the oil outlet hole
under the end of the chain bar. It may have become clogged with debris.
Adjusting theAutomatic Oiler: Fig. 2
FIGURE 2
IMPORTANT: Check the operation of the automatic oiler frequently.
Adjustable
Oiler Plug

13
Saw Chain Tension:
Tensioncheckingandadjustingmustbedonefrequentlybeforestartandduringcuttingoperations.
Thechainmustbe settothepropertensioninorderforthesawto functionproperly. Ifthe chainis
tooloose, thechaincan jumpthetrack oftheguide bar,probably causingdamagetothebarand
associatedcomponents.If the chainisadjustedtootight, heat and wearwillruintheguide bar.
Setting Tension:
Disconnect Hoses or shut off the hydraulic supply system before making adjustments.
The adjusting screw is in the motor, head, and drive unit. Check tension by pulling the chain
at the bottom side (Fig. 8) away from the guide with a two-pound (approx.) pull. If the chain
pulls away more than 1/8”, the chain is too loose. Less than 1/8” is too tight. Loosen the
two mounting screws that hold the chain bar to the frame. Turn the adjusting screw
counterclockwise to loosen tension, clockwise to increase tension. Retighten mounting
screws and recheck tension. Tightening mounting screws may alter the setting. If
necessary, repeat the process until the chain has 1/8” space between the chain and guide.
FIGURE 3

14
TROUBLE SHOOTING
Determine the source (i.e.toolorhydraulicsystem)of the problem before trouble shooting.
Will not run
Improper power source.................................................... Verify power source meets specifications
Low hydraulic fluid ........................................................... Check fluid level
Incorrect viscosity ............................................................ Use recommended fluid
Tool damaged .................................................................. Disassemble and replace damaged parts
Hoses incorrectly connected ........................................... Switch hoses
Dirt in tool......................................................................... Disassemble, clean and repair
Tool runs hot
Low fluid level .................................................................. Fill pump reservoir to correct level
Fluid viscosity incorrect.................................................... Use recommended fluid
Fluid dirty ......................................................................... Drain tank, flush, and replace fluid
Power supply not functioning correctly............................ Reset to operator manual specs
Tool runs slow
Power supply not functioning correctly............................ Reset to operator manual specs.
Fluid not warmed to correct temp .................................... Allow tool a warm-up period
Fluid viscosity too high..................................................... See recommended viscosity
Air in hydraulic system ..................................................... Checkhosesforbreaks,leaks,orlooseconnections
Dirt or contaminants in tool .............................................. Disassemble and clean
Hydraulic fluid level low ................................................... Fill to level. Check for leaks
Tool is erratic
Hydraulic fluid not warm .................................................. Allow oil to warm up
Dirt or contaminants in tool .............................................. Clean and reassemble
Air in system .................................................................... Checkhosesforbreaks,leaks,orlooseconnections
Tool leaks hydraulic fluid
Guide bar oil port clogged ............................................... Clean oil slot under motor assy under guide bar
Worn or damaged seals................................................... Disassembleand replace wornor damaged seals
Component screws loose ................................................ Tighten all fasteners
Trigger operation is difficult / sticks when released
Tool valve spool sticky ..................................................... Clean up spool so that spool slides freely
Check for misalignment ................................................... Align trigger linkage
Tool lacks power
Chain adjusted too tight ................................................... Adjust chain as shown in “Adjusting Tension”
Control valve leaking........................................................ Worn part or seal rings
Tool does not cut
Saw is dull or damaged ................................................... Resharpen or replace
Chain adjusted too tight ................................................... Adjust chain as shown in “Adjusting Tension”
Chain installed backward................................................. Remove chain and install properly
Worn Guide Bar ............................................................... Replace with new part
Tool runs backwards
Hoses misconnected ....................................................... Reverse the hoses
Chain does not rotate properly
Chain adjusted too tight ................................................... Adjust chain as shown in “Adjusting Tension”
Hydraulic pressure trapped in tool................................... Release hydraulic pressure by bleading tool
Damaged guide bar ......................................................... Inspect guide bar groove & Replace if needed

15
MAJOR COMPONENTS PARTS LIST
FIGURE 4
KEY DESCRIPTION
1 16” Bar (standard)
2 Chain .058 in. gauge / .325 in. Pitch
3 Spike Rack
4 Safety Shroud
5 Automatic Oiler Adjustment
6 Front Handle
7 Hydraulic Motor & Serial Number
8 Hydraulic Circuit Selector
Open-Center/Closed-Center
9 Control Handle
10 Safety Trigger Actuator
11 Trigger
12 Lower Hand Guard
13 Tank Port
14 Pressure Port
15 Label Set (4 pcs) Part # 29400
RELIABLE
EQUIPMENT
25
4
6
11 10 9
13
7814
13 12

16
SAW BODY
(CHAIN SIDE)
FIGURE 5
Item Qty. Part No. Description
1 1 R29040 SCREW, BUTTON HEAD ¼-20 X 1.5 LG
2 2 R29041 NUT ¼-20 NYLON LOCKING
3 1 R29038 FRONT HANDLE
4 3 R29061 SCREW, ¼-20 X .75 BHSC
5 1 R29037 SHROUD
6 1 R29025 MOUNTING PLATE
7 5 R29043 SCREW, ¼-20 X .625 BHSC
8 1 R13419 ADJUSTMENT DOG
9 1 R13455 ADJUSTING SCREW
10 1 R29023 CHAIN CATCHER
11 1 R13485 O-RING, ADJ SCREW KEEPER 201 BN-90
5
3
4
811 9
12 6
7
710 42
ASSEMBLE
AS SHOWN

17
Item Qty. Part No. Description
1 1 R29040 SCREW, BUTTON HEAD ¼-20 X 1.5 LG
2 2 R29041 NUT¼-20NYLONLOCKING
3 1 R29033 OILERPLUG
4 1 R13413 ORING
5 4 R29061 SCREW, ¼-20 X .75 BHSC
6 1 R29024 SPIKE RACK
7 2 R29063 SCREW, ¼-20 X .625 BHSC
8 1 R29201 16”CHAIN
9 1 R29200 16” BAR
FIGURE 6
SAW BODY
(MOTOR SIDE)
34
7
98
67
5212

18
SPROCKET
COVER ASSEMBLY
FIGURE 7
Item Qty. Part No. Description
1 1 R29041 NUT ¼-20 NYLON LOCKING
2 1 R29061 SCREW, ¼-20 X .75 BHSC
3 2 R29065 STAND OFF
4 1 R29020 COVER
5 2 R29071 PLASTIC KNOB, ¼-20 THD
6 1 R29023 CHAIN CATCHER
3
4
9
5
3
621

19
Item Qty. Part No. Description
1 1 R29032 SAWHANDLE
2 1 R29036 LOWERHANDLE
3 1 R29042 SCREW5/16-18 X.375 BUTTONHEADCAP
4 1 R13135 O-RING
5 1 R29035 SLEEVE, SPOOL
6 1 R29044 ORING
7 4 R29045 SS SPRING PIN,.156X 1-1/8 LG
8 1 R29046 SS SPRING PIN, .156 X .5 LG
9 1 R29029 SAFETY
10 1 R29047 SPRING,SAFETY
11 1 R29048 ORING
12 1 R29049 RETAININGRING,WALDES5100-87
13 1 R29050 O RING
14 1 R29051 SPRING,TRIGGER
15 1 R29052 .937 OD X .580 ID X .05 SS FLAT WASHER
16 1 R29034 SPOOL
17 1 R29030 LINK
18 1 R29031 TRIGGER
19 2 R29043 SCREW, 1/4-20X.625 BHSC
20 1 R29063 O-RING,OILERX-OVER
FIGURE 8
HANDLE
ASSEMBLY
19
10
19
2
715
7
14
12 11
3
4
5
6
13
16
7
8
17
18
20

20
FIGURE 9
MOTOR
ASSEMBLY
PARTS SHOWN PG 21
27
28
18
29
26
20
2
25
24
23
22
19
21
17
16
15 13
30
14
1
7
810
11
9
3
7
6
77
5
12
4
Label Set: Part # 29400
NOTE: Keep decals clean
and legible. Replace decals
when necessary.
WARNING
BEFORE USING THIS CHAINSAW
READ THE SAFETY WARNINGS
andrecommended practices described in
themanual.Failurebytheoperator to read
and fully understand the warnings will
leave this person unqualified to use and
operate the tool.
Failure to observe all warnings and instructions could result
in property damage, severe personal injury, and/or death.
15.1 - 30.3 l/min (4 -8 gpm)
138 Bar (2000 psi)
ELECTROCUTI ON
HAZARD
The user should be properly
trained in the correct procedures
required for work on or around
electrical lines.
REL-SM
WARNING
DO NOT
TOUCH
CHAIN AND BAR
MAY CUT OR BURN
EVEN WHEN STOPPED
Table of contents
Other Reliable Equipment Saw manuals