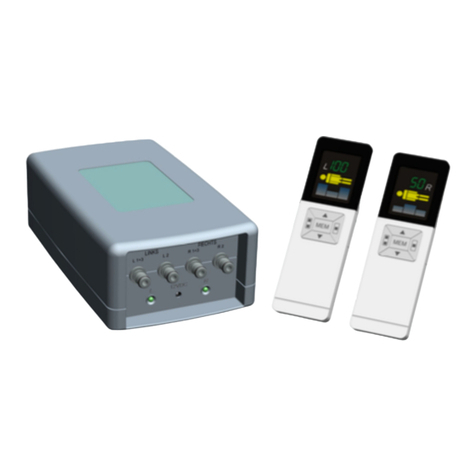
Operational Instructions:
1. Connect pump with mattress hoses. Follow the pump connection diagram located by the
pump valves to connect Left and Right hoses correctly.
2. When plugged into the outlet the pump LED light will show red for 30 seconds. The pump
will calibrate with the remote control. When the LED light turns green, the pump is ready to
be used.
3. To wake up the remote, press any key. Only one remote will be work at one time when in-
flating or deflating mattress. The remote has an auto shut off after 15 seconds of not being
used.
4. To operate the left and right sides of your pump, simply choose to press the “L” (left) or “R”
(right) button.
5. Inflation and deflation: Choose the desired side of the mattress to inflate or deflate and then
press the “up” arrow to inflate and the “down” arrow to deflate. The remote will read the digi-
tal number while the scroll bars will roll from low to high to show the progress of the action.
You may stop the action by pressing any key on the remote.
6. The pump will auto stop inflation when the remote number reaches “100”
7. Memory Value: The “MEM” button will allow the user to set a preferred comfort number
and with a single click will be able to return to the comfort number set should the air pres-
sure change.
8. Saving Memory Value: Inflate or deflate to desired number then press the “MEM” key
for 3 seconds, the “MEMORY” will the blink and your number will be saved. To return to the
saved comfort number simply click the “MEM” button once and the pump will compress or
deflate to the number the user has set.
9. To Resume that last air pressure value: choose a side “L” or “R” When side
is chosen; press and release the chosen side again. You will then see the “cir-
cling arrows” icon flash. The pump will then return to the previous comfort
number.
Tips & Knowledge
10. The remote controls will work within 5 to 10 meters of pump. If the remote is out of
range, it will read “Er”
11. Calibration: The remote and pump are calibrated before packaging. If the remote
should read “Er” upon initial set up this means that it may need to be calibrated
once more. It’s easy:
Re-plug in your pump to an outlet. When the LED is Blue or Red, wake up the remote
by pressing any key. Then press and hold the “R” key down for 3 seconds. The LCD re-
mote screen should then flash “Su,”(Set Up) then go to “0” (zero). The remote is now
calibrated and ready for use. If the 2nd remote needs to be calibrated also; wait for the
first remote to fall asleep, and then unplug and re-plug the pump to outlet and repeat
same steps to calibrate with 2nd remote.
Remote Power:
You will need 3 AAA- LR03-1.5V batteries to power one remote. The remote will show the power strength
of the batteries. Please change batteries from time to time so to avoid damage to remote.


