6
HOW TO INSTALL
First, we recommend you decide what area you want to make bug-free. You also need to consider
where you put your unit, and where you put your solar panel so that it will catch the most sun. Your
panel has to be in the sun for about 4 hours everyday to give the battery a full charge. However, your
unit will only run for a few minutes a day (at the most), so you shouldn’t have to worry about running
out of power.
We recommend you place your SolaMist unit and solar panel where you want them. Then lay out the
tubing in a general path where you want your spray zone. You will probably want to conceal the tubing
as much as possible, but giving the nozzles clearance to spray. Laying out the tubing first will let you
know roughly how much tubing you need to work with.
As your tubing is coming out of the SolaMist egg unit, you may want to go vertical up to a tree, fence,
or porch trim. You only have to put nozzles where you want the spray to be. So you may not put a
nozzle on the first few feet or so. Preferably, you want the nozzles to be at least 5-6 feet off the ground.
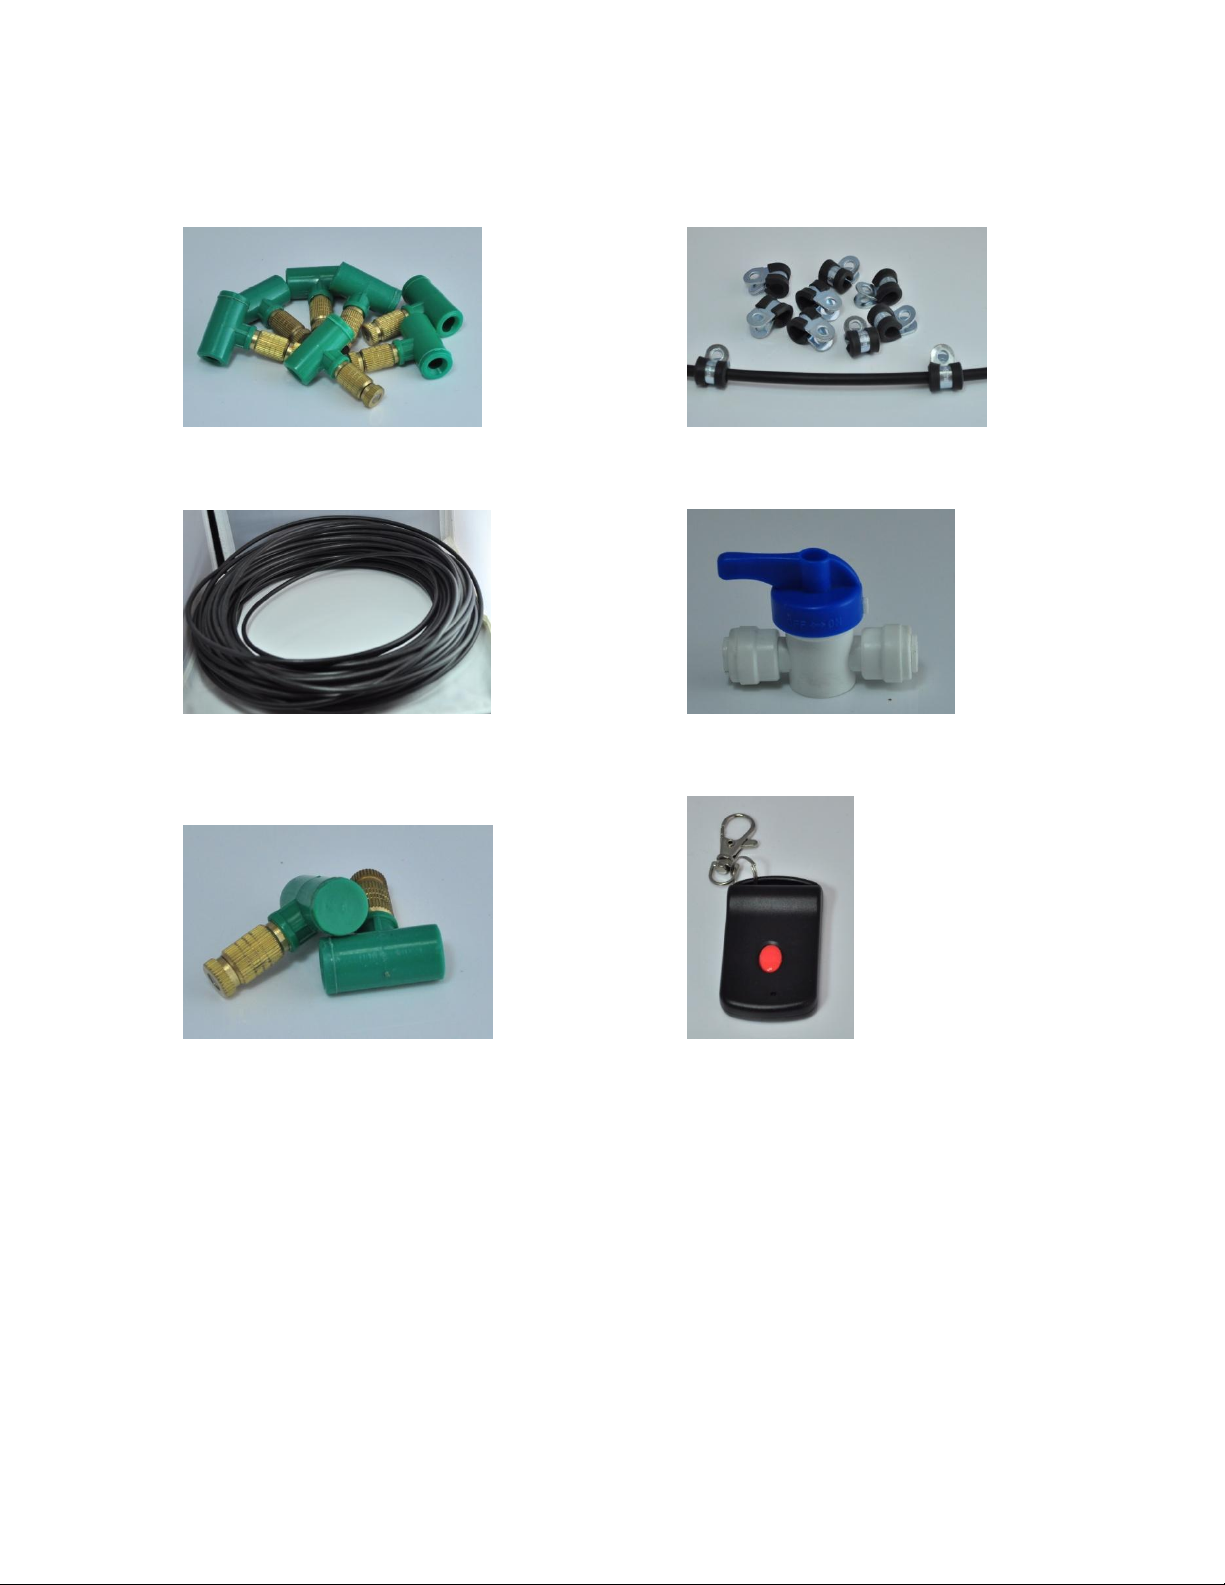
You will be cutting the tubing and adding nozzles in between. We recommend that you space the
nozzles 3 feet apart. Use sharp scissors to cut through the tubing where you want a nozzle. Simple
press and twist on the nozzles in between the cut.
We recommend you use the provided screw clips to attach tubing on wood material like trees, fences,
or trim, and stakes for campouts when there are no trees or anything to elevate the nozzles. (Just be
careful with kids, pets, and even grownups walking through the tubing!)
The SolaMist pump is powerful enough for you to use all 30 nozzles on 90 feet of tubing. However, we
recommend you use some of the tubing as a portable system. You may go to the SolaMist Store
through your app or www.RemingtonSolar.com to purchase additional panels and portable kits if
necessary. Just be sure to use a minimum of 15 nozzles per length of tubing.
USING “CHECK VALVES”
Your SolaMist system comes with 2 check valves and 2 T-fittings. Check valves are simply little on/off
“switches” that allow the fluid to go through the tube…or not. You don’t have to use the check valves
or the T-fittings, but they are provided so that you can split your tubing to go into two different
directions. Placing a check valve after your first 15 nozzles (approximately 45 feet) will allow you to
turn off fluid flow temporarily.
For example, if you have a covered porch area, and your barbeque grill is 20 feet away, you may
consider putting a check valve in between so you can make your porch area bug free, but not waste
concentrate if you are not grilling that day.
Just remember: when customizing your spray area, make sure
you put your check valves after a minimum of 15 nozzles.