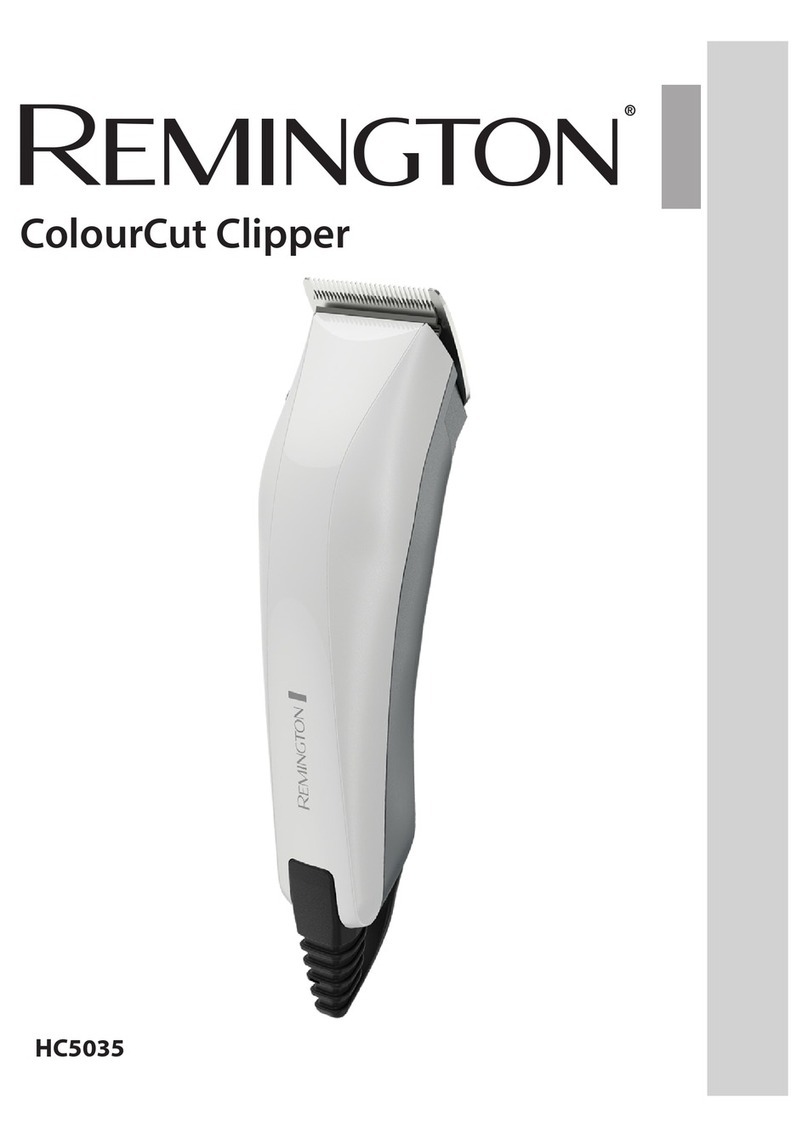
Remington HC366 User manual

Stylist Hair Clipper
I www.remington.co.uk
HC366
Register online for an EXTRA year guarantee
Visit uk.remington-europe.com/product-registration
You must register within 28 days of purchase.

f l
g
e
jn
m

3
Thank you for buying your new Remington® product. Please read these instructions
carefully and keep them safe. Remove all packaging before use.
IMPORTANT SAFEGUARDS
• This appliance can be used by children aged from 8 years and above and
persons with reduced physical, sensory or mental capabilities or lack of
experience and knowledge if they have been supervised/instructed and
understand the hazards involved. Children shall not play with the
appliance. Cleaning and user maintenance shall not be done by children
unless they are older than 8 and supervised. Keep the appliance and cable
out of reach of children under 8 years.
• Always check the appliance before you use it. Do not use the appliance if it
is damaged, as this may cause injury.
• The adaptor contains a transformer. Do not cut off the adaptor to replace it
with another plug, as this causes a hazardous situation.
The appliance is suitable for cleaning under an open water tap.
• The body of this appliance is not washable or water resistant. Do not put
the appliance in liquid.
• WARNING: Detach the appliance from the charging adapter before cleaning
it in water.
• Do not use the product with a damaged cord. A replacement can be
obtained via our International Service Centres.
• This product should only be used with the charging adaptor supplied.
• Always replace a damaged adaptor with one of the original type.
• Do not use the appliance if it is damaged or malfunctions.
• This appliance should never be left unattended when plugged into a power outlet,
except when charging.
• Keep the power plug and cord away from heated surfaces.
• Do not plug or unplug the appliance with wet hands.
• Do not twist or kink the cable, or wrap it round the appliance.
• This appliance is not intended for commercial or salon use.

4
PARTS
1. On/o switch
2. Blade set
3. Taper lever
4. 8 attachment guide combs (not shown)
5. Charging indicator
6. Charging adaptor (not shown)
7. Detail trimmer
8. On/o switch
9. Battery compartment
GETTING STARTED
CHARGING YOUR APPLIANCE
• Before using your hairclipper for the rst time, charge for 14-16 hours.
• Ensure the product is switched o.
• Connect the charging adaptor to the product and then to the mains.
• The charging indicator will illuminate.
• Your clipper cannot be overcharged. However, if the product is not going to be
used for an extended period of time (2-3 months), unplug it from the mains and
store.
• Fully recharge your hairclipper when you would like to use it again.
• To preserve the life of your batteries, let them run out every 6 months then recharge
for 14-16 hours.
CORDED USE
Connect the charging adaptor to the product then to the mains.
Extended mains only use will result in the reduction of the battery life.
TRIMMER
INSERTING BATTERIES
• Your trimmer requires 1 ‘AA’ alkaline battery.
• Make sure the product is turned o.
1. Rotate the battery compartment cap approximately 1/4 turn anti-clockwise then
pull o.
2. Insert 1 ‘AA’ alkaline battery, so that the (+) and the (-) marks on the battery face the
same mark in the battery compartment.
3. Place the cap back on the ubit using the alignment marks and rotate clockwise until
the cap snaps into place.
Note: your hygienic clipper will not work if the batteries are inserted incorrectly.
Note: remove batteries if the unit is not in use for long periods.
TURNING ON THE TRIMMER
• The On/O switch is integrated into the battery cap.
• Rotate the battery cap clockwise to turn on.
• To turn o, simply rotate the battery cap, anti-clockwise back to the o position.

5
INSTRUCTIONS FOR USE
BEFORE STARTING THE CUT
• Inspect the clipper making sure that it is free from hair and dirt.
• Seat the person so that their head is approximately at your eye level.
• Before cutting, always comb the hair so it is tangle free and dry.
TO ATTACH A COMB
1. Hold the comb with its teeth upward.
2. Slide it onto and along the clipper blade until the front of the comb rmly sits
against the clipper blade.
3. Gently push the back of the comb down so it snaps into place.
TO REMOVE THE COMB
• Holding the clipper with the blades facing away from you rmly push the comb on
the back tab upward and away from the blades.
• Each comb attachment is marked accordingly on its outside middle surface.
• (3mm, 7mm, 9mm, 12mm, 18mm, 25mm, left and right ear guide).
• Replacement combs available. Model: SP254
INSTRUCTIONS FOR CUTTING HAIR
• For even cutting, allow the comb attachment/blade to cut its way through the hair.
Do not force it through quickly. If you are cutting for the rst time, start with the
maximum comb attachment.
STEP 1 – NAPE OF THE NECK
1. Use 3mm or 7mm guide comb.
2. Hold the clipper with the blade teeth pointing upwards. Begin starting at the
centre of the head at the base of the neck.
3. Slowly lift the clipper, working upwards and outwards through the hair, trimming
just a little at a time.
STEP 2 – BACK OF THE HEAD
• With the 12mm or 18mm guide comb attached, cut the hair at the back of the head.
STEP 3 – SIDE OF THE HEAD
• With the 3mm or 7mm guide comb attached, trim sideburns. Then change to
the longer 9mm guide comb and continue to cut the top of the head.
STEP 4 – TOP OF THE HEAD
• Use the longer length comb attachment and set it to 18mm or 25mm then cut hair
on top of the head against the direction in which the hair normally grows.
• For longer hair on top, use without a guide comb. Lift the hair on top of the head
with a small hand comb. Cut over the hand comb with the hair lifted or hold the hair
between the ngers to lift it and cut it to the desired length.
• Always work from the back of the head.

6
STEP 5 – THE FINISHING TOUCHES
• Use the clipper without an attachment comb for close trimming around the base
and sides of the neck.
• To produce a clean straight line at the sideburns, reverse the hair clipper.
Place the reversed clipper at right angles to the head, tips of the blades lightly
touching the skin and then work downwards.
SHORT TAPERED STYLES – “FLAT TOPS” & SHORT CUTS
• Starting with the longest guide comb attached (25mm), cut from the back of the
neck to the crown. Hold the guide comb at against the head and slowly move the
clipper through the hair.
• Use the same procedure from the lower side to the upper side of the head.
Then cut the hair against the direction in which it grows and level with the sides.
• To give a “at top” look, the hair on top of the head must be cut over the top of a at
comb.
• Use a closer guide comb to taper the hair down to the neckline as desired.
TAPER LEVER
This product has a taper lever located a the left side of the clipper near the blades. Adjust
the lever to change the closeness of the cut gradually and also to improve the
eectiveness of the comb attachments. The taper lever also extends the life of the blades
because a dierent cutting edge is used in each setting.
TRIMMER
TO DEFINE THE BEARD/MOUSTACHE LINE
• Hold the trimmer with the trimmer blade facing you.
• Start with the edge of the beard/moustache line and gently lower the trimmer
blade onto your skin. Use motions towards edge of beard/moustache line to trim
the desired locations in facial area and away from beard in the neck area.
TRIMMING EDGE OF SIDEBURNS
• Hold the trimmer with the trimmer blade facing you.
• Start with the edge of the sideburn and with the trimmer blades resting lightly
against your skin, use motions towards edge of the sideburn line to trim to the
desired locations in the facial area.
CARE FOR YOUR HAIRCLIPPER
• Your clipper is tted with high quality blades.
• To ensure long lasting performance of your clipper, clean the blades and unit
regularly.
• Always keep the attachment guide comb on the trimmer blade.
Note: Ensure the clipper is turned o when cleaning.

7
EVERY SIX MONTHS
• At regular intervals the blade set should be removed and cleaned.
• Remove the 2 screws retaining the xed blade with a screwdriver. Do not remove
blade set.
• Brush out hairs from between the blades with soft cleaning brush. Do not remove
the lubricating grease from the blades. It is not necessary to remove the small
moving blade from the unit.
• If the moving blade has been removed this can be re-tted by slotting the coated
blade holder over the pin in the centre of the interior product head. The groove on
the coated blade, just below the teeth, rests on a metal plate at the opposite side to
the screw holes. The xed blade is tted with the raised prole pointing outwards
and xed with the 2 screws.
• Before fully tightening the 2 screws, adjust the taper lever to the lower position and
align the blades so that their cutting edges are parallel to one another. Tighten the
2 screws.
• If the blades are not correctly aligned, cutting eciency will be impaired.
• Place a few drops of cutter or sewing machine oil onto the blades. Wipe o excess
oil.
CAUTION:
• Do not use liquid cleaners on the blades or harsh or corrosive chemicals on the
blade casing. Always use a soft brush to remove the accumulated hairs.
• Unplug the charge adaptor from the power outlet when tting or removing
attachments, or while cleaning the product.
• Always store this appliance and cord in a moisture-free area.
• Do not wrap the cord of the charging adaptor around the appliance.
TROUBLESHOOTING
If blades do not seem to cut hair easily, the taper lever can be used to remove any hair
caught between the comb and blade. Switch the clipper on and move the taper lever up
and down a few times but do not force the lever in either direction. This should remove
hairs and restore the cutting eciency.
If not, contact your nearest Remington® Service Centre.
CARE FOR YOUR TRIMMER
• Care for your product to ensure a long lasting performance. We recommend you
clean your trimmer after each use. The easiest and most hygienic way to clean the
trimmer is by rinsing the product head after use with warm water.
• Always keep the clipper in the o position when not in use.
AFTER EACH USE
• Rinse the accumulated hair from the cutters and shake o excess water.
• Wipe the main unit with a damp cloth and dry immediately.

8
CLEANING CAUTIONS
• Cleaning should only be done with a soft brush.
• Do not use harsh or corrosive cleaners on the units or their cutters.
• Do not apply pressure or hard objects to the cutters.
• Do not submerge in water as damage will occur.
RECYCLING
WTo avoid environmental and health problems due to hazardous
substances, appliances and rechargeable and non-rechargeable
batteries marked with one of these symbols must not be disposed of
with unsorted municipal waste. Always dispose of electrical and
electronic products and, where applicable, rechargeable and
non-rechargeable batteries, at an appropriate ocial recycling/
collection point.
SERVICE AND GUARANTEE
Defects aecting product functionality appearing within the
guarantee period will be corrected by replacement or repair at our
option provided the product is used and maintained in accordance
with the instructions. Your statutory rights are not aected.
To claim an extra 1 year guarantee, register your product online
within 28 days of purchase.
Register at: https://uk.remington-europe.com/product-registration
Consumables are guaranteed only for their recommended lifecycle. Replacement/spare
parts* are excluded and are only covered by a 1 year warranty.
*Examples include, but are not limited to, adaptors, haircare attachments, grooming accessories, etc.
C44-0366190718ART030

9
SERVICE CENTRE
UNITED KINGDOM
G
0800 212 438 (free call mainland UK)
Spectrum Brands (UK) Ltd
Fir Street, Failsworth, Manchester
M35 0HS, UK
www.remington.co.uk
IRELAND
G
142 951 40
Remington Consumer Products,
Unit B12, Ballymount Corporate Park,
Ballymount, Dublin 12
https://ie.remington-europe.com

10

11

Model No. HC366
19/UK/ HC366 T22-7000576 Version 06 /19
Remington® is a Registered Trade Mark of Spectrum Brands, Inc., or one of its subsidiaries.
Spectrum Brands (UK) Ltd
Fir Street,
Failsworth,
Manchester
M35 0HS
www.remington.co.uk
© 2019 Spectrum Brands, Inc.
C44-0366190718ART030
Table of contents
Other Remington Commercial Food Equipment manuals
Popular Commercial Food Equipment manuals by other brands

True
True TDB-24-48-1-G-1-HC installation manual

Polar Electro
Polar Electro UA013-A instruction manual

Blanco
Blanco Cook BC ES 2 operating instructions

Diamond
Diamond SA Series Technical manual

Mobile Sink Company
Mobile Sink Company Odyssey Troubleshooting and caring

Chocolate World
Chocolate World M1291 Use and maintenance manual