4
Safety Hints
Extensive tests have been conducted on the material,
functionality and quality of these units before they were
shipped. These units may only be used in accordance
with their intended purpose. Hazards may arise if the
units are used improperly.
Please make sure to follow these safety instructions.
◊Make sure that personnel trained in the operation of
the chiller check the unit for visible defects on the op-
erating and safety mechanisms each time before
putting it into operation.
◊Before any work on the unit is performed, it must be
disconnected from the power supply and secured
against switching on!
◊The unit may only be filled up and operated with wa-
ter or a mixture of water and glycol (brine)!
◊Ensure that the air intake and outlet openings are al-
ways clear of foreign objects.
◊Do not insert any objects into the air intake and outlet
openings.
◊Do not install the unit close to heat sources.
◊Make sure to maintain the safety zones described
later in this manual!
◊Do not use flammable gases such as spray paint in
the direct vicinity of the units.
◊Make sure that the unit is kept at a safe distance
from flammable materials.
◊Do not operate the unit if the atmosphere is contami-
nated by oil, sulfur or salt.
◊If there is a cable remote control installed, make sure
to protect it against moisture and direct or indirect
sunlight!
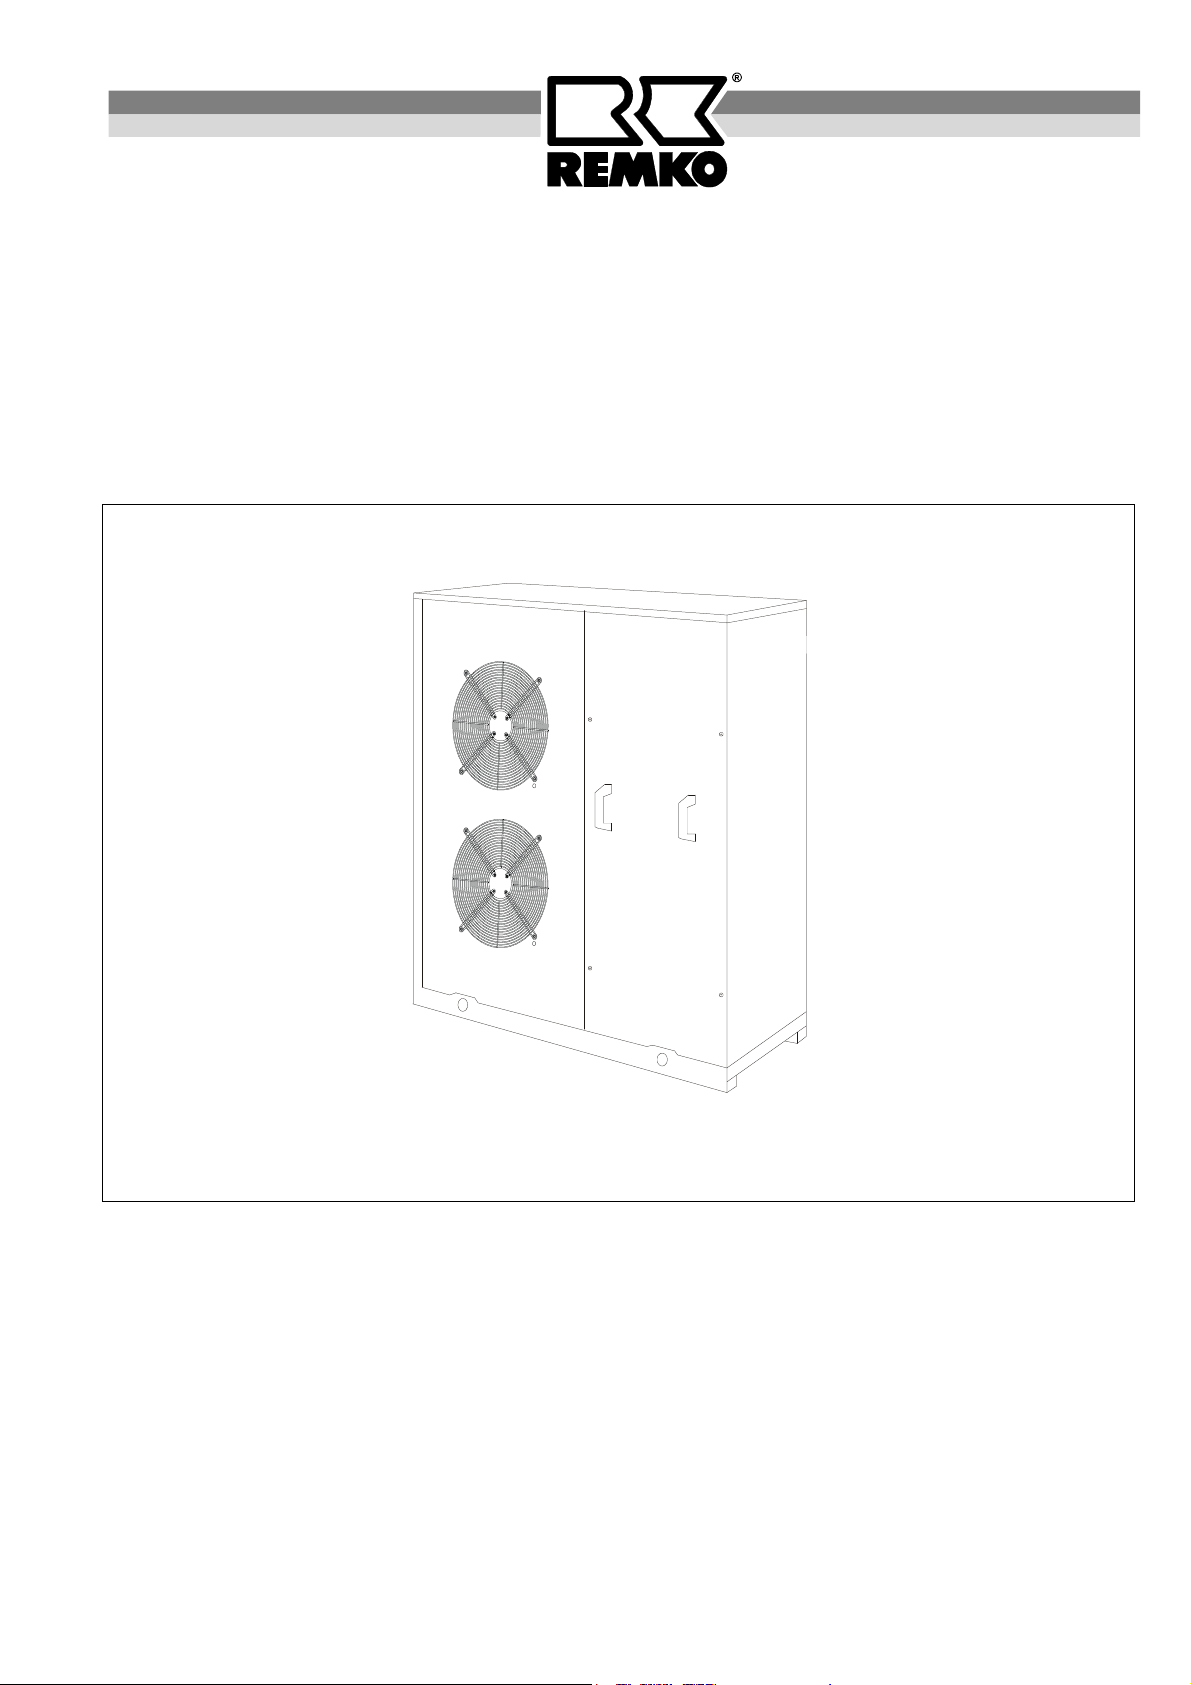
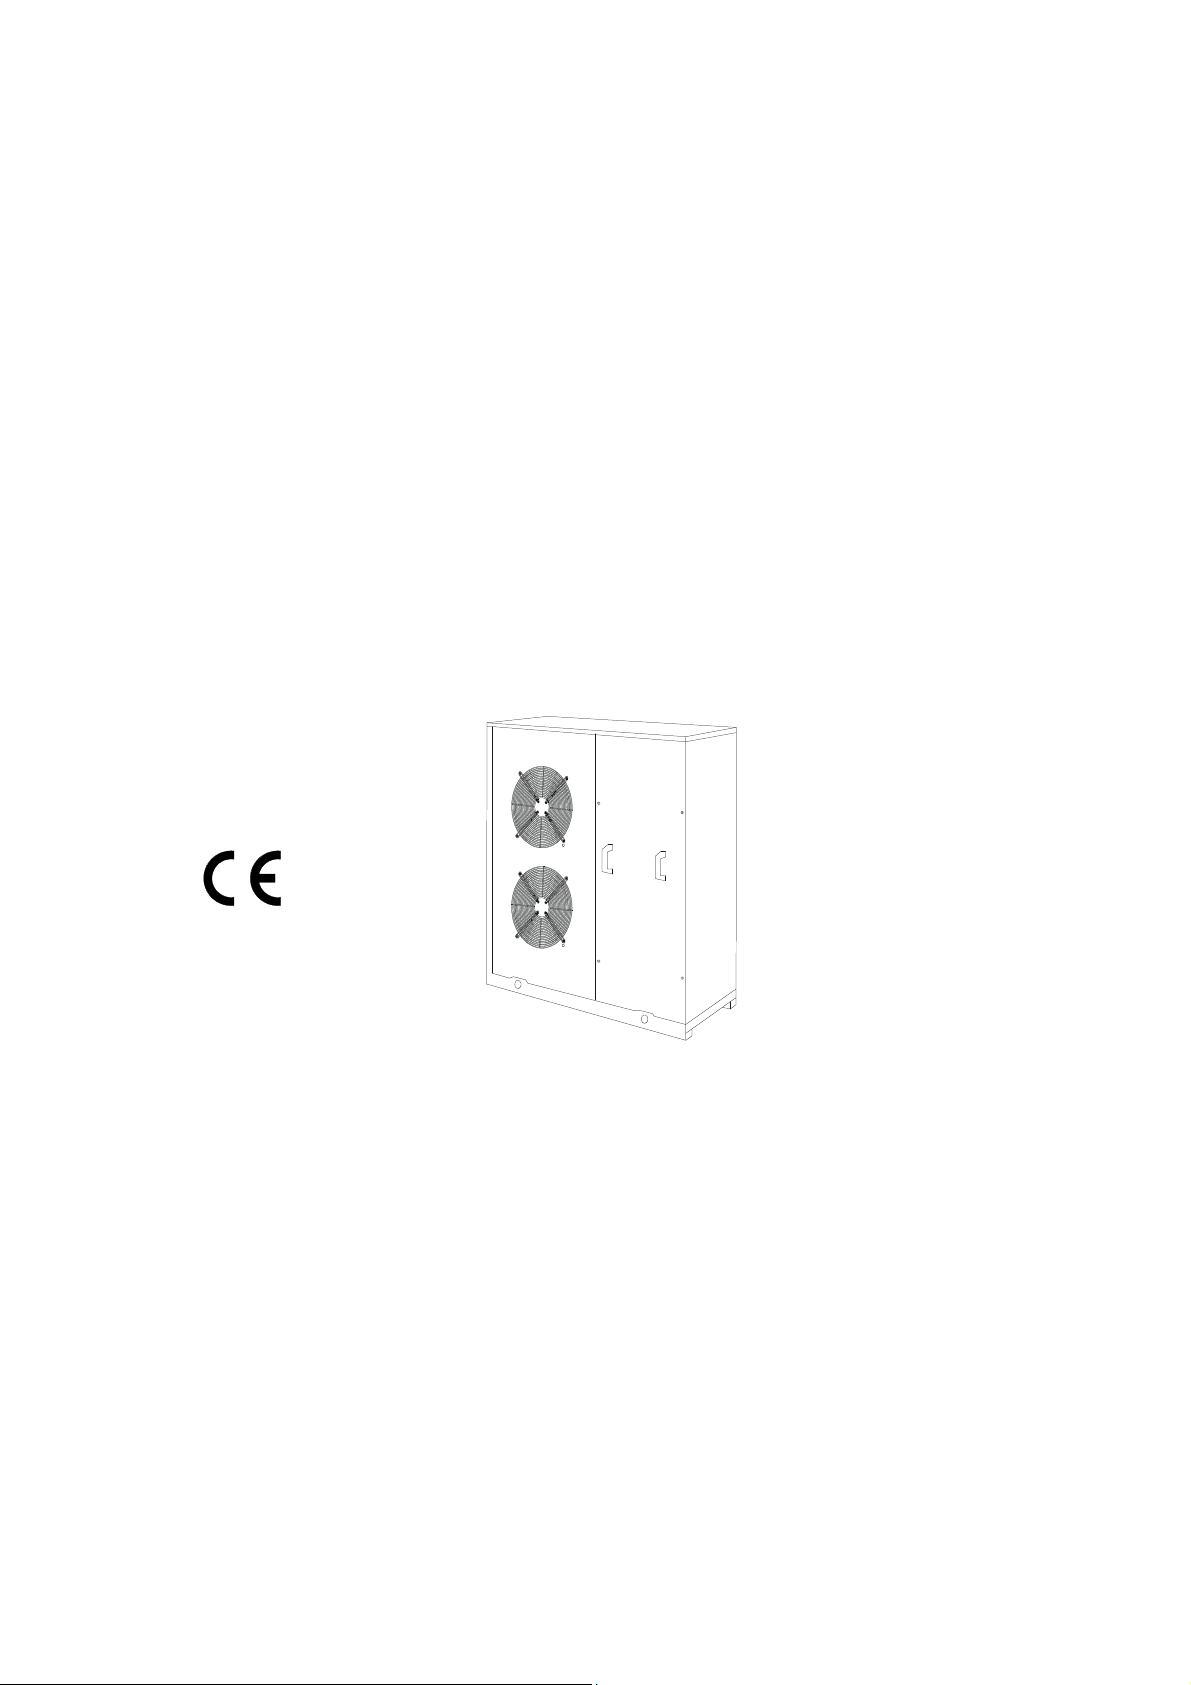
Unit Description
REMKO chilled water air-conditioning systems consist
of an outer part ready which is ready to be connected,
the air-cooled chiller (REMKO RKW INOX) and one or
more inner units (cold water consumers: REMKO KLT,
WLT, DKT and FLG). All components required for cool-
ing are located in the outer part.
A hermetically closed cooling cycle in the chiller cools
the water (or a brine made of water and antifreeze) to
up to 5 °C via a plate heat exchanger.
A circulation pump integrated either into the unit or in
the storage module transports the cold water to the in-
ner unit(s). To expand the water volume and extend the
operating time, there is also a cold water tank with
safety assembly either in the unit or located in the sepa-
rate storage module.
In the inner units, the air in the room is guided through
the heat exchanger of the inner units by means of a
quiet fan. When the air in the room leaves the unit, it is
cooled, demoisturized and filtered. The water warms up
and transports the heat absorbed from the room back to
the outer part where it is passed along to the cooling cy-
cle and the surroundings.
The RKW 1000, 1600 and 2600 INOX chillers all have a
hydraulic system that is ready to be connected with a:
◊Buffer tank
◊Expansion vessel
◊Safety valve
◊Flow switch (differential pressure monitor)
◊Manometer
◊Ventilation
◊Ventilation valve
◊Drain valve
The RKW 3600 INOX chiller models and higher can be
easily equipped with a storage module that has an inte-
grated hydraulic system, even at a later time.
The system is regulated by means of a self-sufficient
microprocessor that monitors system safety parameters
and displays any malfunctions and monitors the set cold
water temperature. Aconnection between the chiller
and the cold water consumers is not required.
To air condition rooms, an outer part is usually used in
connection with the appropriate inner units (consumers).
Here, there are various options available depending on
how the unit is being used. In addition to standalone
units, wall and ceiling chests, ceiling cassettes with vari-
ous capacities can also be selected for mounting on in-
termediate walls.
REMKO chillers are suitable for almost every type of ap-
plication when used with the right consumers if the pri-
ority is cooling according to needs.
Thanks to modern technology, the chillers require up to
80 % less coolant than other cooling and air-
conditioning systems.
The coolant is only necessary to cool the transport me-
dium (water or brine). In conventional systems, the cool-
ant is also required to transport the heat from the inner
units (consumers) to the outer part.
This makes another advantage of the REMKO chillers
evident; they do not require coolant lines to the inner
units (cold water consumers). All connection lines are
designed to be water lines with the correct dimensions
and heat insulation.
Ideally, lines of an existing heating network can be inte-
grated into the overall system.
Proper use
The outdoor parts have been designed and fitted exclu-
sively for operation with REMKO indoor units belonging
to the RKV series.
The manufacturer assumes no liability for damage re-
sulting from non-compliance with manufacturer specifi-
cations and legal requirements, or if modifications are
made to the units.