3
Pull the card to remove it completely. You can also
press “System”, then “Remove SD-card” to remove
the SD card safely.
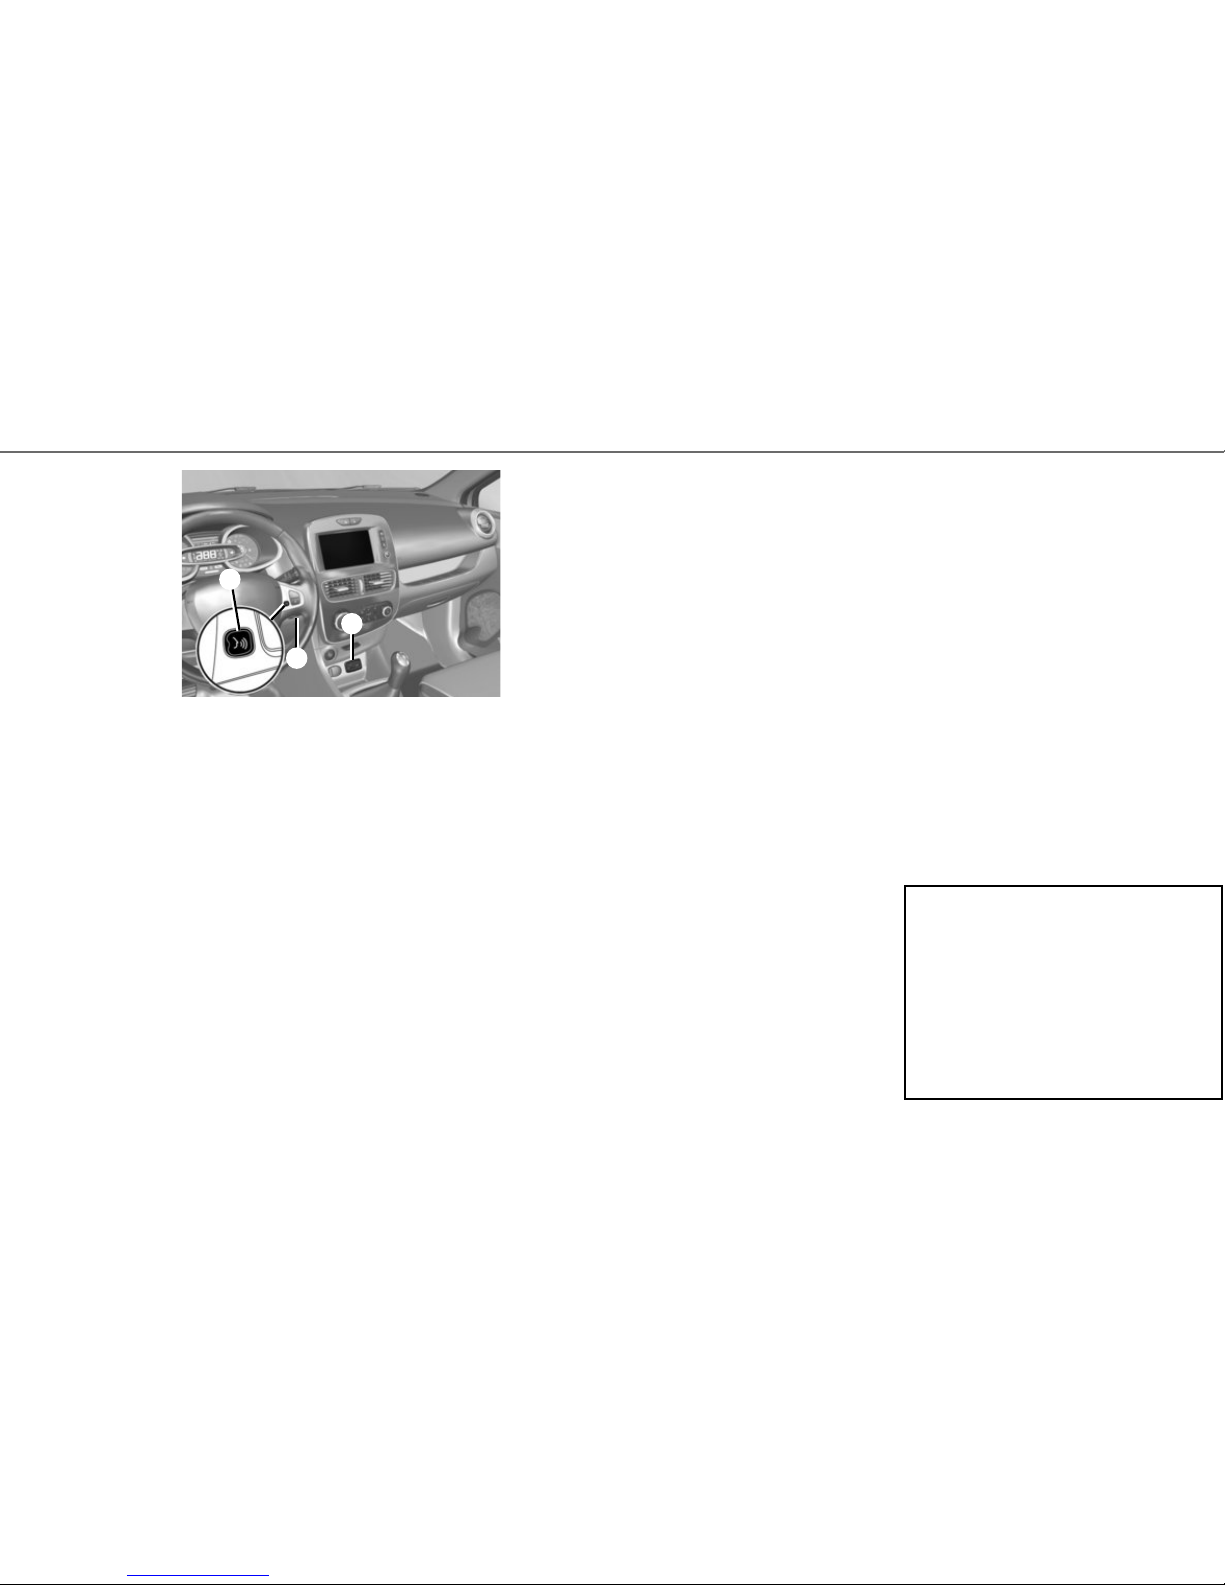
Voice recognition
Your multimedia system has a voice recognition
system which allows voice control of some func-
tions and applications of the multimedia system
and your phone. This enables you to use your mul-
timedia system or your phone while keeping your
hands on the steering wheel.
Button 2or 3enable you to use the voice recogni-
tion on your multimedia system and/or your phone
if it is connected to the system.
DESCRIPTION
An SD card is provided with the multimedia
system. Amongst other things, this includes maps
for your country. Before using the SD card, check
that it is not locked.
UPDATES
Updates (especially of maps) are published reg-
ularly. They are available for download at R-Link
Store by inserting your SD card for your multime-
dia system into your computer, with an Internet
connection.
Following delivery of a new vehicle, you can update
your system free of charge for a set period. Once
this time has elapsed, you will need to pay for up-
dates.
NB: We recommend creating an R-Link Store ac-
count on your computer and updating your system
regularly.
INSERTING OR REMOVING THE SD CARD
With the navigation system switched off, insert or
remove the SD card into or from the slot 1. To
remove the SD card from slot 1, press the card,
then release it. The card is released a few milli-
metres.
FIRST USE (1/4)
Switching on
The multimedia system switches on automatically
when the ignition is switched on. In other cases,
press the On/Off
button on your system.
Switching off
Press the On/Off button
on your multimedia
system to turn off your system.
CONNECT YOUR SYSTEM
Activate your connected services by pressing the
“Activate my services” button from the main menu
of your multimedia system to obtain the applica-
tions from the R-Link Store.
SD cards are fragile – do not bend them. Insert
correctly.
Use your SD card only for operating and updat-
ing your multimedia system. Do not put it into
another device (camera, portable GPS, etc.) or
into any other vehicle.
1
3
2