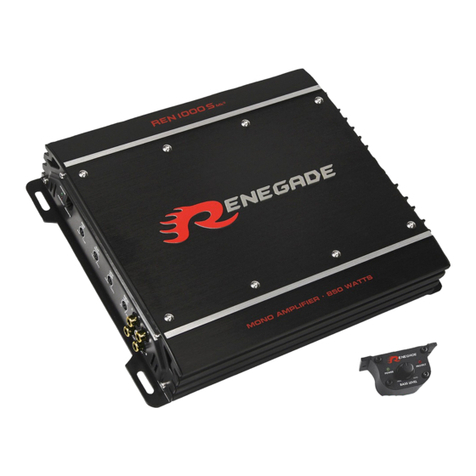
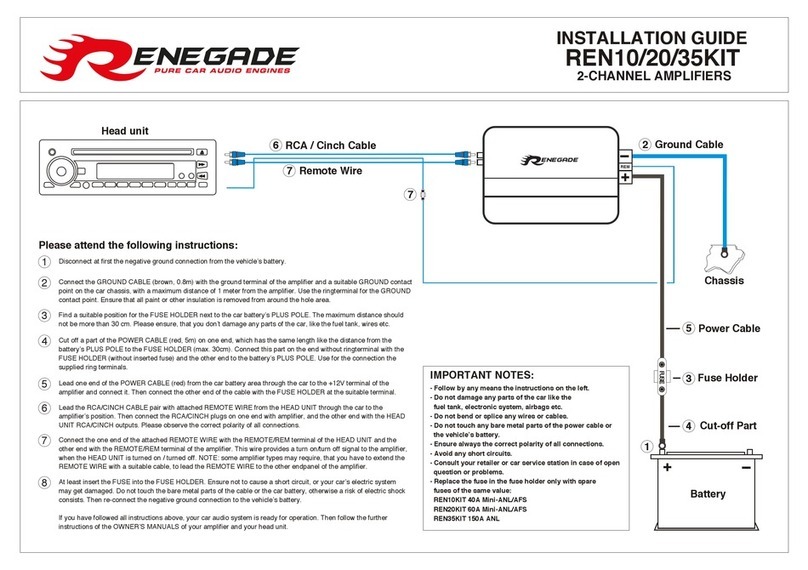
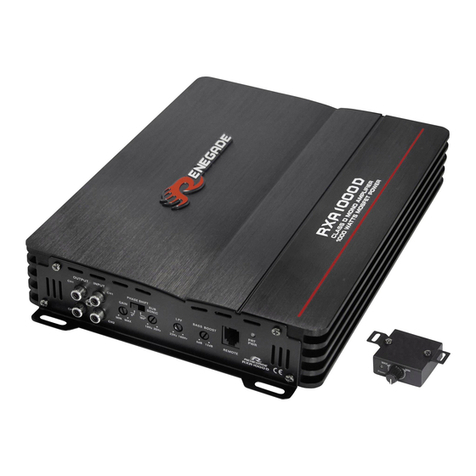
Renegade REN 850S User manual


REN 850 S
Output power 14.4 Volt 1 x 225 Watts @ 4 Ohms RMS
1 x 450 Watts @ 4 Ohms MAX
1 x 425 Watts @ 2 Ohms RMS
1 x 850 Watts @ 2 Ohms MAX
Loudspeaker impedance 2 - 8 Ohm
Total harmonic content (THD & N) >0,5%
Signal to noise ratio >80 dB
Input sensitivity 0.2 - 5 Volts
Input impedance 10 kOhms
Low Pass Filter 40 - 150 Hz
Subsonic Filter 15 - 55 Hz
Bass Boost EQ 0 - 12 dB
Power Supply +12 V (10-15 V)
Fuse 2 x 25 A
Dimensions 255 x 55 x 250/280 mm
All specifications are subject to change!
Content
Page
Specifications 2
General Installation Notes 3
Installation 3
Electrical Connections 3
Input Connections & Functions 4
Subwoofer Connection 5
Troubleshooting 6
Deutsche Bedienungsanleitung ab Seite 7
ENGLISH
2
Specifications

Electrical Connections
Ground (GND)
This wire is the electrical ground and must be fastened securely to the vehicle chassis. The best
method is to use a threading sheet metal screw until the threads cut into bare metal. Ensure that all
paint or other insulation is removed around the hole area, and using self tapping screw, securely affix
the bare wire ends to the vehicle chassis. Use as short a piece of cable as possible - use the same
gauge as was used for the +12V cable. Make sure that the connection is safe, a loose connection
may result in amplifier noise and fault condition.
General Installation Notes
The amplifier is generally mounted in the rear trunk area but can be mounted in any convenient area
such as beneath a seat. Please be sure to locate this unit where you have reasonable air circulation
and protection from moisture. When considering the mounting location you should minimize the length
of the power and speaker leads. Minimizing both leads will yield a more reliable installation. It is also
important to ensure that the heat sink fins are not located against a panel or a surface, which prevents
air circulation. Do not install the amplifier on a subwoofer box or on vibrating parts of the vehicle,
since the vibrations can cause damage to the amplifiers electrical components.
Installation
Mark the location for the mounting screw holes by
using the amplifier as a template. Drill holes at the
marked locations and firmly fasten the amplifier in
place with the mounting screws supplied in the
accessory kit.
Before drilling or cutting any holes, investigate the
layout of your automobile thoroughly: Take care when
working near the gas lines or hydraulic lines and
electrical wiring.
Fuses
The integrated amplifier fuses
protect the units from short
circuit and overload. The fuse
rating is for 4 Ohm loads
(impedance) of the speakers,
for 2 Ohm loads the fuses may
have to get increased by up to
50% in case of higher power
consumption.
Ground (GND) Ground (GND)Remote (REM)
Battery
Fuse
Remote (REM)
Please connect the remote turn-on cable of your car stereo device (head-unit) with the remote terminal
of the amplifier. After the turn-on of the headunit, the amplifier will be activated automatic.
Battery Connection (+12V)
This wire is usually connected directly to the positive battery terminal. Ensure that the + 12V power
supply wire is fused via an assigned in-line-fuse. Please use a sufficient cable for the installed
amplifiers. A cable cross-section of 20mm2must be used to connect the battery with the amplifier.
We suggest to use the RENEGADE REN20KIT connection kit, which is available at your retailer.
ENGLISH
3

Input Connections & Functions
RCA Cinch Inputs (INPUT):
This amplifier can be connected to any car stereo or head unit with low level RCA Cinch outputs.
RCA Cinch Outputs (OUTPUT):
Use this line output to send the fullrange audio signal to another amplifier.
Bass Boost-Controller (BASS EQ):
The Bass Boost elevates the lower bass frequencies. The desired elevation can be adjusted on the
”BASS EQ” controller between 0 dB up to + 12 dB. Caution: A too high bass boost may cause
clipping/distortion and a damage on the loudspeakers and also may harm your hearing abilities.
Use this controller carefully!
Lowpass-Filter (LOW PASS):
The LOW PASS controller adjusts the cut-off point of the frequency range to above. The cut-off
frequency is continuously adjustable from 40 Hz to 150 Hz.
Subsonic-Filter (SUB SONIC):
This controller (Sub Sonic) limits the ultralow and not hearable frequencies of the audiosignal to
below, to avoid a mechanical and electical overloading on the subwoofer. The cut-off frequency is
adjustable from 15 to 55 Hz and depends on the size of the subwoofer.
Level-Controller (INPUT LEVEL)
• Turn the INPUT LEVEL controller of the amplifier to the 5V position.
• Turn the volume controller of the headunit to 80 - 90% of its full setting.
• Turn the INPUT LEVEL controller clockwise until you hear some distortion.
• Then turn back the INPUT LEVEL controller slightly until you hear a cleaner sound.
Bass Remote-Controller (REMOTE)
Connect here the enclosed BASS REMOTE Controller to adjust the bass-level e.g. from the driver’s
seat. Please use only the enclosed bass remote controller and cable.
ENGLISH
4
REN 850 S

Interconnection with one Subwoofer (2 - 8 Ohms)
Connect the terminals “–” and “+” of the subwoofer with the terminals “–” and “+” of the amplifier.
ENGLISH
5
Subwoofer Connection
CAUTION: Ensure by any means, that the total impedance load of subwoofer is not lower
than 2 ohms. Too low impedance cause high temperature and will shut down the
amplifier operation.
Always ensure the correct polarity of all connections. The interchange of plus
and minus cause total loss of bass playback and could damage the speakers.
Subwoofer (2 - 8 Ohms)
SUBWOOFER OUTPUT
REN 850 S
Interconnection with two Subwoofers (each 4 - 8 Ohms)
Connect the terminals “–” and “+” of subwoofer 1 with the terminals “–” and “+” of the amplifier and
then the terminals “–” and “+” of subwoofer 2 with the other non-occupied terminals “–” and “+” of
the amplifier like described below.
SUBWOOFER OUTPUT
Subwoofer 1 (4 - 8 Ohms) Subwoofer 2 (4 - 8 Ohms)

ENGLISH
6
Troubleshooting
HINWEIS
This amplifier owns a protection circuit. If overloading, overheating and shorted loudspeakers, or too low impedance or insufficient power supply is insisted, the amplifier
shuts down to prevent serious damage. If one of this disfunctions is detected, the red PROTECT LED lights up. Check in this case all connections to detect short-circuits,
faulty connections or overheating.Attend the regarding notes on the previous page.If the reason for the disfunction is eliminated, the amplifier is ready for operation
again.
If the red PROTECT LED does not stop to light up, a damage on the amplifier is insisted. In this case return the amplifier to your car audio retailer with a detailled
malfunction description and a copy of the proof of purchase.
WARNING: Never open the amplifier and try to repair it by yourself. This causes a loss of warranty.The repairing service should be made only by skilled technicians.
Malfunction: no function
Reason: Remedy:
1. The power supply connection of the device is not correct. Recheck
2. The cabels have no mechanical or electrical contact. Recheck
3. The remote turn-on connection from the headunit to the amplifier is not correct. Recheck
4. Defective Fuses. In case of replacing the fuses, attend by any means the correct fuse rating. Replace Fuses
Malfunction: no signal on loudspeakers, but power LED lights up
Reason: Remedy:
1. The connection of the speakers or the RCAaudio cables is not correct. Recheck
2. The speaker cables or the RCAaudio cables are defective. Replace cables
3. The loudspeakers are defective. Replace speakers
4. Subsonic Controller is adjusted too high or Low Pass Controller is adjusted too low. Turn controller down or up
5. No signal from headunit. Check headunit settings
Malfunction: one or more channels are without function
Reason: Remedy:
1. The balance or fader controller of the headunit is not in the zero-position. Turn to zero-position
2. The connection of the speakers is not correct. Recheck
3. The loudspeakers are defective. Replace speakers
Malfunction: distortions on the loudspeaker’s signal
Reason: Remedy:
1. The loudspeakers are overloaded. Turn down the level
Turn down the level on the headunit
Switch off loudness on the headunit
Reset bass EQ on headunit or amp
Malfunction: No bass
Reason: Remedy:
1. Interchange of loudspeaker cable polarity positive (+) and negative (-). Reconnect
2. The RCAaudio cables are loose or defective. Reconnect or replacing the cables
Malfunction: amplifier runs into protection mode (red protection LED lights up)
Reason: Remedy:
1. Short circuit on the loudspeakers or cables. Reconnect
2. Overheated by too low speaker impedance. Choose a higher impedance
Use a new speaker setup
3. Insufficient air circulation by a inappropriate mounting position of the amplifier. Change the mounting position
Ensure air circulation
4. Overloaded by insufficient power supply (too thin profile section on the power cables). Use a bigger profile section
Malfunction: hiss or white noise on the loudspeaker’s signal
Reason: Remedy:
1. The level controllers are turned up. Turn down the level
2. The speaker cables or the RCAaudio cables are defective. Replacing the cables
3. The hissing is caused by the headunit. Check the headunit

Distribution / Vertrieb:
Audio Design GmbH · www.audiodesign.de
Am Breilingsweg 3 · D-76709 Kronau (Germany)
Tel. +49 (0)7253 - 9465-0 · Fax +49 (0)7253 - 946510
DESIGN
12
Table of contents
Other Renegade Amplifier manuals

Renegade
Renegade RXA 1000 D User manual

Renegade
Renegade REN10KIT User manual

Renegade
Renegade RXA 1100 User manual

Renegade
Renegade RXA 1200 D User manual

Renegade
Renegade RXA 550 User manual

Renegade
Renegade REN1000S Mk3 User manual

Renegade
Renegade ren 1100s mk3 User manual

Renegade
Renegade REN10KIT User manual

Renegade
Renegade RXA1500 User manual

Renegade
Renegade RXA1000D User manual
Popular Amplifier manuals by other brands

Fender
Fender Stage 112SE owner's manual

Synapse
Synapse GDR216 Installation and operation manual

Aragon
Aragon Aragon 28K user guide

Crown
Crown XS500 Architectural & engineering specifications

Audia Flight
Audia Flight ONE owner's manual

Blaupunkt
Blaupunkt MPA160 Fitting instructions / operating instructions