manuals.online logo
Brands
  1. Home
  2. •
  3. Brands
  4. •
  5. Reolink
  6. •
  7. Digital Camera
  8. •
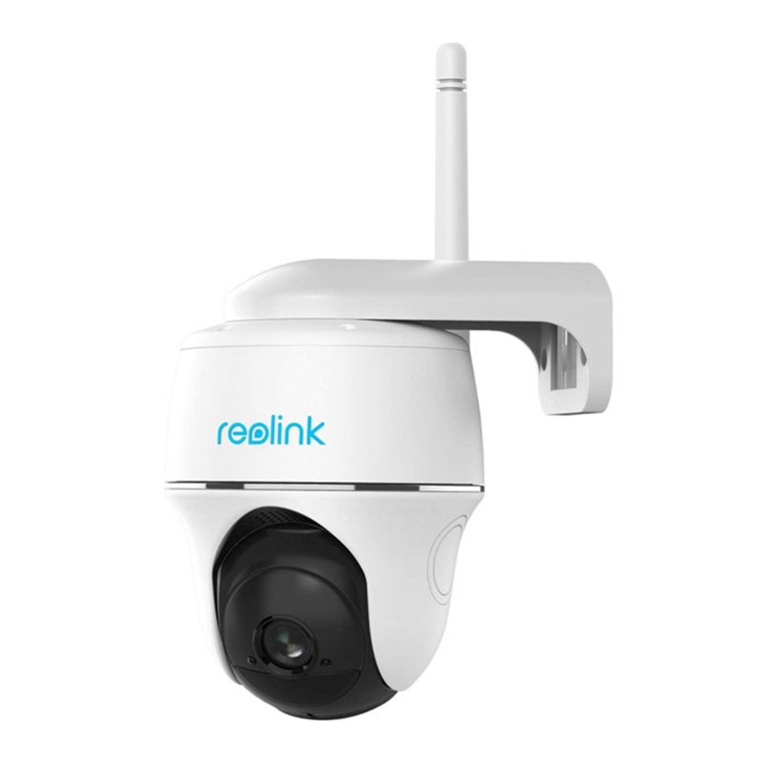
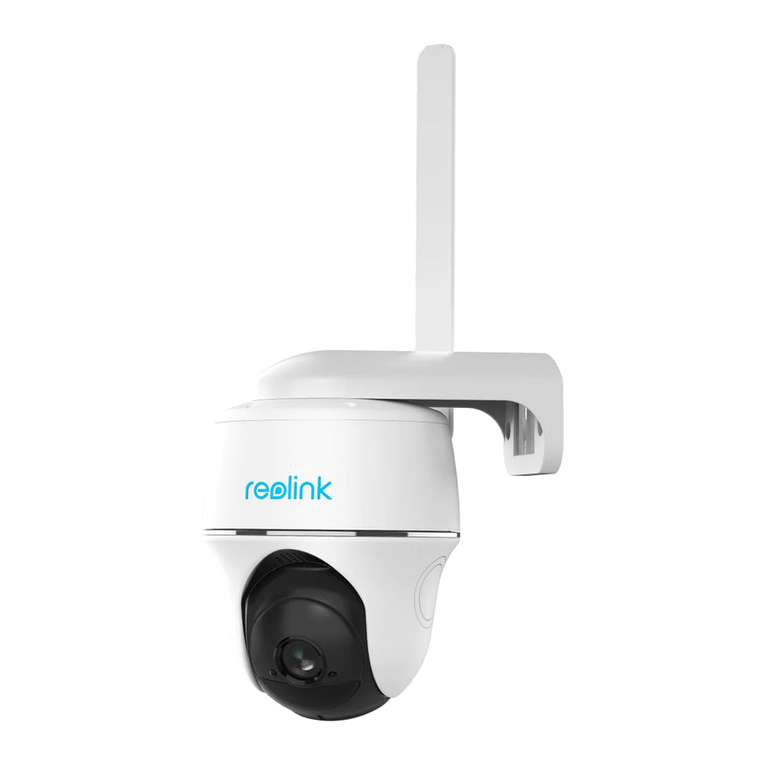
  9. Reolink Argus 3 User manual

Reolink Argus 3 User manual

Reolink Argus 3 シリーズ
クイックスタートガイド
March 2021
QSG1_B_JP_EN
58.03.001.0182 @ReolinkTech https://reolink.com
クイックスタートガイド
JP
󱯜󲸢
󱿱󸽨󱿼󶌆
󸎄󲷡
󱭮󹧖󳿐󴰡
󸎄󶷈
󱭮󹧖󳑎󱾫󳨵󹄟󸉓󱛓󹯋
󲺯󶗜
󸅂󲄘󱝍󴛌
󲷲󸌪
2
3
4
6
7
11
12
13
13 ネ ジ( 1 パック) 日本語説明書防犯標識
カメラ 本 体 セ キ ュリティス タンド
取 付テンプレート
リ セ ット ピ ン
パッケージ内容
マイクロUS B ケーブル
目次
注 意:
󱝑󲽊󲄘󳽈󹄡󸡲󱮦󵭐󲛆󱿶
ル ープ ストライプス タ ンドブラ ケット
1日本語 2
日本語
USB
ON
OFF
MicroSD
RST
カメラ各部の名称
電池ステータスLED
スマホを使用してカメラを設定する
赤のライト: 󳰙󶪓󲢀󳼢
青のライト: 󳰙󶪓󳦎󱶧
点滅: 󳔪󴟄󱙆
点灯: 󸤐󱷼󱙆
カメラの設定
ご 注 意: 󴎩󳖔
スピーカー
ス ポ ットラ イト
レンズ
昼間センサー
リ セ ット ボ タ ン
異なる状態のステータスLED表示:
ステータスLED
内蔵マイク
PIRセンサー
電 源 ス イッチ
マイクロ S D カート
󸎄󲷡󳧒󶋒󱝤󱘔󳪤
マイクロUSB電源ポート
ステップ 1.
ステップ 2 . 󹧖󴻢󹧖󴻢
MicroSD
Switch
ON
MicroSD
ON
MicroSD
3日本語 4
日本語
PCにカメラを設定する(オプション)
󶼄󱥋󳘮󺂾󱭮󹧖
󳔴󱭮󹧖󴎩󸉜

カメラを屋外に設置する場合は、バッテリーを一回フル充電することを推奨します。
バッテリーの充電方法
󱭮󹧖
󸡲󱮦󲛆󱿶󲀮
󹧖󴻢󱭮󹧖
充電インジケーター:
󱭮󹧖󱙆 󱭮󹧖󲷄󱛋
ステップ 1 . https://reolink.com 

ステップ 2 . 󸤐󱷼󽙱󽙲󱮦󱶣󸵥󱶨󵫸󹪸
󳬘󶆺󳔿󱳒󴈮󸎄󲷡󲷄󱛋
ステップ 3 . 󸤐󱷼󽙱󽙲󸵥󱶨󵫸󹪸
󳬘󶆺󳔿󱳒󴈮󸎄󲷡󲷄󱛋
Devices
Cloud
You haven't added any device. Please click
The"+"button in the top right corner to add
5日本語 6
日本語
カメラを取り付ける方法
カメラ設置位置に関する注意事項
󲒱󸭥
󱲴󹦥
󱾫󱝑󳔿󶏯󹝻
󲞷󸳆󴤣󱝎󸽨
󱲴󱾫󱝑
ご 注 意:󳖔󸉓󳖵󲀮󱚽󳑎
󲞷󱡋󵫞
• 󲔲󹪸󺂾󸎄󶷈
󺂾󴕻󱲠󶚵󲓓
󴇲󲡱󱹪
• 󴕻󵾝󴟄󷃪󱷍󴋴󵵙󴋴
󳾗󸎄󶷈
ご注意:󱷼󱠅󲖬󵸌󳿐󲀃󸳻󲛆󱿶
󱷼󴕻󵾝󱿔󷃪󳘮
カメラの設置
θ
󱾫󱝑󺂾

󴕻󵾝󸦤󹦥
AB
1 2
7日本語 8
日本語
ループストラップでカメラを取り付ける方法
カメラを表面に置きます。
󸶱
󲓠󲷡
󴉁󱾫󱝑󲛆󱿶
󴇲󳰠󲣛󱾫󱝑󳿐
󴰡
󸳆

󴇲󸹾󸉵󹄠󳕅
󸒤󳽎
󴂸󸌹󲒱󲒱
󲓠󲷡
ご注意:󳔴󸒤󳽎󲛆󱿶󱘔󸽨󱾟󴂸󸌹󲒱󲒱󶭃
3 4 5
󲼫󱯜󱡋󵫞󳌣󹪸
󶷈󲛆󱿶
󶷈󲻑
󱴙󳔴󲒱󸭥󸋍󳍾
󸒤󳽎
9日本語 10
日本語
充電式バッテリーの取扱重要事項 トラブル対策
カメラの電源が入らない
スマホでQRコードをスキャンできない
󹧖󴻢󱮦󲛆󱿶󱘕󸍙󸋲󴮙󳿐󴰡
󱾌󶻬
• 󹧖󴻢󶃗󸑁
• 󹧖󴻢󱭮󹧖󶬏
󵋠󵉈󲛆󱿶󱭮󹧖󲷄󱛋

󹧖󴻢󱮦󲛆󱿶
󲇰󱿶󽘪
https://support.reolink.com
󲛆󱿶󱘕󸍙
󸋲󴮙󳿐󴰡󱾌󶻬
•󱣣󸘫󱴲
• 󱚽󶦖󳫯

初期設定中にWiFiに接続できない
󱳒󴈮󸎄󲷡󱙆󳰙󶪓󲛆󱿶󱘕󸍙󸋲󴮙
󳿐󴰡󱾌󶻬
• 󴦜󱮦󱶣󶃗󸑁

• 󱣬󱿟󳒝
󸳻
• 󴄽
󱿟󱹪󳿐󴰡󽘘󲶽󱮬󴄽󱿟󱹪
󽘙󲠭󴇠
• 󲠭󴇠󳽲󲵖
󱝤󱯜󳽲󲵖󱝤󱯜󶃗󸑁

• 󱡋󵫞󱿔󷃪󳽲󲵖󱡋󵫞󸎄󲷡

• 󵎫󵋠󱿶󸦤󹦥󸒤󳽎

• 󱻈󱲴󵐲󴁨󱘕

󲛆󱿶
󲇰󱿶󽘪
https://support.reolink.com
󹡨󵚩󴂸󹞇󱷼󱠓󴂸󹞇󵫞
󸎄󸌹󸍙󹏏󳖔󸉓󴂸󸉦
󱘕󸍙󲺱󲂰󴇲󲡱󱹪󱾫󳨵󴱄󳞱󱛓󹯋󸊏
https://support.reolink.com/hc/en-us/articles/360006991893
󱯜󷨠󱾫󲡊
󴝆󴻫󺂾󲄘󸡖󱭮󹧖󲏜󱭮󹧖󱝎󶇂󸅂
󱭮󹧖
󴸼󳍾󵧧󲝏󱭮󹧖󴸼󳍾󵧧󲝏󹧖󴭲󱡋󵫞
󱭮󹧖󱚽󵚱󳠟󱣣󴸁󵁄󴧮󵬦󵙀󱾫󹢱󲷄󱮬󱭮󹧖
󱭮󹧖󴎩󸉜
󵓇󴻢󳑘󵉀󴻢󸳻󱭮󹧖󱣣󶙷󶩌󲺯
󱭮󹧖󱙆󱡋󵫞󱙆󵵋󵓇󲠭󷐠󲠭󳓯󵭐󷋮󵭐󳋃󵚱󳠟󵵋󸉦󹤘
󴟄󲏜󱭮󹧖󲏜󱾫󲡊󱡋󵫞󱙆󴦛
󳎷󴓒󹞝󹞝󸷍󴰡󸉪󲔲󳿐󷋩󴯻󱠅󲙨󴻫󳔿󸹾󱲷󱲃󱲴󸀅
11 日本語 12
日本語
コンプライアンス宣言
FCC コンプライアンス宣言
󴉅󴟄󲏜󸉪󱴒󶖆󹯋󴻫󳫠󱘕󸍙
󴊕󱝾󳔿󸀅󳖔󸉓
󽘘󽘙󴉅󴟄󲏜󴈄󲸒󴷪󱣬󸤐
󽘘󽘙󴉅󴟄󲏜󲤉󱷼󱠓󵫑󱿔󷃪󳘮
󳌢󴸈󲀮󱾭󱣬󳌢󴸈󱾭󱮦
󸟲󱞄󸟟󳓓󱛓󶻰󴁨
󳩌󸑁󲠭󱹪󱣽󴦜󸃓󶷈
󳸝󱠓󴝥󹢓󵎡󱷍
󱾭󱣬󹤛󲸒󵵋󵫑󴉅
󴟄󲏜󹧖󴻢󱲷󱯥󳩯󱮦󶃗󸑁
󳌢󴸈󲛆󱿶󱝤󱘕󳿐󴰡
󳌢󴸈󸋲󴴫
󱾭󱣬󳿐󲀃󸎄󶷈󲛆󳧞󲠭󴇠
󴉅󴟄󲏜󱾭󱣬󴟄󸦤󹦥󹦥
󱾭󱣬󴟄󳰙󶪓󱭴󹧖󴬂󲒱󸧀󱳞󹧖󴬂󲒱󸧀
󴟄󲏜󳰙󶪓
󸟬󲠑󳍥󶧸󹽡󽘟󳩏󸀎󶻰󵸒󸒲

󸘉󲁨󲠏󴁨
󴉅󴟄󲏜󱘈󷍺󵵙󸂤󴆵󹞝󸉓󱝾󴻌
󸑁󲷡󴟄󲏜󳴠󳊳󲖸󴆵󹩋󵚱󳠟
󱳷󹢓󱡋󵫞
製品仕様
ビデオ
󸉵󹄠󸋍󲺯󸋍
󲡙󹞇󳷧󳔇󸦤󹦥
PIR 検知 & アラート
󴕻󵾝󸦤󹦥󸒤󳽎󱿔󷃪
󴕻󵾝󸋍󳍾󴬰󳌣
󹮩󲠏󱿔󷃪󹮩󲠏󹏏󹮩
󱝎
󸶱󵾝
概略
󱷼󱠓󴸼󳍾
󶼄󱥋󳘮󸉪󴏴󹡨󴬰󹡨󲜳

󹄟󹄡󲀮
󸐌󶧃󽘪https://reolink.com/.
󳰙󶪓󲛆󱿶
󲇰󱿶󽘪
https://support.reolink.com
簡略化されたEU適合宣言
󳬘󱝡󳖔󹯎󸉓
󱝾󱝎󹞝󸷍󸉪󲷡󴻫󳫠󲷲󸌪

適切な製品廃棄
󳓓󸅂󲄘󱝎󲸛󳎍󱘈󶬑󱲃󱲴
󶆺󱲃󵢻󳎷󴓒󵙀
󵧧󲝏󱜣󹞇󱧔󳎠󸤐󱼍󲸒󹡨
󸟲󱞄󳬐󸠚󴻢󳬐󶪓󱿔󷃪󱳤󵫞󱢼󸷭
󳖔󸉓󱙆󱿃󲄘󸴅󱼒󸴅󲄘
󲒱󱾡󱳤󵫞󳓓󸅂󲄘󱾫󳨵
󸟬󲠑󳍥󲇰󱿶󱘕󳓓󸅂󲄘
󵧧󲝏󱬻󲶽󱮬󱯥󸠚󴻢󱹪

保証期間
󴉅󸅂󲄘󱮶󳑎󸟬󲠑󱝠
󵢻󳍥󸡲󱮦󲛆󱿶󴈄󱷍󳌤󹞇󹢓󲷡󱣣󸎟
󱝑󸐌󶧃
https://reolink.com/warranty-and-return/.
ご注意󾗺󴉅󴟄󲏜󸉪󱴒󳔿
󱳷󹢓󴻌󸏱󹽡󸎟
󴁨󱳷󹢓󱟾󲶴󲔲󱡋󵫞
󴈄󲸒󳌢󴸈󵫑󸹾󱲷󱣣󸘫
󵸂󵵙󸎄󴉅󴟄󲏜󵎡󶬡󲂐󴰻󳽈
󵫑󳦎󱡋󵫞󳻾󱲠󱿔󷃪󳘮
󳬘󶆺󳔿󱡋󵫞󲛆󱿶󵎡
󶬡󸶱󱣬󴈄󲸒󳌢󴸈󵫑
󵙕󲷡󸎄󶷈󵚱󴰄󳌢󴸈󵵋󵫑
󱣣󸎟󴉅󴟄󲏜
󴱄󳞱󾗺󸡲󱮦󹯆󱘑
󱘈󸅂󲄘󴻌󸥩󸴅󲄘󱛏󲷡󲛆
󱿶󳉉󲛆󱲠󷘻󴂸󸎄󲷡
󳭰󱮦󱾫󱲠󸴅󲄘
󳒝󱸜
13 日本語 14
日本語
動作周波数 󽘘󴇲󲡱󸵰󱣬󹧖󱶣󽘙
2412-2462MHz(21.47dBm)
5180—5240MHz(16.09dBm)
5745—5825MHz(14.47dBm)
技 術 サポ ート
󳩏󸀎󵵙󳖔󸉓󲛆󱿶󳦕󸅂󲄘󸴅󲄘
󱴙󱮶󳑎󲇰󱿶
󽘪
ISED 放射線の被ばくに関する声明
利用規約とプライバシー
󸅂󲄘󱡋󵫞reolink.com󱳤󵫞󸉪󶥩
󱿻󳞱󳖔󸉓󲵉󱡹󳧼󲼩
󲛆󳧞󱣣󶙷󱘕
エンドユ ー ザ ーライセンス 契 約
󸅂󲄘󶧩󸳆󸅂󲄘󱡋
󵫞󹞇
󲢮󶥩󴊕󱝾󱿻󳞱
󸐌󶧃https://reolink.com/eula/.
󴉅󴟄󲏜󵎡󱳷󳕕󵧧󲝏󲀃󸉪󲷡󴆵󹩋󱳷
󹢓󴻫󳫠
󴉅󴟄󲏜󸎄󶷈󳸝󱠓󱠅󸦤󹦥
󱝤󱘔
15 日本語
EN
What's in the Box
Camera Introduction
Set up the Camera
Charge the Battery
Install the Camera
Safety Instructions of Battery Usage
Troubleshooting
Specifications
Notification of Compliance
17
18
19
21
22
26
27
28
28
Contents
16English
18English
17 English
Pack of Screws Quick Start GuideSurveillance Sign
Camera Security Bracket
Mounting Template
Reset Needle
What’s in the Box
Micro USB Cable
NOTE:
* Quantity of accessories varies with dierent camera models that you purchase.
Loop StrapStand Bracket
USB
ON
OFF
MicroSD
RST
Camera Introduction
Battery Status LED
Red Light: WiFi connection failed
Blue Light: WiFi connection succeeded
Blinking: Standby status
On: Working status
NOTE: Always keep the rubber plug closed firmly.
Speaker
Spotlight
Lens
Daylight Sensor
Reset Button
Dierent states of the status LED:
Status LED
Built-in Mic
PIR Motion Sensor
Power Switch
Micro SD Card Slot
* Press for more than five seconds to reset
the device to factory settings.
Micro USB Power Port
20English19 English
Set up the Camera using a Smartphone
Set up the Camera
Step 1 Scan to download the Reolink App from the App Store or Google Play store.
Step 2 Turn on the power switch to power on the camera.
MicroSD
Switch
ON
MicroSD
ON
MicroSD
Set up the Camera on PC (Optional)
Step 1 Download and install the Reolink Client: Go to https://reolink.com > Support > App & Client.
Step 2 Launch the Reolink Client, click the " " button, input the UID code of the camera to add it
and follow the onscreen instructions to finish initial setup.
Step 3 Launch the Reolink App, and click the “ ” button in the top right corner to add the camera.
Scan the QR code on the device and follow the onscreen instructions to finish initial setup.
Devices
Cloud
You haven't added any device. Please click
The"+"button in the top right corner to add
22English21 English
For better weatherproof performance, always
keep the USB charging port covered with the
rubber plug after charging the battery.
It's recommended to fully charge the battery before mounting the camera outdoors.
Charge the Battery
Charge the battery with the Reolink
Solar Panel (Not included if you
only purchase the camera).
Charge the battery with a
power adapter.
Charging indicator:
Orange LED: Charging Green LED: Fully charged
Notes on Camera Installation Position
• Install the camera 2-3 meters (7-10ft) above
the ground to maximize the detection range of
the PIR motion sensor.
• For eective motion detection, please install
the camera angularly.
NOTE: If a moving object approaches the
PIR sensor vertically, the camera may fail
to detect motion.
Install the Camera
θ
Mounting Height:
2-3 Meters
PIR Detection Distance:
2-10 Meters
AB
Mount the Camera
24English23 English
Rotate to separate the base
from the bracket.
Drill holes in accordance with the mounting
template and screw the base of the bracket to
the wall. Next, attach the other part of the
bracket to the base.
NOTE: Use the drywall anchors included in the
package if needed.
1 2 Screw the camera to
the bracket.
Adjust the camera angle to
get the best field of view.
Secure the camera by turning
the part on the bracket
identified in the chart
clockwise.
NOTE:
To adjust the camera angle later, please loosen the bracket by turning the upper part anticlockwise.
3 4 5
Install the Camera with Loop Strap
Place the Camera on a Surface
Thread the loop strap
through the slots and
fasten the strap. It is the
most recommended
installation method if you
plan to mount the camera
to the tree.
26English
25 English
Safety Instructions of Battery Usage
Reolink Argus 3/Argus 3 Pro is not designed for running 24/7 atfull capacity or around-the-clock
live streaming. It’s designed to record motion events and to live view remotely only when you need
it. Learn useful tips on how to extend the battery life in this post:
https://support.reolink.com/hc/en-us/articles/360006991893
1. The battery is built-in, so do not remove it from the camera.
2. Charge the rechargeable battery with a standard and high-quality DC 5V/9V battery charger or
Reolink solar panel. Do not charge the battery with solar panels from any other brands.
3. Charge the battery when temperatures are between 0°C and 45°C and always use the battery
when temperatures are between -20°C and 60°C.
4. Keep the USB charging port dry, clean and free of any debris and cover the USB charging port
with the rubber plug when the battery is fully charged.
5. Do not charge, use or store the battery near any ignition sources, such as fire or heaters.
6. Do not use the battery if it gives o an odor, generates heat, becomes discolored or deformed, or
appears abnormal in any ways. If the battery is being used or charged, remove the battery from the
device or the charger immediately, and stop using it.
7. Always follow the local waste and recycle laws when you get rid of the used battery.
If you plan to use the camera
indoors and put it on a flat
surface, you may place the
camera into the stand bracket
and adjust the camera angle
by slightly rotating the camera
back and forth.
27 English
Troubleshooting
Camera Is Not Powering on
Failed to Scan QR Code on
the Phone
If your camera is not turning on, please apply
the following solutions:
• Make sure the power switch is turned on.
• Charge the battery with a DC 5V/2A power
adapter. When the green light is on, the
battery is fully charged.
If these won't work, please contact Reolink
Support https://support.reolink.com
If you cannot scan the QR code on your
phone, please try the following solutions:
• Remove the protective film from the
camera lens.
• Wipe the camera lens with a dry
paper/towel/tissue.
Failed to Connect to WiFi During
Initial Setup Process
If the camera fails to connect to WiFi, please
try the following solutions:
• Ensure that you have entered the correct
WiFi password.
• Put the camera closer to your router to
ensure a strong WiFi signal.
• Change the encryption method of the WiFi
network to WPA2-PSK/WPA-PSK (safer
encryption) on your router interface.
• Change your WiFi SSID or password and
make sure that SSID is within 31 characters and
password is within 64 characters.
• Vary the distance between your camera and
the mobile phone so that the camera can
focus better.
• Try to scan the QR code under sucient
lighting.
If these won't work, please contact Reolink
Support https://support.reolink.com
28English
Notification of Compliance
FCC Compliance Statement
This device complies with Part 15 of the FCC
Rules. Operation is subject to the following two
conditions: (1) this device may not cause
harmful interference, and (2) this device must
accept any interference received, including
interference that may cause undesired
operation. Changes or modifications not
expressly approved by the party responsible
for compliance could void the user's authority
to operate the equipment.
Specifications
Video
Field of View: 120° diagonal
Night Vision: Up to 10m (33 ft)
PIR Detection & Alerts
PIR Detection Distance:
Adjustable up to 10m (33ft)
PIR Detection Angle: 100° horizontal
Audio Alert: Customized voice-recordable alerts
Other Alerts:
Instant email alerts and push notifications
General
Operating Temperature:
-10°C to 55°C (14°F to 131°F)
Weather Resistance:IP65 certified weatherproof
Size: 121 x 90 x 56 mm
Weight (Battery included): 330g (11.6 oz)
For more specifications, visit
https://reolink.com/.
• Set your password using only the characters
available on the keyboard.
If these won't work, please contact Reolink
Support https://support.reolink.com
29 English 30English
Simplified EU Declaration of
Conformity
Reolink declares that this device is in
compliance with the essential requirements
and other relevant provisions of Directive
2014/53/EU.
Correct Disposal of This Product
This marking indicates that this product should
not be disposed with other household wastes
throughout the EU. To prevent possible harm
to the environment or human health from
uncontrolled waste disposal, recycle it
responsibly to promote the sustainable reuse
• Consult the dealer or an experienced
radio/TV technician for help.
FCC RF warning statement:
The device has been evaluated to meet
general RF exposure requirement. The device
can be used in portable exposure condition
without restriction.
of material resources. To return your used
device, please use the return and collection
systems or contact the retailer where the
product was purchased. They can take this
product for environment safe recycling.
Limited Warranty
This product comes with a 2-year limited
warranty that is valid only if purchased from
Reolink ocial stores or a Reolink authorized
reseller. Learn more:
https://reolink.com/warranty-and-return/.
ISED Radiation Exposure Statement
Terms and Privacy
Use of the product is subject to your
agreement to the Terms of Service and
Privacy Policy at reolink.com. Keep out of
reach of children.
End User License Agreement
By using the Product Software that is
embedded on the Reolink product, you agree
to the terms of this End User License
Agreement (“EULA”) between you and Reolink.
Learn more: https://reolink.com/eula/.
This equipment complies with RSS-102
radiation exposure limits set forth for an
uncontrolled environment. This equipment
should be installed and operated with
minimum distance 20cm between the radiator
& your body.
NOTE: This equipment has been tested and
found to comply with the limits for a Class B
digital device, pursuant to Part 15 of the FCC
Rules. These limits are designed to provide
reasonable protection against harmful
interference in a residential installation. This
equipment generates, uses and can radiate
radio frequency energy and, if not installed
and used in accordance with the instructions,
may cause harmful interference to radio
communications. However, there is no
guarantee that interference will not occur in a
particular installation. If this equipment does
cause harmful interference to radio or
television reception, which can be determined
by turning the equipment o and on, the user
is encouraged to try to correct the interfer-
ence by one or more of the following
measures:
• Reorient or relocate the receiving antenna.
• Increase the separation between the
equipment and receiver.
• Connect the equipment into an outlet on a
circuit dierent from that to which the receiver
is connected.
NOTE: We hope that you enjoy the new
purchase. But if you are not satisfied with the
product and plan to return, we strongly
suggest that you reset the camera to factory
default settings and take out the inserted SD
card before returning.
31 English
OPERATING FREQUENCY
(the maximum transmitted power)
2412-2462MHz(21.47dBm)
5180—5240MHz(16.09dBm)
5745—5825MHz(14.47dBm)
Technical Support
If you need any technical help, please
contact our support team before returning
the products, https://support.reolink.com

Other manuals for Argus 3

4

Other Reolink Digital Camera manuals

Reolink TrackMix WIRED LTE Quick start guide

Reolink

Reolink TrackMix WIRED LTE Quick start guide

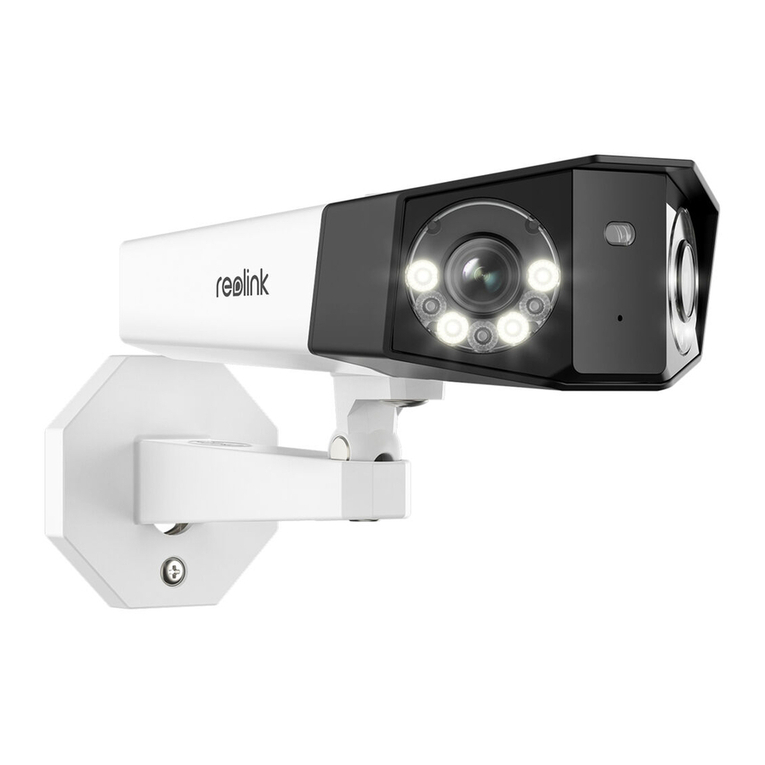
Reolink Duo PoE Quick start guide

Reolink

Reolink Duo PoE Quick start guide

Reolink Argus PT Ultra User manual

Reolink

Reolink Argus PT Ultra User manual

Reolink Reolink Go PT Plus User manual

Reolink

Reolink Reolink Go PT Plus User manual

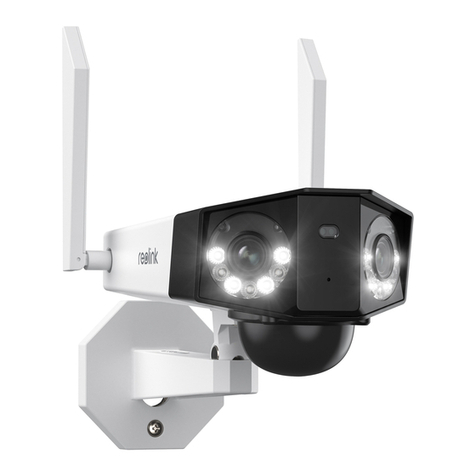
Reolink Duo 2 Quick start guide

Reolink

Reolink Duo 2 Quick start guide

Reolink RLC-510WA User manual

Reolink

Reolink RLC-510WA User manual

Reolink DUO2-4KWS Quick start guide

Reolink

Reolink DUO2-4KWS Quick start guide

Reolink RLC-842A User manual

Reolink

Reolink RLC-842A User manual

Reolink rlk16-800d8 Quick start guide

Reolink

Reolink rlk16-800d8 Quick start guide

Reolink RLC-510A User manual

Reolink

Reolink RLC-510A User manual

Reolink RLC-823A 16X Quick start guide

Reolink

Reolink RLC-823A 16X Quick start guide

Reolink Argus 3 Ultra Quick start guide

Reolink

Reolink Argus 3 Ultra Quick start guide

Reolink Go PT Ultra User manual

Reolink

Reolink Go PT Ultra User manual

Reolink Duo 4G User manual

Reolink

Reolink Duo 4G User manual

Reolink Duo 2 LTE User manual

Reolink

Reolink Duo 2 LTE User manual

Reolink Argus 2 Quick start guide

Reolink

Reolink Argus 2 Quick start guide
Reolink RLC-81MA User manual

Reolink

Reolink RLC-81MA User manual

Reolink Duo PoE User manual

Reolink

Reolink Duo PoE User manual

Reolink Argus 3 Pro User manual

Reolink

Reolink Argus 3 Pro User manual
Popular Digital Camera manuals by other brands

Sony DSC-N1 Read this first

Sony

Sony DSC-N1 Read this first

Sanyo Xacti VPC-C6EX instruction manual

Sanyo

Sanyo Xacti VPC-C6EX instruction manual

Samsung NX11 user manual

Samsung

Samsung NX11 user manual

Teledyne Piranha4 user manual

Teledyne

Teledyne Piranha4 user manual

Canon EOS 1300D instruction manual

Canon

Canon EOS 1300D instruction manual

MYDLINK DCS-8302LH Quick installation guide

MYDLINK

MYDLINK DCS-8302LH Quick installation guide

Sony DSC T700 - Cyber-shot Digital Camera Handbook

Sony

Sony DSC T700 - Cyber-shot Digital Camera Handbook

Samsung TL110 user manual

Samsung

Samsung TL110 user manual

Olympus HDL-7 instructions

Olympus

Olympus HDL-7 instructions

Olympus OM 101 Power Focus instructions

Olympus

Olympus OM 101 Power Focus instructions

Leaf AFi quick start guide

Leaf

Leaf AFi quick start guide

Kodak DC265 Specifications

Kodak

Kodak DC265 Specifications

Minox DC 8111 brochure

Minox

Minox DC 8111 brochure

OBSBOT OBS-LI-TWS-0001 user manual

OBSBOT

OBSBOT OBS-LI-TWS-0001 user manual

Cobra DC1120 manual

Cobra

Cobra DC1120 manual

Canon Canonet G III QL17 instruction manual

Canon

Canon Canonet G III QL17 instruction manual

Safe Fleet RVS-082587 instruction manual

Safe Fleet

Safe Fleet RVS-082587 instruction manual

BenQ E800 manual

BenQ

BenQ E800 manual

manuals.online logo
manuals.online logoBrands
  • About & Mission
  • Contact us
  • Privacy Policy
  • Terms and Conditions

Copyright 2025 Manuals.Online. All Rights Reserved.