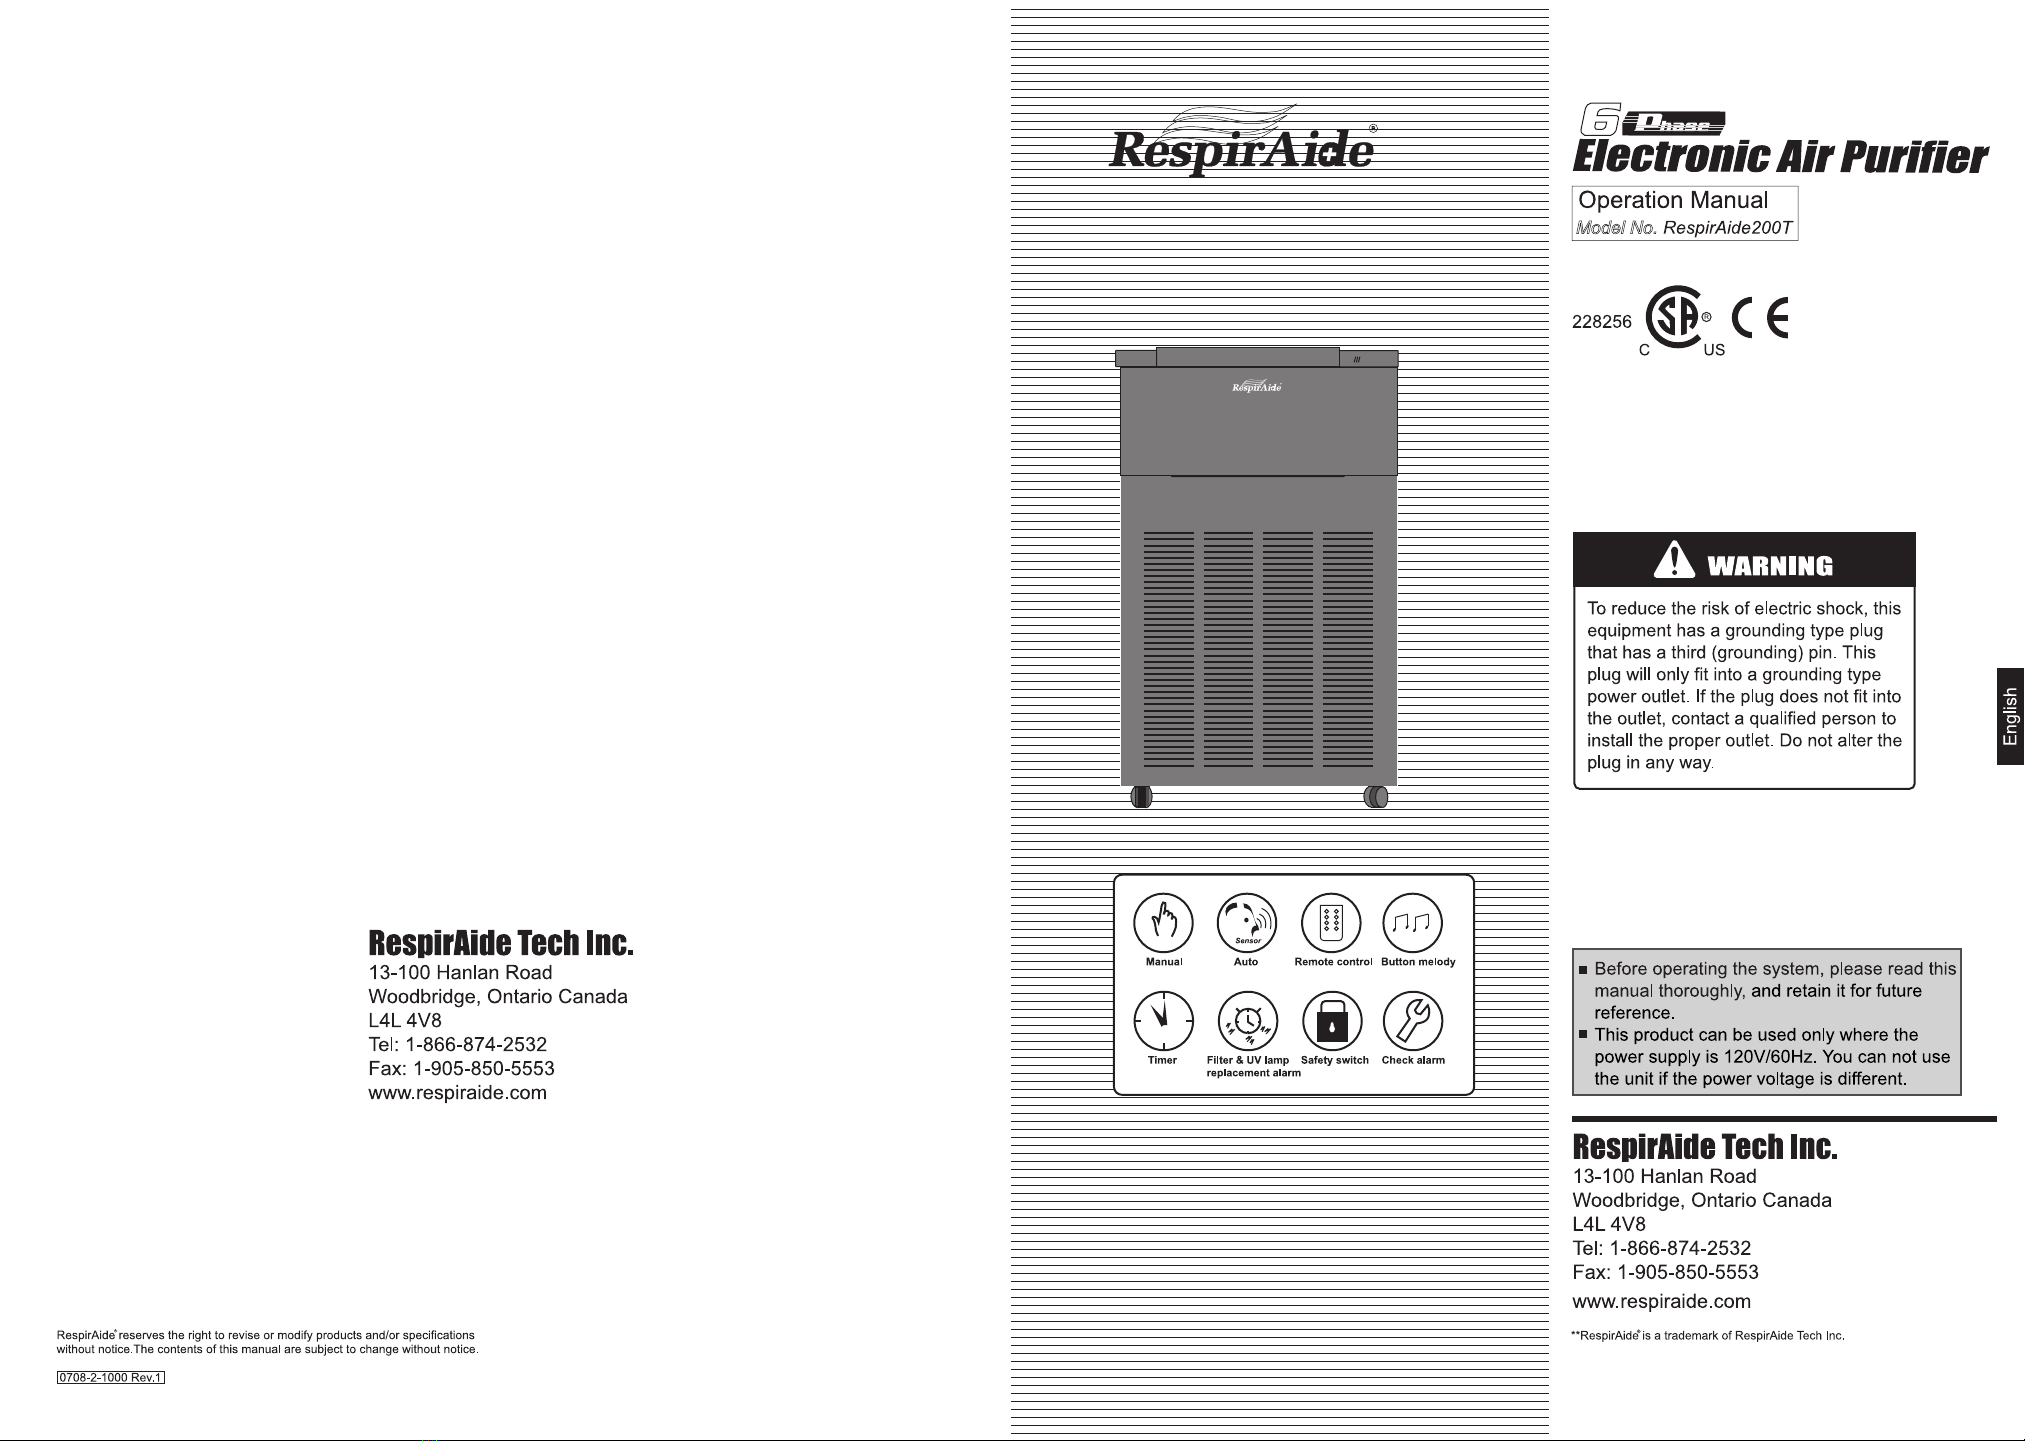
English
E-5
E-20
CARE AND MAINTENANCE CONSUMER LIMITED WARRANTY
Cleaning the Electronic Cell
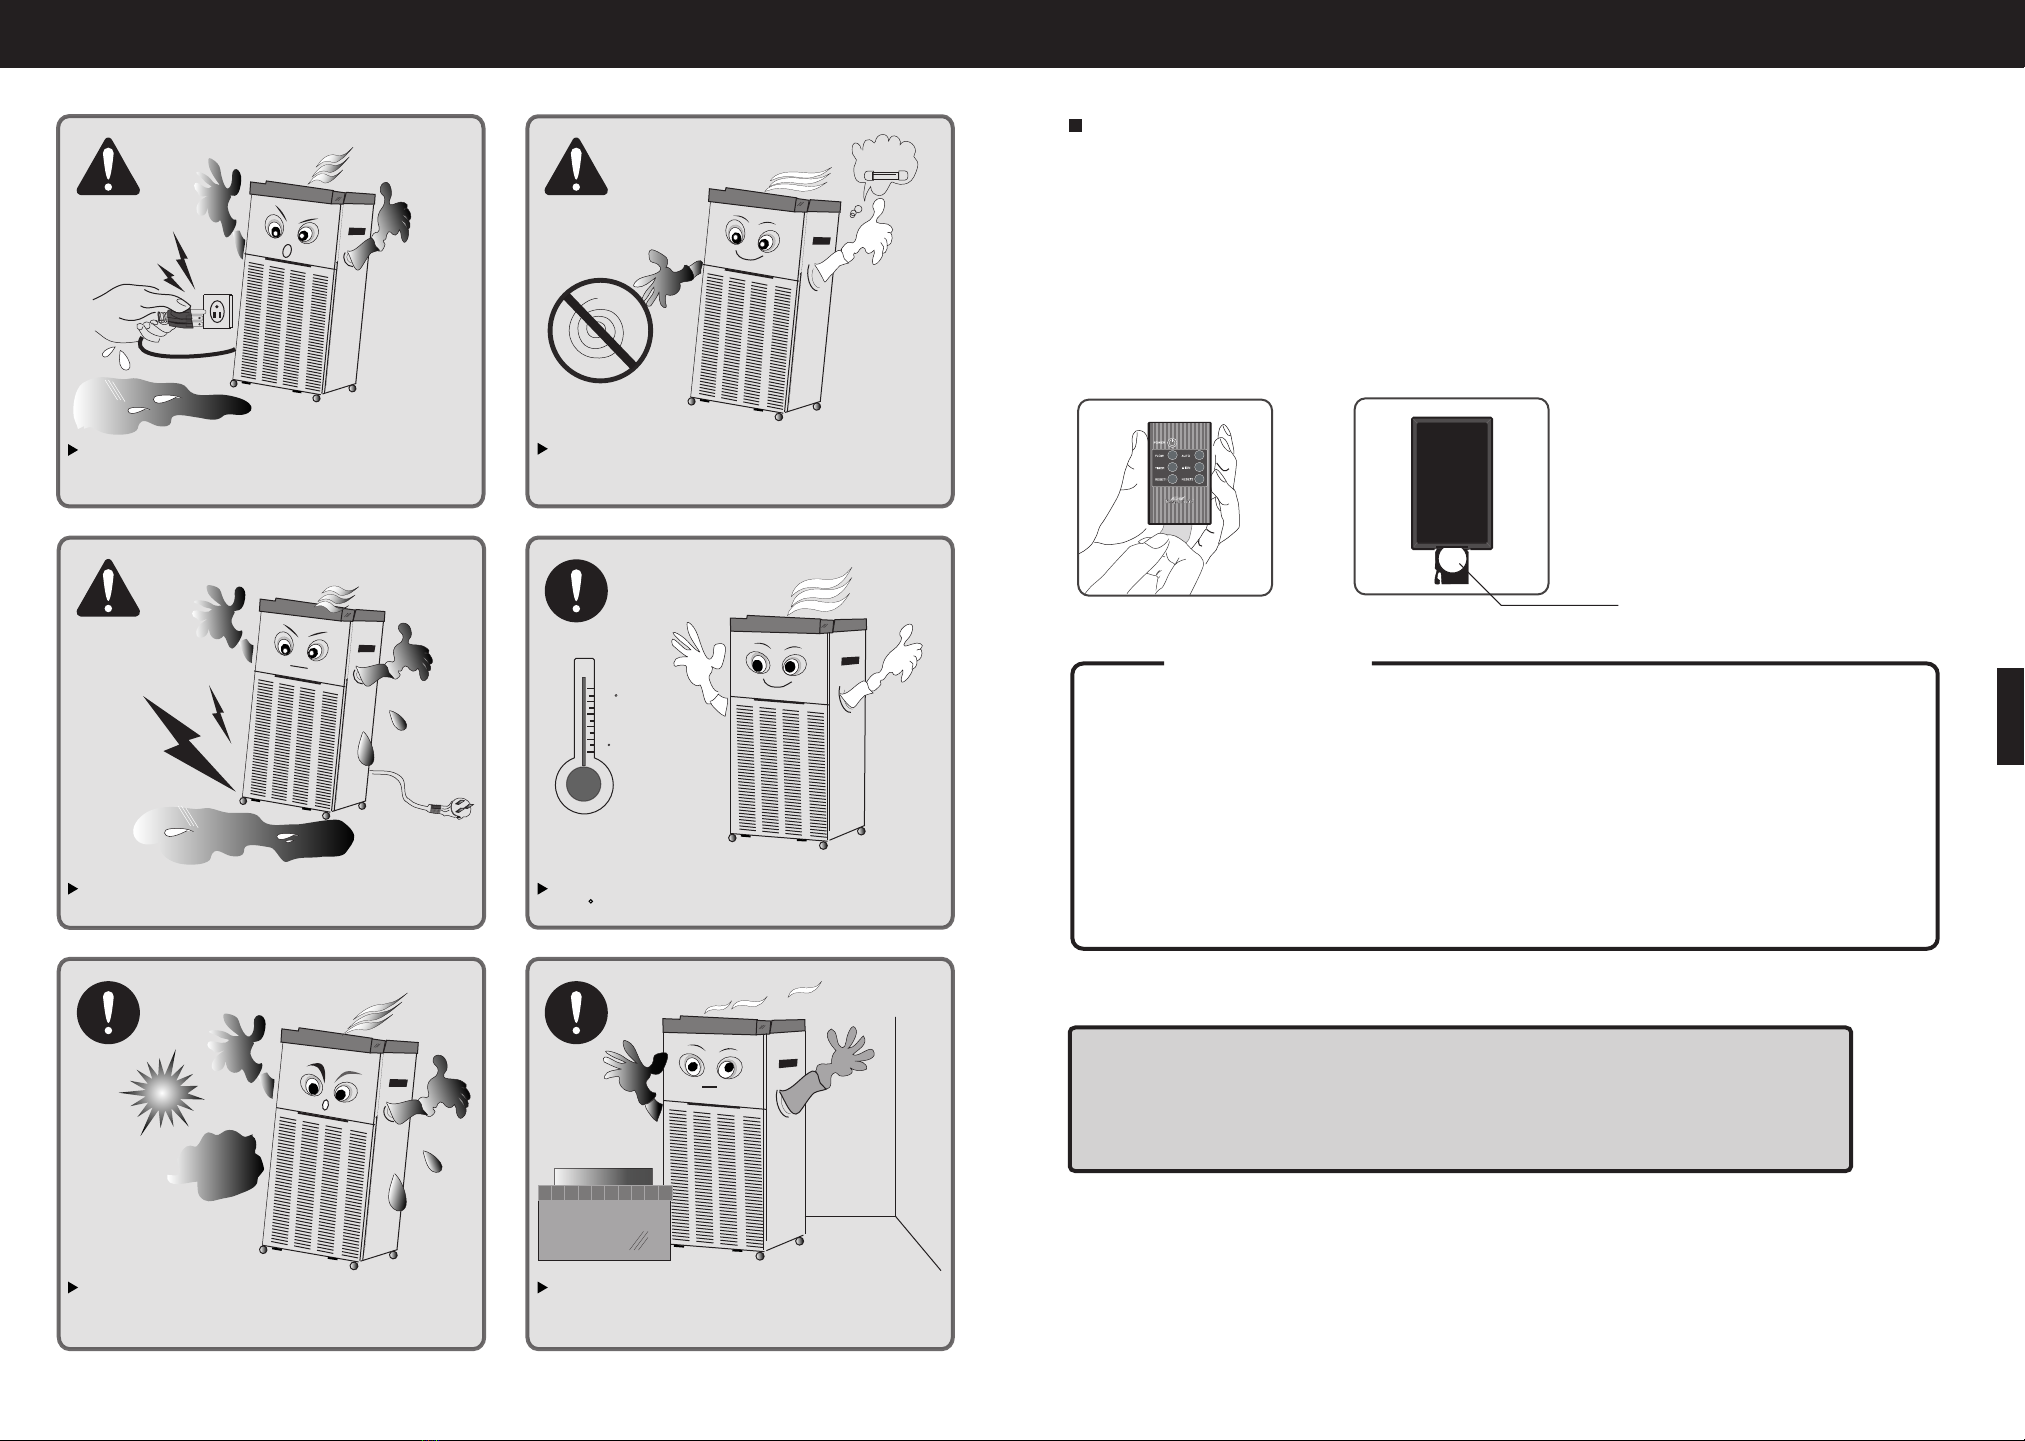
Remove the electronic cell
a)Stop the operation and unplug the power plug from the electrical outlet.
b)Open the front panel.
c)Remove the electronic cell.
How to clean the electronic cell
a)Use a large enough container, such as a laundry tub or
trash container.
NOTE: Sharp corners on the cells can scratch the surface of a
bathtub.
b)Dissolve about 3/4 cup of automatic dishwasher detergent
in enough hot water to cover the cell. If the detergent does
not dissolve readily, or form a scum on the
water, try another brand, or use softened water.
c)After the detergent has completely dissolved, place the
cells in the container and let soak for 15 to 20 minutes.
Agitate up and down a few times, and remove.
Do not splash the detergent solution in eyes.
Wear rubber gloves to avoid detergent contact
with skin.
Keep detergent and solution out of reach of
children.
When cleaning be careful not to cut your hands
on the ionizing wire. (Wearing rubber gloves is
safer.)
Be careful not to snag or cut the ionizing wire. If
the ionizing wire is cut, have the dealer replace
it. If the unit is operated with the ionizing wire
cut, there will be no dust collection.
Slide in the cell so the airflow arrow points
toward the machine.
After cleaning, make sure to dry the cell
thoroughly before reinstalling. If the cell or Pre-
filter is wet, it can cause breakdown of the
unit or personal injury.
Washing cell at car wash
Washing cell
in the container
CAUTION
Electronic Cell
1.
2.
3.
4.
5.
6.
RespirAide AIR PURIFIER
LIMITED WARRANTY
Congratulations on your investment
RespirAide Tech Inc.
To obtain the name and address of the nearest
Authorized RespirAide Dealer, please contact:
13-100 Hanlan Road, Woodbridge, Ontario
Canada L4L 4V8
For more information on this Warranty, Dealer or
Service Locations, please call1-866-874-2532
Visit our website: www.respiraide.com
RespirAideRTech Inc. (hereinafter called RTI) gives you the following limited warranty for this product
only if it was originally purchased from RTI or from an Authorized RTI Dealer.
RTI warrants that this product is free, under normal use and maintenance, from any defects in material
and workmanship. If any such defects should be found in this product within the applicable warranty
period.RTI shall, at its option, repair or replace the product as specified herein.
RTI will repair or replace, free of charge, to the original purchaser, any part that is found to be defective
in material or workmanship within one (1) year of the date of purchase. This limited warranty does not
cover the replacement of expendable or consumable parts such as filters, and other parts subject to
normal wear unless they are defective in material or workmanship.
This warranty shall not apply to:
(A) Any defects caused or repairs required as a result of abusive operation, negligence,accident,
improper installation or inappropriate use as outlined in the operation manual.
(B) Any product tampered with modified, adjusted or repaired by any party other than RTI, RTI
Authorized Service Centers or RTI Authorized Service Dealers.
(C) Damaged caused or repairs required as a result of the use with items not specified or approved by
RTI.
(D) Any damage caused by external or enviromental conditions, including but not limited to the use of
voltage other than indicated on the product.
RTI's limited warranty is valid only if you retain proof of purchase from RTI or an RTI Authorized Retail
Dealer for this product.
R