RespirAide R400T Quick start guide

4004761
13-100 Hanlan Road Woodbridge, Ontario
Canada L4L 4V8
Tel: 1-866-874-2532
Fax: 1-905-850-5553
www.respiraide.com
LIFE IS HARD
RespirAide Tech Inc.
ELECTRONIC AIR PURIFIER
• This unit cannot be used in an atmosphere containing
explosive dust, gas or oxygen, or in an area where
flammable dust is present.
• This product can be used only where the power supply
is 120V/60Hz. You cannot use the unit if the power
voltage is different.
OPERATIONAL MANUAL
Model No. R400T
WARNING:

E-03
TABLE OF CONTENTS
FOR CUSTOMER ASSISTANCE
SERVICE REMINDER SCHEDULE
CONSUMER LIMITED WARRANTY
Part Numbers
Part Names
Features
Product Specifications
IMPORTANT SAFETY PRECAUTIONS
CHAPTER 1
HOW IT WORKS
CHAPTER 2
E-4
E-5
E-6~10
E-11
PART NUMBER AND NAME
CHAPTER 3
FEATURES AND SPECIFICATIONS
CHAPTER 4
E-12
E-12
E-12
E-13
E-13
E-13
Main Unit Operation
Setting New Functions
Remote Control Operation
OPERATION
CHAPTER 5
Cleaning the Pre-filter
Cleaning the Electronic Cell
Replacing the Activated Carbon Filter
CARE AND MAINTENANCE
CHAPTER 6
E-14
E-14
E-15
E-16
E-17
E-17
E-18
E-19
Photo catalytic Filter and UV Lamps E-19
Why Does My Air Purifier Spark?
How Should I Clean the Cell ?
How Often Should I Change the
Activated Carbon Filter (Charcoal Filter)?
FREQUENTLY ASKED QUESTIONS (FAQs)
CHAPTER 7
The unit does not operate
When functions do not work
Automatic Function Does not Work Properly
TROUBLESHOOTING
CHAPTER 8
ELECTRICAL WIRING DIAGRAM
CHAPTER 9
E-20
E-20
E-20
E-20
E-21
E-22
E-23
When Other Problems in Terms of Functions Are Found

FOR CUSTOMER
ASSISTANCE
Model number
Serial number
Date of purchase
Dealer name
Address
City
Province
Postal code
Telephone
Phone: 1-866-874-2532
Write: For service problems, guarantee information, missing
items and other assistance:
RepirAide Tech Inc.
13-100 Hanlan Road Woodbridge, Ontario Canada
L4L 4V8
Please provide the following information when you write or call:
model number, serial number, date of purchase, your complete
mailing address (including Postal Code), your daytime telephone
number (including area code) and description of the problem.
If you have any questions about your air purifier, call the customer
service number. Before calling, please note the model and serial number
located on the back of the unit and fill in the following information below.
This information will help us answer your questions much more quickly.
RepirAide Tech Inc.
E-04
13-100 Hanlan Road
Woodbridge, Ontario
Canada L4L 4V8
Tel: 1-866-874-2532
Fax: 1-905-850-5553

E-05
CONSUMER LIMITED
WARRANTY
To obtain the name and address of the nearest
Authorized RespirAide Dealers, please contact:
RespirAide at
13-100 Hanlan Road, Woodbridge, Ontario Canada
L4L 4V8
For more information on this Warranty, Dealers or
Service Locations, please call 1-866-874-2532
Visit our website: www.respiraide.com
RespirAide Tech Inc. (Hereinafter called RTI) gives you the following
limited warranty for this product only if it was originally purchased from
RTI or from an Authorized RTI Dealer.
RTI warrants that this product is free, under normal use and
maintenance, from any defects in material and workmanship. If any such
defects should be found in this product within the applicable warranty
period. RTI shall, at its option, repair or replace the product as specified
herein.
RTI will repair or replace, free of charge, to the original purchaser, any
part that is found to be defective in material or workmanship within one
(1) year of the date of purchase. This limited warranty does not cover the
replacement of expendable or consumable parts such as filters, and
other parts subject to normal wear unless they are defective in material
or workmanship.
This warranty shall not apply if:
• Any defects caused or repairs required because of abusive operation,
negligence, accident, improper installation or inappropriate use as
outlined in the operation manual.
• Any product tampered with modified, adjusted or repaired by any party
other than RTI, RTI Authorized Service Centers or RTI Authorized
Service Dealers.
• Damage caused or repairs required because of the use with items not
specified or approved by RTI.
• Any damage caused by external or environmental conditions, including
but not limited to the use of voltage other than indicated on the product.
RTI's limited warranty is valid only if you retain proof of purchase from
RTI or a RTI Authorized Retail Dealer for this product.
RESPIRAIDE ELECTRONIC AIR PURIFIER
LIMITED WARRANTY
Congratulations on your investment

E-06
CHAPTER 1
IMPORTANT SAFETY
PRECAUTIONS
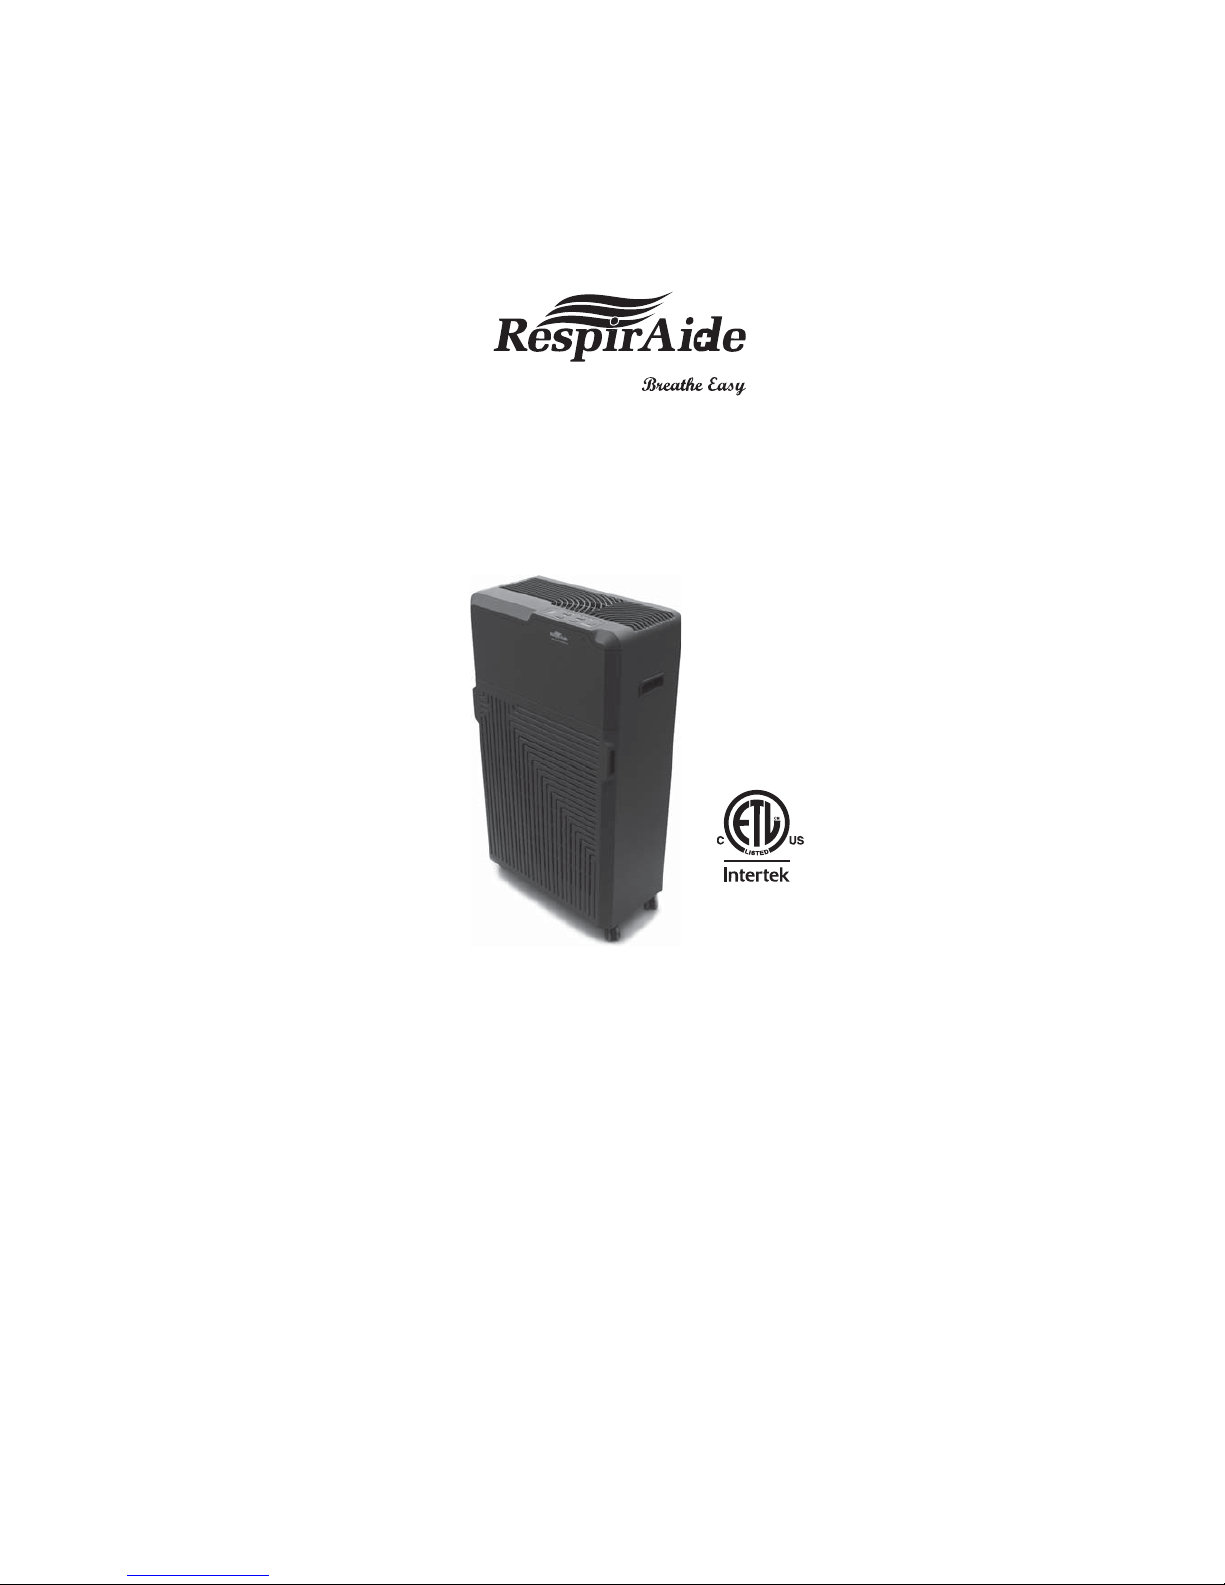
TO REDUCE THE RISK OF ELECTRICAL SHOCK, FIRE OR INJURY
TO PERSON(S) READ THE FOLLOWING:
• Use only as described in this manual.
• Use only a 120-volt outlet with grounding wire receptacle.
• Do not use the air purifier if the power cord or plug is damaged or
the connection to the wall outlet is loose.
• When removing the power plug, always hold the plug and never
pull by the cord.
• Do not handle plug or appliance with wet hands. Electrical shock
or fire from short circuit may occur.
• Remove the power plug from the wall outlet before cleaning the unit
and when not using the unit. Turn off all controls before unplugging.
• If the power cord is damaged, it must be replaced by the
RespirAide authorized service or similarly qualified person.
• To reduce the risk of electric shock, this equipment has a
grounding type plug that has a third (grounding) pin. This plug will
only fit into a grounding type power outlet. If the plug does not fit
into the outlet, contact qualified personnel to install the proper
outlet. Do not alter the plug in any way.
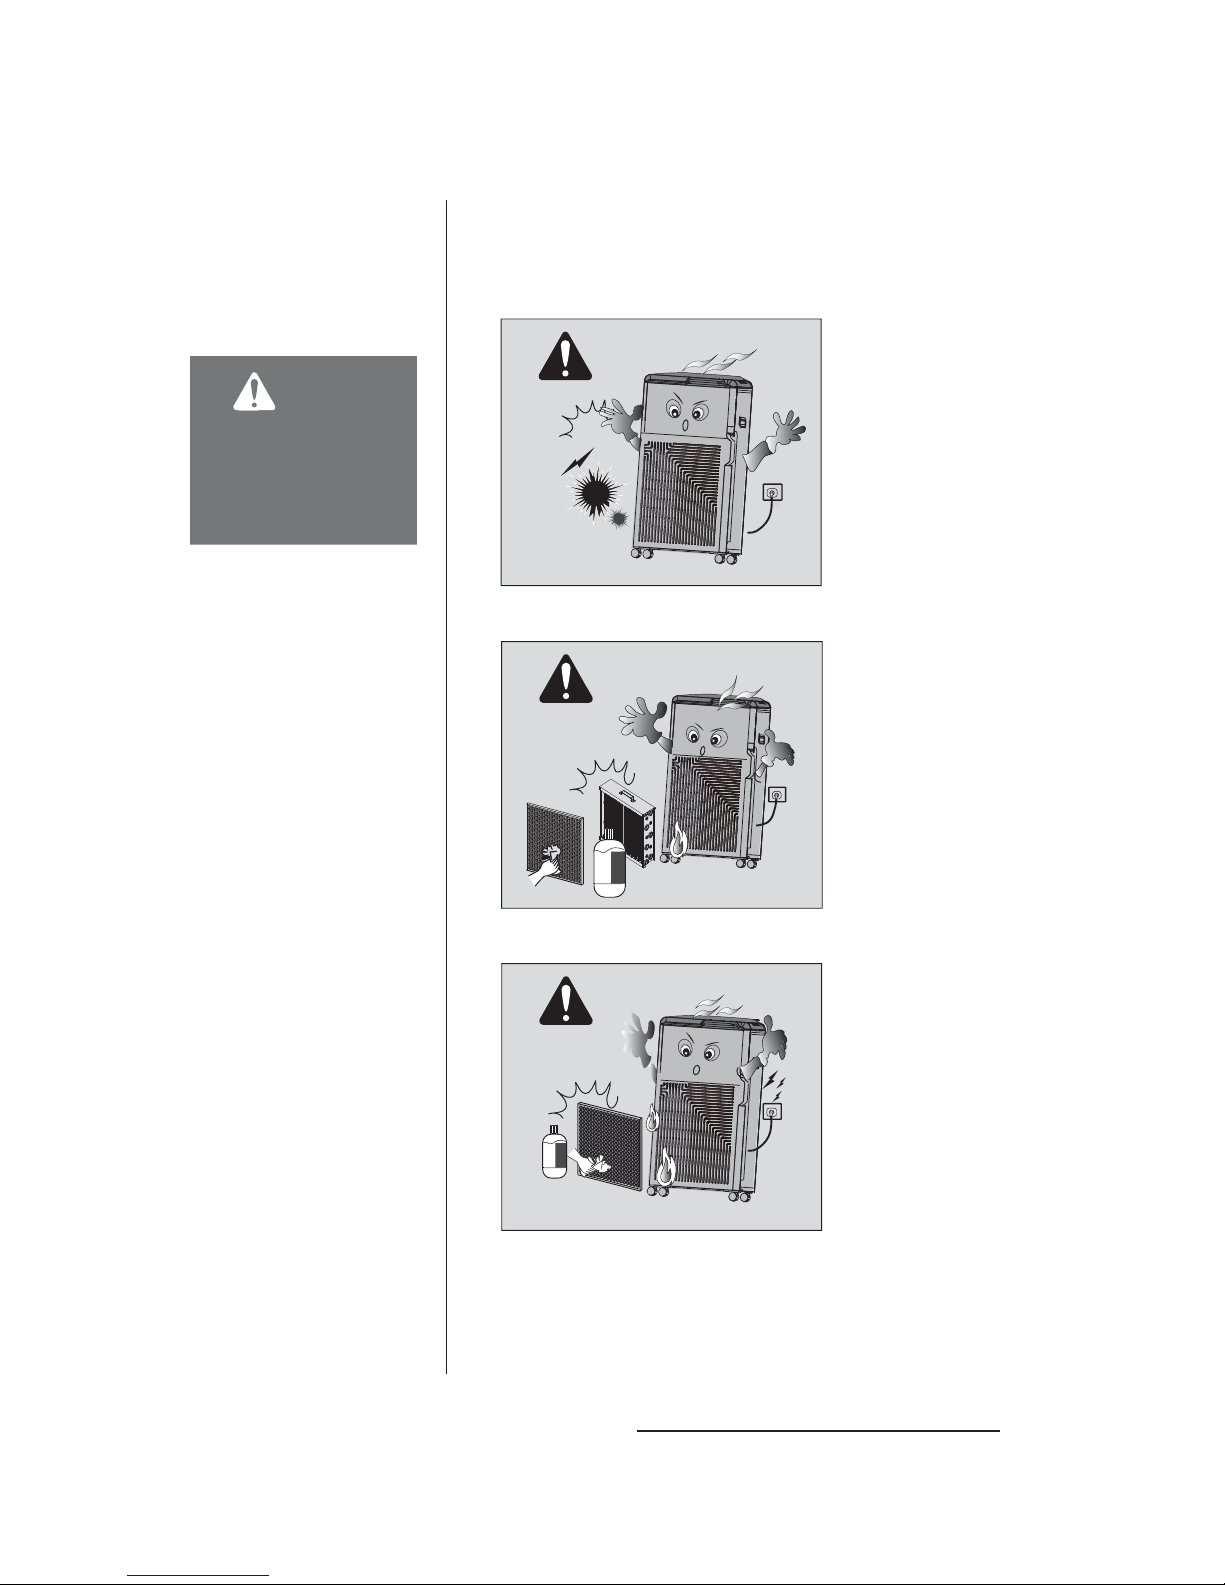
• Do not use the unit in an enclosed space where oxygen,
flammable, explosive or toxic vapors are given off by oil
base paint, paint thinner, some mothproofing substances, or
in an area where flammable dust is present.
• Do not clean outside with paint thinner or any chemicals. If so, the
unit surface may become damaged or may cause fire.
• Do not wash or reuse the activated carbon filter.
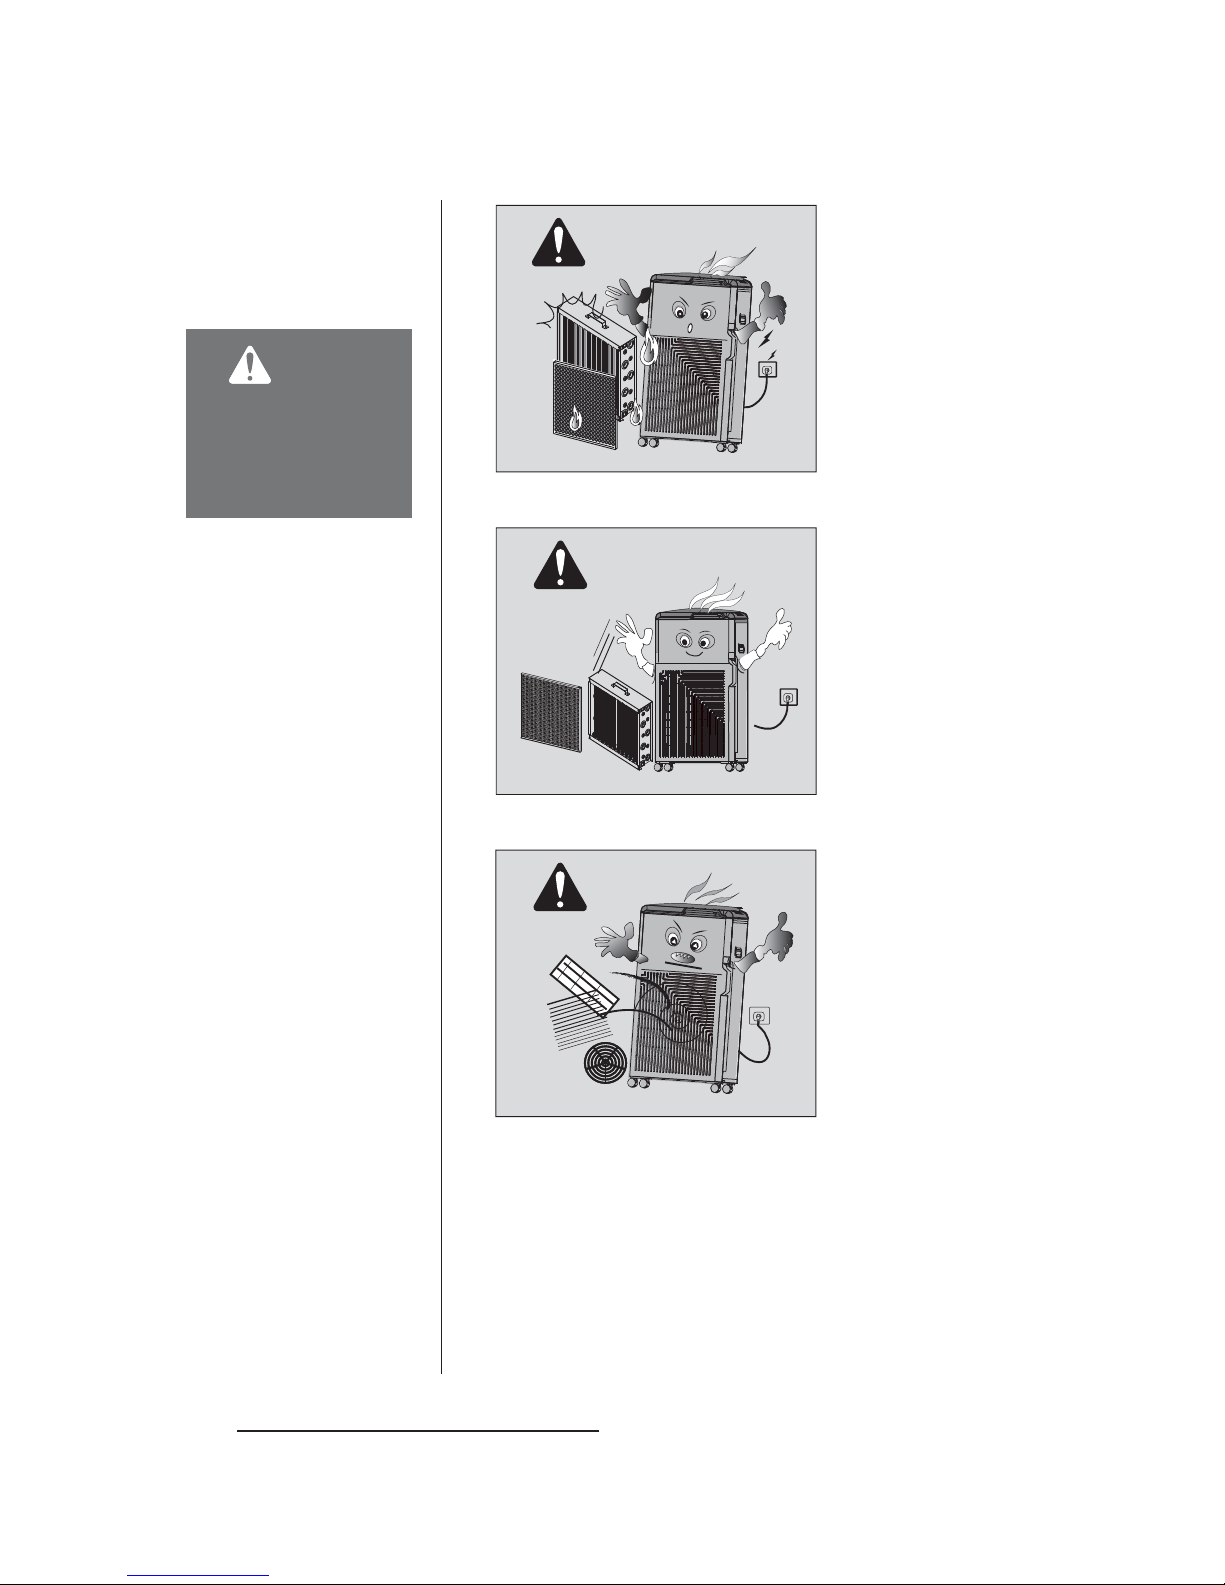
• Do not operate the unit without filters.
• Do not insert fingers or foreign objects into the intake or air outlet.
• Keep hair, loose clothing, fingers and all parts of body away from
openings and moving parts.
• Do not block the intake and air outlet.
• Do not use the unit near or on hot objects, such as range or where
it may be exposed to steam.
• Always hold the handles on the side of the unit when moving it.
Holding the front panel when carrying may cause it to detach, and
result in bodily harm.
• Be careful not to tip over the unit when opening the front panel. If
not, it may cause bodily harm.
• The batteries must be removed from the remote control before
disposal, and the batteries must be disposed of safely.
Power Cord
Unit Operation

E-07
CHAPTER 1
IMPORTANT SAFETY
PRECAUTIONS
This manual classifies precautions into WARNINGS and CAUTIONS.
Be sure to follow all precautions below: They are important for
ensuring your safety.
1. This unit cannot be used
in an atmosphere
containing explosive dust,
gas or in an area where
flammable substances are
present. If so, it results in
explosion or fire!
WARNING:
• Do not use the unit in the
places containing explosive
dust, gas or flammable
substances.
• Do not cleanse the unit or
any parts with flammable
substances.
• Do not wash or reuse the
activated carbon filter.
2. Do not clean the unit or
any parts (e.g. pre-filter,
electronic cell or activated
carbon filter etc.) with
alcohol, gasoline, paint
thinner or other flammable
substances.
It may cause fire!
3. Do not wash or reuse
the activated carbon filter
or clean the activated
carbon filter with liquid,
especially alcohol,
gasoline, paint thinner,
etc.. It may cause fire!
Gasoline
Gasoline
If you do not follow these
instructions exactly, the
unit may cause property
damage, personal injury or
loss of life.
WARNING

E-08
WARNING:
• Do not try to place the
activated carbon filter in
front of the cell.
• Dry the cell and Pre filter
thoroughly after cleaning.
• Do not disassemble or
modify the unit.
4. The activated carbon
filter must be located
behind the cell. Do not try to
place the activated carbon
filter in front of the cell.
It may cause fire!
5. After cleaning the filters,
make sure to dry them
thoroughly before
reinstalling.
Failure to do so may
cause the unit to stop
working or personal
injury.
6. Do not disassemble or
modify this equipment.
Unwarranted tampering can
lead to fire, electric shock
and unit malfunction.
CHAPTER 1
IMPORTANT SAFETY
PRECAUTIONS
If you do not follow these
instructions exactly, the
unit may cause property
damage, personal injury or
loss of life.
WARNING

E-09
IMPORTANT SAFETY
PRECAUTIONS
WARNING:
• Do not use the unit in humid
places that might be wet.
• Do not place the product in
direct contact with sunlight.
8. Do not use the unit in
humid places that might be
wet. Contact with water can
lead to electric shock or
damage the equipment.
9. If any parts of the power
source get wet remove the
plug and dry them
completely before reusing.
CHAPTER 1 7. Use a fuse with proper
capacity. Never use a wire
in place of a fuse.
Doing this may lead to
malfunction or fire.
Copper Wire
125V 2A
If you do not follow these
instructions exactly, the
unit may cause property
damage, personal injury or
loss of life.
WARNING

E-10
If you do not follow these
instructions exactly, the unit
may cause minor property
damage or personal injury.
CAUTION
1. Do not place the product
in direct contact with
sunlight. It may cause
malfunction and
deformation of the product.
2. Do not use the unit in
high humidity conditions.
Use the product in the
ambient temperature of
0-40
0
C
.
5 C
40 C
Relative humidity<55%
3. Do not block the intake
or outlet. Blocked openings
can reduce capacity or
damage the unit.
IMPORTANT SAFETY
PRECAUTIONS
CHAPTER 1

E-11
CHAPTER 2 The air purifier functions as an air cleaner by helping to disinfect
airborne microorganisms and removing particulates from the air.
The centrifugal fans of the unit draw air through the front panel (Intake)
on the front of the unit. Then it passes through the Pre-filter, the
electronic cell, the activated carbon filter and the UV-Photo catalytic
sterilization chamber. The purified air is then released through the outlet
on the top of the unit.
The air is cleansed in six stages:
• The Pre-filter traps large dust particles.
• The two-stage electrostatic precipitator captures airborne particles. In
the ionizing section of the electronic cell, billions of microscopic particles
become electrically charged as they pass through the powerful electric
field. The collector plates immediately attract and collect these charged
dust and dirt particles.
• The activated carbon filter adsorbs and reduces odors, chemicals and
gases, removes tobacco smoke, the smell of food and other odors.
• The UV sterilization chamber kills bacteria and viral microorganisms
such as influenza, TB and Legionnaire's Disease as well as other
harmful contaminants.
• When UV light hits the photo catalytic filter, it creates e- and h+, which
have an excellent effect in the decomposition of odors.
• The unit also generates negative ions that freshens the room air.
Stage 2
Stage 3
Stage 4
Stage 5
Stage 6
Bacteria
Virus
Pollen
Dust
VOC's
Fungus
tobacco smoke
Stage 1
HOW IT WORKS
CLEAN AIR OUT
DIRTY AIR IN
Part Name
Stage 1 Pre-filter
Stage 2 Electronic Cell
Stage 3 Activated Carbon Filter
Stage 4 UV-C Germicidal Lamp
Stage 5 Photo catalyst
Stage 6 Negative Ion Generator
The air is cleansed
in six stages

E-13
E-12
CHAPTER 3
Part Numbers
Part Names
PART NUMBER
AND NAME
210203 Plastic front panel
200518 Front panel magnet
201911 Pre-filter
201907 Electronic cell
201910 Activated carbon filter
210102 Filter case
210202 Upper panel
210106 Fan motor bottom plate
201506 Unit power contact plate
201801 Unit epoxy resin board
200305 Power supply
210309 Power supply transformer
210112 Circuit board protector
210301 Main circuit board
210308 Main circuit board
transformer
200501 Caster
210103 Bottom plate
210305 Interlock switch
CHAPTER 4
FEATURES AND
SPECIFICATIONS
Multi-Stage Filters
The unit utilizes a two-stage electrostatic precipitator (Electronic cell)
combined with a Pre-filter (For large particles), an Activated carbon filter
(For odors and gases), UV germicidal light (Killing airborne pathogen),
a Photo catalytic filter (Removes VOC's) and a Negative ion generator.
Automatic Function
The odor sensor automatically selects the appropriate fan speed
depending on the air quality detected.
Carbon Filter, UV Lamps Replacement and Cell Cleaning
Indicator Lights
The REPLACE CARBON FILTER, REPLACE UV LAMPS indicator lights
tell you when to replace the activated carbon filter or the UV lamps.
Also, the CLEAN CELL indicator light tells you when to clean the
electronic cell.
Safety Micro-Switch (Interlock switch)
This air purifier is equipped with a safety interlock switch (Micro-safety
switch) that will turn the unit off if the front panel is opened while the unit
is running.
Easy Maintenance and Low Cost
When the electronic cell needs to be washed or the filters need to be
replaced, simply open the front panel and pull out the electronic cell or
old filters and put the new or clean one in.
No screws, hooks or tools are required. The electronic cell captures small
particles on aluminum plates that are simply rinsed off in the sink.
Features
Product
Specifications
Model No.
Power Requirement
Rated Power
Fan Motor
Noise Level
Negative Ion
UV Lamp
Dimensions
Weight
R400T (RespirAide 400T)
120V, 60Hz, 1A
96W
120V, 60Hz
<55dB
3x10⁶ /cm3
6Wx2
H83.5cmxW47.8cmxD23.8cm
23.8kg
Specifications
Standby Power
In order to operate the electrical circuits while the power plug is
inserted in the wall outlet, this product consumes about 5.8W of
standby power. For energy conservation, unplug the power cord when
the unit is not in use.
210302
200518
210203
201926 201907
210202
210102
210106
200312
200302
201910
201506
201801
200305
210112210301
201320
200501
201321
210305 210103
210801
210101
202522
210211
201203
201505
210105
201202
201306
210104
210501
201303
210201
210206
210205
210101 Unit housing
200312 UV lamp
200302 UV lamp holder & ballast
202522 Photo catalyst
210211 Unit Handle
201306 Fan Motor
201202 Fan housing
201203 Fan blade
201505 Fan motor side plate
210105 Fan motor top plate
210104 Outlet screen holder
210501 Outlet screen
210201 Plastic top cover
210302 Display circuit board
201303 Odor sensor
210801 Silica gel button lining
210205 Power button-square type
210206 Button-rectangle type

E-13
CHAPTER 4
FEATURES AND
SPECIFICATIONS
Multi-Stage Filters
The unit utilizes a two-stage electrostatic precipitator (Electronic cell)
combined with a Pre-filter (For large particles), an Activated carbon filter
(For odors and gases), UV germicidal light (Killing airborne pathogen),
a Photo catalytic filter (Removes VOC's) and a Negative ion generator.
Automatic Function
The odor sensor automatically selects the appropriate fan speed
depending on the air quality detected.
Carbon Filter, UV Lamps Replacement and Cell Cleaning
Indicator Lights
The REPLACE CARBON FILTER, REPLACE UV LAMPS indicator lights
tell you when to replace the activated carbon filter or the UV lamps.
Also, the CLEAN CELL indicator light tells you when to clean the
electronic cell.
Safety Micro-Switch (Interlock switch)
This air purifier is equipped with a safety interlock switch (Micro-safety
switch) that will turn the unit off if the front panel is opened while the unit
is running.
Easy Maintenance and Low Cost
When the electronic cell needs to be washed or the filters need to be
replaced, simply open the front panel and pull out the electronic cell or
old filters and put the new or clean one in.
No screws, hooks or tools are required. The electronic cell captures small
particles on aluminum plates that are simply rinsed off in the sink.
Features
Product
Specifications
Model No.
Power Requirement
Rated Power
Fan Motor
Noise Level
Negative Ion
UV Lamp
Dimensions
Weight
R400T (RespirAide 400T)
120V, 60Hz, 1A
96W
120V, 60Hz
<55dB
3x10⁶ /cm3
6Wx2
H83.5cmxW47.8cmxD23.8cm
23.8kg
Specifications
Standby Power
In order to operate the electrical circuits while the power plug is
inserted in the wall outlet, this product consumes about 5.8W of
standby power. For energy conservation, unplug the power cord when
the unit is not in use.

E-14
4
h
8
h
1
2
h
L
M
H
A
U
T
O
U
V
L
A
L
L
M
P
N
E
G
.
I
O
N
T
I
M
E
R
S
P
E
E
D
C
L
C
C
E
A
E
E
N
C
E
C
C
L
E
E
L
R
E
R
R
P
E
E
L
P
P
A
C
E
C
C
C
A
C
C
R
B
R
R
O
N
O
O
F
I
F
F
L
I
I
T
E
T
T
R
E
E
R
E
R
R
P
E
E
L
P
P
A
C
E
C
C
U
V
L
A
M
P
M
M
S
P
P
C
H
C
C
E
H
H
C
EE
K
C
C
H
O
HH
L
O
O
D
P
O
PP
W
E
W
W
R
E
E
B
U
T
T
T
T
O
TT
N
O
O
3
S
E
S
S
C
E
E
O
C
C
N
O
O
D
N
N
S
T
O
TT
R
E
R
R
S
E
E
E
S
S
T
OPERATION
CHAPTER 5
Connect the Power
Plug the unit into an electric outlet, the unit will be ready to run and all
the indicators on the display panel will light up for 2 seconds.
Main Unit Operation
1. POWER Button
Press the POWER button to start the unit, re-press it to stop. The unit
will run at low speed when the POWER button is pressed.
2. SPEED Button
When the power is on, the unit will be set at the L speed and the
indicator lights will illuminate, select the speed by pressing the SPEED
button. Each time the SPEED button is pressed the airflow rate changes
as shown below:
L ------ M ------ H ----- AUTO----- L...
3. TIMER Button
When the TIMER button is pressed, the indicator light will light up. The
indicator light shows the set time. Press the TIMER button to select the
time for operation. The unit will automatically turn off once the timer has
counted down to zero.
4. UV LAMP Button
When the UV LAMP button is pressed, it will turn off the UV lamps,
pressing again will turn on the UV lights. The indicator light will light up
when the UV lights are on.
5. NEG.ION Button
When pressed, the generation of ions will cease and the negative ion
generator light on the button will go out.
6. INDICATOR Lights
• CLEAN CELL indicator light- When the CLEAN CELL indicator light
flashes, the cell needs to be washed.
• REPLACE CARBON FILTER indicator light
When the REPLACE CARBON FILTER indicator light flashes, the
activated carbon filter needs to be replaced.
• UV LAMP indicator light
If the REPLACE UV LAMPS flashes, it tells the time for the UV lamps to
be replaced.
• CHECK indicator light
When the indicator light flashes red with beeping, please contact
customer service.
13 2
45
6
POWER Button:
• When the power cord is
connected to the electrical
outlet, the indicator light will
light up yellow and pressing
the POWER button to start
the unit and it will turn white
in color.
• Hold the Power button down
3 seconds to RESET the
indicator lights after
CLEANING CELL,
REPLACING THE CARBON
FILTER and THE UV
LAMPS.
AUTO Mode:
Every time the power plug is
inserted into the wall outlet,
the auto sensor needs a short
warming up period. During
this time, the SPEED
indicator lights flash, moving
from L to H.

E-15
OPERATION
CHAPTER 5 Setting New Functions
The unit buttons offers access to a number of functions:
Setting new functions
2. Cell Clean Dry Function
• Stop the unit operation and hold down the SPEED button until you
hear a beep sound to set up the Cell Clean Dry function mode.
• In this mode, the unit electronic cell does not charge for 45 minutes
allowing time to dry the cell.
• After running 45 minutes, the cell will automatically charge and start
to work.
3. Change the Button Melody
• Stop the unit operation and hold down the UV LAMP and NEG. ION
buttons at the same time until you hear the new melody.
• If you want to go back to the default melody, do the reverse.
Note: This function is helpful
for drying the cell thoroughly
after cleaning.
1. Timer Cycle Function
Setp1. Power off the unit.
Step2. Hold the TIMER button for 3 seconds until the "8 hour" indicator
light comes on.
Step3. Press the TIMER button one time and wait for all the timer lights
flash.
Step4. Press the POWER button
Step5. Press the POWER button to operate the unit.
Step6. Press the TIMER button again. This time all the indicator lights will
be on.
In this case the unit will start to work 2 hours and stops 2 hours
automatically
If you want to return to the default mode, do the reverse.
Indicator lights
flash
All the TIMER
indicator lights flash
4
h
8
h
1
2
h
4
h
8
h
1
2
h
5-1 Default mode 5-2 Timer cycle mode
T
I
M
E
R
T
I
M
E
R

E-16
OPERATION
CHAPTER 5
1. POWER Button
The unit will start operating when the POWER button is pressed.
Pressing the button again will stop operation.
2. SPEED Button
The fan speed can be switched among Low, Medium and High settings.
3. TIMER Button
The set time switches every time when the button is pressed as shown
below:
L ------ M ------ H ----- AUTO----- L...
4. UV LAMP Button
When pressed, turn off the UV lamp.
5. NEG.ION Button
When pressed, the generation of ions will cease and the negative ion
generator light on the control panel will go out.
6. AUTO Button
In Auto mode, the fan speed is automatically switched (L and M)
depending on the amount of pollution in the air.
7. NIGHT Button
When pressed, all the indicators will go out except the POWER button
light on the control panel.
Remote Control Operation
1
2
4
6
3
8
5
7
8. RESET Button
After the replacement of activated carbon filter
or the UV lamp, make sure to press RESET
button 3 times to reset the timer. After cleaning
the electronic cell, press the RESET button 3
times to reset the cell cleaning time.
Note: Before pressing the RESET button, be
sure the unit is plugged in.
+
Remote Control Operation
The battery is already set in the remote control, pull out the clear sheet
from the battery cover before using.
Pull out the clear sheet
from the battery cover
before using.
Battery Information
• Open the cover on the rear
of the remote control
towards the arrow.
• Replace the battery with
CR2025 battery. Be sure to
set the battery with the (+)
side up.
• Close the cover to its
original position.
• The battery for this remote
control is for initial use only.
Change the battery when
necessary.
• When not using the unit or
remote control for an
extended period, remove the
battery.
CR2025 Battery

E-17
CHAPTER 6
Cleaning the Pre-filter
WARNING:
• DO NOT clean the Pre-
filter with flammable
substances (Alcohol,
gasoline, paint thinner,
etc.). It may cause fire!
• After cleaning the Pre-
filter, it is very important to
dry it completely before
placing it back in the unit.
• During maintenance, be
careful not to tip over the
unit. It may cause
personal injury.
WARNING:
Cleaning the unit while it
is plugged in may result
electric shock, electric
spark and serious injury.
Unplug the unit before
cleaning or maintenance!
6-1 Open the front panel
6-2 Removing the Pre-filter
CARE AND
MAINTENANCE
To maintain optimum performance of this air purifier, please clean the
unit including the Pre-filter and electronic cell periodically.
When cleaning the unit, be sure to unplug the power cord, and
never handle the plug with wet hands. If so, electrical shock and
bodily injury may occur as a result.
Main Unit
To prevent dirt or stains on the main unit, clean as often as necessary. If
stains are allowed to remain, they may become difficult to remove. Wipe
with a dry, soft cloth for stubborn stains or dirt, use a soft cloth
dampened with warm water. Do not use volatile fluids, Benzene, paint
thinner, polishing powder, this may damage the surface. Do not use
detergents, detergent ingredients may damage the unit. Keep the unit
away from water.
Cleaning the Pre-filter
To assure optimum performance the Pre-filter should be cleaned
regularly-every one to two weeks. Washing frequency will vary
depending on the number of family members, pets, activities (such as
cooking or woodworking) and smoking habits. Use the wash reminder
schedule in this manual.
• Stop the operation and unplug the unit.
• Open the front panel.
• Pull the Pre-filter straight up and out of the front panel.
• After using a vacuum cleaner to remove any dust, clean with water. If it
is very dirty, use a soft brush or a neutral cleaner to clean then dry
completely before placing it back into the unit.
• Place the Pre-filter back into the front panel by sliding straight down
into the slots.

E-18
CARE AND
MAINTENANCE
Cleaning the Electronic Cell
Remove the electronic cell
• Stop the operation and unplug the unit.
• Please wait 5-10 seconds before taking off the front panel.
• Pull the cell straight up and out of the filter cabinet.
WARNING:
•DO NOT clean the cell
with alcohol, gasoline,
paint thinner or other
flammable substances.
It may cause fire!
• DO NOT reinstall the cell
until it is completely dry. If
the CHECK light flashes
red, then the cell may still
be wet.
• Be sure there is no
detergent residue around
the cell ceramic
insulators, especially
around the square shape
ceramic insulators.
• Slide in the cell so the
airflow arrow points
toward the machine.
CHAPTER 6
Helpful Hints
How to clean the electronic cell
• To assure optimum performance the cell should be cleaned every one
to two months.
• Use a large enough container, such as a laundry tub or trash container.
Dissolve detergent in warm water to cover the cell. After the detergent
has completely dissolved, place the cell in the container. Allow the cell
to soak for 15~30 minutes and rinse with clean water. Tough residue
such as tar from tobacco smoke may need longer soaking.
• After cleaning, make sure to rinse detergent residue thoroughly out of
the ceramic insulators of the cell. Dry the cell thoroughly with heat gun
before reinstalling.
6-4 Removing the cell
• If the CLEAN CELL indicator
lights flashes , it is the time to
clean the cell.
• If the air quality is extremely poor
and the cell is dirty, you may clean
the cell before CLEAN CELL
indicator light flashes.
Reset the CLEAN CELL
indicator light
• Hold the POWER button down
on the control panel 3 seconds
to reset the CLEAN CELL
indicator light.
Reset the CLEAN CELL indicator light
After sliding the clean cell in the unit, hold the POWER button down
on the control panel 3 seconds or press the RESET button on the
remote control 3 times to reset the CLEAN CELL indicator light.
The electronic cell stops powering up for 45 minutes every time you
clean the cell and reset the CLEAN CELL indicator light.
6-3 Open the front panel

E-19
CHAPTER 6
CARE AND
MAINTENANCE
Photo catalytic Filter and UV Lamps
Photo catalytic filter
Photo catalytic filter is permanent, never needs replacing. When there is
dust on it, clean the dust off using a vacuum cleaner dusting brush. Do
not wash it in water.
UV lamps
• When the REPLACE UV LAMPS indicator light on the control panel
flashes, it is time to replace the UV lamps.
• Removing the UV light blocker, gently rotate the lamp a quarter turn in
either direction until it unlocks from the socket.
6-5 Replace the activated
carbon filter
If the air quality is extremely poor,
you may replace the activated
carbon filter before the REPLACE
CARBON FILTER indicator light
flashes. The activated carbon filter
is located behind the electronic cell.
6-6 Replace the UV Lamps
After removing the UV light
blocker, rotate the lamp to
unlock it from the socket.
WARNING:
• Never look directly at UV
lamp .
• Direct exposure to germicidal
light can cause temporary or
chronic damage to your
eyesight, or even blindness.
• Always unplug the unit
before cleaning, servicing or
replacing the UV lamp.
Replacing the Activated Carbon Filter
When the REPLACE CARBON FILTER indicator light flashes, the
activated carbon filter needs to be replaced.
• Stop the operation and unplug the unit.
• Please wait 5-10 seconds before opening the front panel.
• Remove the old activated carbon filter from the filter cabinet and insert
a new one.
Reset the REPLACE CARBON FILTER indicator light
After replacing the activated carbon filter, hold the POWER button down
on the control panel 3 seconds or press the RESET button on the
remote control 3 times to reset the indicator light.
WARNING:
• DO NOT reuse or clean
the activated carbon filter
with liquid, especially
alcohol, gasoline, paint
thinner, etc. It may cause
fire!
• DO NOT try to place the
activated carbon filter in
front of the cell! It may
cause fire!
Note:
Remove plastic packaging
from the activated carbon
filter before operation.

E-20
FREQUENTLY ASKED
QUESTIONS (FAQs)
CHAPTER 7 Why does my air purifier spark?
It is common for the purifier to spark, crackle or pop during operation. A
spark indicates that the air purifier captured a large air particle. If the unit
sparks continuously:
• The electronic cell may be excessively dirty or have a foreign object
lodged between the plates. Remove the cell from the unit and wash
thoroughly.
• Visually inspect the cell for any foreign debris lodged between the
plates. Also, inspect for broken ionizing wires, chipped or cracked
ceramic insulators, or bent plates.
• When replacing cell in the unit, make sure the directional arrow on
the cells point toward the unit.
How should I clean the cell?
• Stop the operation and unplug the unit.
• Please wait 5-10 seconds before opening the front panel.
• To assure optimum performance the cell should be cleaned every one
to two months.
• Use a large enough container, such as a laundry tub or trash container.
Dissolve detergent in warm water to cover the cell. After the detergent
has completely dissolved, place the cell in the container. Allow the cell
to soak for 15~30 minutes and rinse with clean water. Tough residue
such as tar from tobacco smoke may need longer soaking.
• After cleaning, make sure to rinse detergent residue thoroughly out of
the ceramic insulators of the cell. Dry the cell thoroughly with heat gun
before reinstalling.
Important Note:
It is very important that the cell is allowed to dry completely before sliding
them back into the cell cabinet as electricity is passed through the cell.
How often should I change the activated carbon filter (Charcoal
filter)?
The function of the activated carbon filter is to adsorb odors and freshen
the air. When the REPLACE CARBON FILTER indicator light on the
control panel flashes, you should replace the activated carbon filter.
Even before the indicator light flashes you can replace the activated
carbon filter using your best judgment based on the odors you perceive
in your home.

CHAPTER 8
TROUBLESHOOTING
Front panel open or interlock switch
failure?
The unit does not operate when
the front panel is detached. Install
properly. Check interlock switch.
The cell may be wet after cleaning.
Dry it thoroughly. If not, call the
Customer Service.
Is the CHECK light flashing?
Clean the filters or replace them.
Clean the dust on the sensor.
Check the problems first and then unplug the power cord. Call the Customer
Service to ask for after-sale service or make inquiries.
There is too much dust on the sensor?
There is too much dust on the
electronic cell?
Automatic function does not
work properly
When other problems in
terms of functions are found
When functions do not work
Power plug disconnected?
Is the fuse burnt?
There is too much dust on the
Pre-filter, activated carbon filter?
The air inlet or outlet blocked?
There is no dust on the sensor.
Wash it and dry completely before
reinstalling it.
Get rid of foreign materials around
the outlets.
Call the Customer Service.
Check other electrical appliances.
Make sure to insert the plug.
Replace the FUSE with new one.
Service problems that appear to be major can often be solved easily.
You can be your own troubleshooter by reviewing the following guide. All
other servicing should be done by a RespirAide authorized service
center.
The unit does not operate
Power failure?
E-21
Table of contents
Other RespirAide Air Cleaner manuals