Respironics EverGo User manual

1060021
NS 8/05/2010
REF 900-098-02
Respironics Inc.
1001Murry Ridge Lane
Murrysville, PA15668 US
A

Ta b l e o f Co n T e n T s
Introduction���������������������������������������������������������������������������������������������������� 1
Intended Use����������������������������������������������������������������������������������������������������������������������������������������1
Contraindications�������������������������������������������������������������������������������������������������������������������������������1
Description��������������������������������������������������������������������������������������������������������������������������������������������1
EverGo System ������������������������������������������������������������������������������������������������������������������������������������2
Warnings and Cautions ��������������������������������������������������������������������������������������������������������������������3
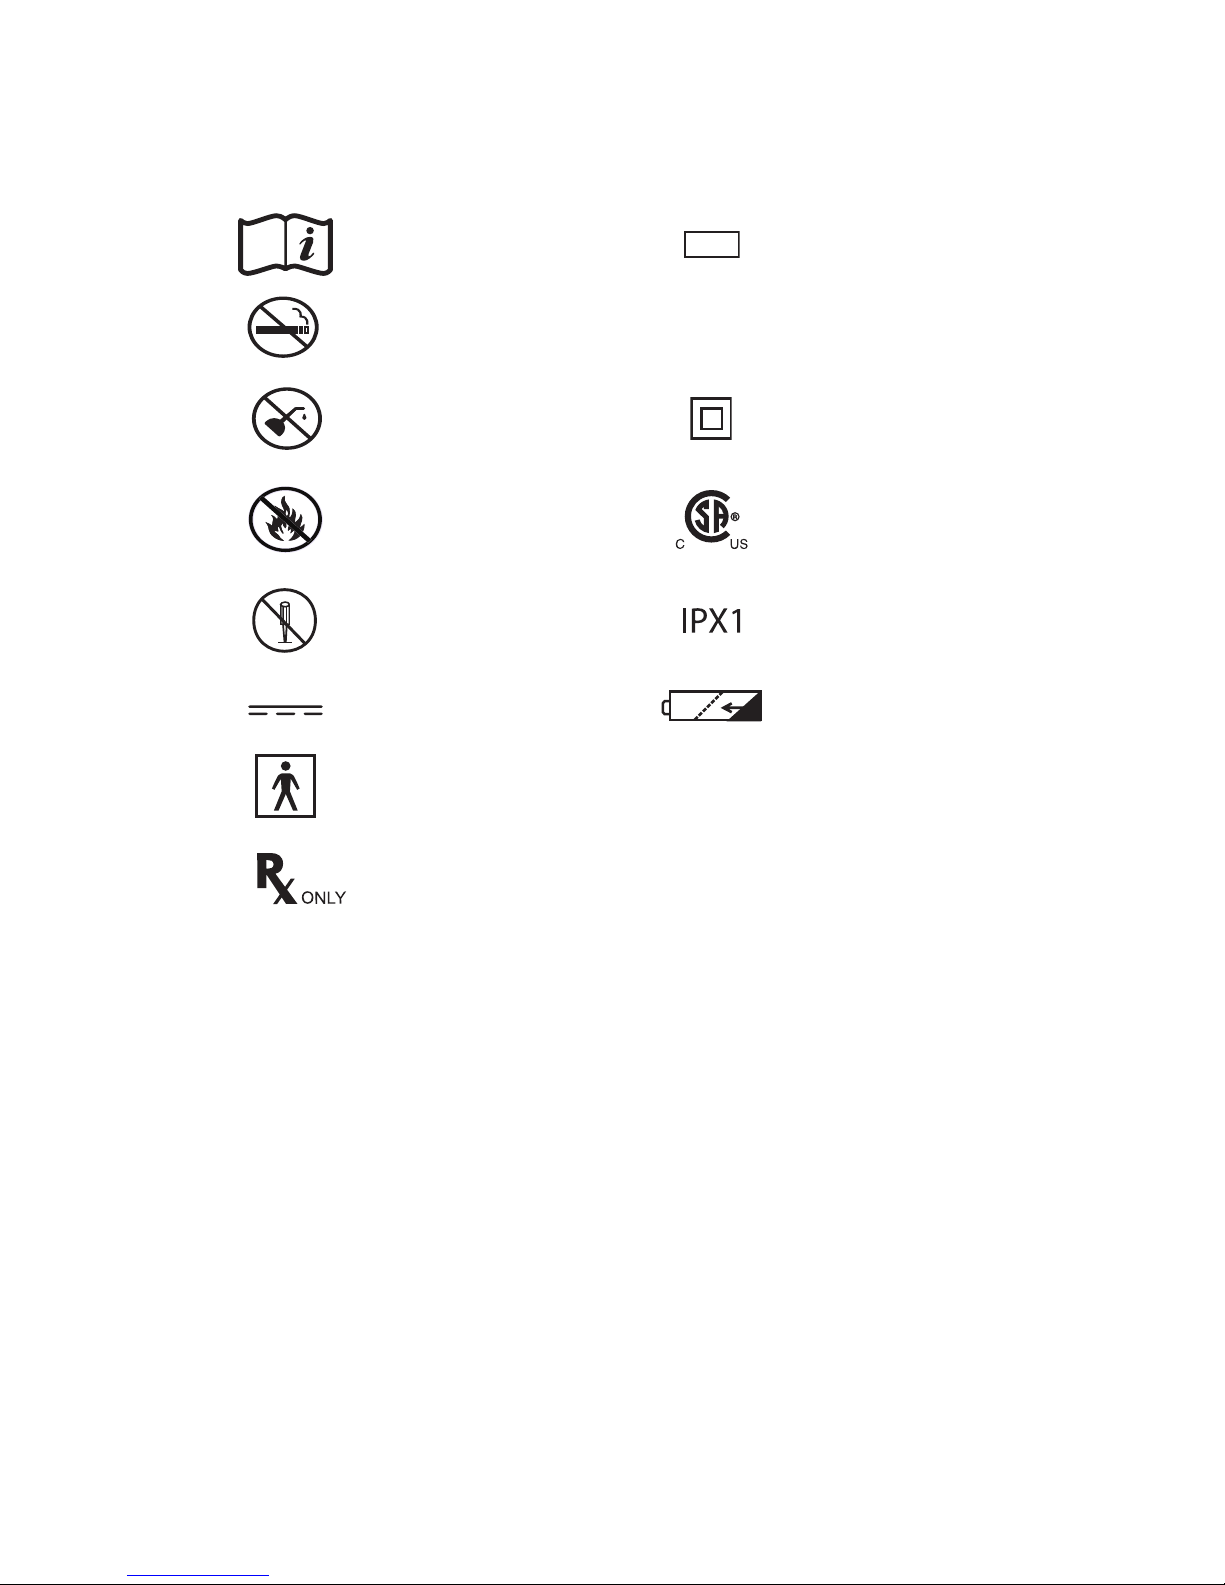
Symbol Key �������������������������������������������������������������������������������������������������������������������������������������������6
How to Contact Respironics �����������������������������������������������������������������������������������������������������������6
Getting Started ����������������������������������������������������������������������������������������������� 7
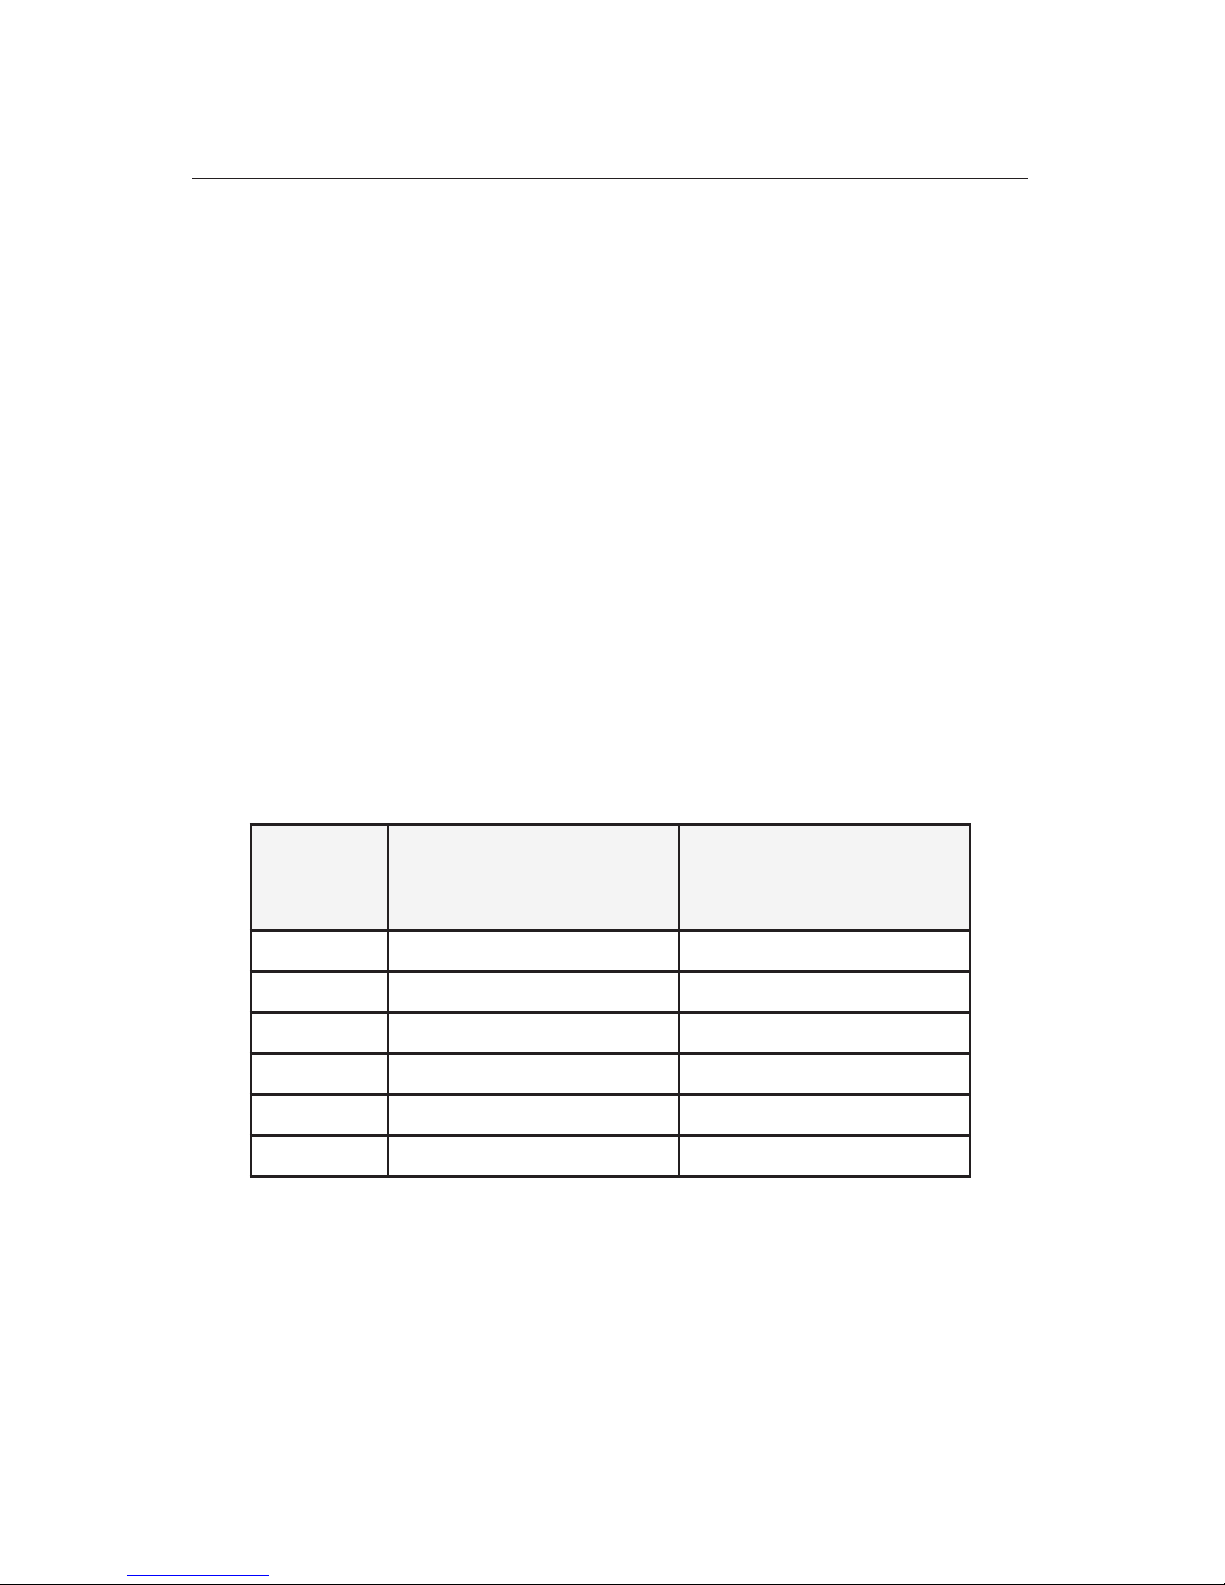
Battery Duration Times���������������������������������������������������������������������������������������������������������������������7
Inserting the Battery(s) ���������������������������������������������������������������������������������������������������������������������8
Charging the Battery(s) with AC Power Supply���������������������������������������������������������������������10
Operating the EverGo Device����������������������������������������������������������������������11
Getting Started����������������������������������������������������������������������������������������������������������������������������������13
Operating the Touch Screen ��������������������������������������������������������������������������������������������������������15
Alarm Indicators and Screen Symbols ��������������������������������������������������������19
Troubleshooting�������������������������������������������������������������������������������������������24
Caring for your Battery(s) ���������������������������������������������������������������������������25
Battery Storage����������������������������������������������������������������������������������������������������������������������������������25
Caring for your EverGo Device �������������������������������������������������������������������26
Cleaning the Air Inlet Filter �����������������������������������������������������������������������������������������������������������26
Cleaning the Carrying Case�����������������������������������������������������������������������������������������������������������27
Device Storage ����������������������������������������������������������������������������������������������������������������������������������27
Device Disposal���������������������������������������������������������������������������������������������������������������������������������27
Traveling With Your System ������������������������������������������������������������������������28
Specications������������������������������������������������������������������������������������������������31
EMC Information�������������������������������������������������������������������������������������������33
Limited Warranty������������������������������������������������������������������������������������������35
© 2010 Koninklijke Philips Electronics N.V. All rights reserved.


1
EverGo User Manual
In T r o d u C T I o n
Intended Use
e EverGo Portable Oxygen Concentrator is intended for prescription use by
patients requiring high concentrations of oxygen on a supplemental basis. It
is small, portable and is capable of continuous use in home, institutional, and
travel / mobile environments.
Contraindications
• isdeviceisnotintendedtobelife-sustainingorlife-supporting.
• isdeviceisnotintendedforusewithhumidiers.
• isdeviceisnotintendedforpediatricuse.
Description
e EverGo Portable Oxygen Concentrator, its features, and its accessories are
described in detail in this manual. Read and understand it completely before
operating the device.
ismanualappliestothefollowingproducts:
• EverGoPortableOxygenConcentratorDeviceinCarryingCase*
• PowerSupply
• ACPowerCord
• DCPowerCord
• RechargeableLithiumIonBattery
• AirInletFilter
• AccessoryBag
* Warning: Do not attempt to remove the EverGo carrying case unless
instructed to do so by airport security officials during air travel. Do not
attempt to operate the EverGo without the carrying case. e EverGo
cannot be operated safely without it. See the Traveling section in this
manual for more information.
Forthemobilecart,seetheinstructionsheetthatispackagedwithit.
ismanualdoesnotapplytothefollowingaccessoryitemssoldseparately:
• StandardSingleLumenNasalCannula
• EverGoSmartBatteryCharger/Recalibrator

2
EverGo User Manual
EverGo System
edevicecomeswiththefollowingitems.Ifanyaremissing,contactyour
equipment provider.
• EverGoDeviceinCarryingCase
withDetachableHandleand
ShoulderStrap
• isUserManual
• RechargeableBatteries(1or2)
• AirInletFilters(2)
(locatedinzipperedpouchonsideofbag)
• ACPowerSupplyandCord
• DCPowerCord
• AccessoryBag
• MobileCart(optional)

3
EverGo User Manual
Warnings and Cautions
Caution! U.S. federal law restricts this device to sale by or on the order of a
physician.
Warnings
Awarningrepresentsthepossibilityofharmtotheoperatororpatient.
• eoperatorshouldreadandunderstandthisentiremanualbefore
using the device.
• edeviceisnotintendedforlifesupport.Wheretheprescribing
health care professional has determined that an interruption in the
supply of oxygen, for any reason, may have serious consequences to the
user, an alternate source of oxygen should be available for immediate
use.
• Geriatricoranyotherpatientunabletocommunicatediscomfort,or
hearorseethealarmswhileusingthisdevice,mayrequireadditional
monitoring.
• Oxygensupportscombustion.Oxygenshouldnotbeusedwhile
smoking or in the presence of an open flame.
• Donotusethedeviceinthepresenceofaammableanaesthetic
mixtureincombinationwithoxygenorair,orinthepresenceof
nitrous oxide.
• Donotuseoilorgreaseontheconcentratororitscomponentsas
thesesubstances,whencombinedwithoxygen,cangreatlyincreasethe
potentialforarehazardandpersonalinjury.
• Ifyounoticeanyofthefollowing,discontinueuseandcontactyour
homecareprovider:
- unexplainedchangesintheperformanceofthisdevice
- unusualorharshsounds
- droppedormishandleddeviceorthepowersupply
- waterspilledintotheenclosure
- brokenenclosure
• UseonlywithaPhilipsRespironicsEverGopowersupply.
• UseonlywithPhilipsRespironicsEverGobatteries.
• UseonlyapprovedEverGoaccessories.

4
EverGo User Manual
• RepairsandadjustmentsmustbeperformedbyPhilipsRespironics
authorizedservicepersonnelonly.Unauthorizedservicecouldcause
injury,invalidatethewarranty,orresultincostlydamage.
• Periodicallyinspectelectricalcords,cables,andthepowersupplyfor
damageorsignsofwear.Discontinueuseandreplaceifdamaged.
• Toavoidelectricshock,unplugthedeviceandremovethebattery(s)
beforecleaningthebag.DONOTimmersethedeviceinanyuids.
• Yourhomecareproviderisresponsibleforperformingappropriate
preventive maintenance at the intervals recommended by Philips
Respironics.
• Forproperoperation,yourdevicerequiresunobstructedventilation.
Alwaysmakesureltersandotheropeningsinthecasearenot
obstructedbyitemswhichmayimpedeventilation.Donotplacethe
deviceinasmallclosedspace(suchasacloset).
• Donotuseanextensioncord.
• Deviceoperationaboveoroutsideofthevoltage,breathrate,
temperature,humidityand/oraltitudevaluesspeciedmaydecrease
oxygen concentration levels.
• Neverdroporinsertanyobjectintoanyopening.
• Beawarethattheelectricalcordand/ortubingcouldpresentatripping
orstrangulationhazard.
• DonotattempttoremovetheEverGocarryingcaseunlessinstructed
todosobyairportsecurityocialsduringairtravel.Donotattempt
tooperatetheEverGowithoutthecarryingcase.eEverGocannot
beoperatedsafelywithoutit.SeetheTravelingsectioninthismanual
for more information.
• UseonlypowercordssuppliedbyPhilipsRespironicsforthisdevice.
UseofpowercordsnotsuppliedbyPhilipsRespironicsmaycause
overheating or damage to the device.
Warnings (continued)

5
EverGo User Manual
Cautions
A caution represents the possibility of damage to the equipment.
• Donotimmersethedeviceorallowanyliquidtoentertheenclosure.
• Whenthedeviceisusedinanautomobile,disconnectitfromthe
DCautoadapteroutletwhentheautomobileisturnedo.Donot
operatethedeviceinanon-runningvehicleforanextendedperiodof
time, as this may deplete the vehicle’s battery and prevent the vehicle
fromstarting.Donotallowthedevicetobeconnectedtotheauto
adapteroutletwhilestartingtheautomobilenormallyorwhileyou
arestartingtheautomobilewithbatteryrechargingcables.Waituntil
theautomobilestartsbeforeconnectingthedevicetotheDCpower
outlet.Securethedevicesecurelywhenusedinanymovingvehicle.
(esamecautionsapplyifusingtheDCadapteroutletonaboator
recreationalvehicle.)
• Turnothedevicebeforeremovingthebattery(s).edeviceshould
notbeoperatedwithoutthebattery(s)installed.Ifthedeviceis
operatedwithoutthebattery(s)installed,thestandardshut-down
routinewillnotbeimplementedwhenthepowerisdisconnectedprior
toturningotheunit.iscanresultindamagetothedevice.
• Onlyusethesuppliedhandleandshoulderstraptocarryyourdevice.
Witheveryuse,verifythatthecase,shoulderstrapandhandlearein
good condition.
Note: Additional warnings, cautions, and notes are located throughout the
manual.

6
EverGo User Manual
Symbol Key
Follow instructions
for use
REF
Model number
No smoking SN Serial number
No oil or grease Class II equipment
Keep away from open
ames
Canadian/US
Certication
Do not disassemble Drip proof equipment
DC power
+
Rechargeable battery
Type BF Applied Part
Caution! U�S� federal law restricts this device to sale by or on the
order of a physician�
Note: See also the section on alarm indicators and screen symbols.
How to Contact Philips Respironics
If you need to contact Philips Respironics directly, call the Philips Respironics
CustomerServicedepartmentat1-800-345-6443(USandCanadaonly)or
1-724-387-4000.Youcanalsousethefollowingaddress:
Philips Respironics, Inc�
1001 Murry Ridge Lane
Murrysville, PA 15668
USA

7
EverGo User Manual
Ge T T I n G sT a r T e d
Attach the carrying handle and shoulder strap to the carrying case.
BeforeusingtheEverGodeviceforthersttime,theEverGobattery(s)
requireaninitialuninterruptedchargingtimeof4hoursminimum.iscan
beaccomplishedbyinstallingthebattery(s)andusingtheACPowerCord,as
describedinthefollowingpages.
Caution: Use only Respironics batteries in your EverGo device. Using other
batteries could damage the device and will void the warranty.
Battery Duration Times
eEverGodevicemodelcomeswithoneortwobatteries,dependingonthe
modelbeingused.EverGo’stwo-batterysystemgivesitlongoperationduration
times.Forexample,atasettingof2and20breathsperminute(BPM)withtwo
fullychargedbatteries,thedevicecanbeexpectedtorunfor8hours.Likewise,
undersimilarcircumstancesatasettingof4,5,or6,itcanrunfor4hours.
efollowingtableshowstheapproximatedurationofuseat20BPM.Your
timesmayvarybasedonyouractivitylevelandtheconditionofthebattery(s).
Flow
Setting
Breath Rate of
20 BPM
(2 batteries)
Breath Rate of
20 BPM
(1 battery)
1 12 hours 6 hours
2 8 hours 4 hours
3 6 hours 3 hours
4 4 hours 2 hours
5 4 hours 2 hours
6 4 hours 2 hours
Table 1. Approximate duration of the EverGo device operating with two or one fully charged
batteries.

8
EverGo User Manual
Inserting the Battery(s)
YourEverGodevicecomeswithoneortwolithiumionbatteries.Toinsertthe
battery(s)correctly,followthesesteps.
1. Placeyourdeviceinawellventilatedlocation.
Note: e EverGo device is shipped from the factory with the battery(s)
removed.
Caution: Open the carrying case only when EverGo is turned off.
Never open the case while the unit is operating.
2. Open the top of the carrying
caseusingthezipper
located underneath the
flap surrounding the top
partofthecase,asshown
here. If the device has been
operating, the surfaces
insidemaybewarmtothe
touch. is is normal.
3. Checkthefuelgaugefor
thebattery(s).Todoso,
pressthewhitedotonthebattery(s)andwatchhowmanyLEDs
lightup.Ifthebatteryislow,youcanrechargeit.Seethenext
section of this manual.
No� of LEDs Battery Charge
4 LEDs Light: 75% to 100% full
3 LEDs Light: 50% to 75% full
2 LEDs Light: 25% to 50% full
1 LED Lights: 10% to 25% full
1 LED Blinks
3 Times:
Battery is less than
10% full and
needs to be
recharged
Figure 2. Battery Fuel Gauge
and White Button
Figure 1. Opening the carrying case
Table 2. Battery Charge Level

9
EverGo User Manual
4. Gentlyinsertthebattery(s)into
the battery compartment located
ontopofthedevice.Before
insertingthebattery(s),becertain
that the battery connector on the
bottom of the battery lines up
withthearrowlocatednextto
the battery slot and the Philips
Respironics logo faces the inside
of the device. Pull back the plastic
retainertoallowthebatterytot
properly.
5. Ifyourdeviceusesasecondbattery,
you may remove or insert the
secondary battery using the small
flap on the top of the carrying
case to gain access to the battery
compartment,shownhere.Referto
thediagramundertheapwhich
showshowthebatteryisinserted.
Again, the Philips Respironics
logo should face the inside of the
device.
6. Afterthebattery(s)isinserted,checktomakesureitislevelwithor
slightlybelowthetopoftheplasticcase.Whenfullyinserted,the
plastic retainer tab holds the battery in place. If the battery extends
abovethetopgraysurface,itmaybeinbackwards.Removeitand
insertitcorrectly.Donotforcethebattery.
7. Zipthecaseclosedandkeep
itzippedduringuse.
8. Touchthescreenonce
to verify that the battery
symbol(s)isvisible.Ifyoudo
notseebatterysymbol(s),the
battery(s)hasbeeninserted
incorrectly. Reinsert it if
necessary.
Figure 3. Inserting the primary
battery.
Figure 5. Typical startup screen showing
2 batteries, each 3/4 full, with 421 hours of
device usage and with software version 1.0.0.0.
VER 1.0.0.0
Figure 4. Inserting the secondary

10
EverGo User Manual
Charging the Battery(s) with AC Power Supply
Important: e first time you charge the battery(s), be sure to charge it fully. Do
not use the DC power cord to do so; instead use AC power.
Note: e battery(s) will begin charging whenever you connect the device to an
AC outlet, even if you’re using it.
Tochargethebattery(s)usingtheACPowerCordprovidedwithyoursystem,
followthesesteps.
1. ConnecttheoutputcableoftheACPowerSupplytotheEverGo
powerinlet.
2. ConnecttheconnectoroftheACPowerCordintotheACpower
supply.
3. ConnecttheplugoftheACPowerCordintoanACoutletinstalled
to meet national or regional electrical code.
Figure 6. Connecting the power cord to the connector located under the Velcro flap.
A typical battery charging screen is shown on the right
Note: As soon as you connect the device to an energized AC power
source, the light on the AC Power Supply will light up and the cooling
fan will come on. is is normal. e fan will run the entire time it is
charging to keep the battery(s) cool.
4. Whenchargingiscomplete(thistakesaminimumoffourhours
forrstuse),disconnecttheACPowerSupplyandstoreitwiththe
ACPowerCordforfutureuse.
Note: Replacement and spare batteries are available separately. For
information, contact your homecare provider or see the EverGo web site
at www.evergo.respironics.com
VER 1.0.0.0

11
EverGo User Manual
Note: An optional EverGo Smart Battery Charger/Recalibrator (sold
separately) is available for your system. For more information, contact
your home care provider.
op e r a T I n G T h e ev e r Gode v I C e
Warning: Do not use the device without one battery installed and operating.
• Torunthedeviceonbatterypower,makesurethebatteryis
properlyinsertedandsucientlycharged.(ebattery(s)shouldbe
fullychargedthersttimeyouuseit.)
• TorunthedeviceusingACpower,makesureyouhaveonebattery
installed.Followthesesteps:
1. ConnecttheoutputcableoftheACPowerSupplytothe
EverGopowerinlet.
2. ConnecttheconnectoroftheACPowerCordintotheAC
powersupply.
3. ConnecttheplugoftheACPowerCordintoanACoutlet
installed to meet national or regional electrical code.
Note: e AC Power Supply is equipped with a green light, which
illuminates when it is connected to an energized AC power source.
• TorunthedeviceusingDCpowerfromanautomobileorother
motorizedvehicle,makesureyouhaveonebatteryinstalled.
StartthevehicleandconnectoneendoftheDCPowerCordto
thedevice’spowerinletandtheotherendintothevehicle’sDC
electrical outlet.
Caution: If you operate the EverGo system using the DC power cord
while the vehicle engine is turned off, you could inadvertently drain
the vehicle’s battery.

12
EverGo User Manual
Back Up Breathing
WhenyouturnonyourEverGodevice,itwillsenseifyouarebreathing
fromit.Ifyouarenotyetbreathingthroughthecannula,EverGowill
begintopulseautomaticallyaboutonceeveryveseconds.eonly
purposeofthis“backupbreathing”istohelptheunitwarmupfaster.As
soonasyoubeginbreathingthroughthecannula,thedevicewillbegin
deliveringpulsesbasedonyourbreathing.Backupbreathingoccursonly
whentheEverGounithasnotdetectedabreathfor30seconds.You may
begin breathing from the EverGo at any time.

13
EverGo User Manual
Getting Started
TostartyourEverGodevice,followthesesteps.(To
learn about the touch screen displays, turn to
the next section of this manual.)
1. Connect a nasal cannula to the oxygen
outletontopofyourdevice,asshownin
Figure7.
Note: A standard single lumen nasal
cannula and tubing (not supplied) should
be used to deliver oxygen from the EverGo device. e device works with
cannula tubing up to 30 ft. (9 m).
2. Toturnonthedevice,gently
touchthescreenshownin
Figure8.isrsttouchbrings
thescreentolifeandshowsthe
on/osymbol,batterystatus,hour
readingandsoftwareversion.
3. Gentlytouchtheon/osymbol
to turn on the device.
is “double touch” feature helps
preventunwantedstartsorinadvertentchangesinoxygenow.
Youmaytouchanywhereonthescreenasyourrsttouch.
esecondtouchmustbeontheon/osymbol within
5secondsorthescreenwillturno.
Youmaybeginbreathingfromyourunitimmediatelyafterstarting
the device.
VER 1.0.0.0
Figure 8. Touch the on/off symbol to
start. e number on the screen (i.e. Hr
= 421) shows the number of hours this
unit has been operated.
Figure 7. e nasal cannula is
connected to the oxygen outlet port
on top.

14
EverGo User Manual
Figure 9. Touch the number to change the
flow setting.
4. Tosetthedevice’sowsetting,
rsttouchthelargenumber(such
asthe2showninFigure9)inthe
center of the screen.
5. Eachtimeyoupresstheow
settingnumber,anuparrow
and/ordownarrow
willappearonthescreen.
(ExamplesareshowninFigures16-17).Toincreasetheow
setting,presstheuparrow.Todecreasetheowsetting,pressthe
downarrow.
edevicecanbesetto:1,1½,2,2½,3,3½,4,4½,5,5½,and6.
Warning: It is very important to set your device to your prescribed level
of oxygen flow. Do not increase or decrease your flow rate from your
prescribed level until you first consult with your physician.
Note: When it is turned on, the device will automatically start at the flow
rate setting used when the device was last turned off. As a precaution, each
time you start the unit, verify the flow setting.
6. Positionthenasalcannulaonyourface,asshownbelow,and
breathe normally through your nose.
Figure 10. Correct position of cannula on your face.

15
EverGo User Manual
Operating the Touch Screen
Youcanchangealldevicesettingsbygentlytouchingthedisplayscreen,
including starting the device, stopping it, silencing an alarm, and changing
oxygenow. eguresthatfollowexplainthedisplaysonyourtouchscreen.
esymbolsandalarmsshownonthesescreensarediscussedindetailinthe
AlarmIndicatorssectionofthismanual.Familiarizeyourselfwiththesepages
before using the device.
Note: Because all interaction with your EverGo device is through this touch-
sensitive interface, there are no knobs to turn or buttons to push. Simply touch
the screen gently to operate the device.
To start the device, touch anywhere on the blank screen.Aftertherst
touch,youwillseeascreensimilartotheoneshownbelow.
VER 1.0.0.0
Figure 11. Typical display after the first touch. Now touch the On/Off symbol shown above. Next,
you will see the screen below, which indicates that the system is starting up.
Figure 12. Typical display when the device is turned on. is screen shows that the flow setting is
1, and that the primary battery is inserted and fully charged. Because there is no symbol for the
secondary battery on the left, this means the secondary battery is not inserted.
After you turn on the EverGo, it should take less than ten minutes to reach
thespeciedoxygenpuritylevels.ItissafetobeginbreathingfromtheEverGo
deviceimmediately.Breathingfromtheunitwillcauseittoreachoxygenpurity
levels in less than ten minutes.
on/off Symbol
PulSe Symbol (Dot)
flow Setting,
flow rate number
Primary battery inSerteD
anD fully ChargeD
Primary battery
SeConDary battery

16
EverGo User Manual
edotnexttotheon/osymbolisthepulsesymbol.Itappearswheneveryou
take a breath and the unit delivers a pulse of oxygen.
Figure 13. is screen shows a flow setting of 1. e primary battery is inserted correctly and fully
charged, and the secondary battery is inserted correctly and fully charged.
Figure 14. is typical display shows the flow setting is 1, the primary battery (which is 3/4 or 75%
charged) is inserted, and the device is connected to a power source. e secondary battery is not
inserted.
Figure 15. is display shows that two batteries are inserted. It also shows that the unit is
connected to a power source. e secondary (left) battery is fully charged. e primary (right)
battery is nearly empty and charging.
DC Power Symbol
Primary battery
iS 3/4 full
anD Charging
Primary battery
iS full
SeConDary
battery iS full
Primary battery
iS almoSt emPty
anD Charging
SeConDary battery
iS full
PulSe Symbol (Dot)

17
EverGo User Manual
Figure 16. To change the flow setting, touch the setting number. (Here, it is the number 1.) is
causes the up flow change arrow to appear. To increase the flow setting, press the up arrow until
you reach your prescribed setting. e flow setting arrow disappears 5 seconds after you touch it.
For another example of the flow change arrows, see the next figure.
Figure 17. To change the flow setting, touch the setting number; here it is 2 1/2. is causes the up
and down arrows to appear. To increase the flow setting, press the up arrow on the right until you
reach your prescribed setting. To decrease your flow setting, press the down arrow. e flow setting
arrows disappear when you touch the number again or 5 seconds after you last touched the screen.
Figure 18. Example of an alarm screen. If the device does not detect breathing for 120 seconds,
it will sound the NB alarm and show this typical display with the NB alarm symbol (NB = No
Breath). e alarm symbol (bell) shows the audio alarm is on. To silence the audio alarm, press the
alarm symbol. For a complete list of alarms, see the Alarm Indicators section of this manual.
nb Symbol for
no breath alarm
an auDio alarm
haS oCCurreD
flow Setting
PreSS to turn
unit off
uP arrow to Change
flow Setting
uP arrow to Change
flow Setting
Down arrow
to Change flow
Setting
PreSS to turn
unit off
Other manuals for EverGo
1
This manual suits for next models
1
Table of contents
Other Respironics Oxygen Equipment manuals
Popular Oxygen Equipment manuals by other brands

Precision Medical
Precision Medical EasyPulse POC PM4150 Series user manual

Ozotech
Ozotech AIM PCS 400 Installation and service manual

Scott
Scott 2.2 Operation & maintenance instructions

C-Aire
C-Aire HELiOS U36 user manual

Aulisa
Aulisa Guardian Angel GA1000 Series Instructions for use

Drive
Drive Bonsai OM-812 PRODUCT INFORMATION AND INSTRUCTIONS