ELECTRONICS
Each Revel Performa B15a contains an electronics section with the
following attributes:
•An extremely low-distortion, 1,000-watt (rms) amplifier with
1,400-watt burst capability produces peak bass output up to
126dB at 30Hz in an average-sized listening room.
•Inaudible protection circuit to guard against thermal overload.
•Three independent parametric equalizers with variable frequency,
bandwidth, and level controls allow you to precisely tailor the
room response and tame unwieldy acoustic anomalies.
•2-way crossover with variable frequency and phase controls and
selectable slopes allow ideal response matching with other audio
system components.
NOTE: For details on controls and connections, see “Rear Panel Layout”
on page 13.
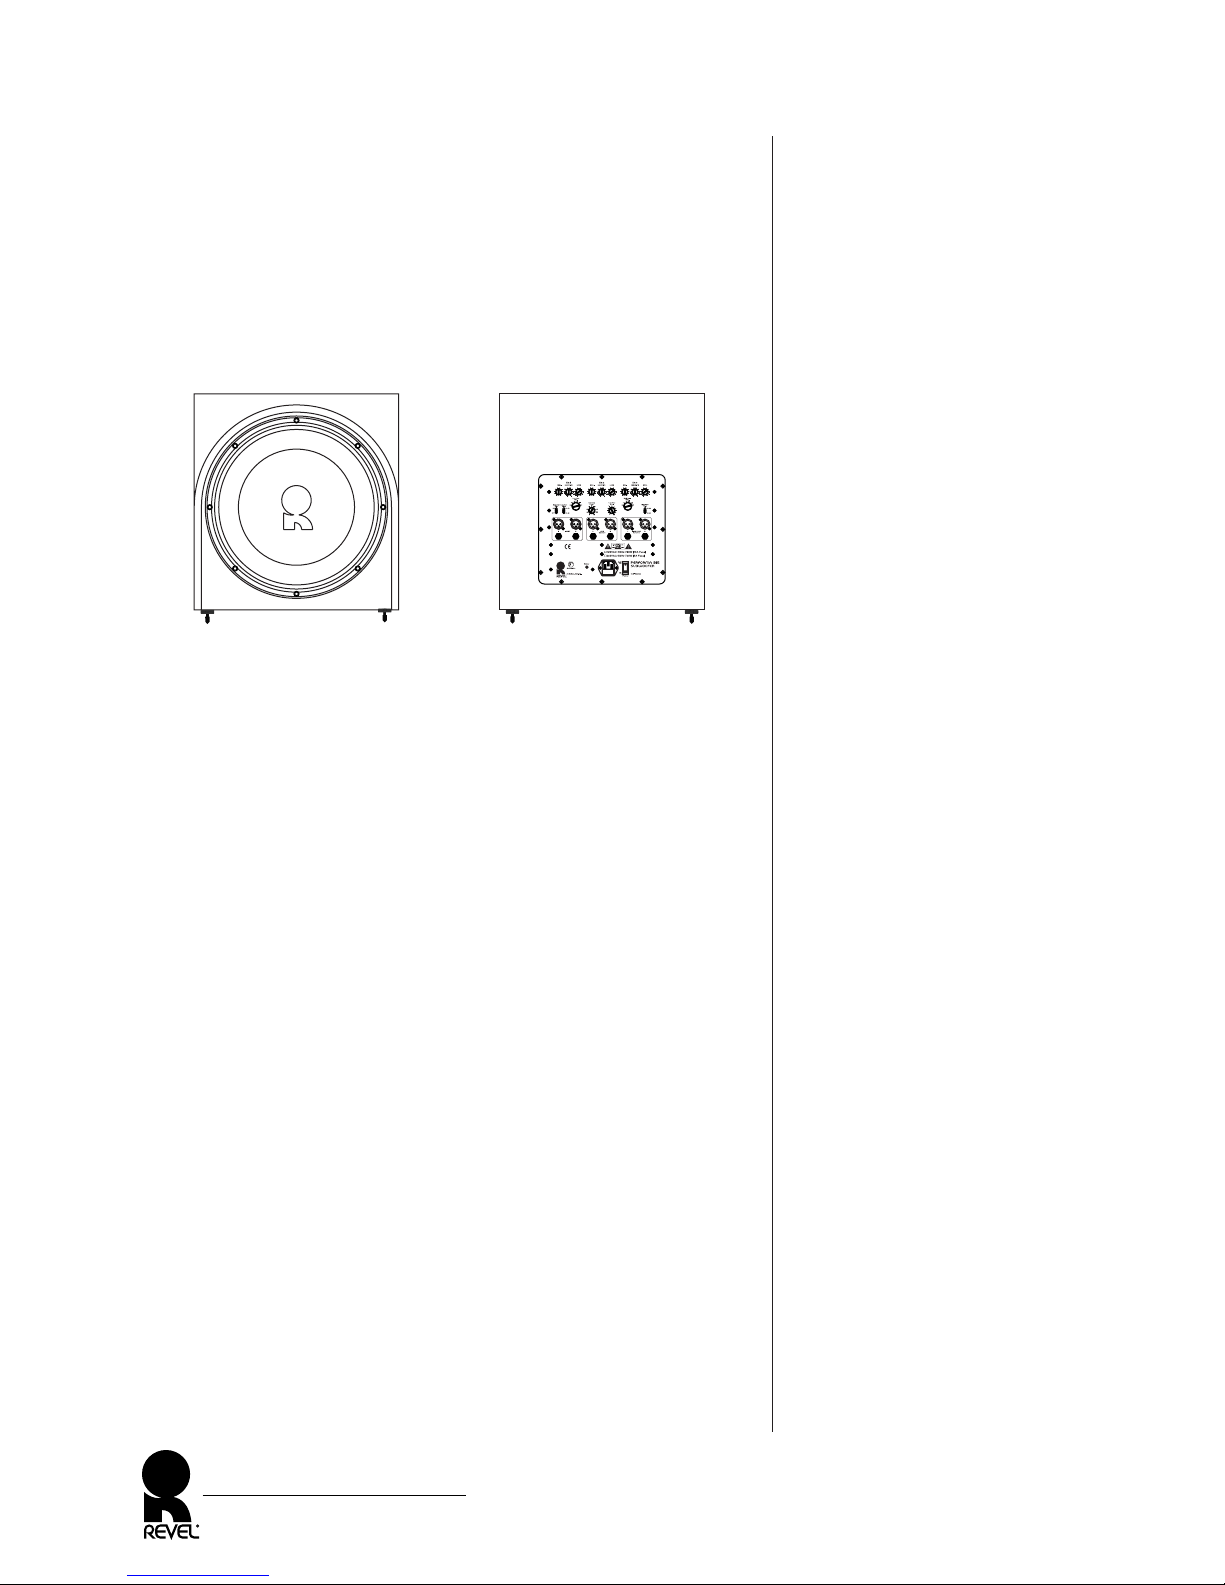
CABINET
The Revel Performa B15a cabinet is constructed of 1-inch (25
mm) thick MDF wall, optimally designed and internally braced
with the aid of laser interferometry, for reduced cabinet-induced
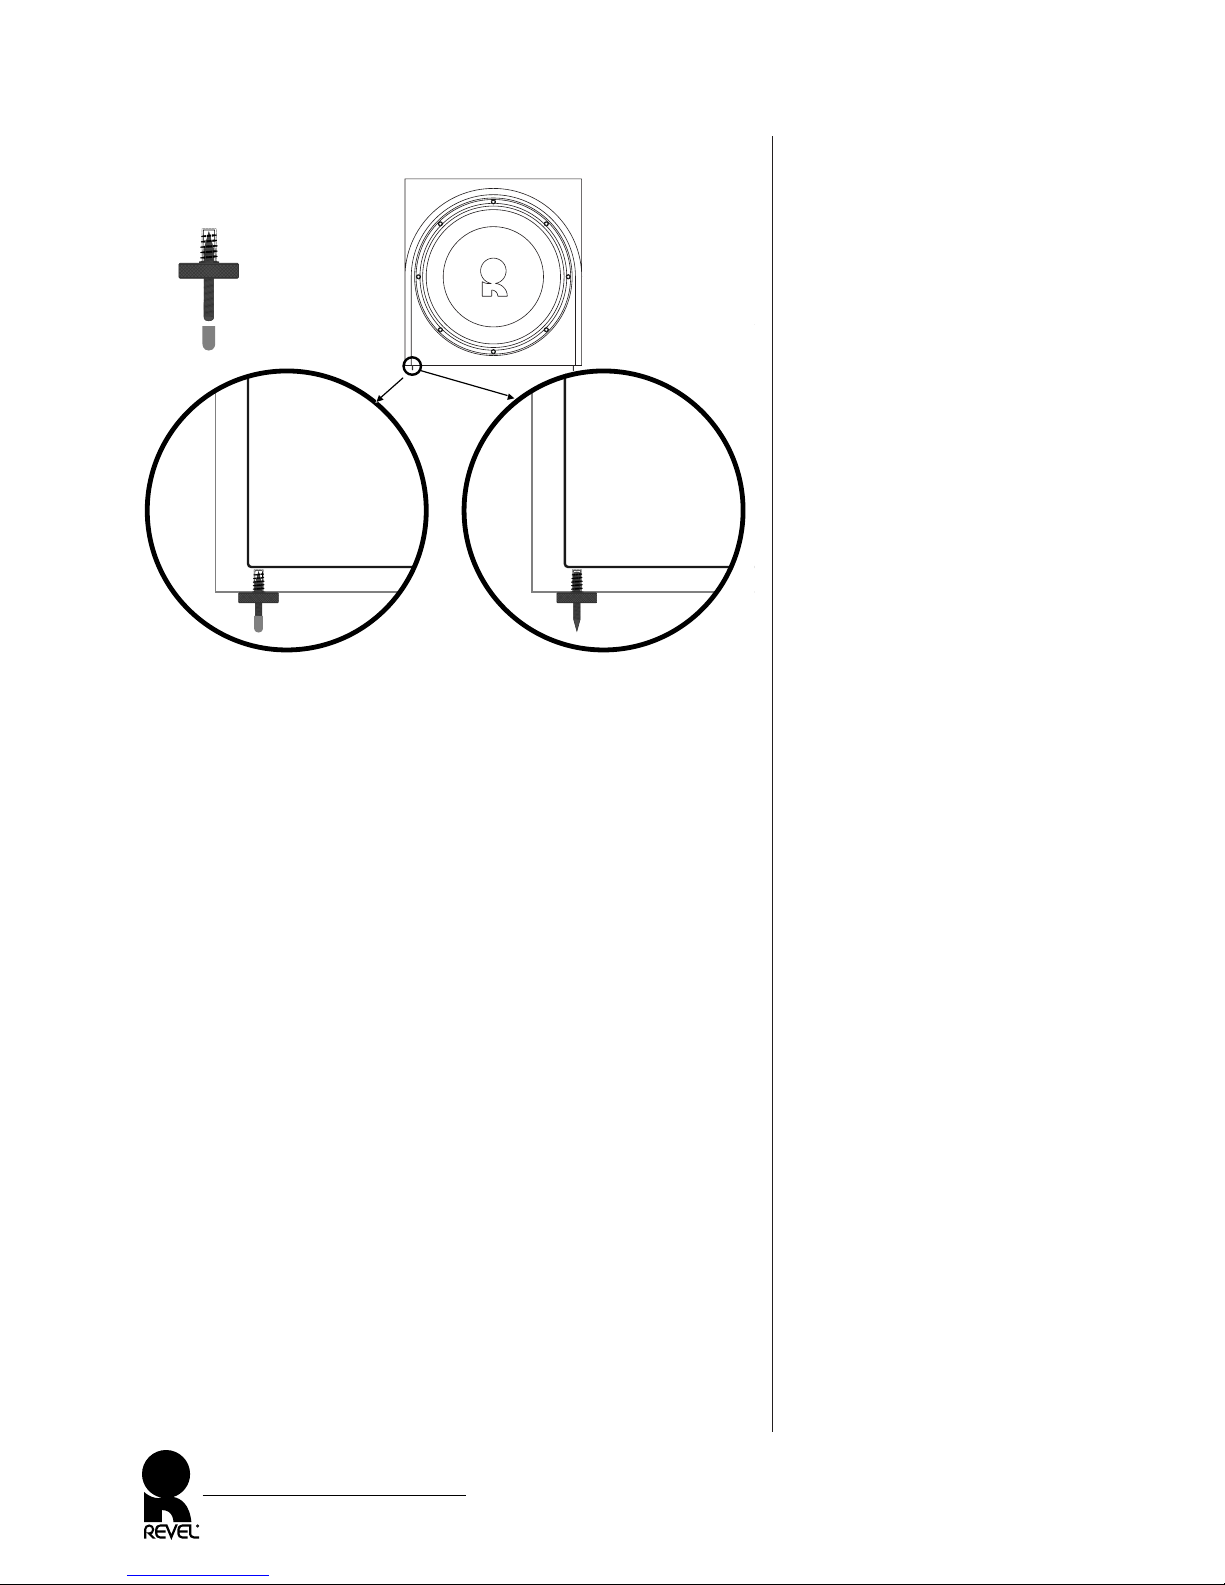
colorations. Adjustable spike footing is attached to the bottom of
the cabinet for optimal stability, accommodating installations on
tile, hardwood, and carpeted floors. Refer to the Adjustable Spike
Footing section on page 9.
The cabinet’s wood veneer finish does not require routine mainte-
nance. However, cabinet surfaces that have been marked with
fingerprints, dust, or other dirt can be cleaned using a soft cloth
and a high-quality furniture polish. If a higher-gloss finish is
desired, a high-quality wax can also be used.
To clean the cabinet:
1. Apply a high-quality furniture polish to a soft cloth.
2. Use the cloth to lightly wipe the cabinet surface.
To clean the grille:
1. Vacuum using a soft bristled brush vacuum attachment.
REVEL PERFORMA B15a
Owner’s Manual
7