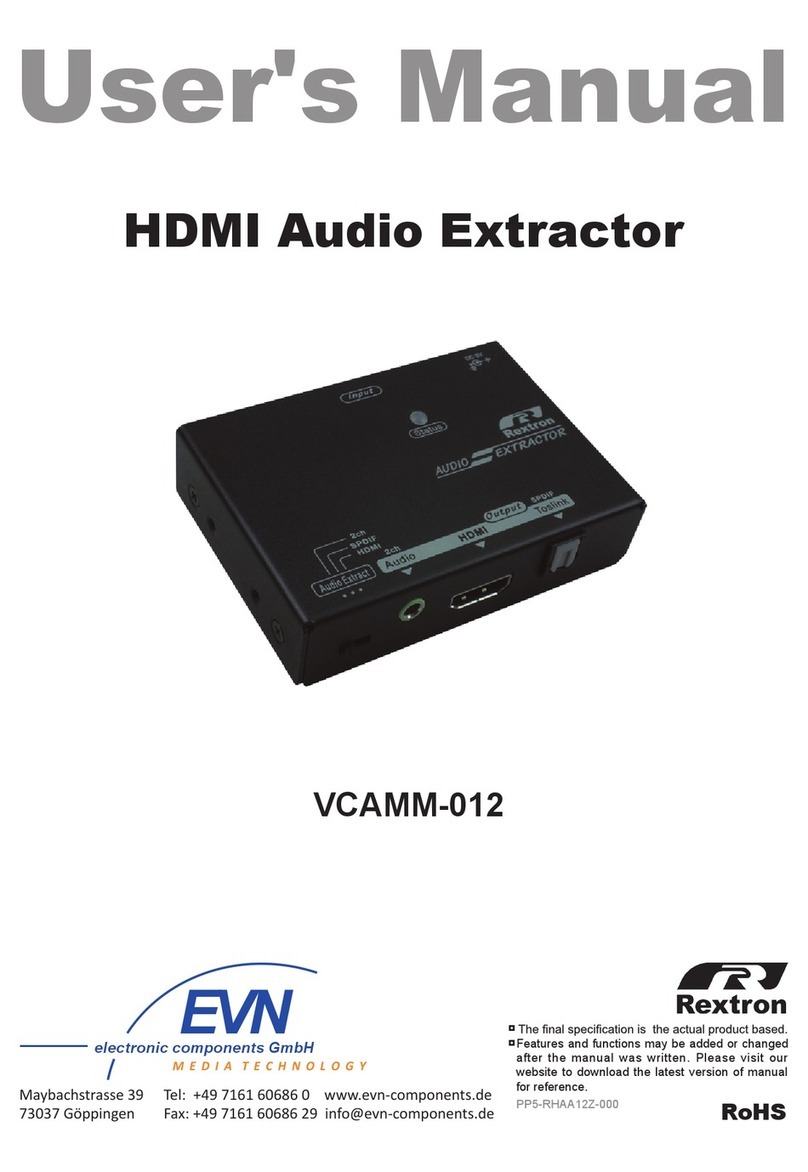
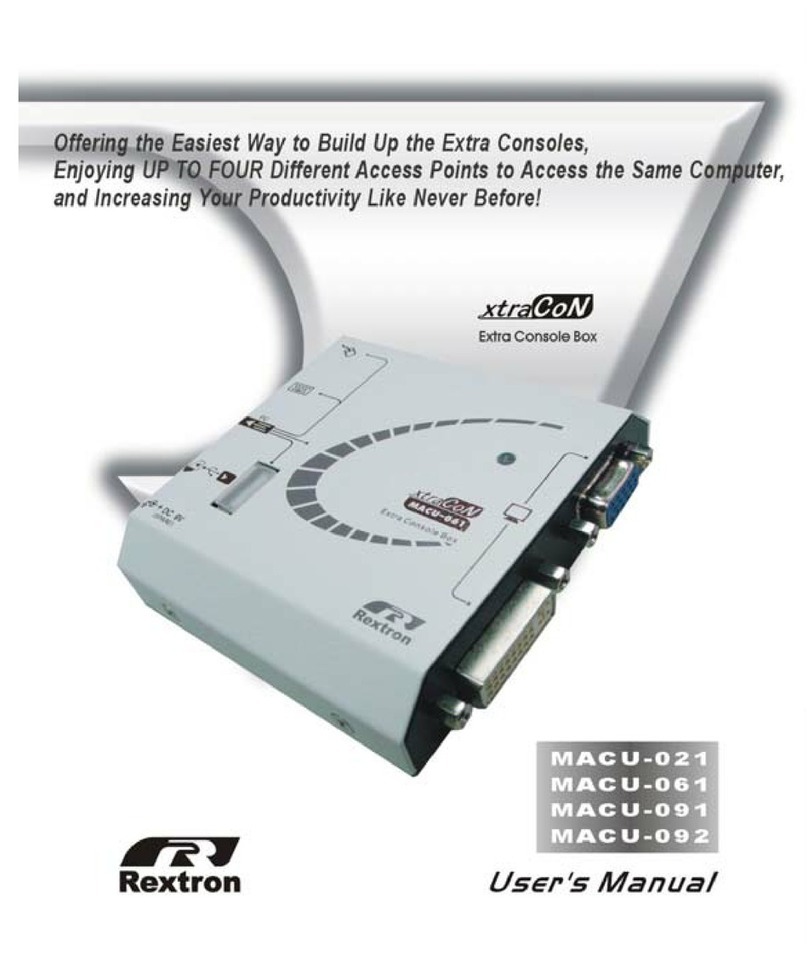
Rextron VCAVD-021 User manual

VGA & Audio to DVI / HDMI
Converter
Model IN OUT
VCAVD-021 VGA+Audio DVI
VCAVM-021 HDMI
User's Manual
RoHS
PP5-RHAA12Z-000
Features and functions may be added or changed
after the manual was written. Please visit our
website to download the latest version of manual
for reference.
◘
◘
E NV
electronic components GmbH
M E D I A T E C H N O L O G Y
Maybachstrasse 39 Tel: +49 7161 60686 0 www.evn-components.de
73037 Göppingen Fax: +49 7161 60686 29 info@evn-components.de

Package Contents
Video Converter Unit x 1
Power supplies
USB Power Cable x 1 (set / pc)
Power Adapter Set (option)
Power Adapter with necessary AC Cord
or
Plug-in Power Adapter
User’s Manual x 1
Foot Pad Set x 1
Optional:
VGA Cable / Audio Cable
● Prior to installation, ensure to power off all devices that will be
connected to this system.
● Ensure that all devices you will connect are properly grounded.
machines that are likely to generate electrical noise.
● Convert a VGA and analog audio signal to a digital video signal
● LED Status indicates for instant troubleshooting and monitoring
● HDTV Compatibility
● Intelligent EDID handling and processing algorithm ensures Plug and
Play operation for digital video output systems
● Compliant with HDMI v1.3
● Compatible with most of the popular video resolution
● Support max. resolution up to Full HD (1920 x 1080) &
QWXGA (2048 x 1152)
● Screen Shift Mode provides user to adjust image's shifting
● Use Resolution Alteration Mode when catching multiple similar video
timing
E NV
electronic components GmbH
M E D I A T E C H N O L O G Y
Maybachstrasse 39 Tel: +49 7161 60686 0 www.evn-components.de
73037 Göppingen Fax: +49 7161 60686 29 info@evn-components.de

Resolution Alteration Mode
Under some particular video resolution, LED will turn to emit Blue and
use Resolution Alteration Mode to select proper video resolution.
Step 1. Press Right Button (Sr) over 2 sec.
Step 2.
NOTE: The system will automatically retain user's last setting.
In some cases display problems may occur due to incorrect EDID
communication between the display monitor and the unit or inappropriate
EDID data programmed by display manufactures. This EDID Copy feature
allows the system either automatically provide the necessary EDID to display
or manually copy EDID from EDID compliant displays via push button.
Auto EDID Mode (Factory Default Setting)
If wanting to read EDID automatically from the connected display,please follow
steps as below.
Step 1. Power off the device
Step 2. Press Left Button (Sl) and power on.
Step 3.
(around 15 sec.)
Step 4.
Manual EDID Mode (EDID Copy / EDID Ghost)
If users need to copy EDID from the connected display,please follow steps as
below.
Step 1. Power off the device
Step 2. Press left button (Sl) and power on.
Step 3.Release the buttom RIGHT AFTERthe Status LED flashes Red.
(around 20 sec.)
Step 4.
NOTE:
is in Auto EDID Mode. If the Status LED flashes Purple, it would be in the
Manual EDID Mode.

Product Description
Ai Audio Input Connect to the analog audio source
Vi VGA Input Connect to the VGA Source
Sl Left Button Shift image to left side
Sr Right Button Shift image to right side / Resolution alteration
Vo DVI / HDMI Output Connect to the DVI / HDMI Display
L LED Indicator Power / Status
DC in
Vi Ai
Sl
L
Vo
Sr

NOTICE:
detcetedsiytivitcaonfiedomtfihsmorfepacseyllacitamotualliwmetsysehT.1
within 20 sceonds.
2. Max. horizontal image displacement is 50 steps.
3. The system will automatically retain user's last setting.
The converter is easy use, plug-and-play.
● Once the video source has been connected, it will take 2~5 sec. for the
system detecting and video converting.
● When powering on, monitor will take about 8 seconds to display.
These are normal phenomenons.
Some monitors or sources may cause as below:
●The screen becomes too wide or narrow and LED turns to emit Blue and
monitor.
Please see "Resolution Alteration Mode" section
●The screen is shifted too left or right, users can adjust horizontal of the
screen.
Please see "Screen Shift Mode" to improve it.
If it happened as below, it would be limitation of the product.
timing is detected normally) but the screen displays abnormally.
selected a proper resolution.
Operation
Video Adjustment Operation
Screen Shift Mode
Screen Shift Mode can move image to right or left side on the monitor
(horizonal position) for comfotable viewing.
Step 1. Press both Shift buttons (Sl&Sr) simultaneously over 2 sec. and
release the button RIGHT AFTER the Status LED turns to Pale Blue.
Step 2. Press left button or right button to adjust image's position.

Connection Pattern
Installation
1. Use a DVI / HDMI cable to connect the display to the output port on the unit.
2.a. Use a VGA cable to connect the video source device to the input port
on the unit.
b. Connect the stereo audio source to 3.5mm earphone jack ( if necessary)
turn on the display and source devices.
NOTE:
The unit is required to connect to the computer before the computer is
powered on.
LED indicator for output status
LED Monitor Source
Emit Green and Flash Red Once N/A N/A
Emit Green and Flash Blue Three Times Detected N/A
Emit Blue and Flash Red Once N/A Detected
Emit Blue and Flash Green Three Times Detected Detected

Resolution / Refresh Rate
Resolution Refresh Rate
640 x 350 85 / 60
640 x 400 85
640 x 480 72
720 x 400 85 / 60
720 x 576 50
800 x 600 85 / 75 / 72 / 60 / 56 / 50
848 x 480 85 / 75 / 60 / 50 & 60(R)
1024 x 768 85 / 75 / 70 / 60 / 50 & 60(R)
1152 x 864 75
1280 x 720 85 / 75 / 60 / 50 & 60(R)
1280 x 768 85 / 75 / 60 / 50 & 60(R)
1280 x 800 85 / 75 / 60 & 60(R)
1280 x 960 85 / 75 / 60 / 50 & 60(R)
1280 x 1024 58 / 75 /60 & 60(R)
1360 x 768 85 / 75 / 50
1366 x 768 60 & 60(R)
1400 x 1050 85 / 75 / 60 & 60(R)
1440 x 240 60
1440 x 480 60
1440 x 576 50
1440 x 900 85 / 75 / 60 & 60(R)
1440 x 1050 75
1600 x 900 60(R)
1600 x 1200 60 & 60(R)
1680 x 1050 60 / 50 & 60(R)
1920 x 1080 60 / 50 / 30 & 60(I)
1920 x 1200 60 / 50 & 60(R)
2880 x 240 60
2880 x 288 50
(R):Reduce Blanking (I):Interlaced Scan
NOTE:
evobadetimiltonseodnoituloseroediv'sresufikrowylbissopnactI
video resolution like 2048 x 1152. (It maybe displays oversized or narrow
frame bcause it is limitation of the product.)

...
Limited Warranty
IN NO EVENT SHALL THEDIRECT VENDOR'S LIABILITY FOR DIRECT OR INDIRECT,
SPECIAL, INCIDENTIALOR CONSEQUENTIALDAMAGES, LOSS OF PROFIT,LOSS
OF BUSINESS, OR FINANCIALLOSS WHICH MAY BE CAUSED BY THEUSE OF THE
PRODUCT EXCEEDS THE PRICE PAID FOR THE PRODUCT.
The direct vendor makes no warranty or representation, expressed or implied with respect to
the contents or use of this documentation,and especially disclaims its quality,performance,
The direct vendor also reserves the right to revise or update the product or documentation
without obligation to notify any user of such revisions or updates.For further information,
please contact your direct vendor.
All the brand names and registered trademarks are the property of their respective owners.
VCAVD-021 VCAVM-021
Input VGA x 1
Analog Stereo Audio x 1
Output DVI x 1 HDMI x 1
Button x 2 (See Operation section)
LED Indicator Power / System Status (Multi-Color)
Resolution (Max.) Full HD (1920 x 1080)
QWXGA (2048 x 1152)
Transmissionrate (Max.) 5Gbps
Frequency Range 25~225MHz
Power Consumption DC 5V (min. 450 mA)
Dimensions H x W x D 20 x 52 x 80 (mm)
Weight 180~190g
This manual suits for next models
1
Table of contents
Other Rextron Media Converter manuals
Popular Media Converter manuals by other brands

Crystal Vision
Crystal Vision Indigo ALLDAC user manual

Hagerman Audio Labs
Hagerman Audio Labs DA-10 manual

Moxa Technologies
Moxa Technologies PTC-101 Series Hardware installation guide

YOKOGAWA
YOKOGAWA JUXTA VJP8 user manual

DCS
DCS Elgar Plus user manual

Patton electronics
Patton electronics 2035-25M user manual