manuals.online logo
Brands
  1. Home
  2. •
  3. Brands
  4. •
  5. RGBlink
  6. •
  7. DVD Player
  8. •
  9. RGBlink VSP 330 User manual

RGBlink VSP 330 User manual

Step 2-HDMI input (use DVI-I connector)
VSP 330 –Quick Start
Interface
RJ-45 port
2
3
4
USB control connecor
5HDMI input
12 Power on/off
13 Power port IEC-3
Step 1-Mounting
Turn off or disconnect all equipment power sources.
IMPORTANT
Refertowww.rgblink.comforthe
completeusermanualandinstallation
instructionsbeforeconnectingthe
producttothepowersource.
1Mini switches
RS232 control connector
~6
Use to input video from PC, laptop, HD Video
player.
Step 4-HDMI output (use DVI-I connector)
Use to connect with HDMI monitor, DVI display
or LED control system.
Step 3-HDMI loop (use DVI-I connector)
Loop the HDMI A or HDMI B input to next HDMI device
or system.
7HDMI loop
8HDMI output
~11
Step 5-USB interface
USB interface used to connect with PC or laptop or
other console to control VSP 330.
VIEWSIZE THE WORLD
Installation and cabling features
NOTE For full installation, configuration, and operation details, refer to the
VSP330 user manual, which is available at www.rgblink.com.
This guide provides quick start instructions for an experienced installer to set up
and operate the VSP 330.
Rear Panel
Address:S603-604 Weiye Building Torch Hi-Tech Industrial Development Zone Xiamen,Fujian Province, P.R.C
Tel: 00865925771197 Fax:00865925771202
Email: [email protected] http://www.rgblink.com
VSP 330 Quick Start
Rev 1.0
Page 1 of 3
Step 6 LAN (Ethernet) port
Use CAT5 cross-cable standards such as the
right. The device's default IP address is
192.168.0.100. Users can use the RS232 or
USB interface to modify the IP address. CAT5
cross-line, refers to the end of the T568A
standard on one end for the T568B standard.
Ethernet control interface module for non-
standard modules
PIN T568A
T568B
1绿白
桔白
2green
桔色
3桔白
绿白
4蓝色 蓝色
5蓝白 蓝白
6桔白 绿色
7棕白 棕白
8棕色 棕色
CAT5 T568A standard one end, other end to T568B standard
crossover cable
T568A T568B
Insert Twisted
Pair Wires
RJ-45
Connector
PIN End 1
Wire color End 2
Wire color
1White-green White-orange
2
Green
Orange
3White-orange White-green
4Blue Blue
5White-blue White-blue
6Orange Green
7White-brown White-brown
8Brown Brown
Step 7-Serial port
RS-232 Function
2TX Transmit
3RX Receive
5GND Signal Ground
7--- Not used
8--- Not used
Pin RS-422 Function
TX- Transmit(-)
RX- Receive(-)
GND Signal Ground
RX+ Receive(+)
TX+ Transmit(+)
Insert Twisted
Pair Wires
RS232/RS422
Connector
Insert Twisted
Pair Wires
RJ11
Connector
RJ-11 Function
1
TX Transmit
2RX Receive
3
GND Signal Ground4
--- Not used
Pin
NOTE
Step 1-Input switch
Local control -- Front Panel Operation
VSP 330 support 2 inputs by HDMIA and HDMIB,
push the input will send the input to all the outputs with
the output resolution and the scale configuration data.
User can set each output by push HDMI1~HDMI4
separately.
NOTE
If there is not input for current input, the image
will freeze as last frame.
Step 2-Set scale
Push Scale to go into scale setting menu, user can set
Horizontal size, vertical size, horizontal position (X) and
vertical position (Y).
Go to each set menu, push Sel to go into setting, push
Up or Down to change the value, push Sel to enable
value and push ESC to escape the menu.
NOTE
Keep push UP or DOWN button, the value will
change fast each time from 1 10 100 pixels.
During PIP mode, HDMIA is the main window,
HDMIB is sub window,user can only set the position
of sub window, which means main window position is
always (0,0). If user want to set PBP, need to scale
HDMIA and HDMIB, position HDMIB to middle.
Step 3-Set output resolution
Push OUT button and use UP or DOWN button to go to
the right resolution for the monitor or display system,
and push SEL button to decide to go to the selected
resolution.
VSP 330 can set output resolution as the same
to HDMIA and HDMIB, and have other 8
800×600×60Hz ;1024×768×60Hz;1280×720×60Hz;
1280×720×50Hz;1280×1024×60Hz; 1600×1200×60Hz;
1920×1080×60Hz;1920×1080×50Hz;
The output resolution should be the same or large than
the end display.
NOTE
Step 4-Save
VSP 330 supports 6 user modes. Press SAVE button,
SAVE1 to SAVE6 buttons will light up, press SAVE1 to
SAVE6 separately will finish save operation.
NOTE SAVE1 is the default user mode of VSP 330,
after power on, VSP 330 will work as SAVE1
settings. After Factory reset, all user-mode go to initial
settings.
Remote control software operation
This software
is only setup
for windows system,
please refer to the user
manual for detail.
During install and
application, please use
right language
interface.
Step 1-Set up communication
Step 2-Set up output resolution
Select output resolution from pull down
output list.
Step 3-Set Scale
User can scale the image with mouse drap and drop
operation; User can also scale by input the data into the
scale parameters and set.
Step 4-Save operation
Push the pull down list to select
HDMIA or HDMIB as output resolution, it
means the output will work directly with this resolution.
NOTE
Advance setting functions
VSP 330 support advance setting for seamless switch
and split panel control.
They are available from local or remote control.
Address:S603-604 Weiye Building Torch Hi-Tech Industrial Development Zone Xiamen,Fujian Province, P.R.C
Tel: 00865925771197 Fax:00865925771202
Email: [email protected] http://www.rgblink.com
VSP 330 Quick Start
Rev 1.0
Page 2 of 3
Step8-power connector
The IEC connector power cord to the power input on
the VSP 310, VSP 310 85 to 265V power supply
supports AC input, compatible with the current world
power system
Powering up
Push power button switcher to ON position. LCD
module on the front panel will show RGBLINK and VSP
310 model information, and go into self verification
before it load the last setting configuration data and send
the processed image to the target display or device. For
the first time running, CV1 input is the default input
source. User can operate with VSP 310 with local front
panel and remote control with the software run on the
PC, remote control by RS232, USB or TCP/IP.
Use the RS 232 port on the computer, baudrate should
be 115200. Set com Open com Close com
Push “Save to flash”button and
select one of user mode to save, there
are three user mode in the list.
Save to flash
button, use
to save user
mode
Seamless Switch functions
Local control-split panel
Push MENU to go into main menu, and use UP or DOWN to
go to split panel menu, push SEL to go into and then push
LEFT/RIGHT to find the split panel functions. Push SEL to
check to use the split function to work. There are 12 split
panel functions as following. Go through, 1 to 4, 1 to 2 in
horizontal, 1 to 2 in vertical and so on.
NOTE
For function 1~6, user can active
also by local front panel, function 7~12
active only by software.
Local control-Seamless Switch
Push AB button to active seamless switch function menu,
use UP or DOWN to change the seamless switch function,
and use SEL to select the function to work during switch. Remote control for advance function
Use mouse to push
“Seamless
Switch”page,
push the function
on the page to
active.
Use mouse to
push “Split
panel”page,
push the function
on the page to
active.
Address:S603-604 Weiye Building Torch Hi-Tech Industrial Development Zone Xiamen,Fujian Province, P.R.C
Tel: 00865925771197 Fax:00865925771202
Email: [email protected] http://www.rgblink.com
VSP 330 Quick Start
Rev 1.0
Page 3 of 3

Other RGBlink DVD Player manuals

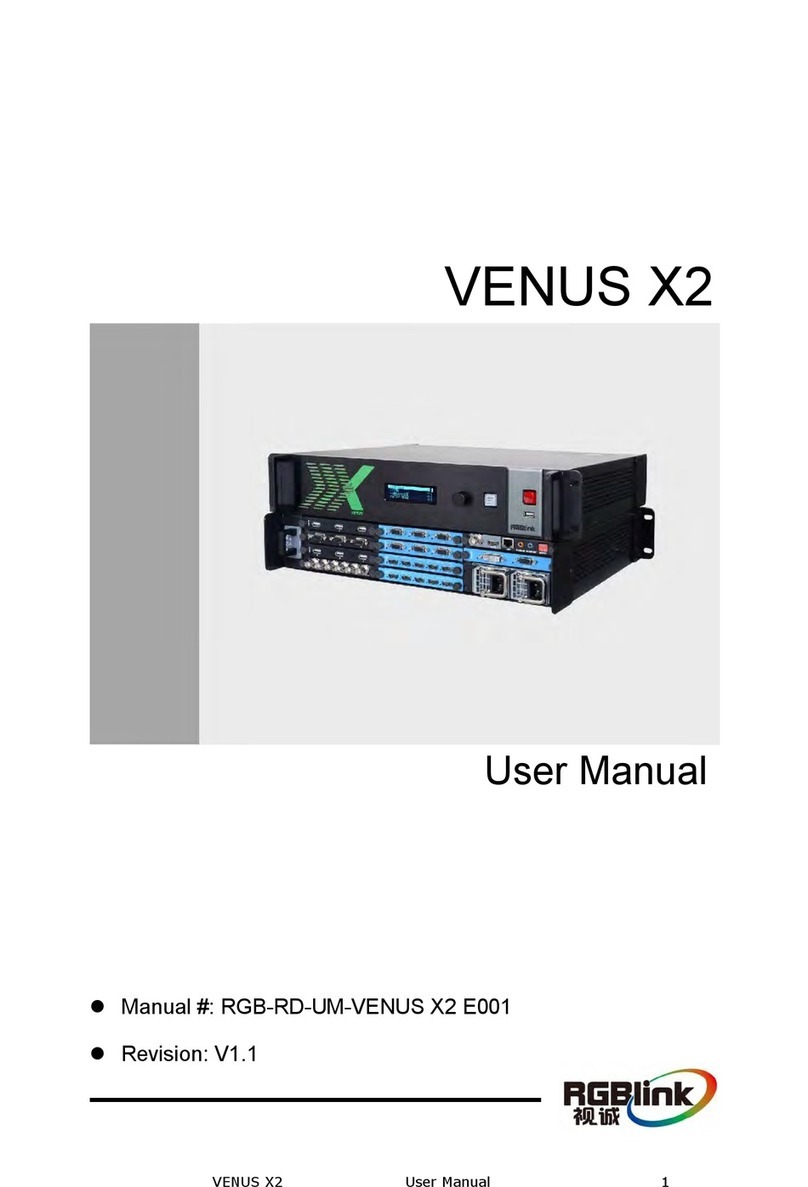
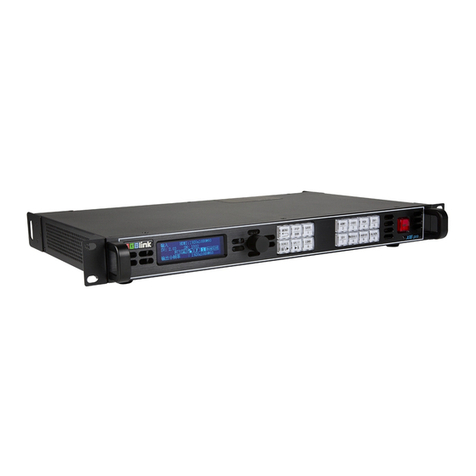
RGBlink venus x2 User manual

RGBlink

RGBlink venus x2 User manual

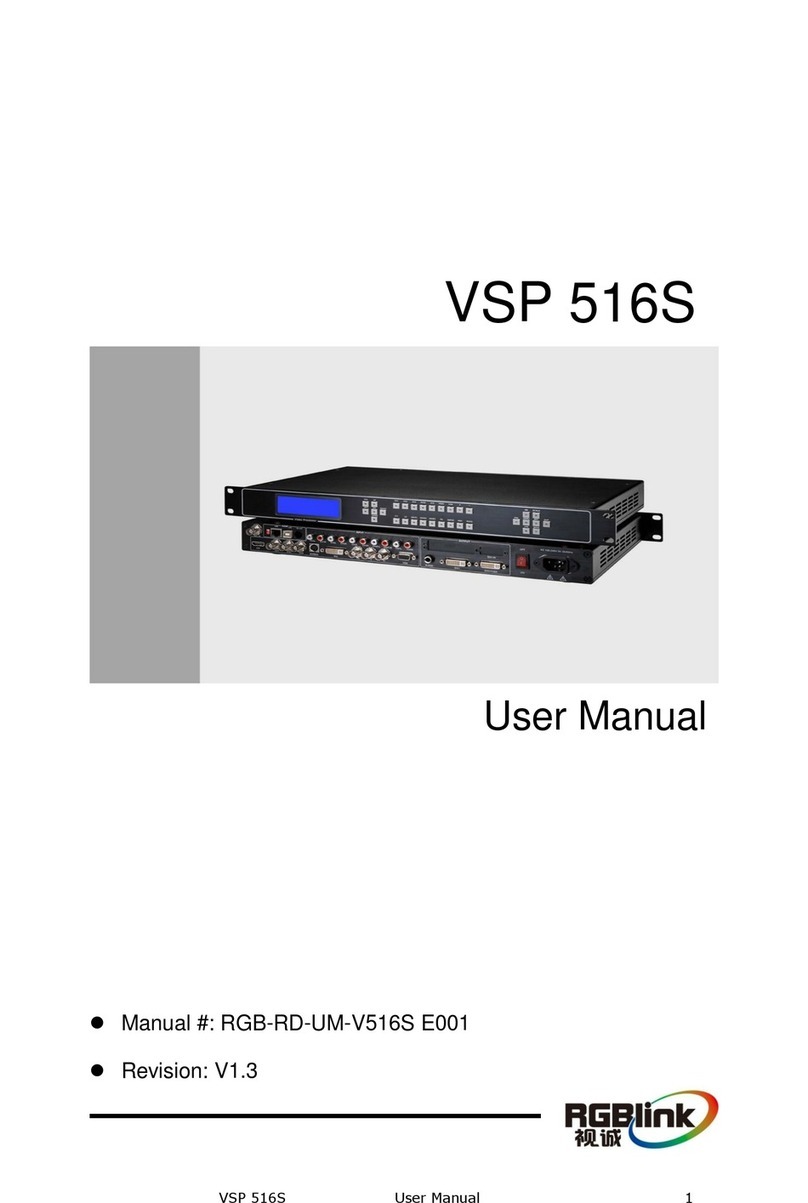
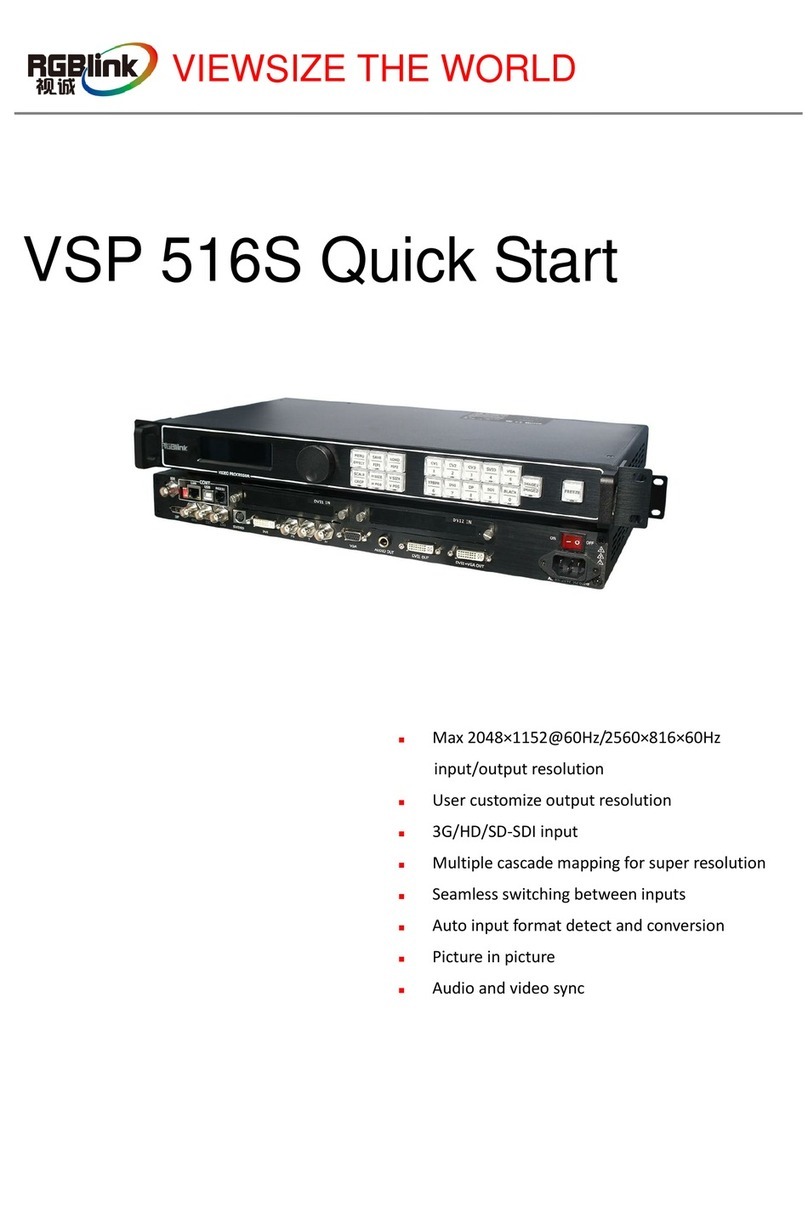
RGBlink VSP 516S User manual

RGBlink

RGBlink VSP 516S User manual

RGBlink vsp 618 User manual

RGBlink

RGBlink vsp 618 User manual

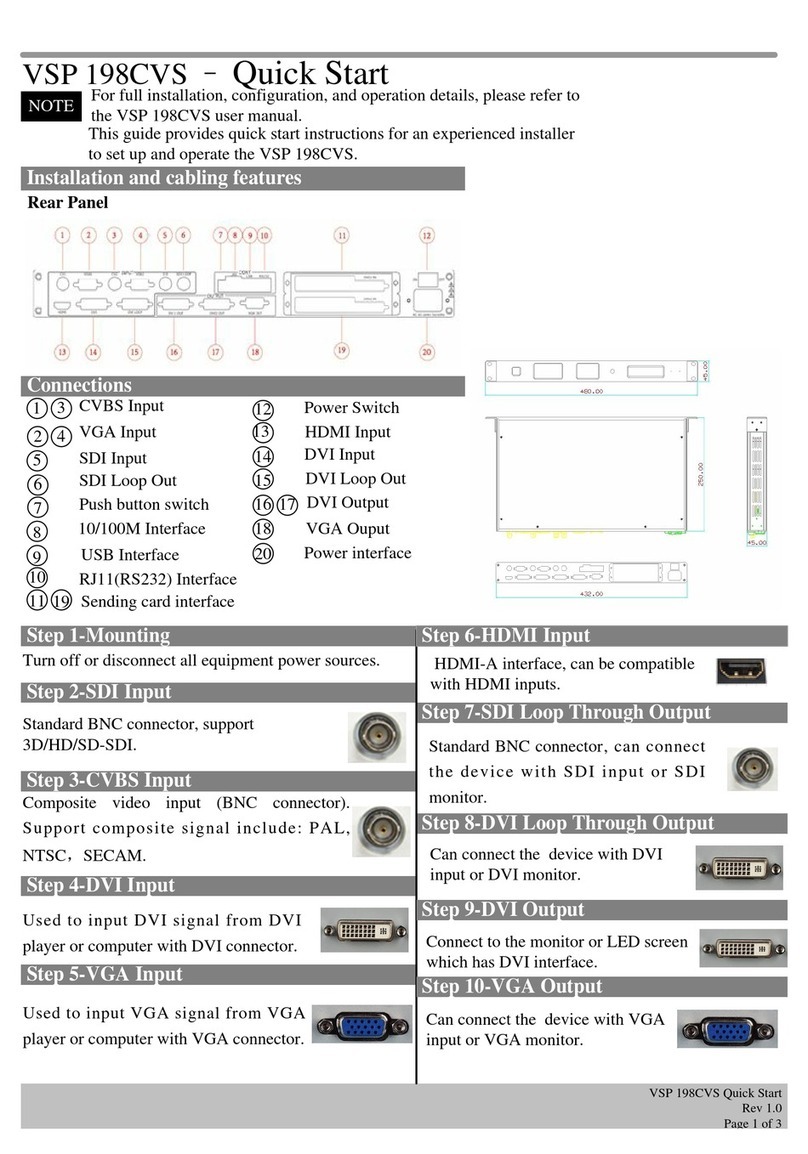
RGBlink VSP 198CVS User manual

RGBlink

RGBlink VSP 198CVS User manual

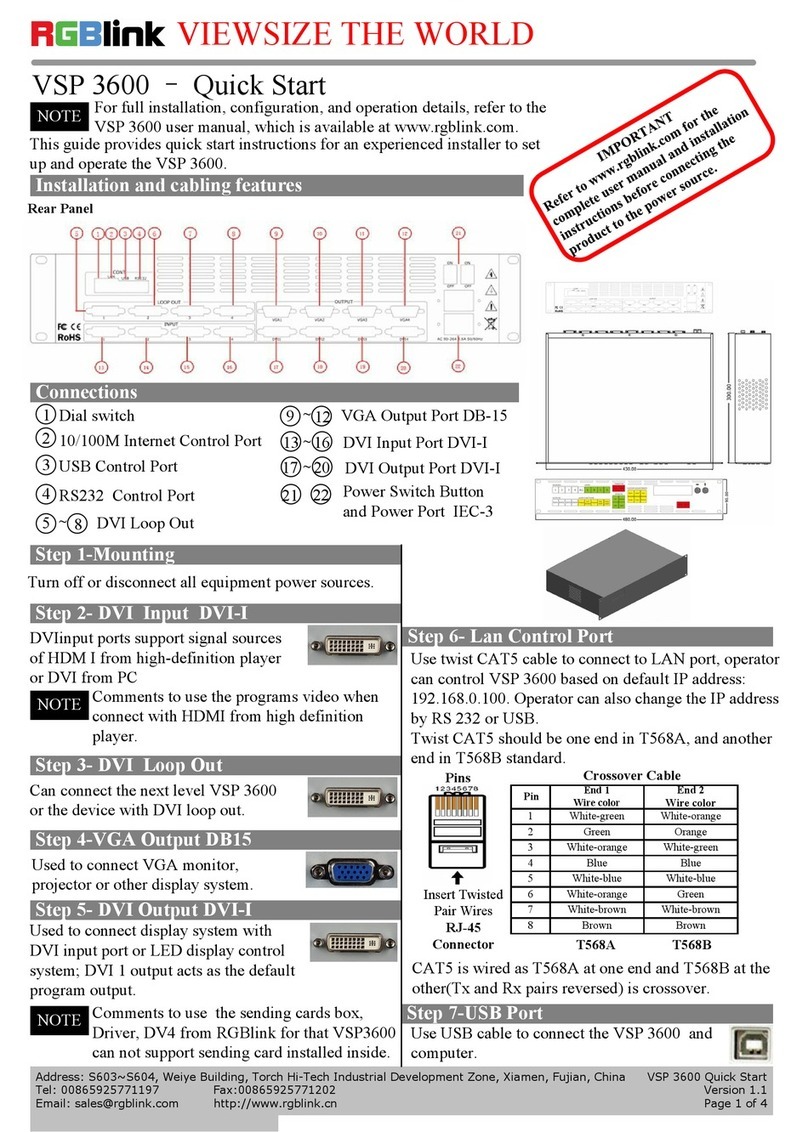
RGBlink VSP 3600 User manual

RGBlink

RGBlink VSP 3600 User manual

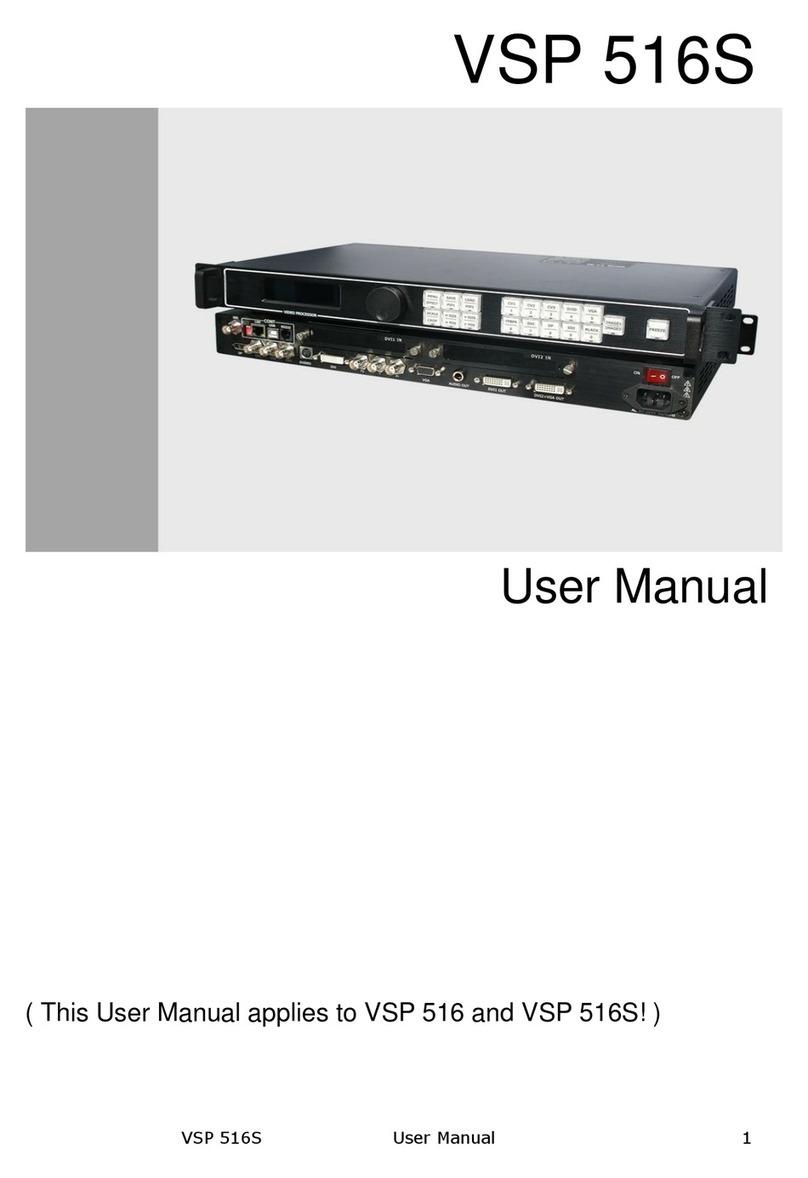
RGBlink VSP 516S User manual

RGBlink

RGBlink VSP 516S User manual

RGBlink VENUS X1PRO User manual

RGBlink

RGBlink VENUS X1PRO User manual

RGBlink VSP 516S User manual

RGBlink

RGBlink VSP 516S User manual

RGBlink venus x2 User manual

RGBlink

RGBlink venus x2 User manual

RGBlink VENUS X3 User manual

RGBlink

RGBlink VENUS X3 User manual

Popular DVD Player manuals by other brands

Sharp DV-S1U Operation manual

Sharp

Sharp DV-S1U Operation manual

PEEKTON PK6023 Operation manual

PEEKTON

PEEKTON PK6023 Operation manual

Jensen MEDIA LINK 7100 Twin user manual

Jensen

Jensen MEDIA LINK 7100 Twin user manual

Muse M-52 DV user manual

Muse

Muse M-52 DV user manual

Philips DVP320F/17 owner's manual

Philips

Philips DVP320F/17 owner's manual

Roksan Audio MkIII user manual

Roksan Audio

Roksan Audio MkIII user manual

Apex Digital AD-1600 owner's manual

Apex Digital

Apex Digital AD-1600 owner's manual

Sony DVP-SR120 reference guide

Sony

Sony DVP-SR120 reference guide

Insignia NS-D160A14 Important information

Insignia

Insignia NS-D160A14 Important information

Philips DVP5996K/94 quick start guide

Philips

Philips DVP5996K/94 quick start guide

BBK DV214SI(RU) user guide

BBK

BBK DV214SI(RU) user guide

Sony DVP-SR600H Startup guide

Sony

Sony DVP-SR600H Startup guide

Philips DVP3126K/93 user manual

Philips

Philips DVP3126K/93 user manual

Sony DVP-C650D - Cd/dvd Player Service manual

Sony

Sony DVP-C650D - Cd/dvd Player Service manual

Sony DVP-SR170 Startup guide

Sony

Sony DVP-SR170 Startup guide

Coby COBY TF-DVD5050 product manual

Coby

Coby COBY TF-DVD5050 product manual

BBK DV311SI Service manual

BBK

BBK DV311SI Service manual

Pioneer XDV-P6 - DVD Changer - in-dash Service manual

Pioneer

Pioneer XDV-P6 - DVD Changer - in-dash Service manual

manuals.online logo
manuals.online logoBrands
  • About & Mission
  • Contact us
  • Privacy Policy
  • Terms and Conditions

Copyright 2025 Manuals.Online. All Rights Reserved.