10
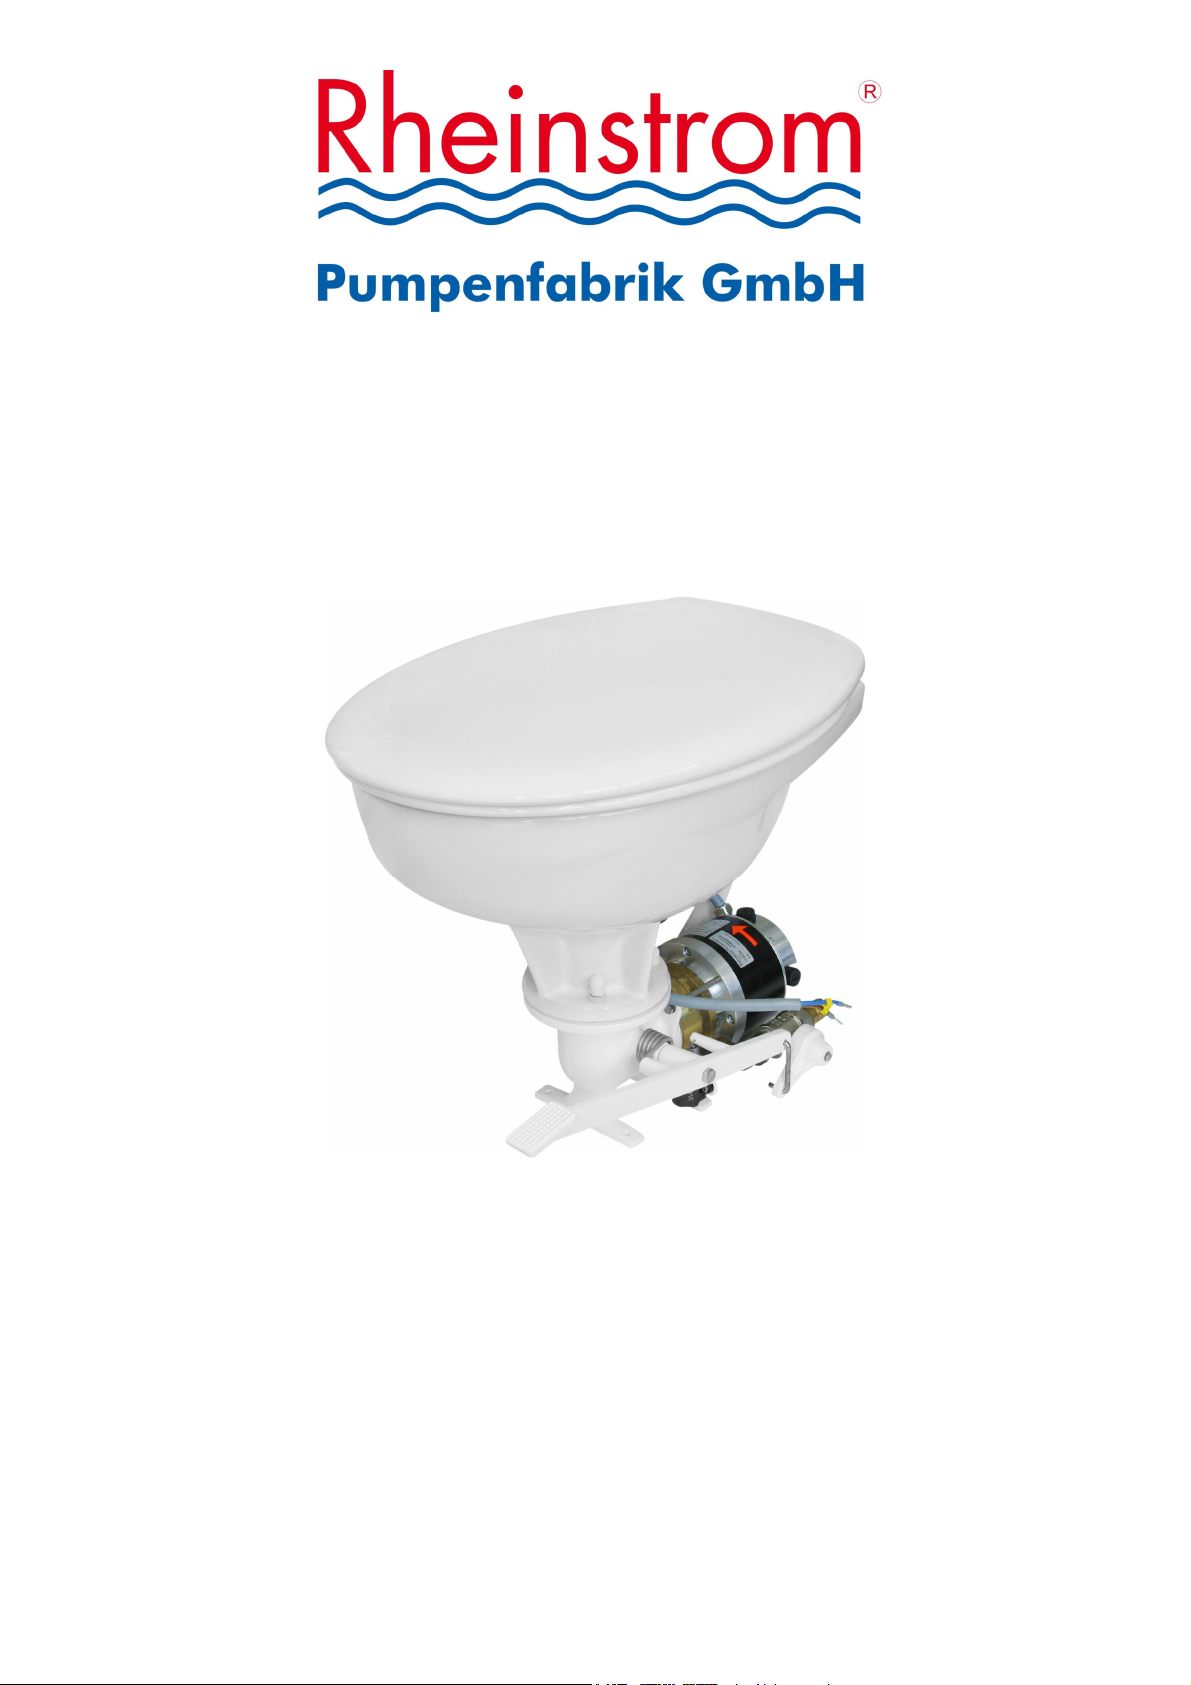
Rheinstrom Yachttoilette Y10
Toilet type Y10
Verwenden Sie nur Anschlusskabel mit einem
ausreichend großen Leitungsquerschnitt. ie
Leitungsquerschnitte der Elektrokabel müssen
von einer qualifizierten Fachkraft berechnet
und entsprechend den allgemeinen Richtlinien
installiert werden Wir empfehlen bei
Leitungslängen bis 3 m einen
Leitungsquerschnitt von 4 mm
2
und bei
Leitungslängen bis max. 6 m einen
Leitungsquerschnitt von 6 mm
2
.
ie Toilette bzw. der Pumpenmotor muss
durch eine Überlastsicherung abgesichert
werden. Wir empfehlen den Einbau eines
Sicherungsautomaten (träge). Bei
Verwendung einer Schmelzsicherung muss
zusätzlich ein EIN / AUS – Schalter in die
PLUS – Leitung eingebaut werden.
er Stecker für das Magnetventil wird nun
auf die Magnetspule des Magnetventils
gesteckt und mit der Sicherungsschraube
befestigt.
ie elektrische Verbindung zum Wandtaster
erfolgte bereits unter Punkt 3.5.
3.6.2 Elektrischer nschluss an den
Pumpenmotor
er Anschluss des Pumpenmotors erfolgt an
den, am Elektro-Steuerkasten vorgesehenen
Klemmen mit der Bezeichnung „Negative
ischarge Motor“ (Pumpenmotor - ) und
„Positive ischarge Pump“ (Pumpenmotor +
). Beachten Sie hierzu bitte auch die separat
beiliegende Bedienungsanleitung „Custom
Flush Timer Unit“. Aus technischen Gründen
erfolgt der elektrische Anschluss des
Magnetventiles ebenfalls an den
Anschlussklemmen für den Pumpenmotor.
ie Belegung der Anschlussklemmen darf
nicht verändert werden, da dies ansonsten zu
Schäden an der Spülwasserpumpe führen
kann. Achten Sie auf die richtige Polung, das
Vertauschen der Kabel kann zur Zerstörung
wichtiger elektrischer Komponenten führen.
Please use cable with a sufficient cross
section. The cross sections of the cables has to
be calculated by a qualified person and has to
be installed according your national
regulations. We recommend a cross section of
4 mm
2
up to a length of 3 m and 6 mm
2
up to
a length of maximum 6 m.
The toilet and/or the motor of the pump has to
be secured by an overload fuse. We
recommend the installation of an automatic
fuse ( time lag fuse ). When using a melting
fuse an additional ON / OFF – switch has to
be installed in the PLUS – cable.
The plug for the solenoid valve will be now
plugged on to the solenoid coil and fastened
and secured with the screw.
The electrical connection to the operating
panel was already done under point 3.5.
3.6.2 electrical connection of the pump
motor
The connection of the pump motor has to be
done by using the connecting terminals on the
control box with the mark “Negative
ischarge Motor” and “Positive ischarge
Pump”. Please consider the separate operating
instruction “Custom Flush Timer Unit”. ue
to technical reasons, the electrical connection
of the solenoid valve is done to the same
terminals than the pump motor. Changing of
the connections of the terminals may cause
damage the flush water pump. Please take
care of the correct polarity, the mixing up of
the cables can be damage important electric
units.